
Free Crochet Floral Tank Top Pattern to Brighten Your Outfits
Rock your sunny vibes with the FREE Crochet Floral Tank Top Pattern for fun summer days and casual outings while enjoying playful handmade fashion flair.
Warm days call for tops that are both comfortable and stylish, keeping you cool without sacrificing charm. The Free Crochet Floral Tank Top pattern makes this easy with its airy stitches and pretty floral motifs, perfect for summer wear. You can wear it to beach trips, casual brunches, or garden walks, pairing effortlessly with shorts, skirts, or jeans.
Quick Free Crochet Floral Tank Top Pattern to Add Feminine Flair
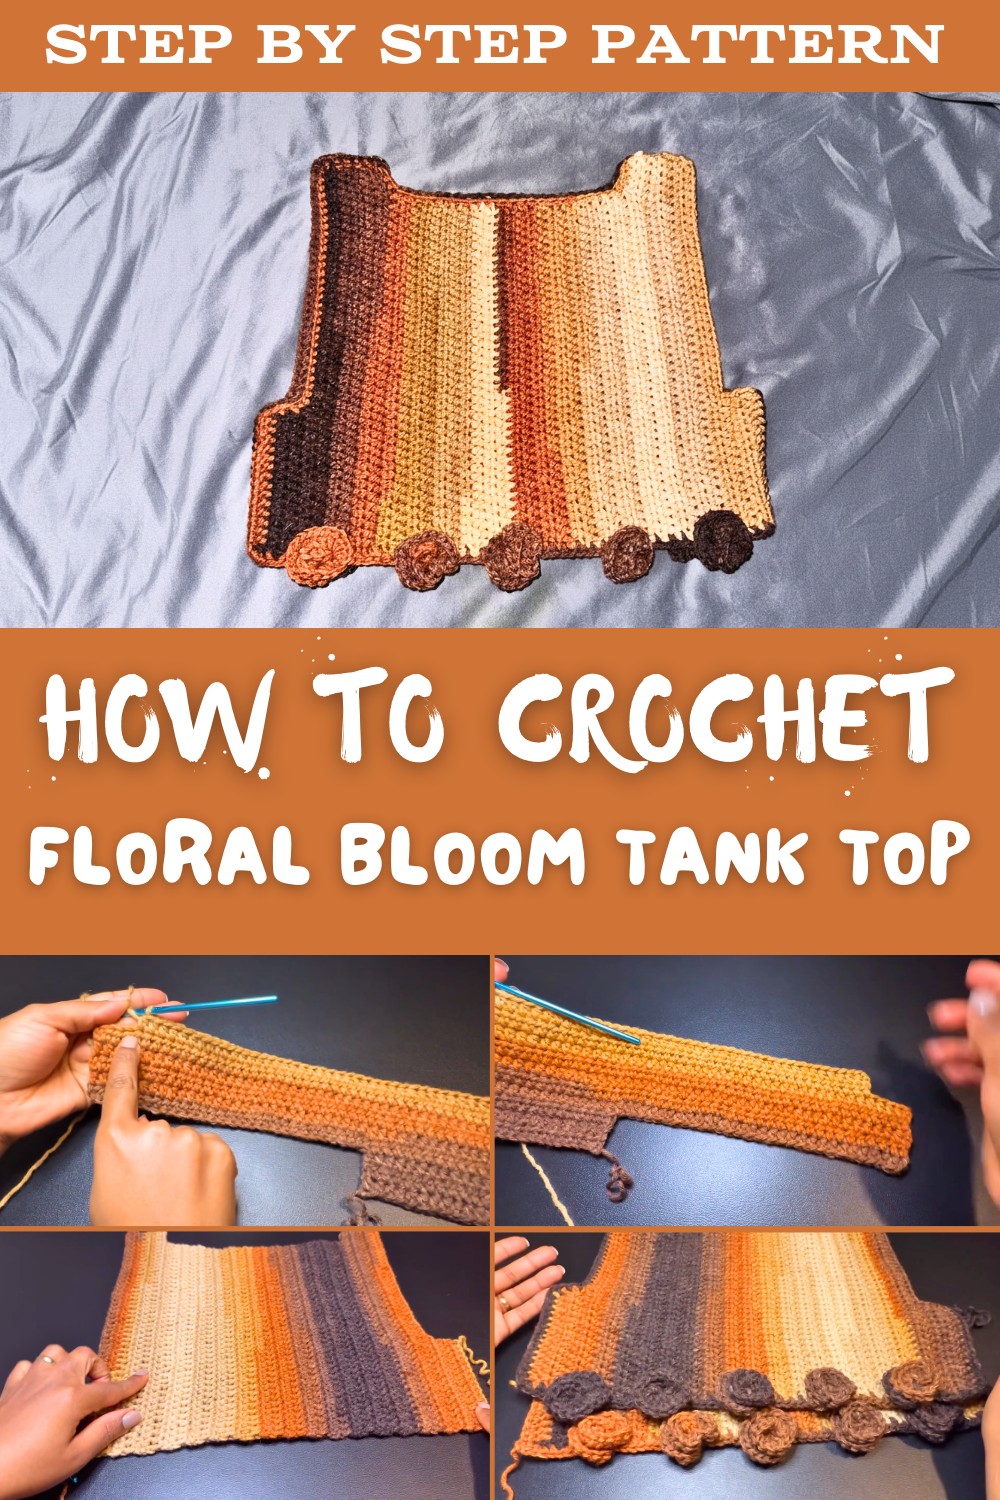
Made with cotton or bamboo yarn, it feels soft and breathable against the skin. This tank top also gives you a chance to practice simple crochet skills like joining motifs and shaping for a perfect fit. The finished piece is light, versatile, and adds a handmade touch to any outfit. You'll love the elegance it brings to casual days. You'll enjoy the comfort every time you wear it. You'll be proud knowing you made it yourself.
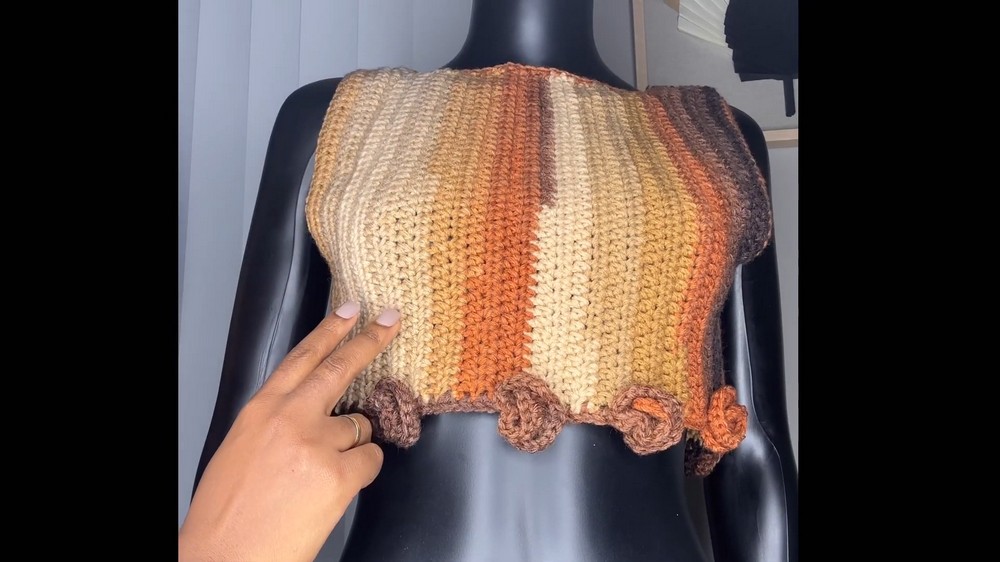
Step-by-Step Crochet Floral Bloom Tank Top
Finished Size
- Fits bust measurement of 38 inches.
- Each panel measures 19 inches wide (when stretched) by 13 inches long.
Gauge
- Half Double Crochet (HDC): For a 2-inch swatch, chain 10 and work 4 rows of half double crochet with a 5.5 mm crochet hook.
Materials
- Yarn:
- Medium Weight, Acrylic (Category 4 yarn).
- Suggested Brand: Any ombre or solid-colored yarn for flowers and panels.
- Hook Size:
- 5.5 mm crochet hook (for smooth stitches).
- Additional Tools:
- Yarn needle (for weaving ends).
- Scissors.
- Measuring tape.
Key Abbreviations (US Terminology)
- ch: Chain
- st(s): Stitch(es)
- sc: Single Crochet
- hdc: Half Double Crochet
- dc: Double Crochet
- sl st: Slip Stitch
- yo: Yarn Over
Skill Level
Intermediate - Familiarity with single crochet, half double crochet, double crochet, creating chains, and joining panels is required.
Special Techniques
- Back Bump Foundation Chain:
- For a neater edge, work into the back bump of the foundation chain when starting rows.
- Flower Construction:
- Flowers are rolled from chains and double crochets into a circular rose-like shape.
- Panel Joining:
- Single crochets are used to join panels together for a clean finish.
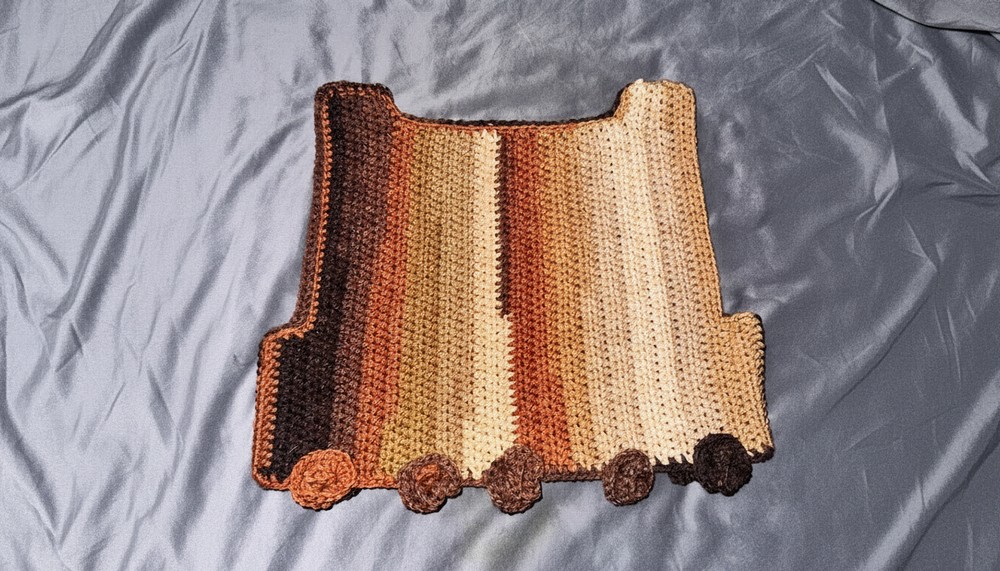
Pattern Instructions
Panel Construction
Step 1: Foundation Chain
- Make a slip knot and chain 15.
- Add 2 extra chains for turning (Total: 17 chains).
Row 1: (Foundation Row)
- Yo, skip the first 2 chains and work 1 hdc into the third chain.
- Continue working 1 hdc into each chain across. (15 hdc total)
Row 2-3: Build Up the Body
- Chain 2 (does not count as a stitch), turn your work.
- Work 1 hdc into every stitch. (15 hdc total)
Step 2: Shoulder Strap
- At the end of Row 3, chain 30 for the shoulder strap section.
- Add 2 more chains for turning.
- Yo, skip the first 2 chains, and hdc into the third chain and every chain across.
- Continue with hdcs across the original panel stitches to complete Row 4.
- Rows 5-8: Chain 2, turn work, and continue working 1 hdc into every stitch.
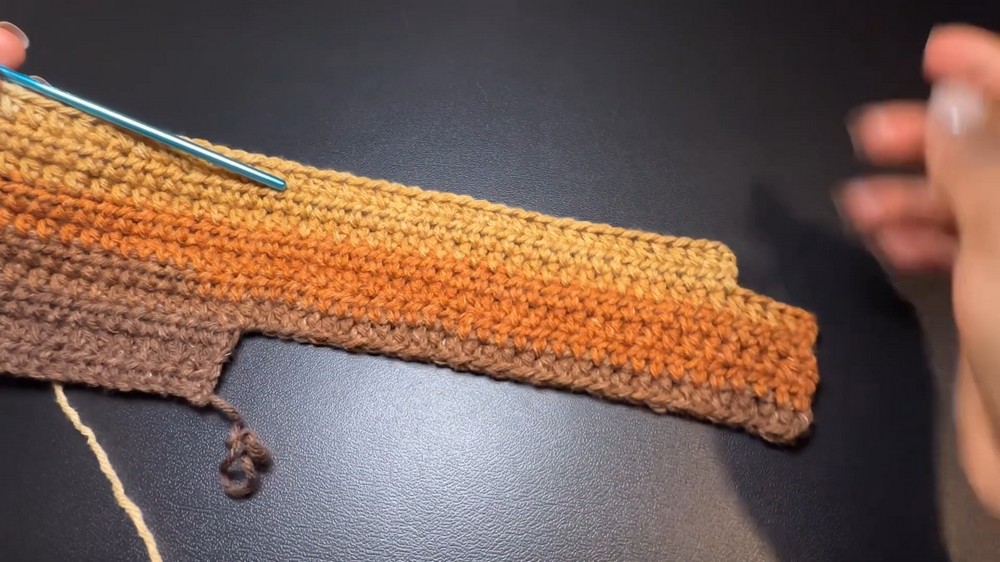
Step 3: Neckline Shaping
- Begin Row 9, leaving 4 stitches unworked at the start to shape the neckline.
- Chain 2, turn work, and continue working hdcs across the remaining stitches.
- Repeat Row 9 for 23 more rows to complete the neckline strip.
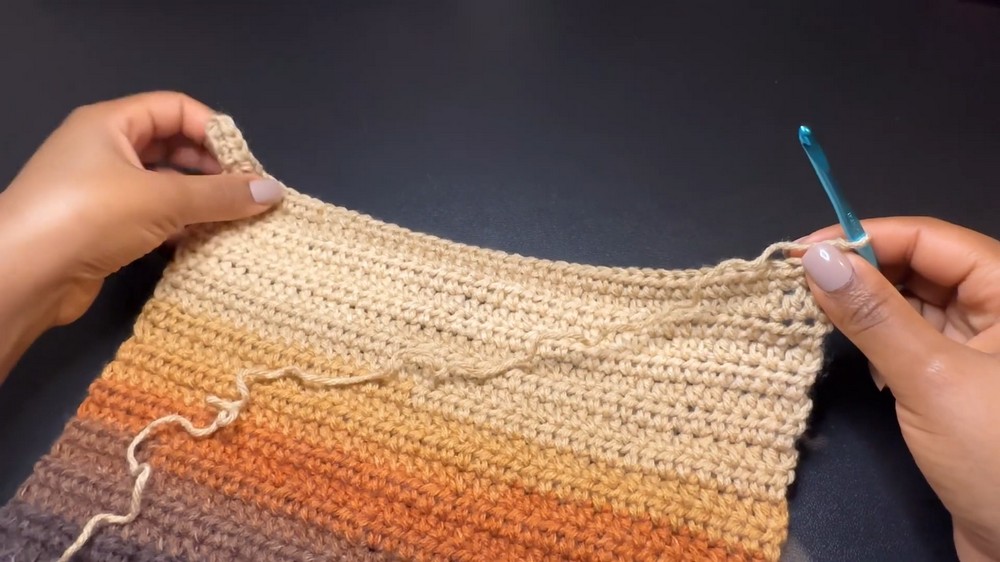
Step 4: Recreate the Opposite Side of Shoulder Strap
- Chain 4 at the end of the neckline rows to extend back to match the opposite shoulder strap. Add 2 extra chains (turning chain).
- Complete hdcs into the chain and continue across the neckline strip stitches.
- Work 5 rows to complete the missing shoulder strap section and mirror the body panel.
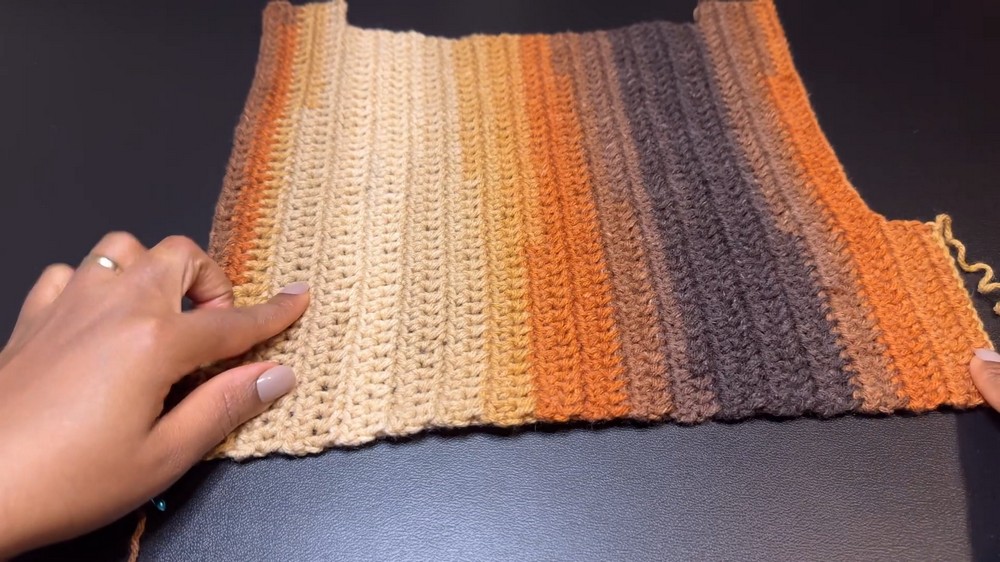
Step 5: Decrease Rows for the Final Edge
- Leave 4 stitches unworked at the end of Row 5 to decrease symmetrically to the bottom edge of the panel.
- Work 3 decrease rows.
Note: Both panels should now look identical, measuring 13 inches long and 19 inches wide when stretched.
Edging (Single Crochet Border Around Panels)
- Attach yarn to the bottom edge of the panel.
- Work 1 sc into each row edge around the sides of the panel.
- If working along hdc stitches, insert into visible loops for clean edges.
- Add extra sc stitches to corners for smoothing.
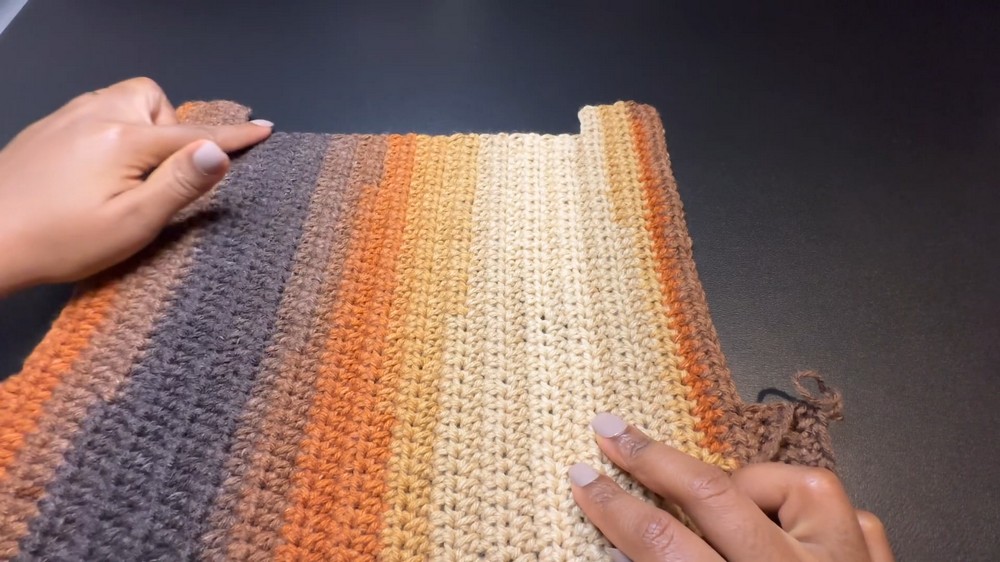
Repeat for both panels.
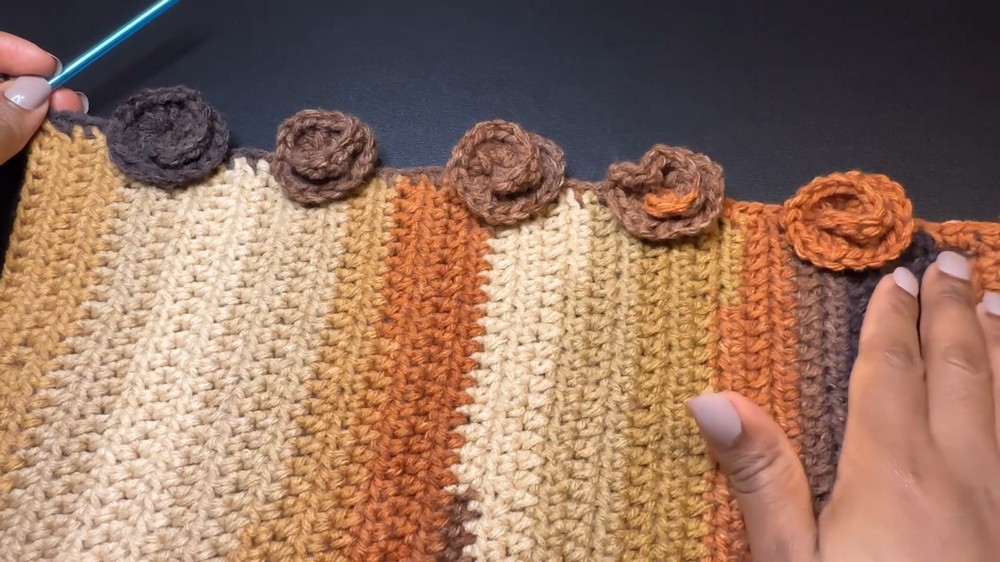
Adding Floral Detail
- Attach your yarn to the bottom edge of the panel.
- Work 2 sc into one row, then 1 sc into the next row for 6 repetitions.
Step 1: Creating the Flower
- Begin a chain 10 for the flower.
- Yo, skip 3 chains, and work 3 dc into the fourth chain from the hook.
- Work 4 dc into each of the remaining chains.
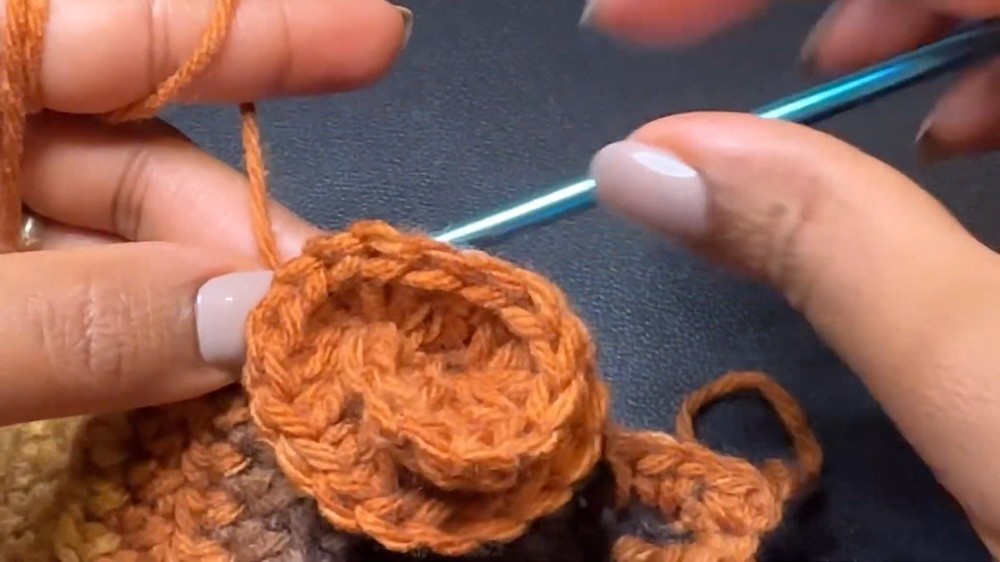
Rolling the Flower:
- Roll the completed row carefully into a spiral shape.
- Insert hook through all layers of rolled flower and secure with a stitch into the foundation edge.
Repeat this sequence for 5-6 flowers across each panel bottom.
Joining Panels
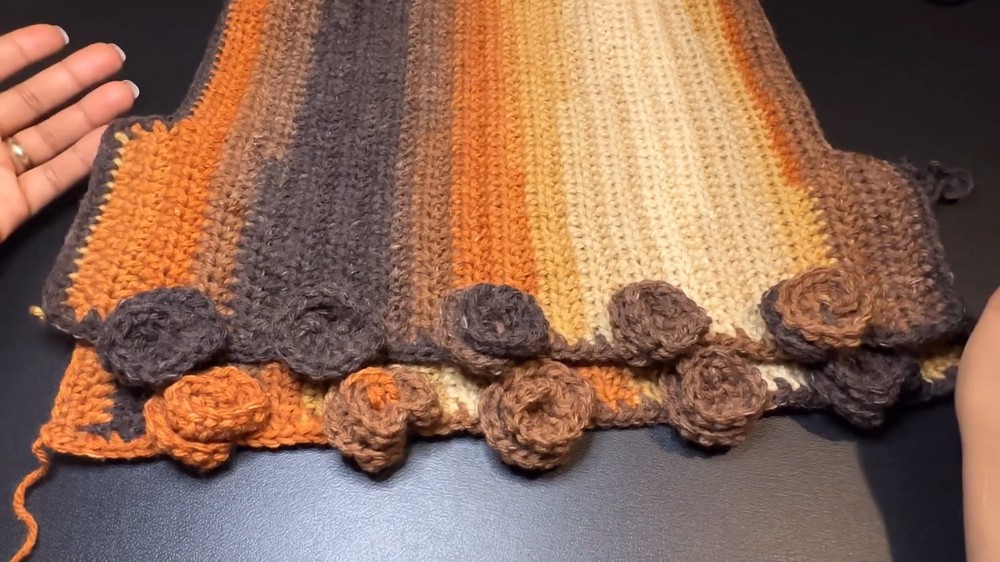
- Place panels right sides together, aligning edges evenly.
- Use sc or whip stitch to join the sides together, leaving space for armholes.
Joining Shoulders
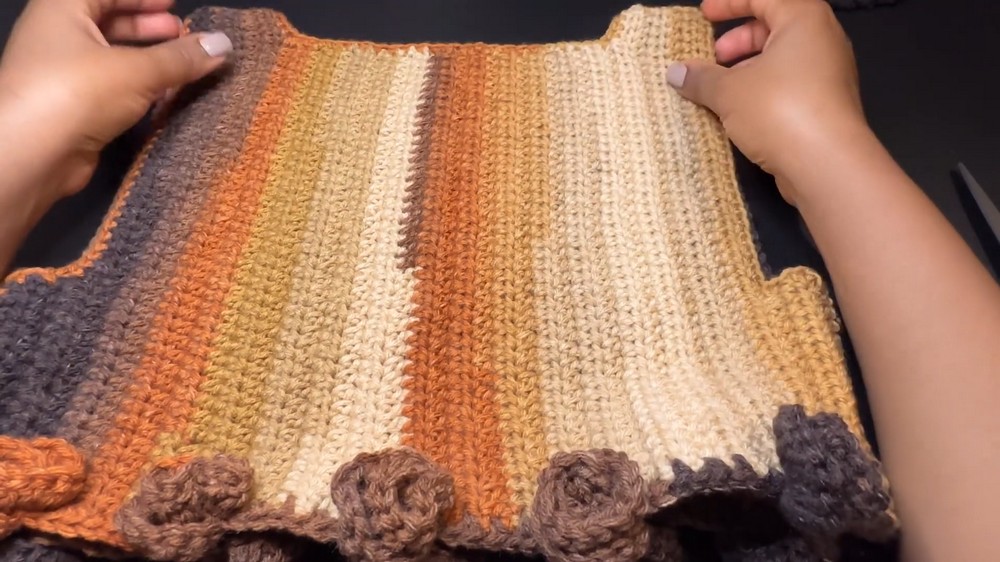
- Place shoulder strap edges together.
- Work sc stitches across both edges to join securely.
Final Touches
- Weave Ends: Use a yarn needle to weave in all loose yarn ends.
- Flip Right Side Out: Turn your work inside out, ensuring flowers and seams are properly aligned.
- Blocking: Lightly block the piece if desired for smoother edges.
Customization Ideas
- Length Adjustment: Add rows for a longer shoulder strap or cropped version.
- Flower Placement: Experiment with flower placement or add flower detailing around the neckline.
Conclusion
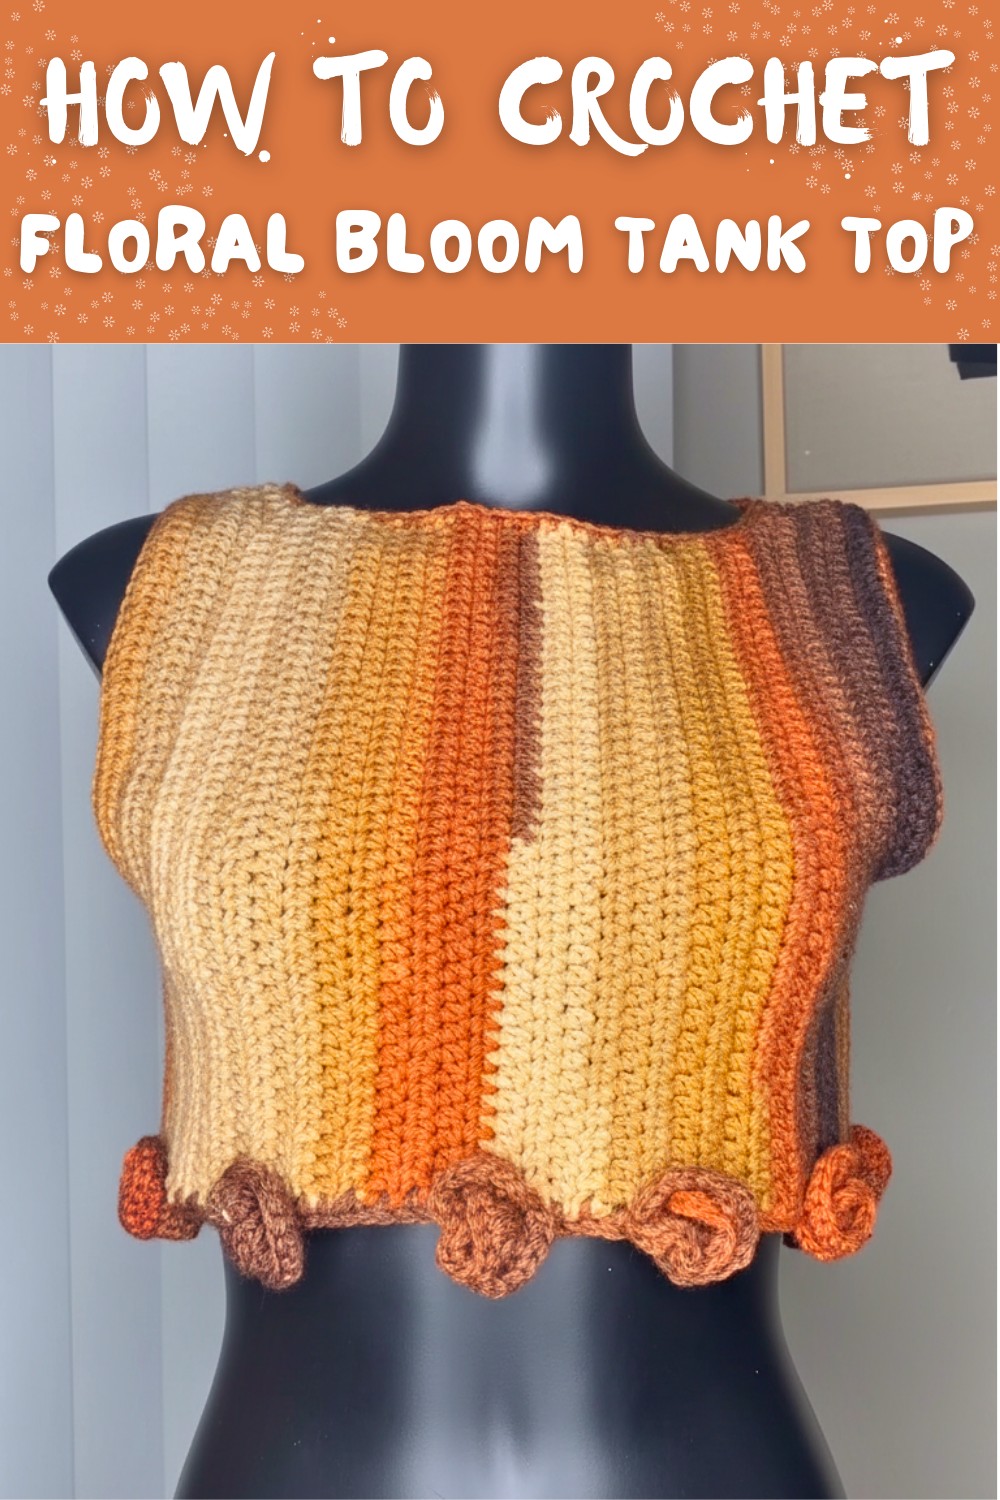
Congratulations on completing your Floral Panel Top! This whimsical top is versatile and stylish, making it suitable for casual outings or special occasions.
Pattern Notes and Corrections
- Ensure stitch counts match at the neckline and shoulder strap sections to maintain symmetry.
- If yarn splits during flower construction, use a smoother yarn for this section.
Tips
- Use contrasting color yarn for flowers to add flair to the design.
- Tension control during rolling flowers ensures they stay neatly secured.