
Free Crochet Placemats Pattern to Style Your Dining Table
Enrich your home decor with beautiful crochet placemats that are easy to make, wonderfully creative, and perfect for any table setting.
There's something special about adding small handmade touches to your home. A set of cozy crochet placemats not only protects your table but also adds a pop of color and personality to every meal. These placemats are simple to make, beginner friendly, and can quickly turn into your favorite go to project. This project uses the single crochet stitch, a basic yet strong stitch that provides a nice, even texture. It's perfect for beginners as it's easy to learn and can be used in many other crochet projects, like coasters, table runners, or even tote bags. The repetitive motion of stitching row by row makes the process relaxing, and by the time you're done, you'll have something functional and beautiful that you made with your own hands.
Beautiful Crochet Placemats Pattern for Free and Revamp Your Table
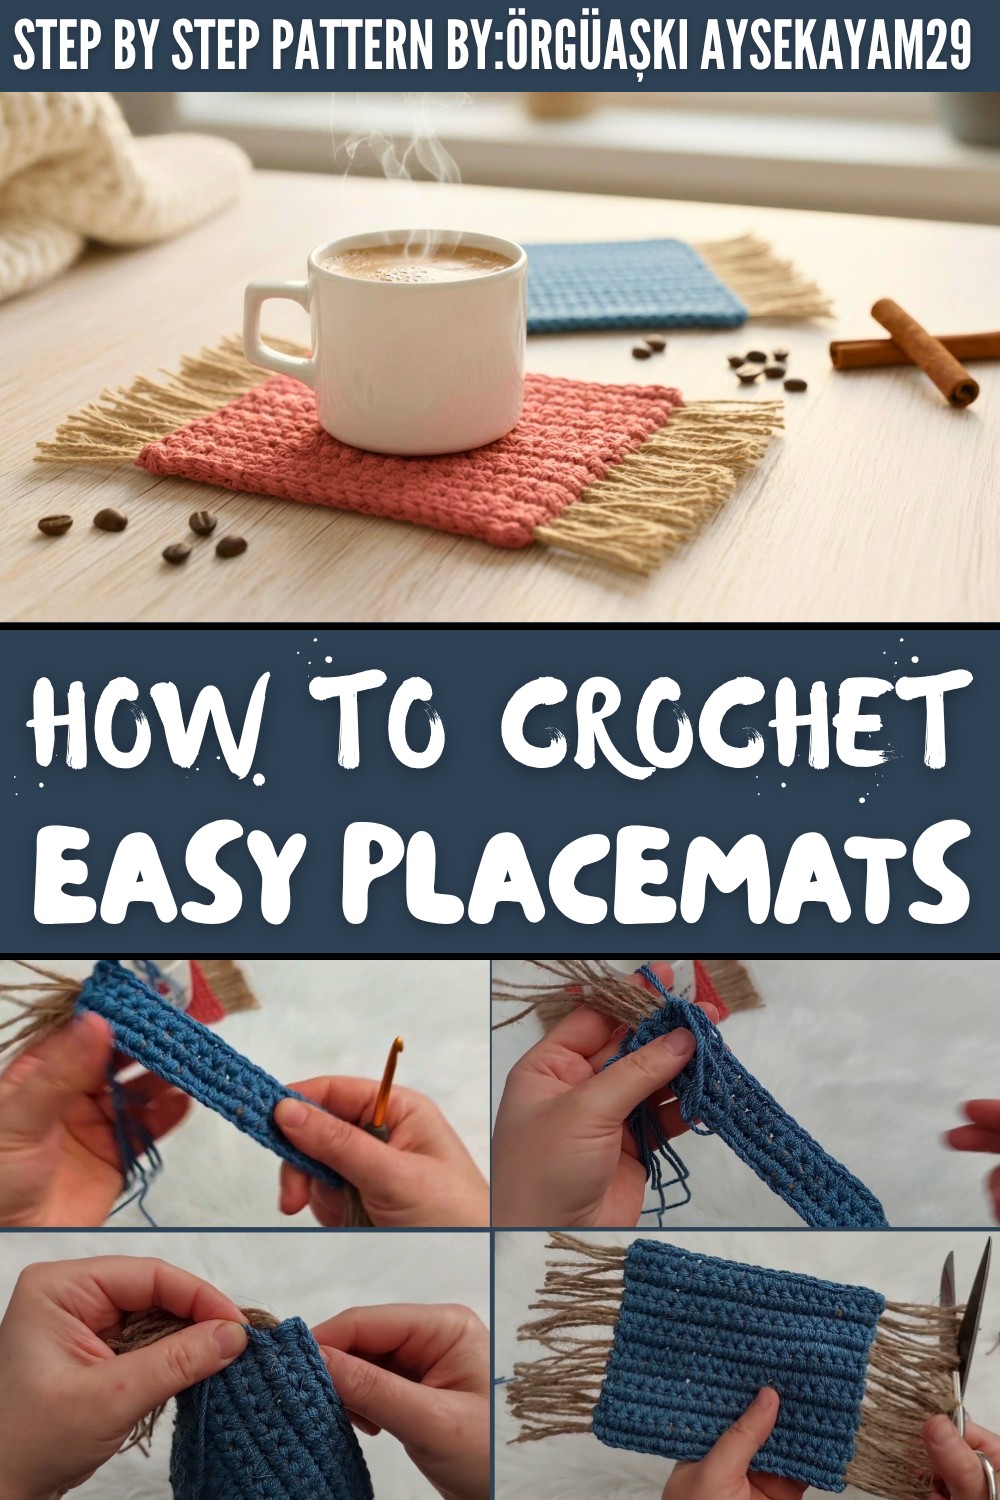
Working on this project will teach you the key foundations of crochet. You'll start with making a solid foundation chain, ensure steady tension to keep the rows neat, and practice creating smooth, straight edges with each stitch. You'll also build confidence in finishing off your project by weaving in loose ends. These skills are the building blocks of almost every crochet project you'll tackle in the future.
What Else Can Be Made
Once you've mastered the technique, the same simple stitches can be used to create a variety of items. Smaller coasters, larger table runners, or even textured cushion covers, the possibilities are plenty. By simply adjusting the dimensions and the type of yarn, you can customize the project to fit your needs.
At the end of it all, you'll have a handmade piece that adds a personal touch to your table. Plus, the sense of accomplishment you'll feel with every completed stitch will make the project even more rewarding.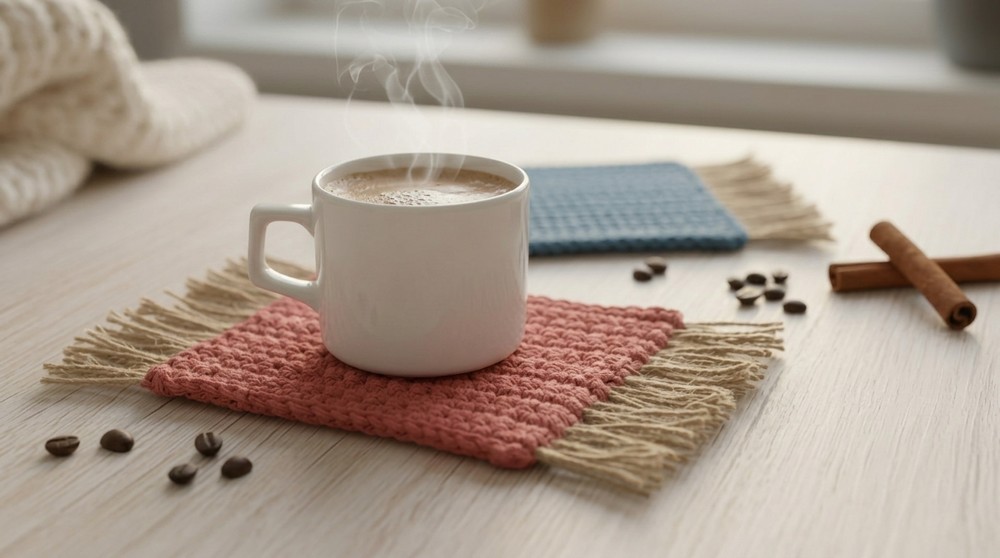
Crochet Placemats Pattern with Fringe Detail
Materials Needed
- Yarn: Medium weight yarn such as Nako Pırlanta (used double stranded). Alternatively, macrame or soft polyester yarn can also be used.
- Fringe Material: Thick cord like yarn called "küt ip."
- Hook: 4mm crochet hook.
- Tools:
- Scissors for trimming fringe and tidying edges.
- Comb to straighten out and create a uniform appearance for the fringe.
Optional Measurements
- Finished Size: Approx. 21 cm wide x 28 cm long (after trimming the edges).
- Fringe Length: 28-29 cm pre cut, trimmed to your liking after you finish the crochet.
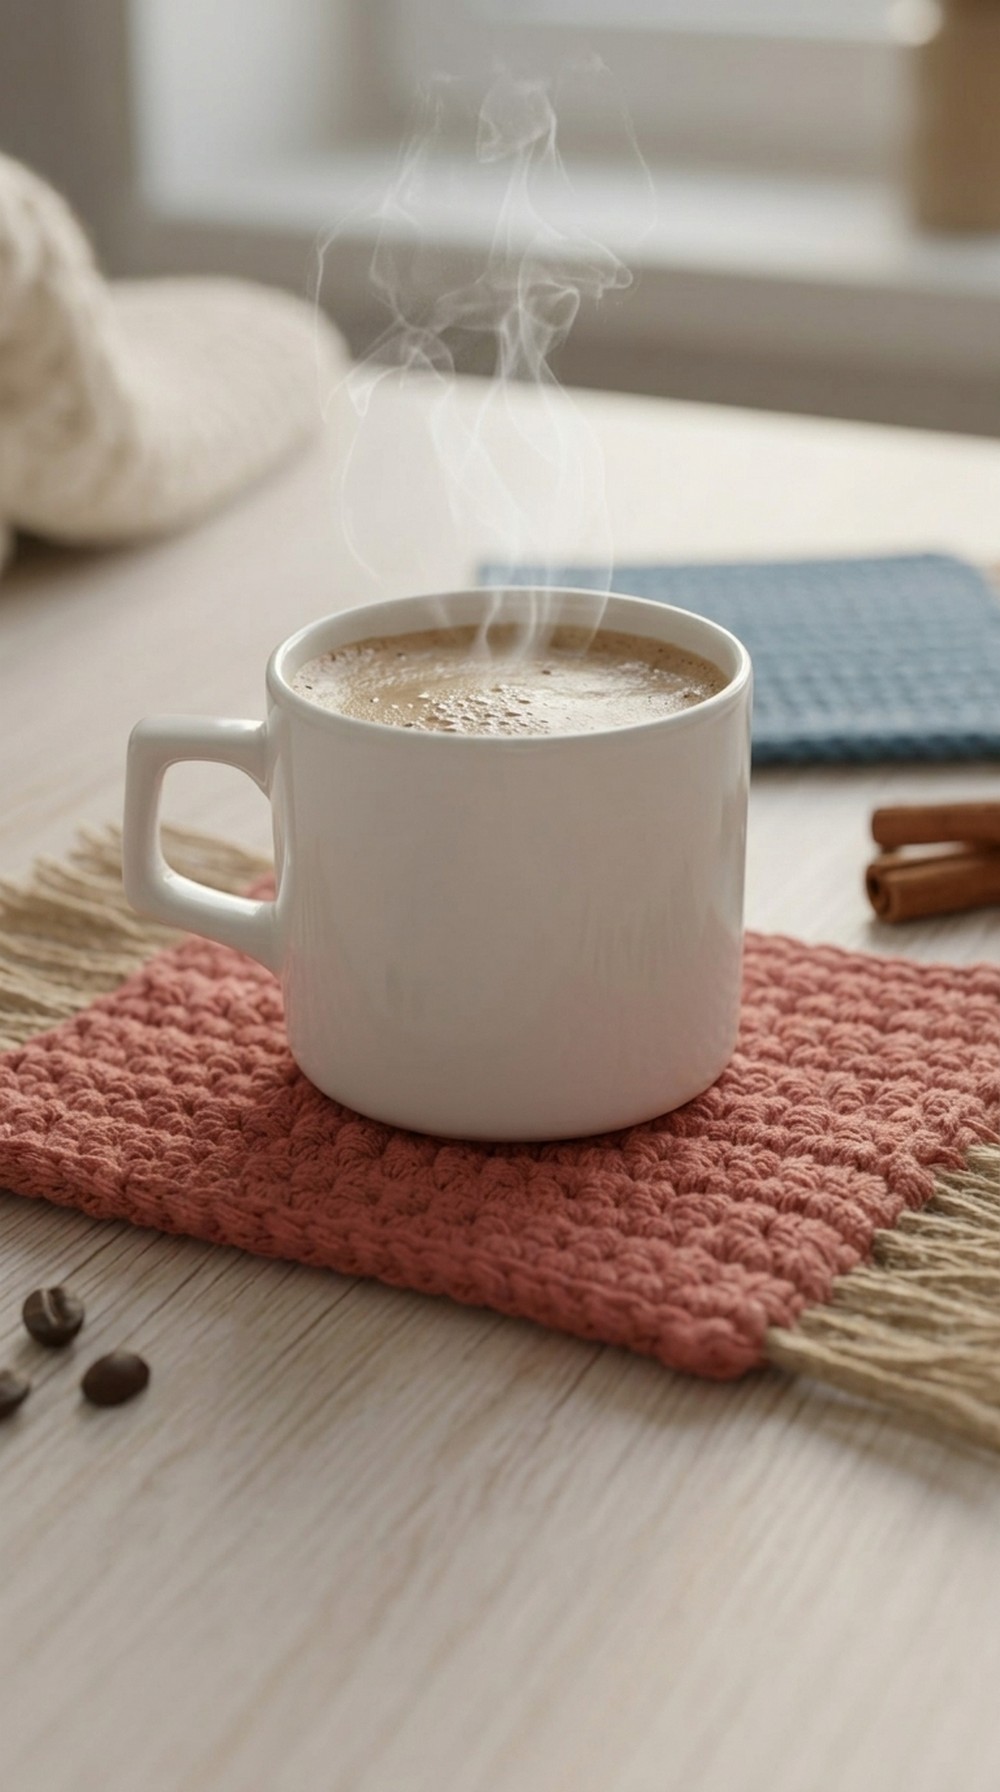
Tips Before You Begin
- For larger placemats or a table runner, increase the number of rows.
- To make a matching set (coasters, placemats, runners), maintain the same stitch count and proportions.
- Use a comb to smooth out fringe edges for a professional finish.
- Work with double strands for durability and stability unless lighter weights are preferred.
Step By Step Pattern
PREPARATION
- Cut Fringe Strands:
- Cut 13 sets of 3 strands each from the "küt yarn."
- Each strand should be 28-29 cm long.
- These will be incorporated into the mat row by row to create the fringe sides.
FOUNDATION CHAIN
- Begin the Base:
- Using your yarn held double stranded, create a slip knot.
- Chain 19 stitches.
- First Row:
- Insert your hook into the 2nd chain from the hook.
- Work 1 single crochet (sc) into that chain.
- Continue to make 1 sc into each chain across.
- At the end of the row, you will have 18 sc.
ADDING FRINGE AND BUILDING THE MAT
Row 2 (and all subsequent rows):
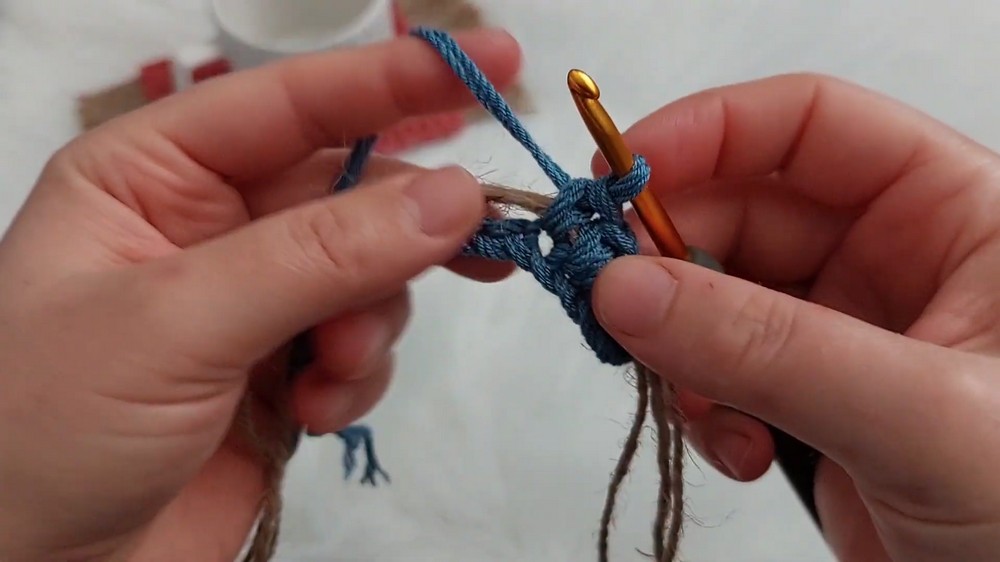
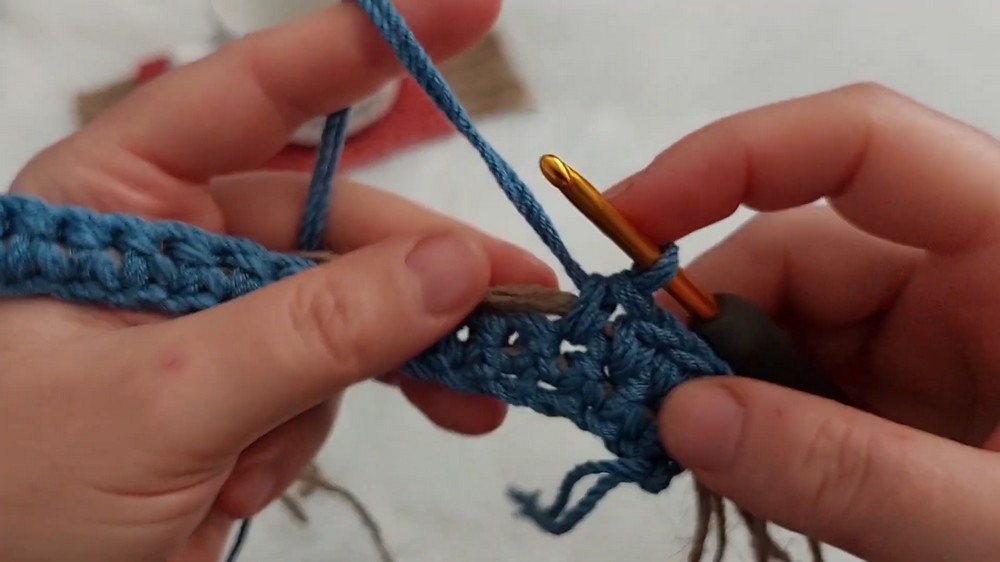
- Attach Fringe at Start of Row:
- Take 3 pre cut fringe strands (küt yarn) and fold them in half to form a loop.
- Position the folded section under your work, near the base of the last stitch from the previous row.
- Secure the Fringe:
- Yarn over your working yarn, enclosing the fringe in the first stitch as you begin the row.
- Continue Row:
- Chain 1 to start the row.
- Turn your work, and insert your hook into the first single crochet stitch from the previous row.
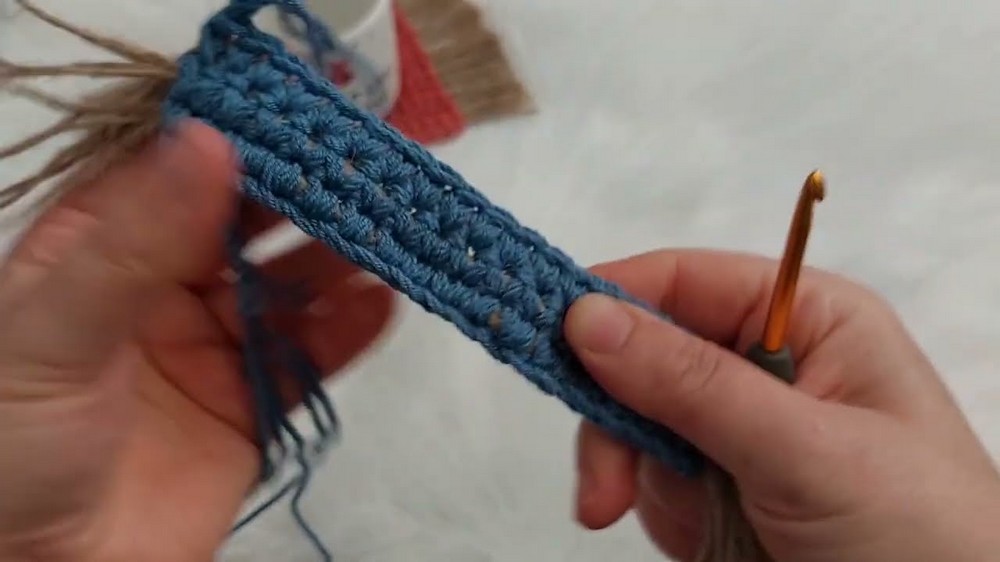
- Work 1 sc in every stitch across the row, catching the fringe strands between the stitches as you crochet.
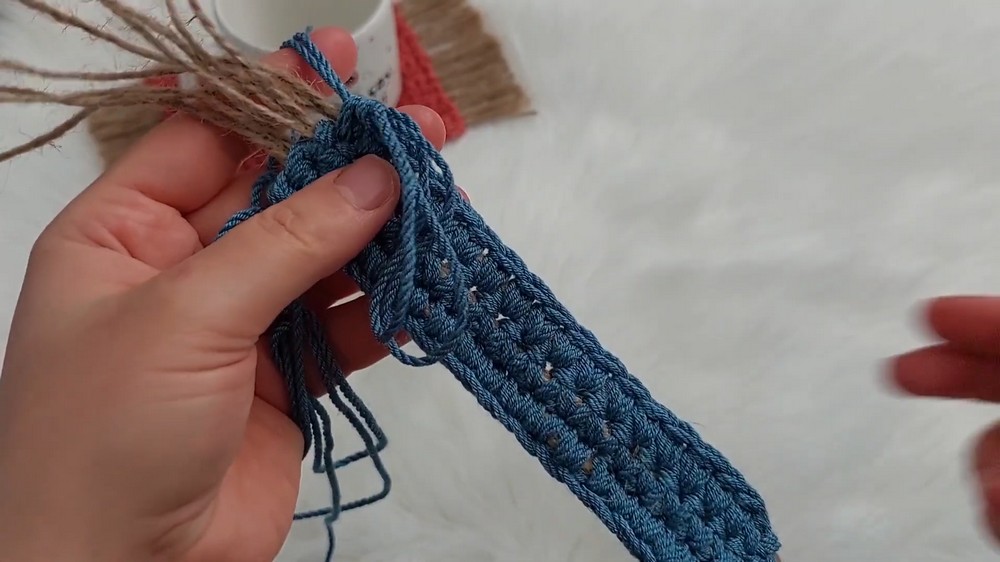
- Make sure the fringe is securely enclosed in the stitches and hanging evenly along the side.
- End of Each Row:
- After completing the sc stitches, ensure that the fringe tails are left hanging on the sides.
- Repeat Rows:
- At the end of the row, chain 1, turn, and repeat the same process for each new row.
Repeat Rows 2-13:
- Continue attaching 3 fringe strands at the start of every row.
- Work sc across each row until a total of 13 rows have been completed.
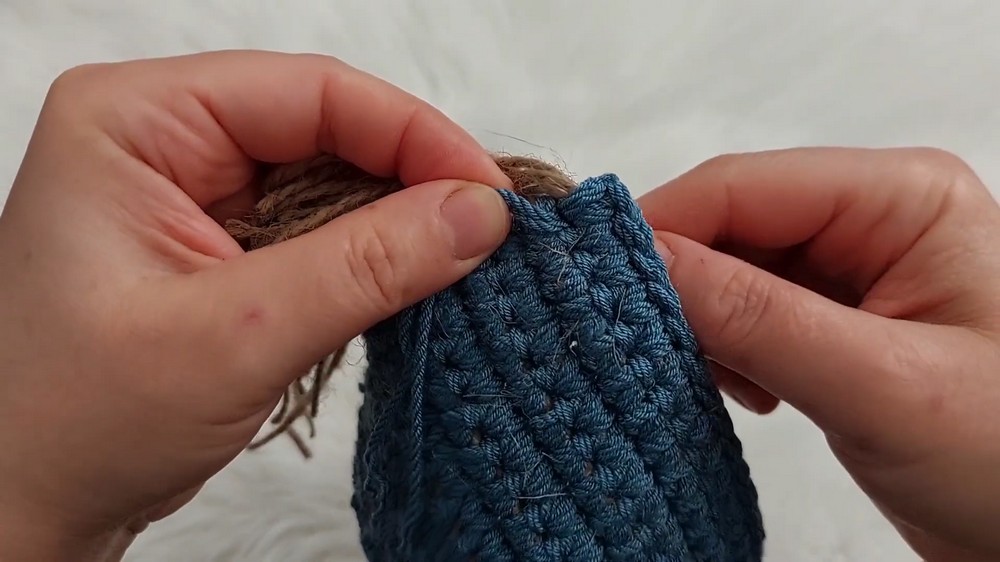
- Ensure the fringe looks even and hangs neatly along both sides of the mat.
FINISHING THE MAT
Fastening Off:
- After 13 Rows:
- Complete your final row of single crochet stitches.
- Chain 1, cut your yarn with a long tail, and pull it through to secure the work.
- Secure Loose Ends:
- Weave in any yarn ends using a yarn needle.
- Make sure everything is tidy and secure.
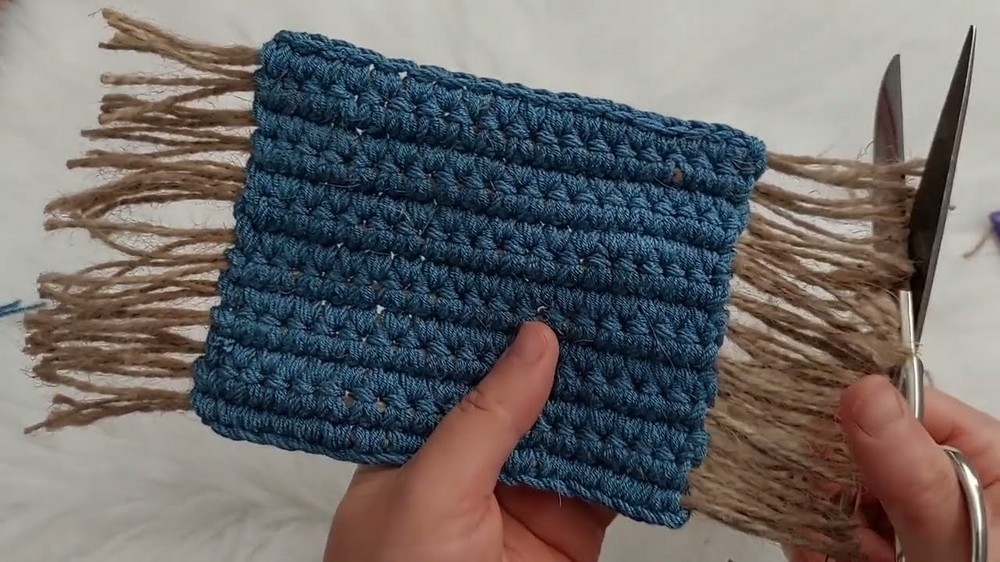
Fringe Trimming and Styling:
- Comb Out Fringe:
- Use a comb to gently brush through the fringe along the sides of the mat.
- This ensures they lie flat and look uniform.
- Trimming Fringe:
- Use scissors to carefully trim the fringe along both sides to your desired final length.
- For a polished look, ensure the fringe length is the same across all rows.
- Optional:
- If you notice any loose fibers, you can lightly singe the edges of the fringe with a lighter (only use this method for fringe yarn that won't burn or melt).
Final Notes
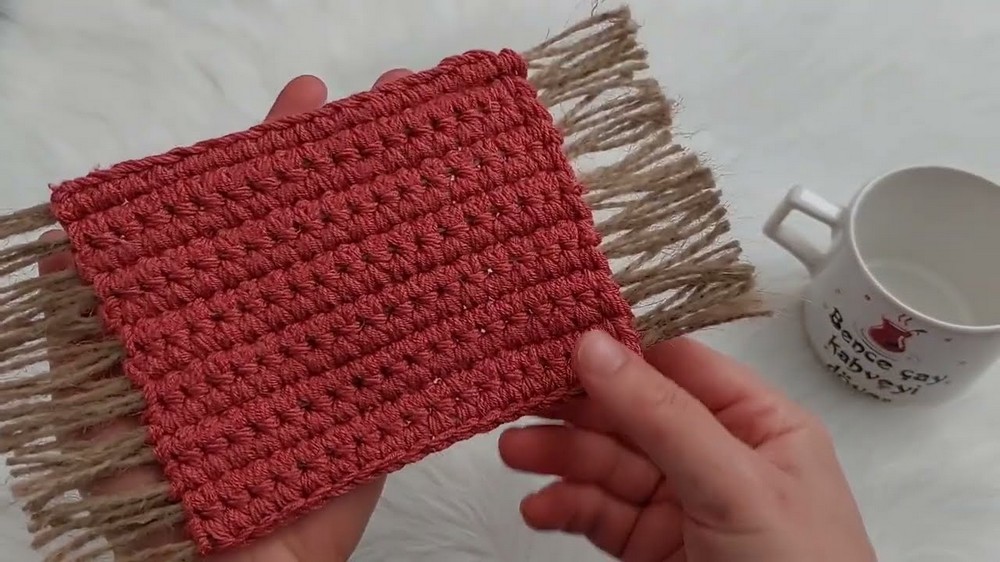
- Your finished table mat should measure approximately 21 cm wide x 28 cm long after trimming the fringe.
- Extend the rows if you want a longer mat or adapt the width by increasing the foundation chain (add multiples of 1 for each stitch).
- Pair with matching coasters or runners for a complete look.
Conclusion
Congratulations, You've just completed your beautiful handmade crochet table mat. This chic and textured design, with its stylish fringe detail, is perfect for home décor, gifting, or as a unique addition to your crochet portfolio.
Be sure to customize with different colors or sizes for additional versatility.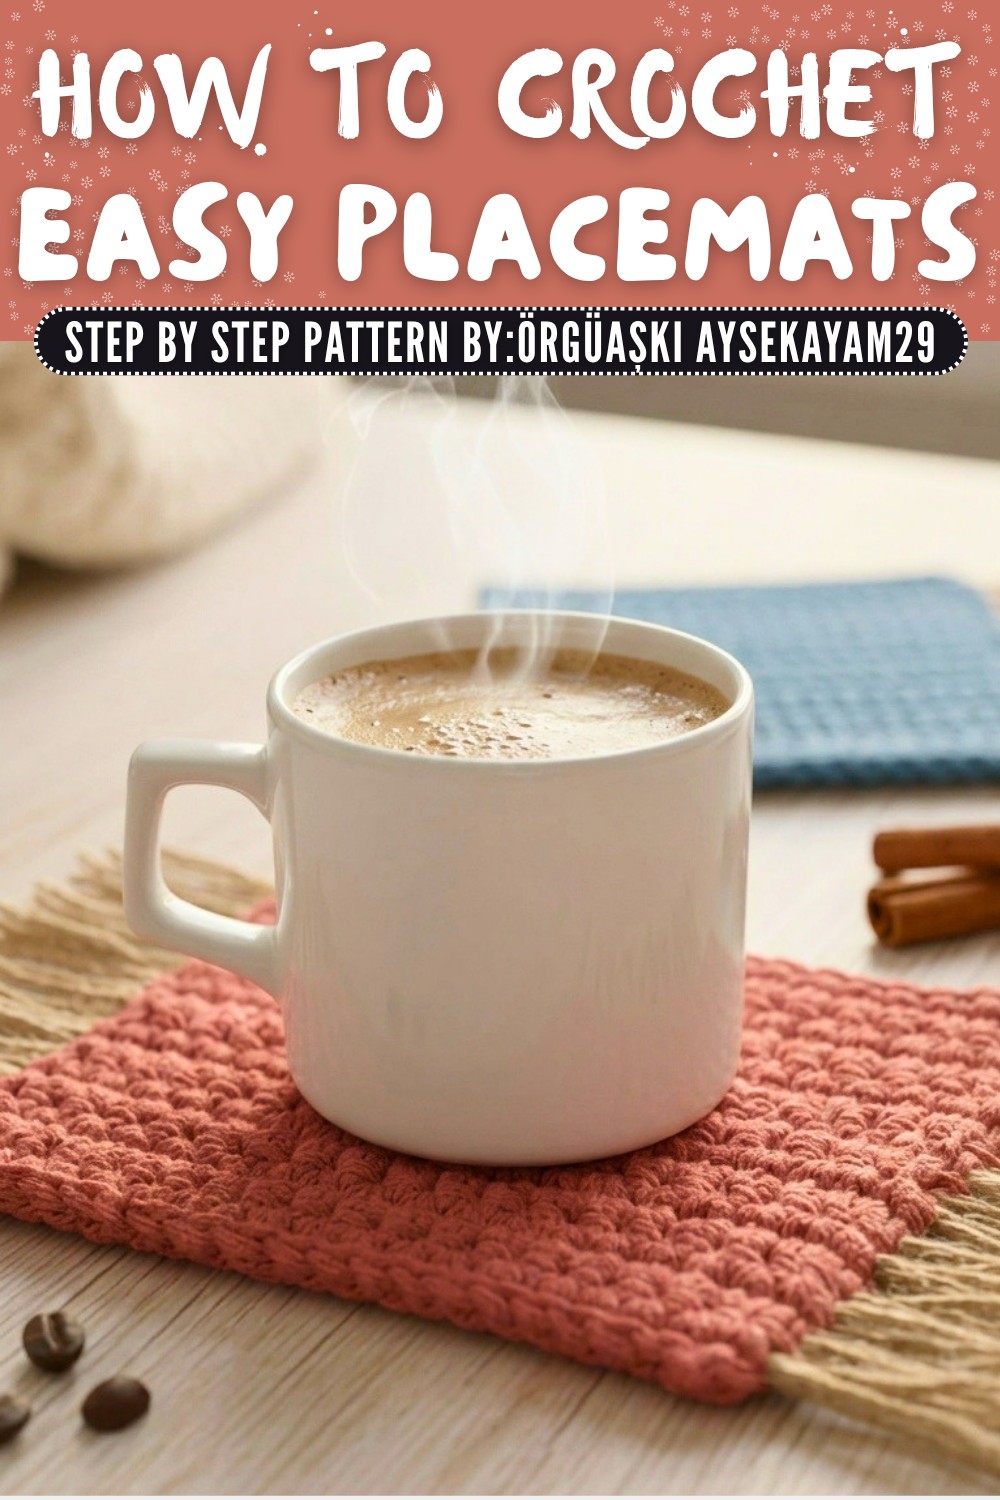
Important Remarks
- Ensure consistency in stitch count throughout the project for straight edges.
- Use good quality yarn for durability if planning to use the piece daily.
- Take breaks during long projects to prevent strain and maintain enjoyment while working.
- Always handle tools like scissors and lighters with care for safety purposes.
Once completed, admire the neat rows, clean edges, and decorative touches added by Küt ip threads. This simple yet elegant piece can complement both casual and formal settings.