
Free Crochet Puff Heart Keychain Pattern Using Basic Stitches
Brighten your keychain or decor with this charming Free Crochet Puff Heart Keychain Pattern, offering an easy and enjoyable option for crochet lovers.
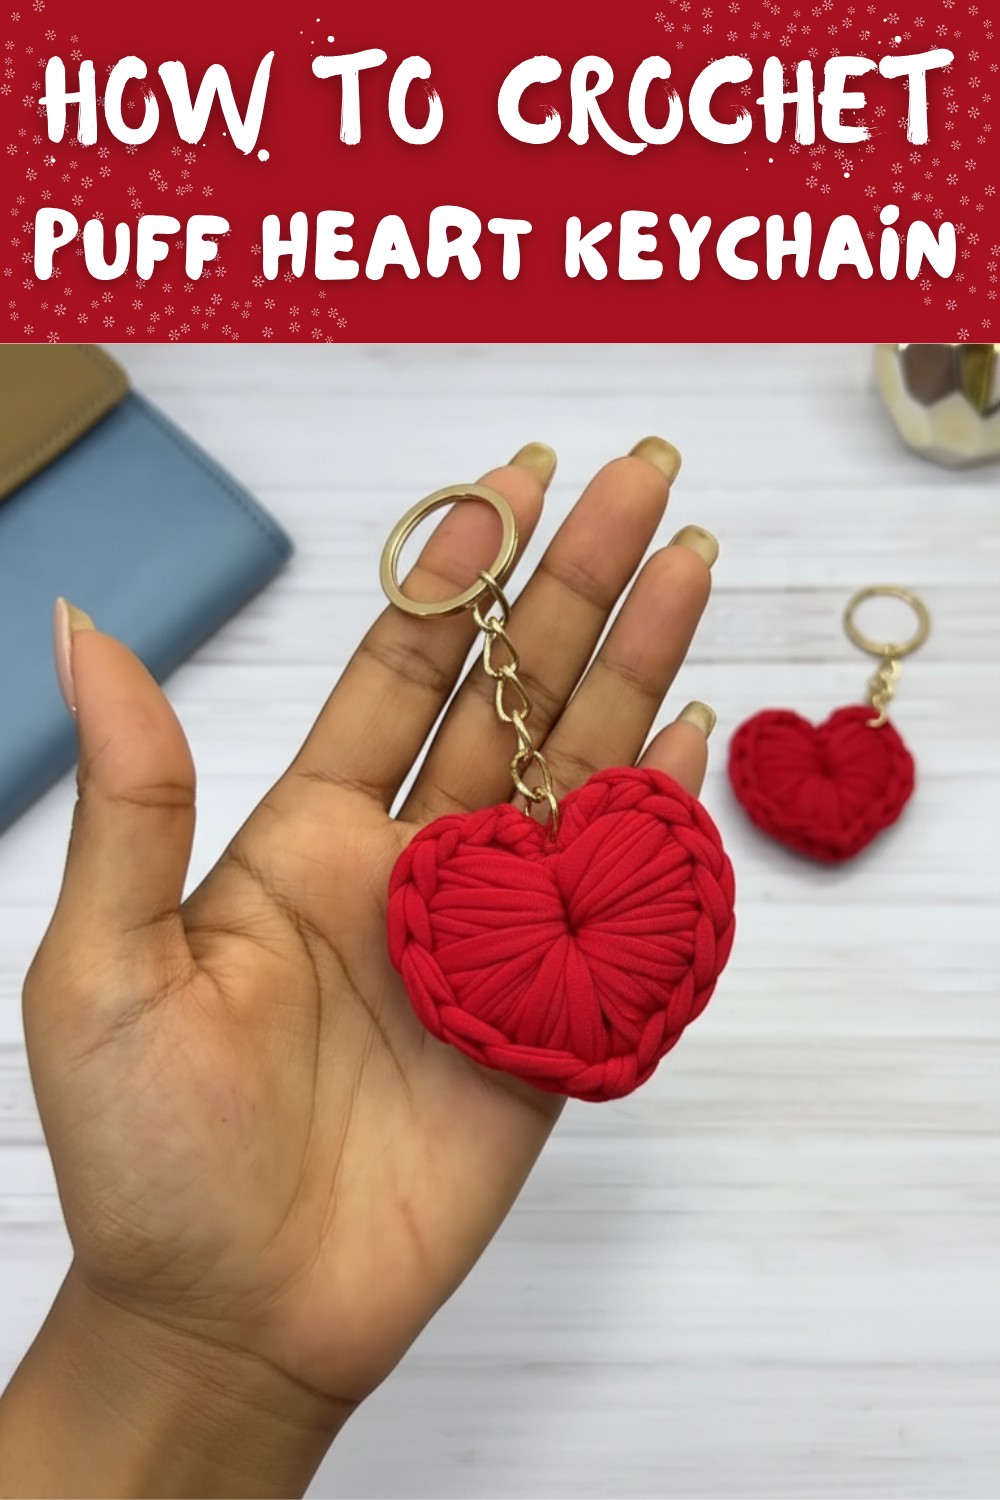
A solution of charm, warmth, and style all packed into one delightful accessory. The Free Crochet Puff Heart Keychain Pattern is a perfect way to create something small yet meaningful that brings beauty to everyday items like keys, bags, or gift wraps. This puff heart design stands out with its soft three-dimensional texture that gives it a lovable plush appearance.
Charming Free Crochet Puff Heart Keychain Pattern You'll Adore
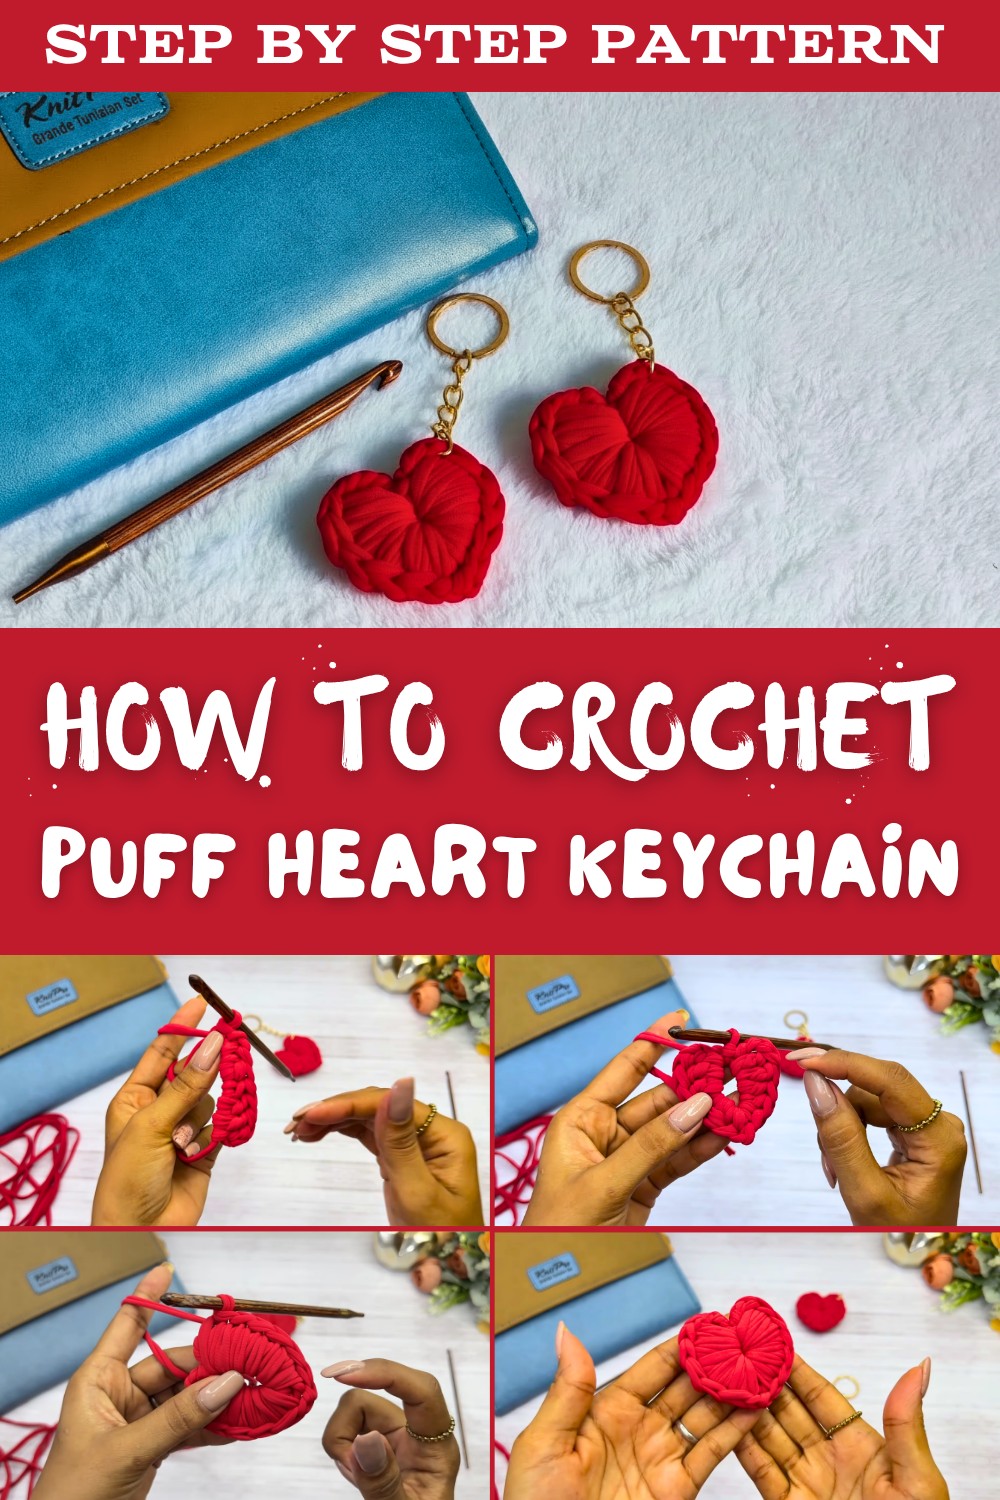
Its adorable shape and compact size make it a versatile crochet for any occasion. Whether it is a thoughtful handmade gift for someone special, a standout decoration, or a way to add a personal touch to your belongings, this pattern offers endless possibilities.
You can choose bright vibrant yarns for a playful look or stick to pastel or neutral tones for elegance. The pattern is easy to follow, quick to complete, and does not require advanced crochet skills so it is accessible to everyone, regardless of experience.
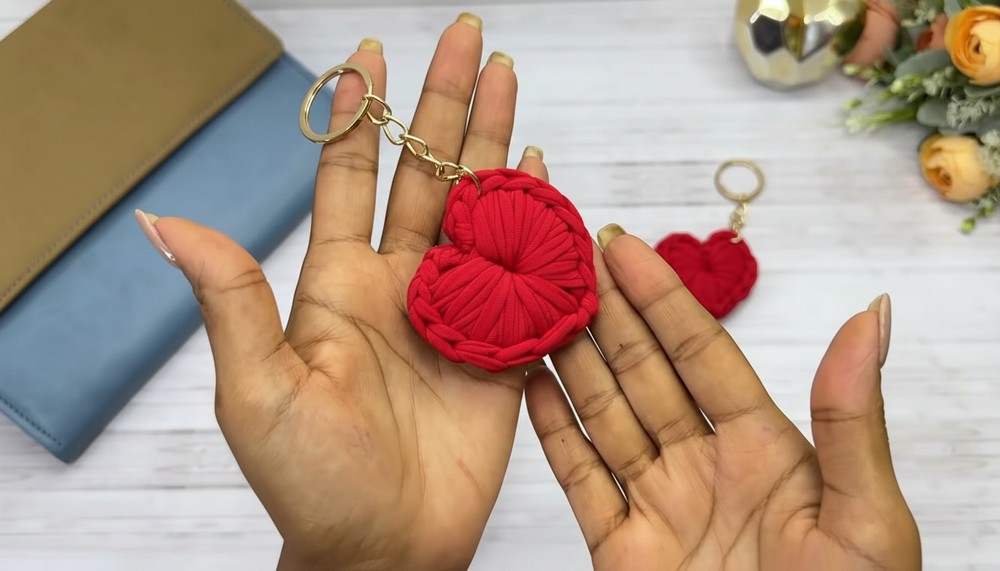
The puff heart's charm lies not only in its visual appeal but also in the joy of creating something functional and heartfelt. Simple materials and straightforward techniques combine to craft an accessory that is both beautiful and practical. Add a splash of personality or a dash of love to your belongings with this delightful puff heart keychain.
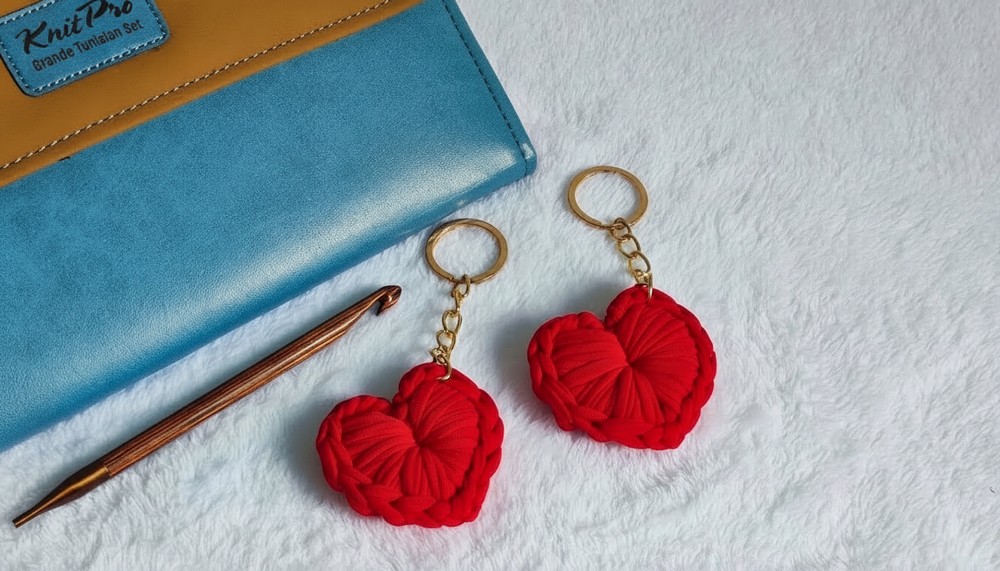
Crochet Heart Keychain Pattern
Skill Level
Intermediate: Basic knowledge of foundational crochet stitches (chain, single crochet, half-double crochet, double crochet, and slip stitch) is required. This pattern also uses the magic circle technique.
Finished Size
Approximate size: Plush heart, 3-4 inches wide and 3-4 inches tall (size may vary depending on the yarn and hook used).
Materials
- Yarn:
- Rag yarn (approximately 2 cm wide strip or an equivalent super bulky yarn). Choose colors of your choice.
- Optional: For a smaller or more delicate heart, use worsted weight yarn (#4).
- Hook:
- 6.5 mm crochet hook for the main heart.
- 3.7 mm crochet hook for finishing touches, such as weaving in ends.
- Notions:
- Scissors for cutting yarn.
- Yarn needle for weaving in ends and securing.
- Keychain ring with its chain for assembly.
- Optional Decoration:
- Pearl or small embellishments to add a decorative touch to the heart. Attach using a silicone adhesive or sew securely into place.
Key Abbreviations (US Terminology)
- ch - Chain
- sc - Single Crochet
- hdc - Half-Double Crochet
- dc - Double Crochet
- sl st - Slip Stitch
- yo - Yarn Over
Special Notes
- Magic Circle: This pattern uses a magic circle to start. If you're unfamiliar with this technique, consider starting with ch-4, sl st to form a ring, then work your stitches into the ring.
- Tighten Magic Circle: Remember to pull the short strand tightly after completing the first round to ensure the center closes completely.
- Stitch Reversals: The left and right lobes of the heart are symmetrical, with the second lobe created by reversing the order of stitches.
Step-by-Step Instructions
1. Creating the Heart Shape
Step 1: Start with a Magic Circle
- Form a magic circle:
- Wrap the yarn around two fingers.
- Insert the hook under the first strand, grab the second strand, and pull through to create a loop.
- Yarn over and pull through the loop to form a slip knot.
- Chain 3 (this counts as the first dc).
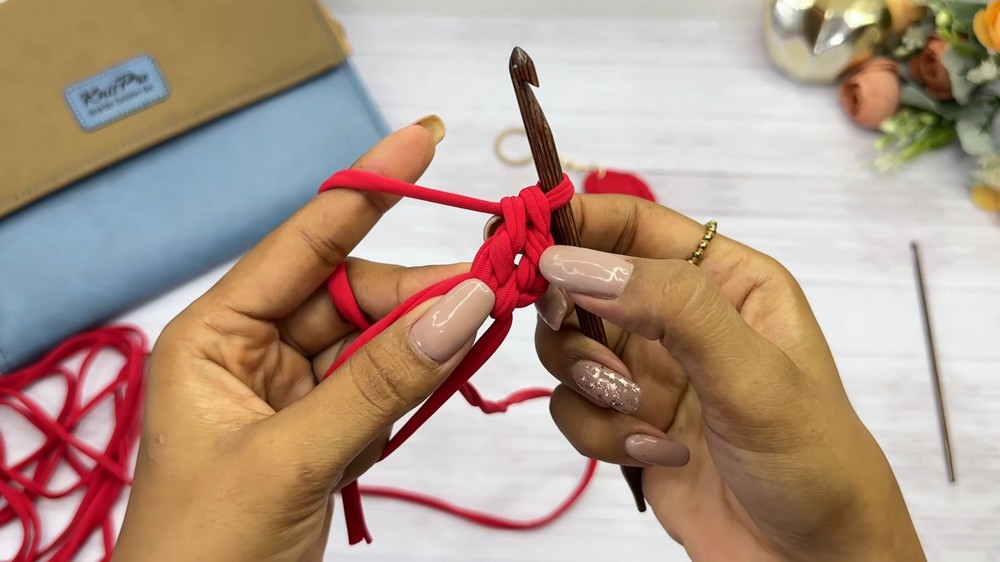
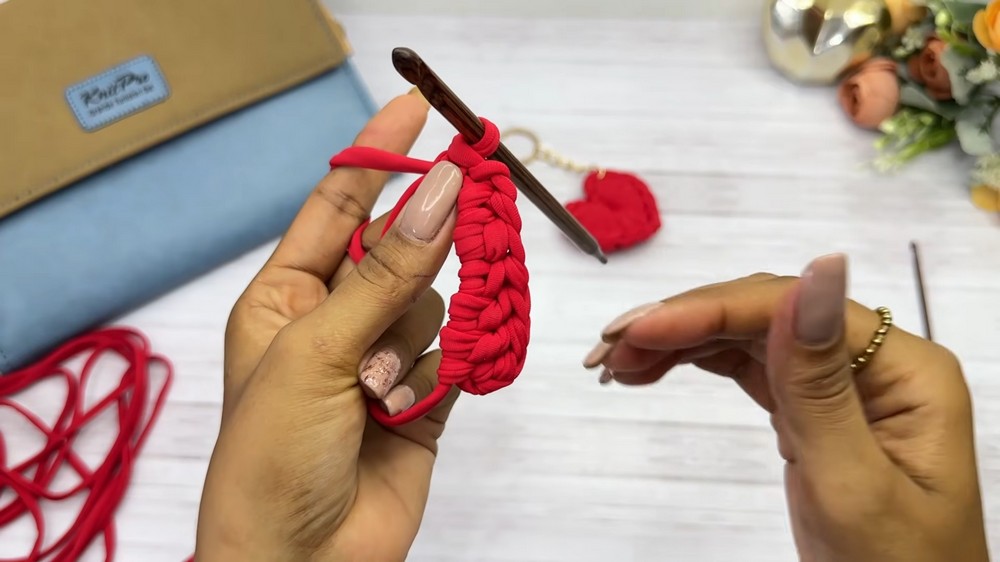
Step 2: First Half of the Heart
- Into the magic circle, work the following stitches in order:
- 3 dc (including the initial ch-3).
- 2 hdc.
- 1 sc.
- Ch 2 (creates the bottom point of the heart).
- 1 sc.
Step 3: Second Half of the Heart
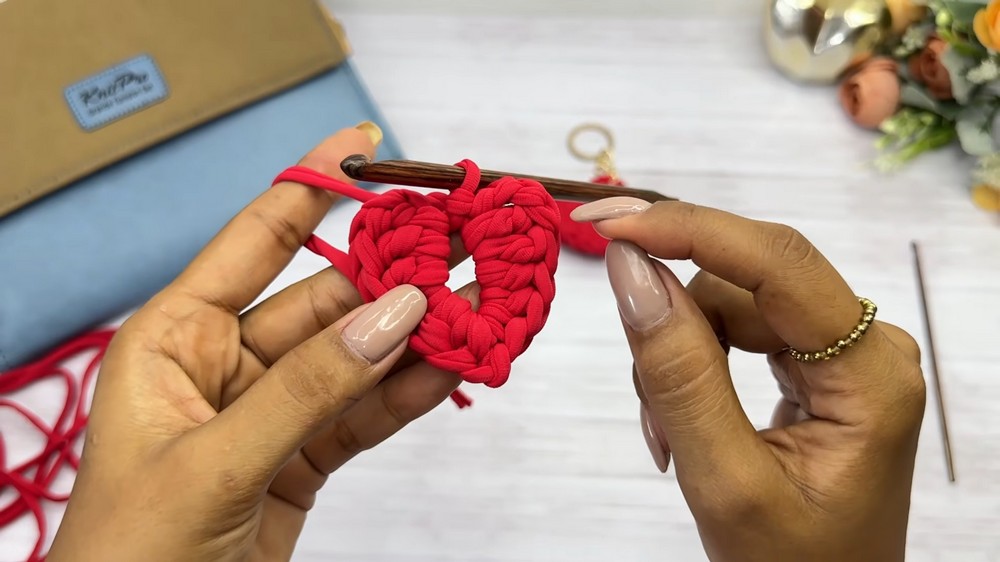
- Reverse the stitch pattern to form a symmetrical second half:
- 2 hdc.
- 2 dc.
- Ch 3 (matches the ch-3 on the opposite side).
- Finish with a sl st into the magic circle.
Step 4: Tighten and Close
- Pull the short strand tightly to close the magic circle.
- Fasten off by cutting the yarn and pulling the tail through the loop.
2. Adding the Border
Step 1: Create the Border
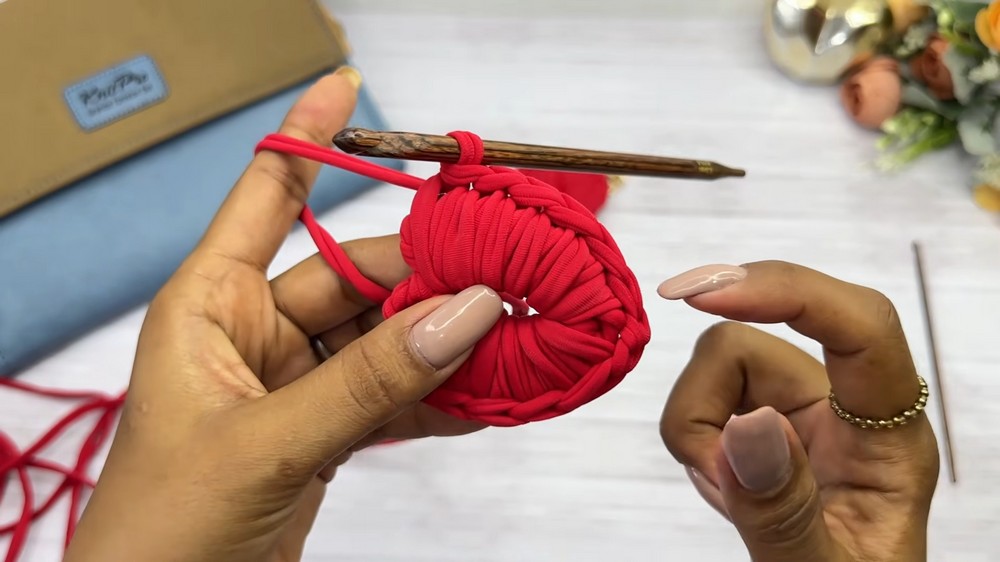
- Reattach the yarn to the heart using a slip stitch.
- Ch 3, then sl st into the 2nd chain from the hook to create a small loop.
- Insert the hook into the center of the heart and pull up a loop, keeping tension even. Work 6 sl st stitches around the edge of one side of the heart.
Step 2: Mirror Stitch Pattern
Repeat the process for the other half of the heart:
- Work 6 sl st evenly around.
- End with ch 3, cut the yarn, and secure by pulling the end through.
3. Finishing and Assembly
Step 1: Clean the Edges
- Weave in any loose ends using a yarn needle.
- Ensure the magic circle's center is tight and secure to avoid unraveling.
Step 2: Attach the Keychain Ring
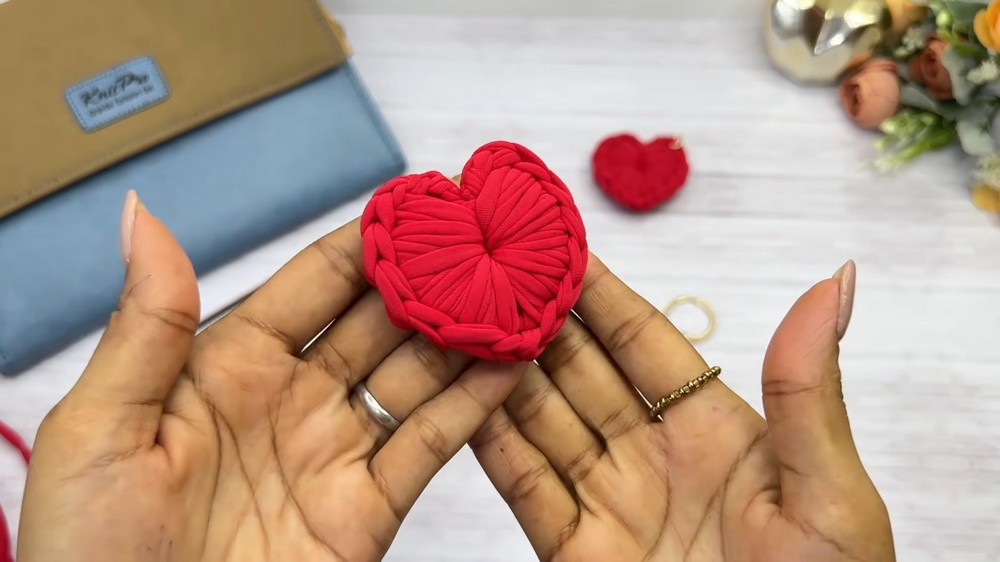
- Using two tweezers or pliers, gently open the keychain ring.
- Attach it to the top center or side edge of the heart. Close the ring securely.
Step 3 (Optional): Embellishments
- Add decorative items such as a small pearl to the center of the heart. Use silicone glue for strength or sew directly into the yarn.
Conclusion
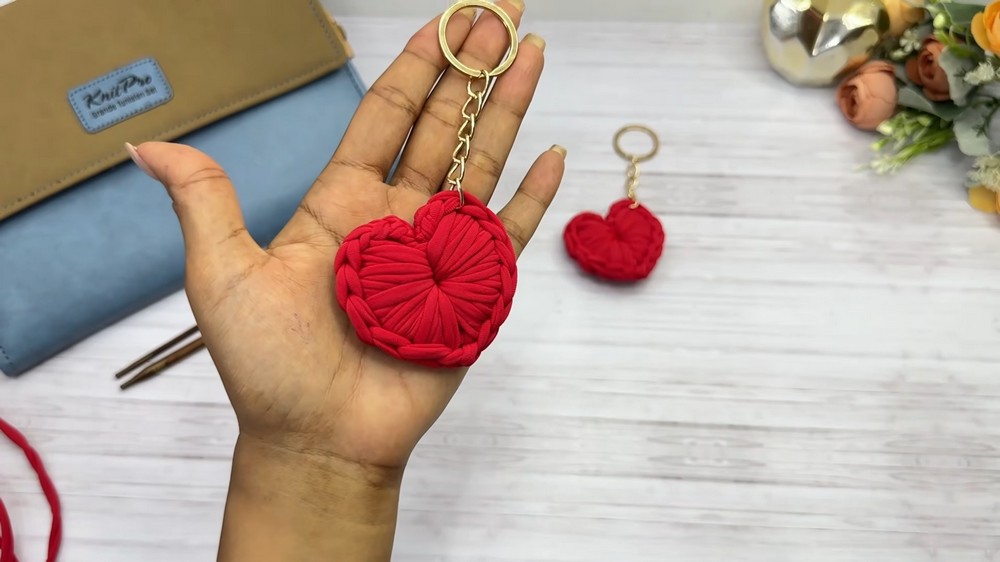
Congratulations on completing your crochet heart keychain! This simple yet trendy pattern is versatile, making it a great heartfelt gift for loved ones or a lovely personal accessory. Whether you add pearls, experiment with colors, or adjust the size, the result will surely be cherished.
Pattern Corrections
If you encounter any of the following issues:
- Gap in the center of the heart: Ensure the magic circle is tightened completely and the short strand is knotted securely.
- Uneven lobes: Double-check the stitch counts on both sides to ensure symmetry.
Tips for Success
- Consistent Tension: Keep an even tension to achieve a neat and symmetrical heart.
- Yarn Substitution: Experiment with thinner or thicker yarn for different heart sizes. Adjust the hook size accordingly.
- Durability: For long-term use, reinforce the attached keychain ring with a bit of sewing or glue.