
Free Crochet Pug Puppy Pattern for Dog Lover Gifts
Start a fun crochet adventure with this Free Crochet Pug Puppy Pattern where you can create a lovable and charming little puppy that brings joy to everyone.
Are you a fan of adorable dogs? Do you love crocheting cute and unique creations? If so, this Crochet Pug Puppy Pattern is perfect for you. In this pattern, you will learn how to create a charming little pug puppy that is not only delightful to look at but also fun and easy to make. This beginner friendly pattern requires just a few basic materials and simple stitches, making it a great project even for those who are new to crocheting.
Free Crochet Pug Puppy Pattern for Cute Shelf Decor
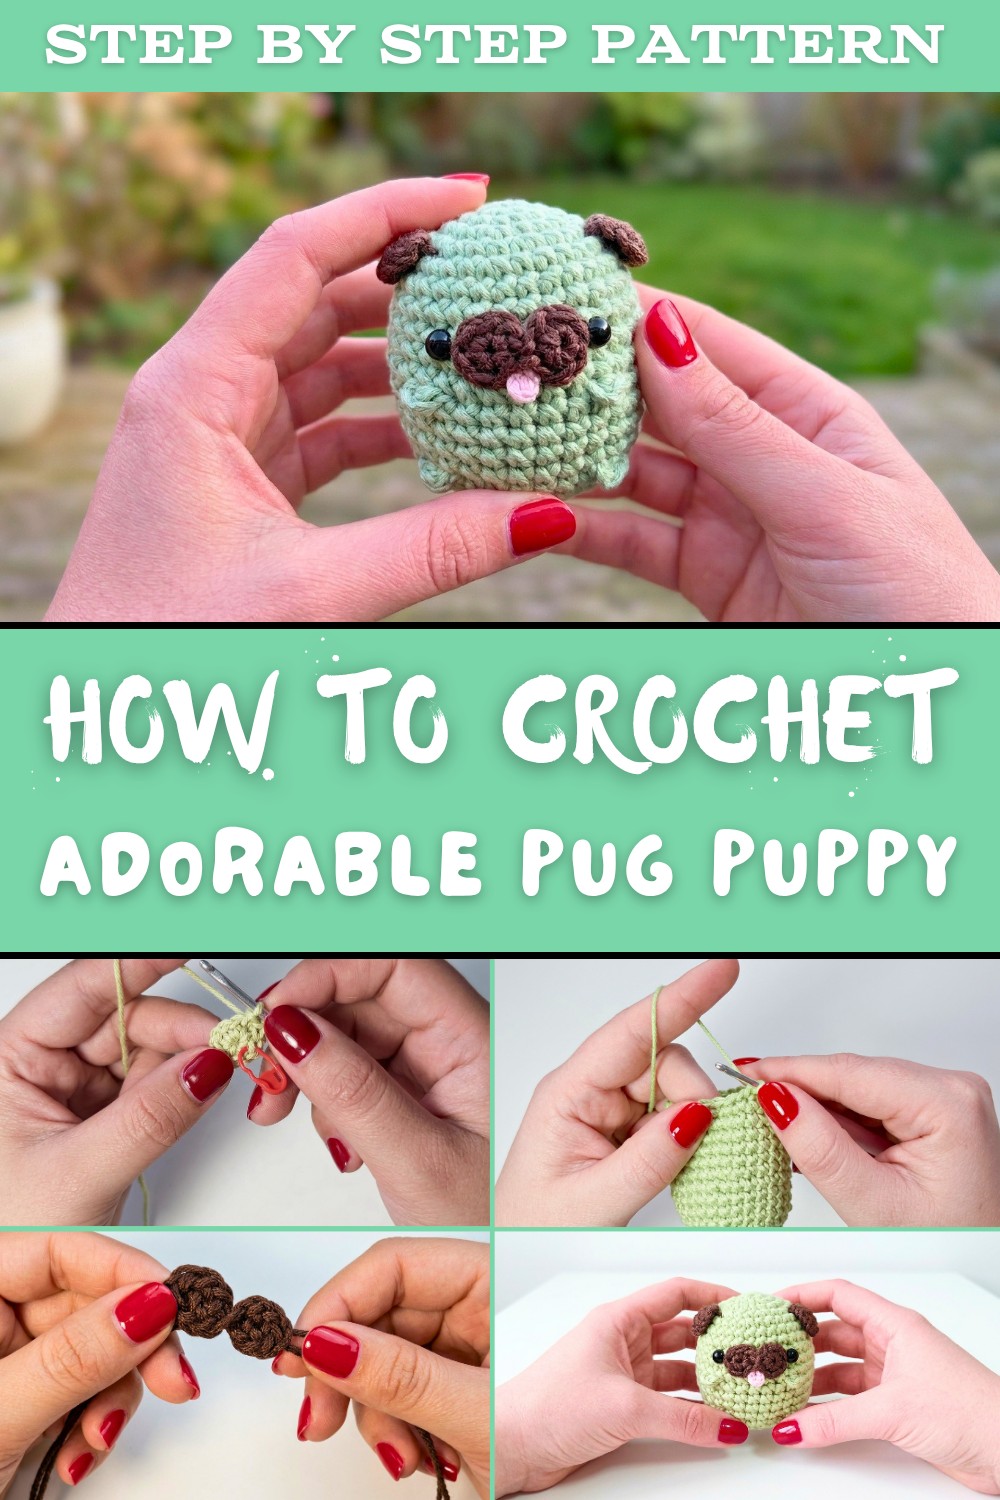
This crochet pug puppy stands out because of its beautiful details and lovable appearance. Its cute, stubby paws and floppy ears give it an endearing look, while the tiny tongue, round face, and expressive safety eyes make it truly irresistible. Whether you make this for yourself, as a gift for a loved one, or as a decorative piece to brighten up your space, this pug puppy is sure to win hearts.
You can use soft brown, pink, or khaki yarns to create the perfect blend of colors that suit your taste. Add a fun accessory like a bow, a scarf, or even a mini keychain loop to turn this cute amigurumi into a creative gift or keychain. It is also small and lightweight, making it a wonderful portable crochet that you can carry anywhere.
This easy to follow pattern focuses on simple techniques like magic rings and single crochet stitches. The step by step approach makes it enjoyable and stress free for crocheters of all skill levels. Bring this cute pug puppy to life and let it add a touch of joy and charm to your crochet collection. Whether you keep it or share it, this little masterpiece will surely put a smile on anyone's face.
Crochet Pug Puppy Pattern
Finished Size:
The completed amigurumi pug dog measures approximately 12 cm (4.7 inches) tall, making it the perfect size for keychains, decorative pieces, or thoughtful handmade gifts.
Materials Required:
To complete this adorable project, you will need:
- Yarn Colors:
- Brown/Coffee for the body
- Pink for the tongue
- Khaki for the ears and paws
- Tools and Accessories:
- Crochet hook: Size 2.5 mm
- Yarn needle (tapestry or embroidery needle)
- Safety eyes (small size: approximately 6mm)
- Scissors
- Stitch marker or scrap yarn
- Polyester fiberfill stuffing
- Small keychain pendant or ring (optional, if creating a keychain)
Gauge:
Exact gauge is not critical for this pattern. However, ensure your stitches are tight enough to avoid gaps, especially when stuffing the amigurumi.
Pattern Instructions:
The pug is created in separate parts (body, face, ears, tongue, paws) and assembled at the end. This approach allows for customization in various sections.
Special Techniques Used:
- Magic Ring: Starting a circle in amigurumi.
- Invisible Decrease: Using only front loops of stitches to decrease invisibly.
Pattern: Step by Step Instructions
CROCHETING THE BODY
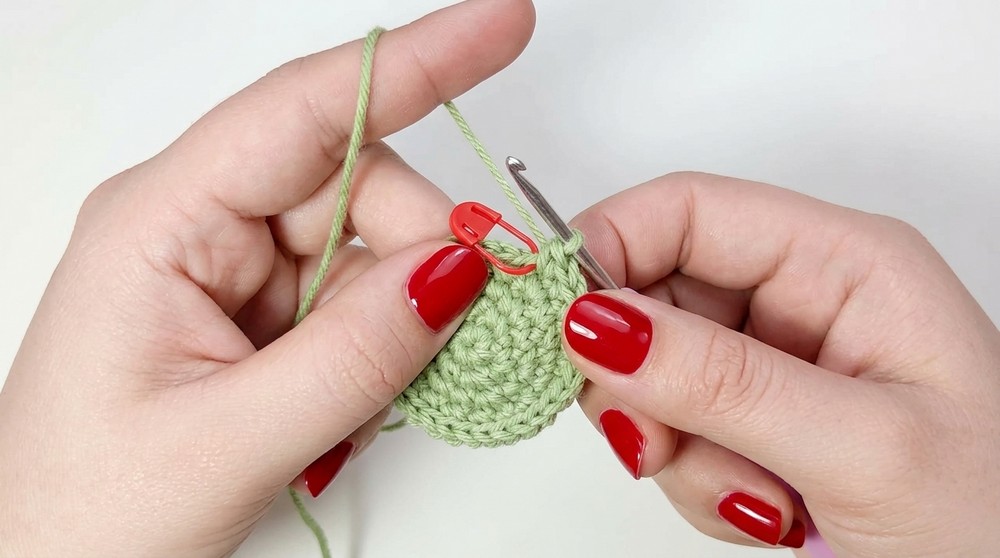
- Start with a Magic Ring:
Begin with brown yarn. Work 6 sc (single crochet) into the magic ring. Pull the tail tight to close. - Round 1 (Increases):
Work 2 sc into each stitch from the previous round. You should now have 12 sc. - Round 2:
Alternate 1 sc, then 1 inc (increase). Repeat this pattern around to end with 18 sc. - Round 3:
Work 1 inc (increase), followed by 2 sc. Repeat the sequence around to reach 24 sc. - Round 4:
Alternate 3 sc with 1 inc (increase). This round ends with 30 sc. - Rounds 5 to 14 (Stitch even):
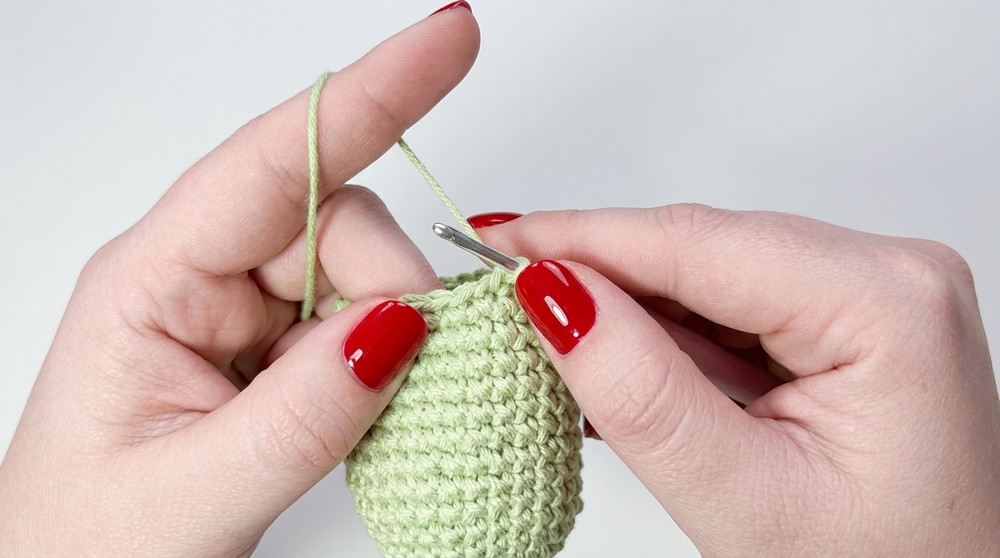
Work 1 sc in each stitch around for a total of 30 sc. Mark the first stitch of each round to keep track. - Begin Decreases:
Start shaping the bottom of the body:- Round 15: Work 3 sc, then 1 decrease. Repeat the pattern around to end with 24 sc.
- Round 16: Work 2 sc, then 1 decrease. Repeat around to get 18 sc at the end.
- Round 17: Alternate 1 sc, then 1 decrease. Repeat to reach 12 sc.
- Round 18: Perform decreases only for all the stitches. You will have 6 sc remaining.
- Stuff the Body:
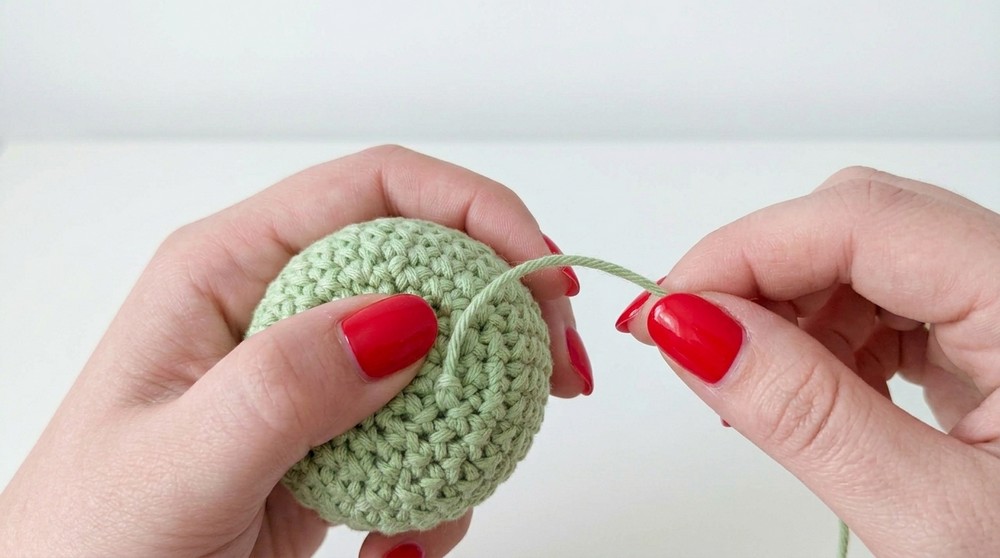
Fill the body with polyester fiberfill until firm but not stretched. - Close the Bottom:
Use a yarn needle to weave through the 6 remaining stitches. Pull tight to close and fasten off. Hide the tail inside the body.

MAKING THE HEAD
- Follow the same process as the body for the magic ring through Round 4 (30 sc).
- For Rounds 5-7, work evenly across all stitches.
- Begin stuffing in Round 8 while you decrease until only 6 sc remain at the base using the same decrease rounds as the body.
- Firmly stuff, close and fasten off.
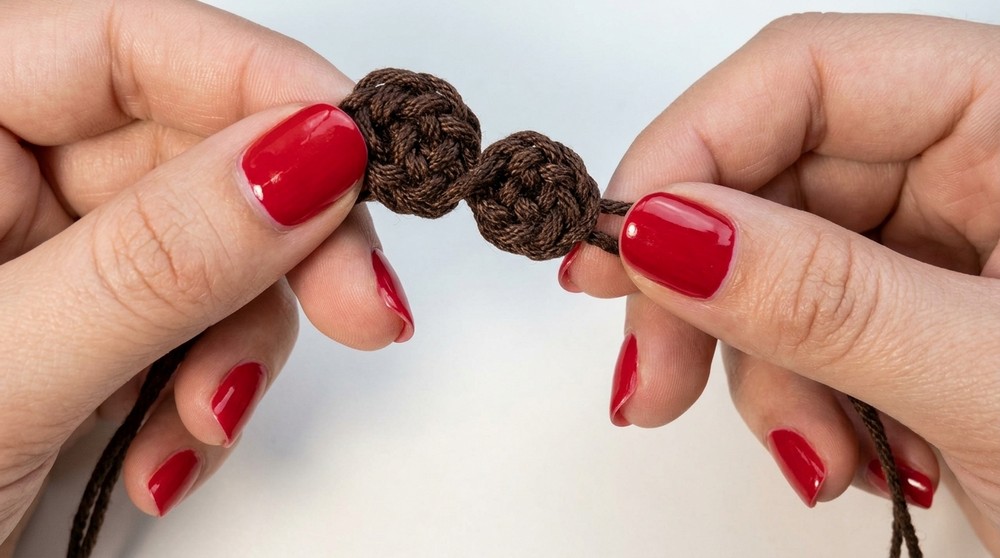
MAKING THE EARS
- Use khaki yarn.
- Chain 3.
- Work 3 half double crochet (hdc) stitches in the first chain.
- Fasten off, leaving a long tail for sewing. Create two ears in total.
MAKING THE PAWS
- Use khaki yarn.
- Chain 2.
- In the second chain from the hook, work 1 hdc.
- Fasten off, leaving a tail for sewing. Repeat for all 4 paws.
MAKING THE TONGUE
- Use pink yarn.
- Chain 2.
- In the second chain from the hook, work 1 sc.
- Fasten off and leave a tail for sewing.
ASSEMBLY
Follow these steps to attach all the parts of the pug together:
- Attach the Head to the Body:
Position the head onto the body and sew securely using a yarn needle. Ensure the head is centered. - Attach the Muzzle to the Head:
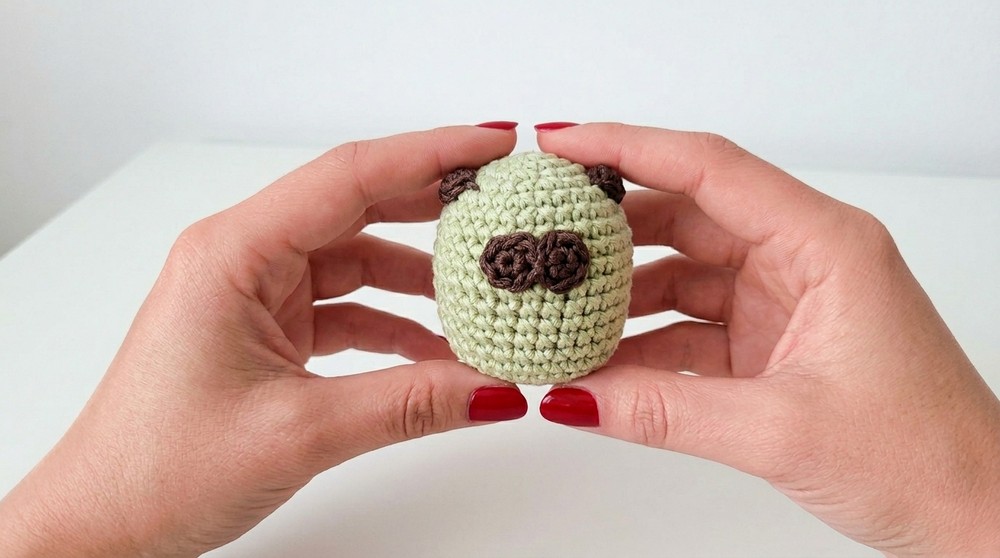
Create a small, oval shaped muzzle using brown yarn. Sew this piece onto the lower half of the face. - Place the Ears:
Use a yarn needle to sew the ears on both sides of the head, ensuring even placement. Secure the stitches tightly to avoid the ear pieces from dangling. - Secure the Paws:
Position the paws, with two on the bottom of the body and two at the sides. Sew them into place, making sure they are evenly spaced and firmly attached. - Add the Tongue:
Attach the pink tongue to the bottom of the muzzle so that it peeks out slightly for a cute effect. - Insert Safety Eyes:
Place the small safety eyes on the head, just above the muzzle. Make sure they are aligned and secure before locking them in place. - Add the Keychain Accessory (Optional):
Use the loop at the top of the body to attach the keychain pendant or ring if you are making a keychain. Secure it tightly using the yarn needle.

Tips for Success
- Keep your tension tight while working on amigurumi to avoid gaps in the fabric.
- Use a stitch marker to mark the start of each round for uniformity.
- Regularly stuff the body as you go to avoid missing tight spaces.
- Take your time during assembly; proper positioning is key to making your pug look balanced and cute.
- For added flair, consider using small accessories like a ribbon bow tie or a tiny scarf around the neck.
Customization Ideas
- Experiment with different color combinations: Instead of brown and khaki, try your favorite colors to create a personalized look.
- Add details like embroidered patterns, bows, or even tiny felt embellishments to give your pug extra personality.
- Adjust the size by using a bigger crochet hook or thicker yarn for a larger pug.
Conclusion and Final Remarks
Congratulations on completing your adorable amigurumi pug dog. This project is not only a great way to improve your crochet skills but also a wonderful gift idea or a charming addition to your home decor. Once completed, your pug will stand as a testament to your creativity and patience. Whether you decide to make it as a keychain, a toy, or display it proudly, this little pup is sure to bring a smile to anyone's face.
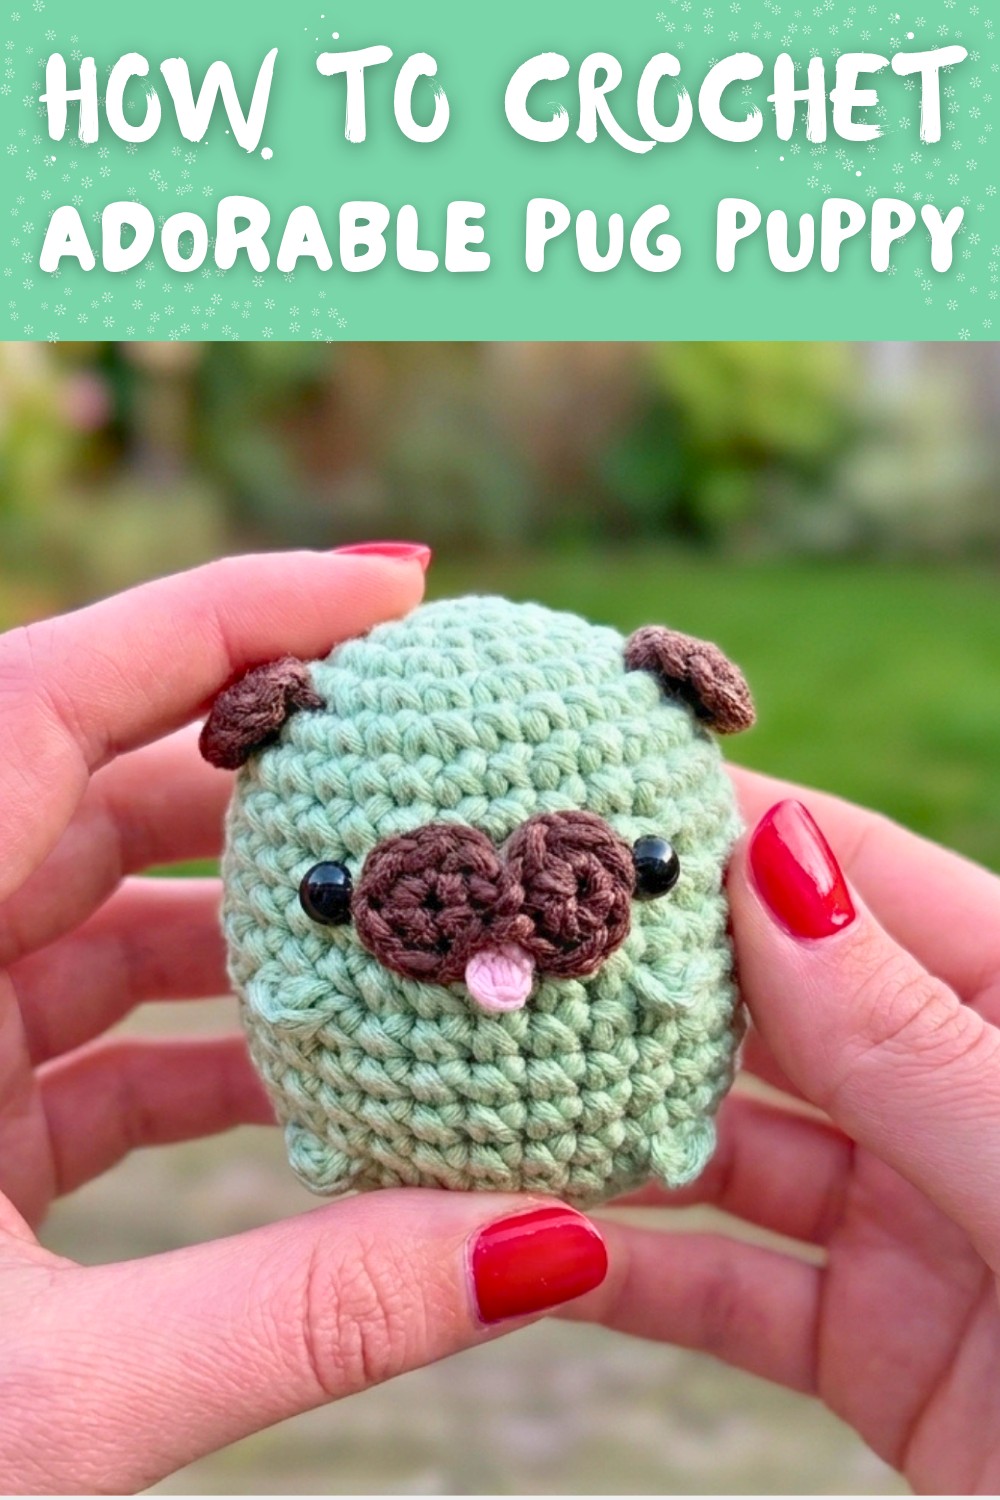
Making this little pug offers endless possibilities for customization, from changing the colors to adding unique details. With its cute and cuddly design, this amigurumi pug will quickly become a favorite project of yours.