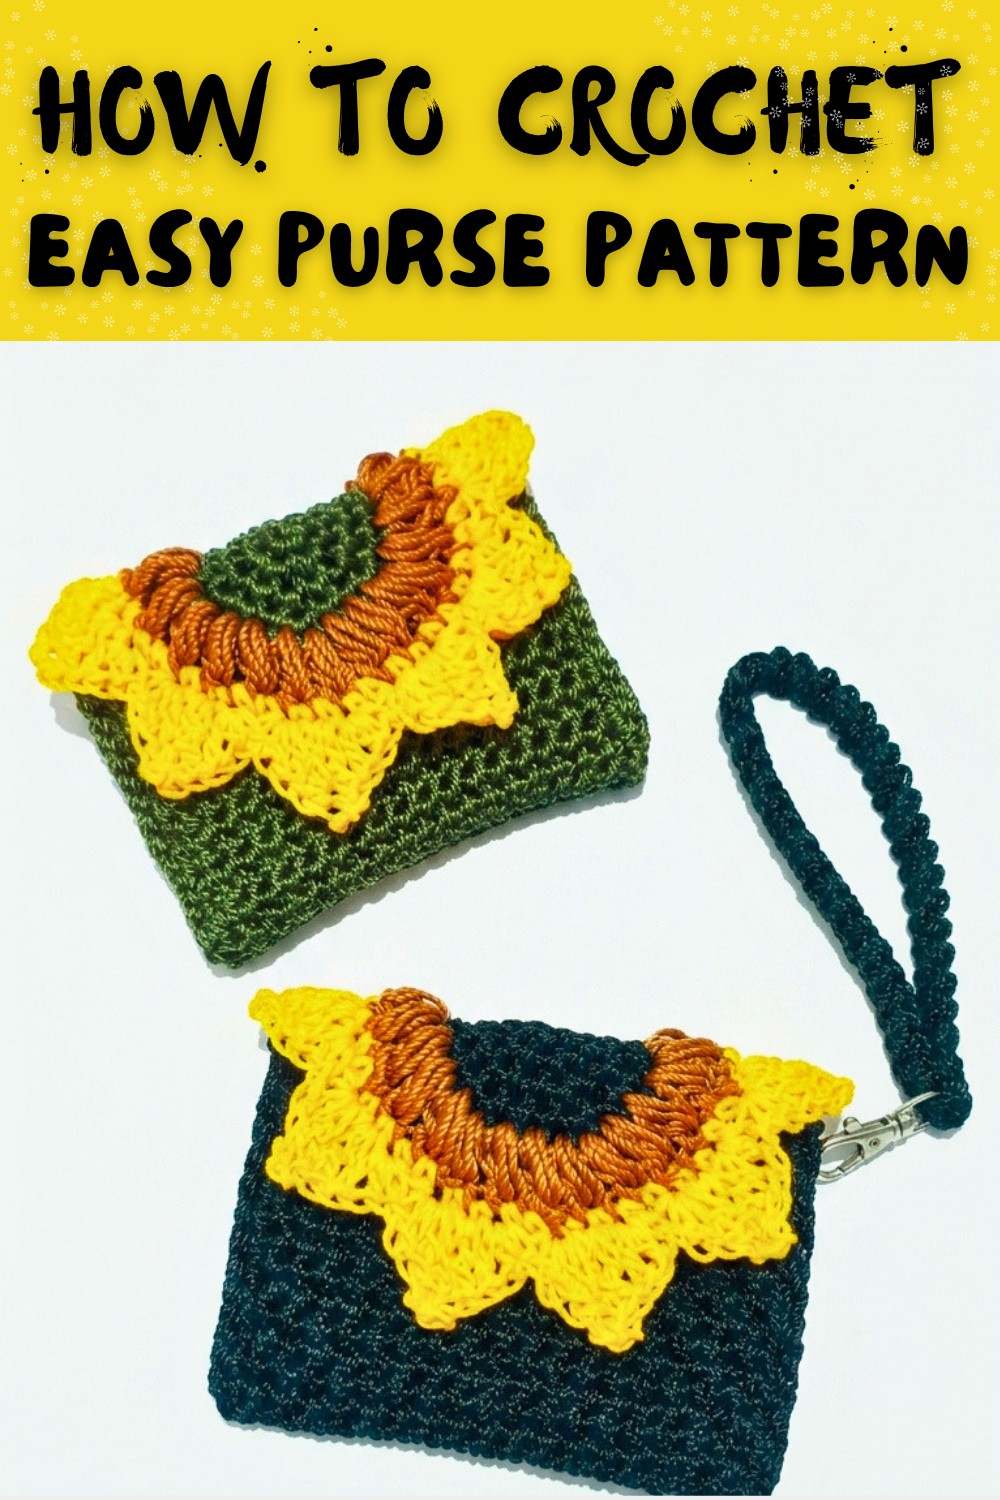
Free Crochet Purse Pattern to Wow Your Friends
Refresh your daily look with this free easy crochet purse pattern that offers a simple and attractive way to stay organized.
Crochet is a fun and easy project that lets you create beautiful items with yarn and a hook. One amazing project you'll love is the Crochet Purse Pattern. This pattern helps you make a cute and stylish purse that you can use every day. Made with simple techniques, it is easy to follow and doesn't take much time to complete. This crochet purse looks amazing because of its beautiful sunflower theme. The flower design added to the purse makes it extra special and unique. Its bright, cheerful appearance is perfect for someone who loves adding handmade touches to their outfits.
Free Crochet Purse Pattern for Instant Creativity
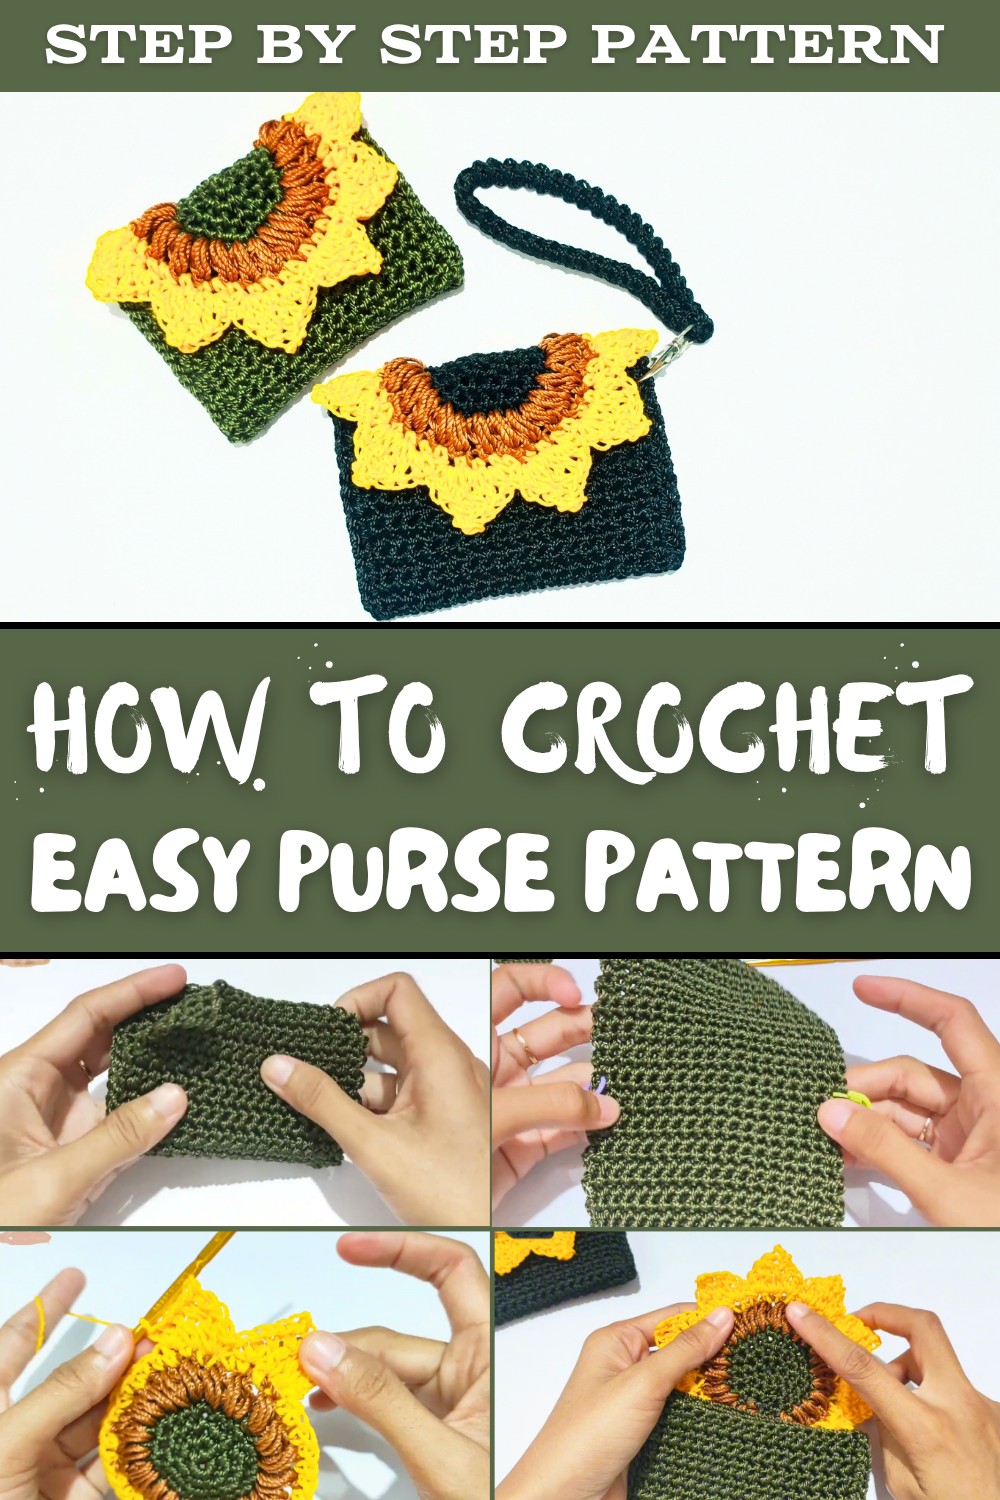
The purse is small yet functional, measuring about 11 cm by 7 cm. It has two sections inside, making it great for holding cards, small items, or even cash. The main features of this purse are its simple design and neat finishing. You'll use basic crochet stitches like single crochet, so it's really beginner friendly. The sunflower flap adds beauty and a secure closure, and you can attach a magnetic button to make opening and closing it easy.
This purse is not just beautiful, it's also very useful. It's perfect for school, a trip to the park, or even for gifting to your loved ones. You can even customize it with your favorite colors to match your personal style. Making this crochet purse will not only improve your crochet skills but also give you a sense of achievement. Try it today and enjoy making something creative, fun, and practical with your own hands.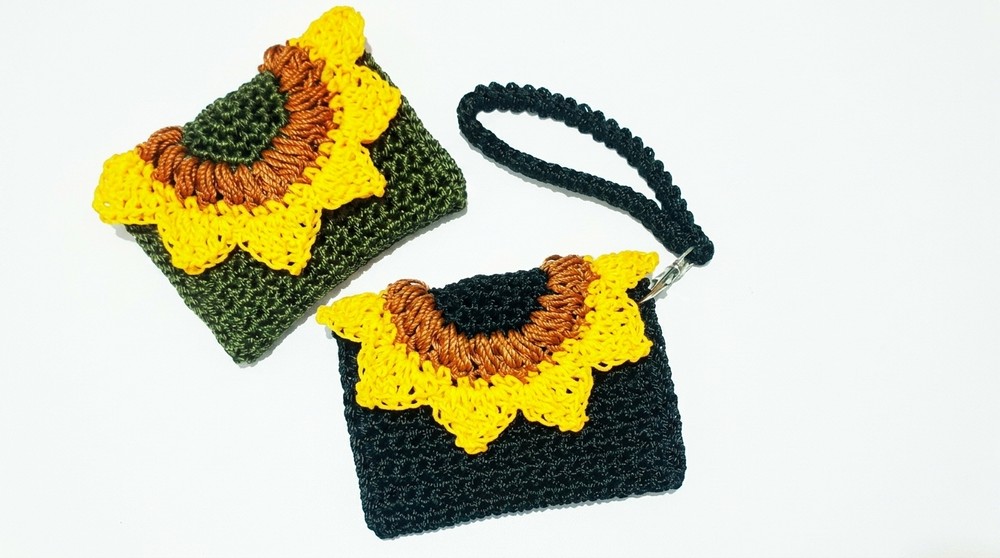
Crochet Purse Pattern
1. Materials Required
- Yarn: Nilon PP yarn size D27 or compatible yarns such as polyindo or polyester of similar gauge.
- Hook: Size 4 crochet hook, Tulip or equivalent.
- Notions:
- Stitch markers.
- Yarn needle for weaving in ends.
- Scissors.
- Sew on magnetic snap button.
- Optional:
- Hot glue gun for attaching certain elements if not using a needle.
2. Gauge
- Gauge is not crucial for this project due to its flexible nature. However, ensure consistent tension throughout.
3. Finished Size
- The finished wallet size is approximately 11 cm x 7 cm (4.3 in x 2.7 in).
4. Special Techniques
- Magic Ring (MR): A technique to start crocheting in the round, minimizing the initial hole.
- Puff Stitch: Used to add texture to your project.
Puff Stitch Details
- Yarn over, insert hook into designated stitch, yarn over and pull up a loop (3 loops on hook).
- Repeat the process two more times (resulting in 7 loops on hook).
- Yarn over, pull through all 7 loops on the hook.
- Ch 1 to secure the stitch.
5. Pattern Instructions
5.1 Main Wallet Body
- Foundation:
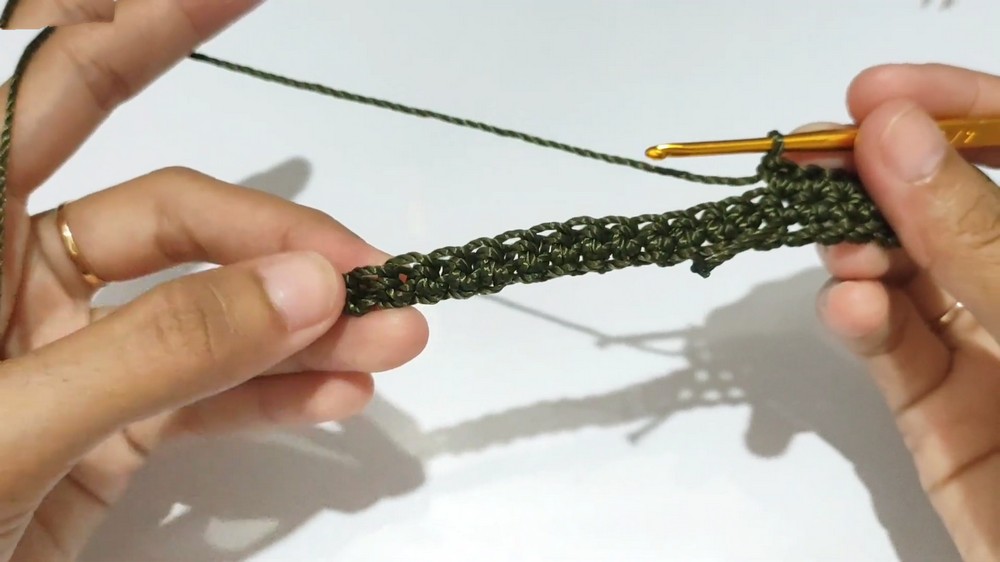
Start with a slip knot and chain 19. - Row 1:
Skip the first chain and work 1 single crochet (sc) in the 18th chain from the hook.
Continue working 1 sc in each chain across. (Total = 18 sc).
Turn your work, ch 1. - Rows 2-16:
Work 1 sc in each stitch across (18 sc per row).
Turn, ch 1 at the end of each row.
Repeat until you have completed 16 rows. - Marking for the Inner Divider:
After the 16th row, place a stitch marker indicating this fold line, where you will later align the inner divider. - Rows 17-31:
Continue with 1 sc in each stitch across.
Complete 15 additional rows in total.
Break the yarn and weave in ends after the 31st row.
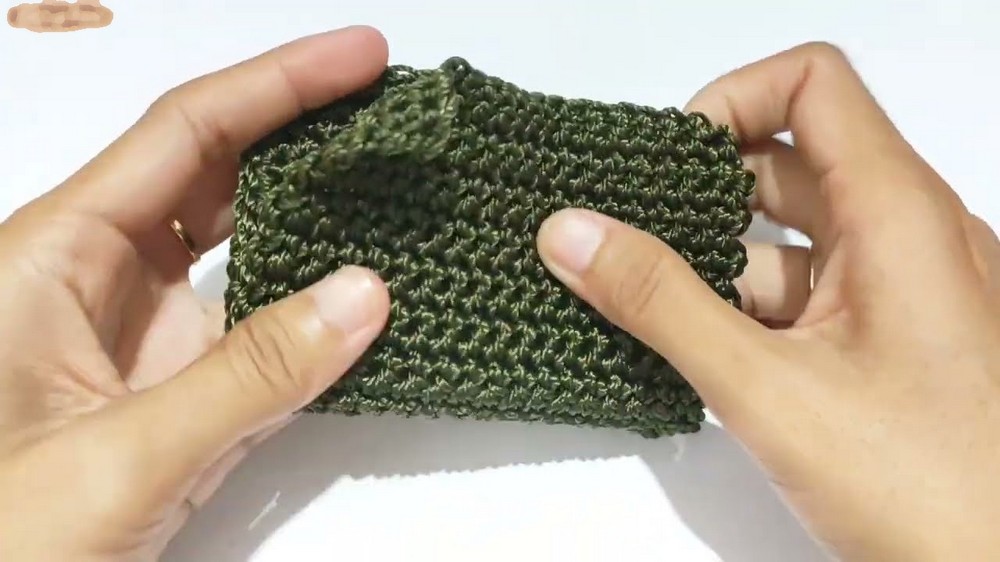
5.2 Inner Divider Section
- Starting the Divider:
Reattach yarn at the marked fold line for the inner divider.
Chain to continue with the fabric pattern. - Row 1:
Work 17 sc evenly across, using the designated areas to line up stitches for card slots. - Rows 2-13:
Repeat 1 sc in each stitch (17 sc per row), turning after each row and chaining 1.
Fasten off after completing a total of 13 rows.
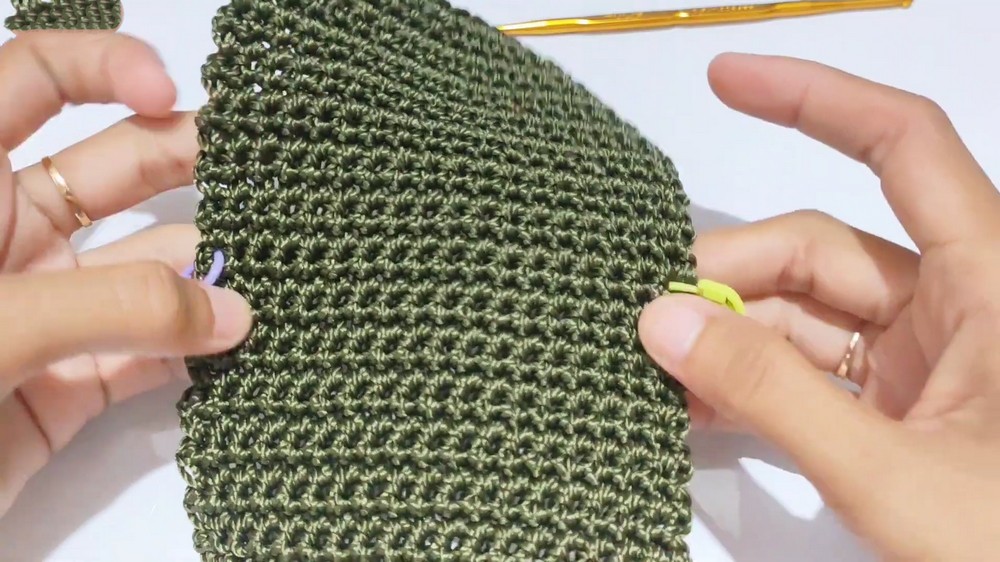
5.3 Edging and Joining
- Edging the Divider:
Reattach yarn and work sc evenly around all edges of the divider.
Place 2 sc at each corner for a neat finish. - Joining Divider to Wallet Body:
Align the divider with the inside of the wallet so that it creates two slots.
With yarn, work sc through both the divider and the front of the body to join along each side.
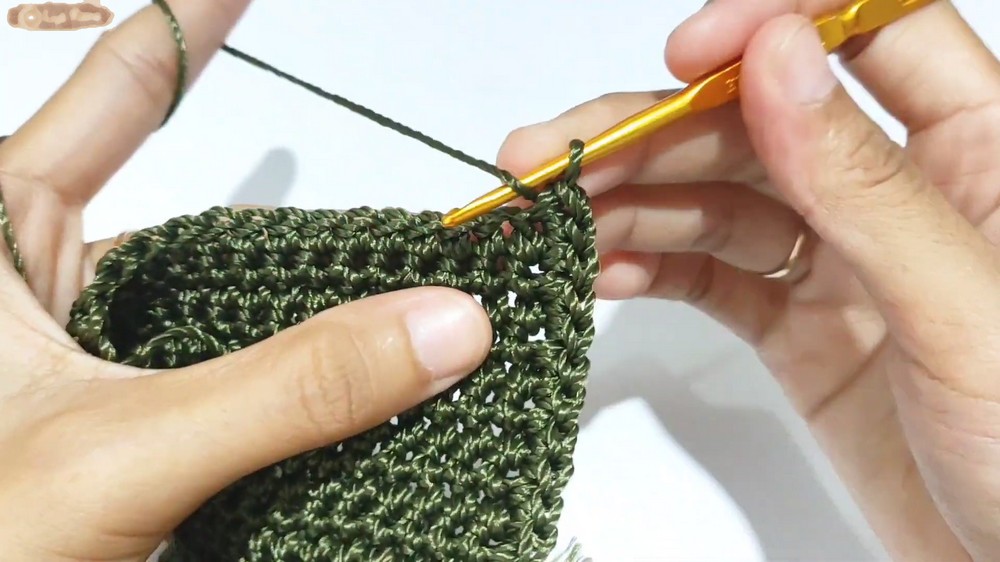
5.4 Sunflower Flap
Creating the Center of the Flower
- Round 1:
- Form a magic ring and work 6 sc into it.
- Pull the tail to tighten and slip stitch to close the round.
- Round 2 (Increase Round):
- Chain 1.
- Work 2 sc into each stitch from the previous round (12 sc total).
- Slip stitch to join.
- Round 3 (Further Expansion):
- Chain 1.
- Work the sequence: 1 sc in one stitch, 2 sc in the next stitch.
- Continue around (18 sc total).
- Join with a slip stitch.
- Round 4:
- Chain 1; follow: 2 sc, then 2 sc in the next (24 sc total).
- Change to petal color yarn as you complete this row.
Puff Round and Petal Base
- Work a puff stitch round: 1 puff in each base round stitch, chaining 1 between puffs.
- Slip stitch to join into the top of the first puff stitch, changing to a contrasting yarn color.
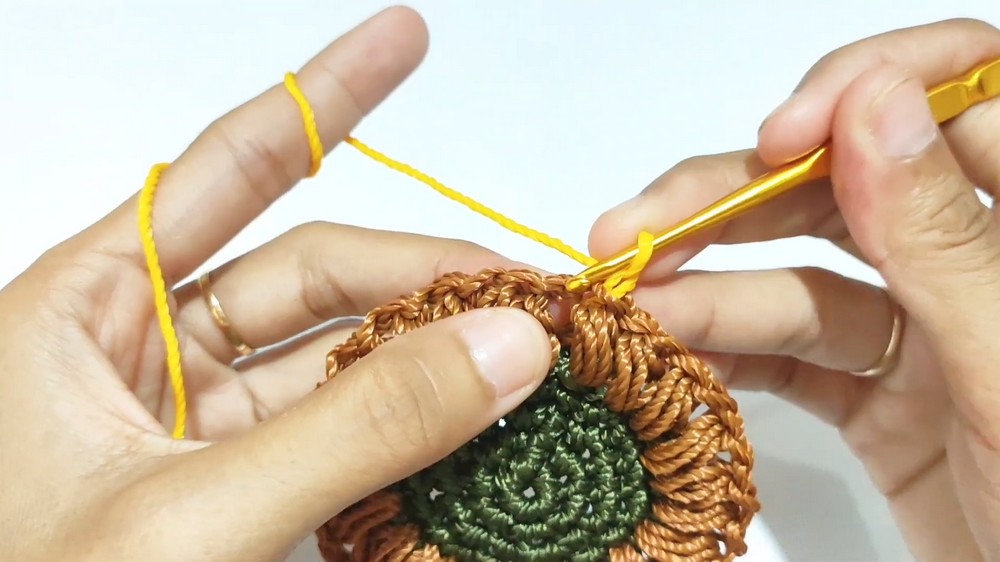
Petal Formation
- Foundation of Petals:
Chain 2 to start.
Use the next 40 sc as a base, distributing the petals evenly by skipping stitches where indicated. Each petal comprises a combination of sc, hdc, dc, tr, and slip stitch techniques to form their natural shape. - Petal Structure:
Utilize double and treble crochets to form the height and curves needed, finishing each petal grouping appropriately before moving to the next. - Completing the Petal Round:
After finalizing all 10 petals, fasten off and weave in ends securely.

6. Customization and Finishing Tips
- Customization:
- Adjust yarn colors to match preferences or themes.
- Experiment with different yarn textures for varying tactile qualities.
- Finishing Touches:
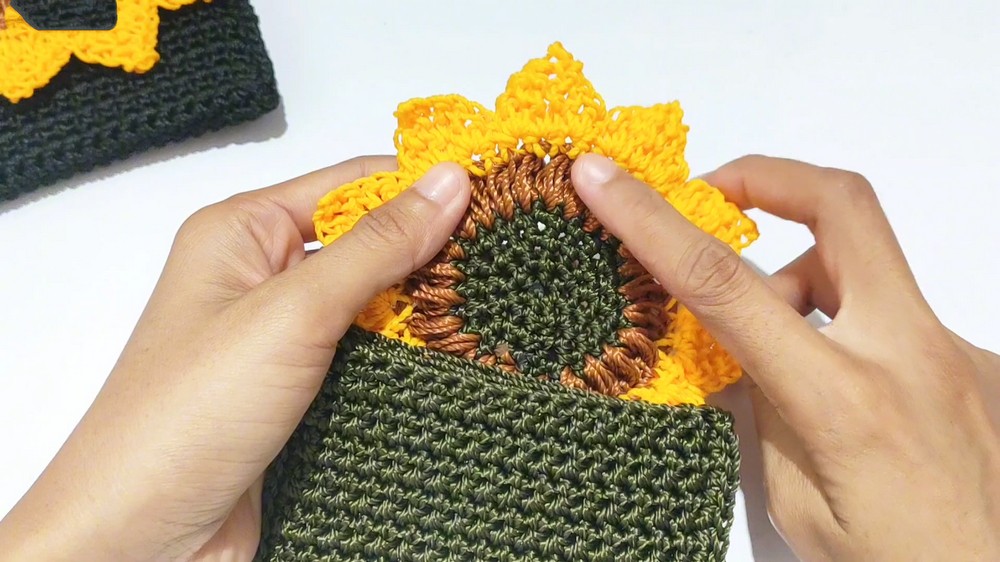
- Carefully position the sunflower flap over the wallet. Secure with fabric glue for a durable hold or painstakingly sew edges for a more refined effect.
- Affix the magnetic snap button for functionality, placing it at points matching the petal flap and the wallet body to ensure closure integrity.
- Tension Maintenance:
- Maintain even tension throughout to preserve the wallet's shape and elasticity over time.


7. Conclusion and Important Remarks
This elegant Sunflower Card Holder pattern offers the balance of practicality and appeal, with a sturdy card holder design accentuated by a vibrant floral closure. Attention paid during the stitching process will yield a refined, versatile accessory that's not only perfect for personal use but also makes a cherished gift. Maintain yarn integrity by gentle hand washing, laying the piece flat to dry post exposure to water, for enduring appeal.
Such a project harnesses simple crochet skills to forge complex appearances, illustrating how various stitch techniques can intertwine seamlessly. By following these steps closely, you will crochet a beautiful and functional piece, ideal for everyday use or gifting to friends and family.