Free Crochet Rainbow Amigurumi Pattern to Decorate Rooms
Bring joy to life with this Free Crochet Rainbow Amigurumi Pattern while creating colorful, cuddly rainbows that brighten nurseries, gifts, and cozy corners instantly.
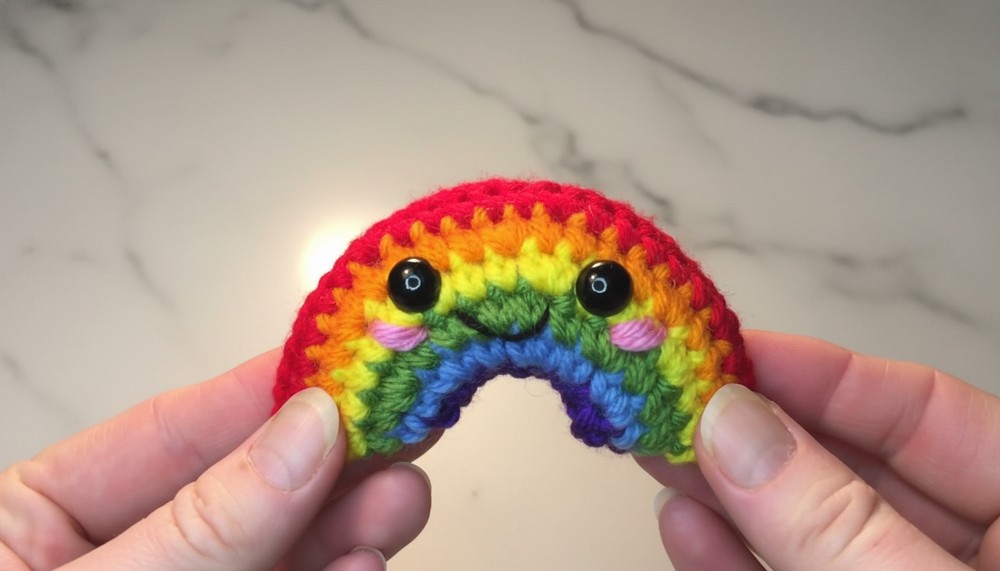
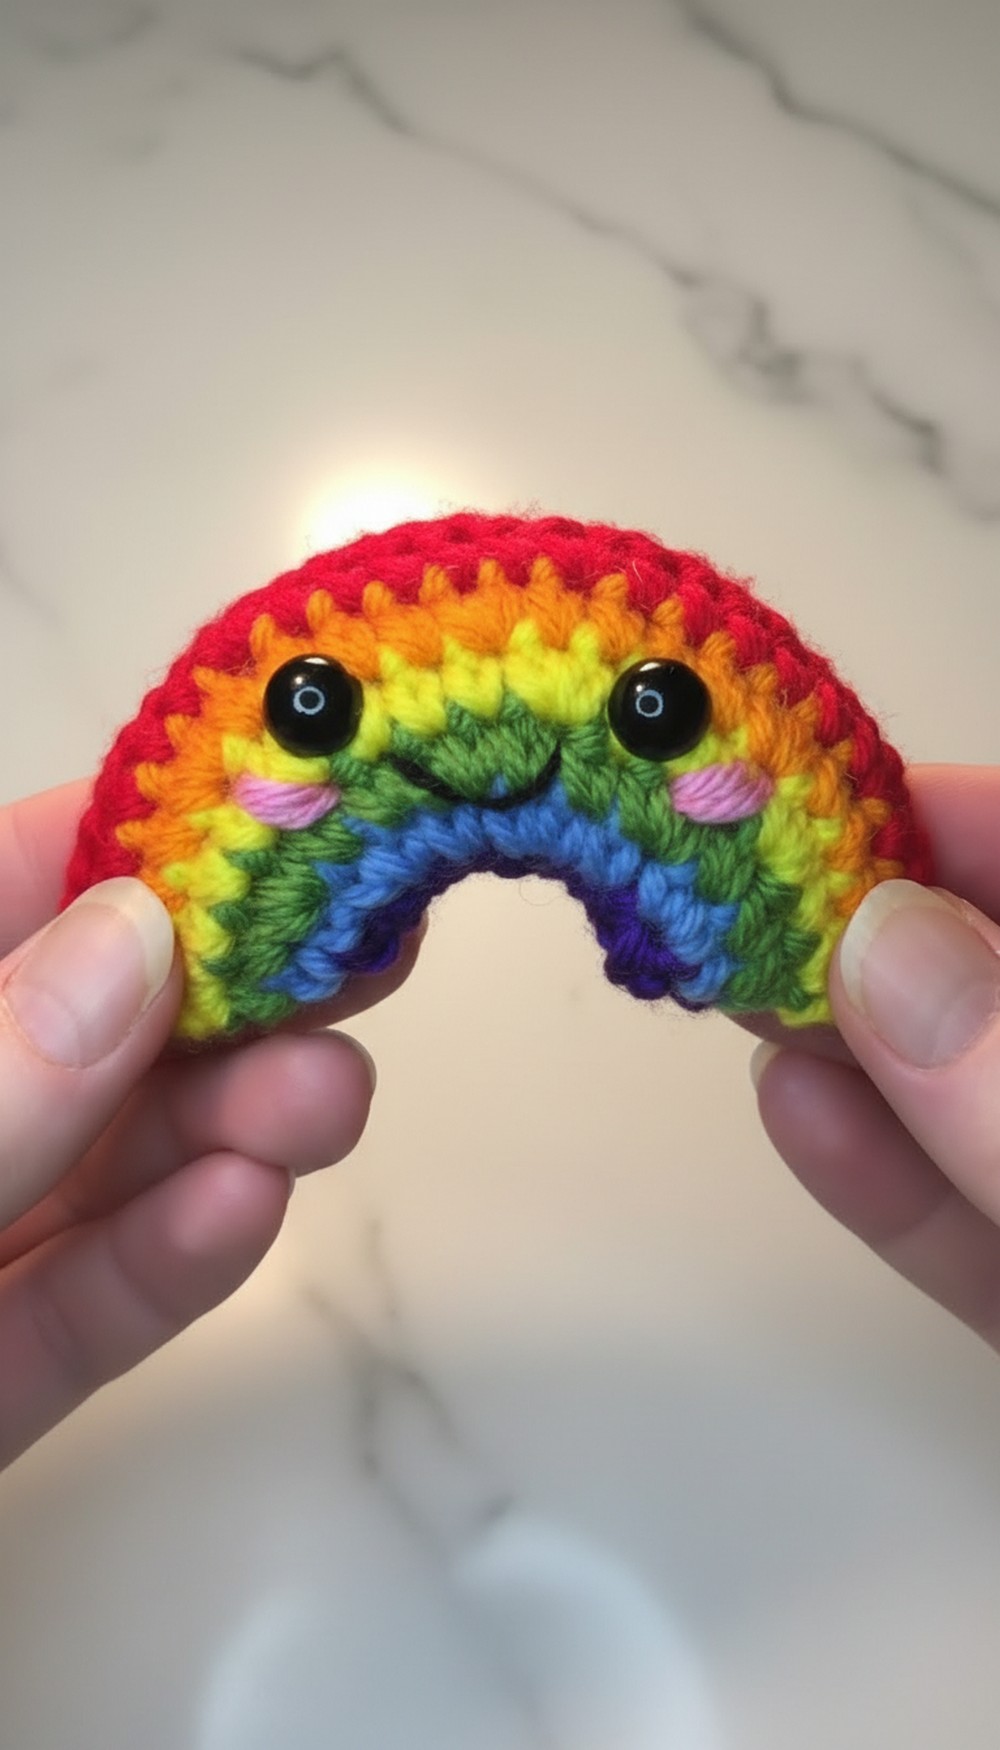
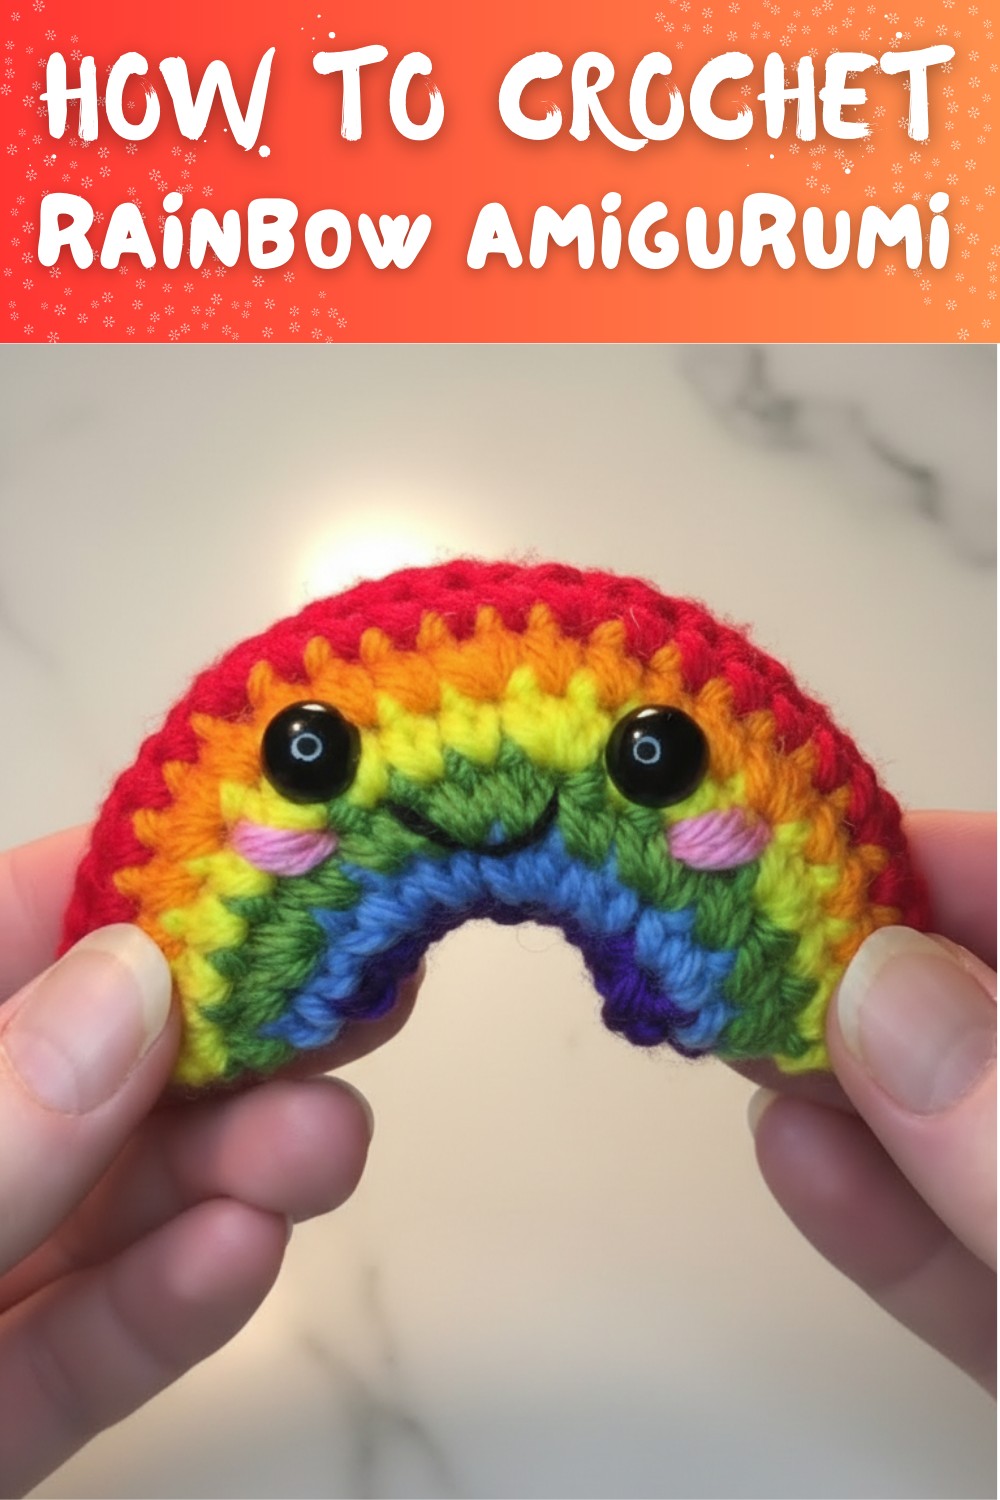
A small, colorful toy can brighten up any room and bring a smile to anyone who sees it. The Free Crochet Rainbow Amigurumi Pattern helps you make a tiny rainbow figure that is cheerful, soft, and full of charm. This amigurumi usually has bright, stacked colors that flow smoothly from one shade to another, creating a lively and eye-catching look.
Free Crochet Rainbow Amigurumi Pattern to Stitch Plush Toys

Its soft yarn texture makes it pleasant to touch, and the neat crochet stitches give it a handmade, polished appearance. It can be used as a decoration on a shelf, a keychain, a bag charm, or a gift that brings joy to someone special. The pattern is easy to follow, with simple steps that even a beginner can manage, making the project fun and stress-free. By choosing different yarn shades, the rainbow can look unique and lively. In the end, this crochet rainbow amigurumi is a tiny piece of handmade happiness that spreads color and delight.
Crochet Rainbow Amigurumi Pattern
Finished Size
- Using medium weight (#4) yarn and a 4.25 mm hook, the rainbow measures approximately 4-6 inches wide by 3-4 inches tall.
- Using plush yarn (Size #6) and a 5.5 mm hook, the size will be 1.5 times larger (approximately 6-8 inches wide).
Materials Needed
- Yarn:
- Medium-weight (#4) yarn in the following colors (or colors of your choice):
- Purple
- Blue
- Green
- Yellow
- Orange
- Red
- Optional: Use blanket yarn (#6) for a larger, plush version.
- Medium-weight (#4) yarn in the following colors (or colors of your choice):
- Crochet Hook:
- 4.25 mm hook for medium-weight yarn.
- 5.5 mm hook for plush yarn.
- Safety Eyes:
- 10 mm safety eyes for medium-weight yarn.
- 14 mm safety eyes for plush yarn.
- Stuffing:
- Fiberfill or any soft material for stuffing the rainbow.
- Tapestry Needle:
- For stitching and hiding yarn tails.
- Scissors:
- For neatly cutting yarn.
- Embroidery Thread or Yarn:
- Black for a mouth.
- Pink for adding blush under the eyes.
Gauge
For medium-weight yarn:
8 sc x 10 rows = 2 inches.
Abbreviations (US Terminology)
- ch = chain
- sc = single crochet
- sl st = slip stitch
- st = stitch
- inc = increase (2 sc in the same stitch)
- dec = decrease (combine two stitches into one stitch)
Special Techniques
Magic Circle (MC)
A Magic Circle is an adjustable loop that allows for a tightly closed starting round.
- Wrap yarn around your fingers to form a loop.
- Insert the hook through the loop, yarn over, and pull up a loop.
- Chain one to secure the loop.
Whip Stitch
This stitch is used to sew two edges together.
- Insert the needle through both edges of the fabric (or stitches).
- Pull the yarn through but not too tight to avoid puckering.
- Repeat this process all the way around the edge to sew it cleanly.
Pattern Instructions
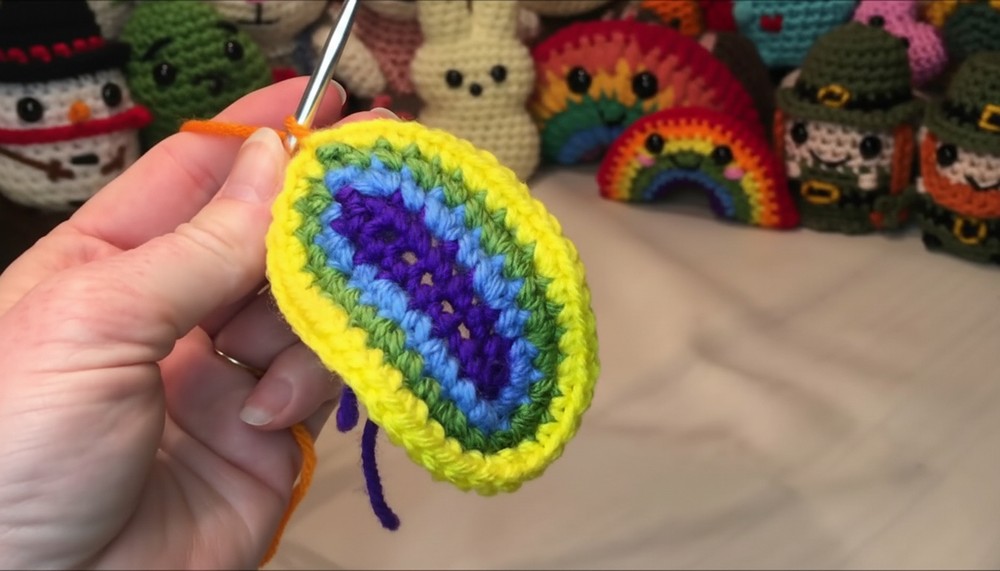
Step 1: Rainbow Base
You will create the rainbow as one continuous spiral piece, changing colors for each layer.
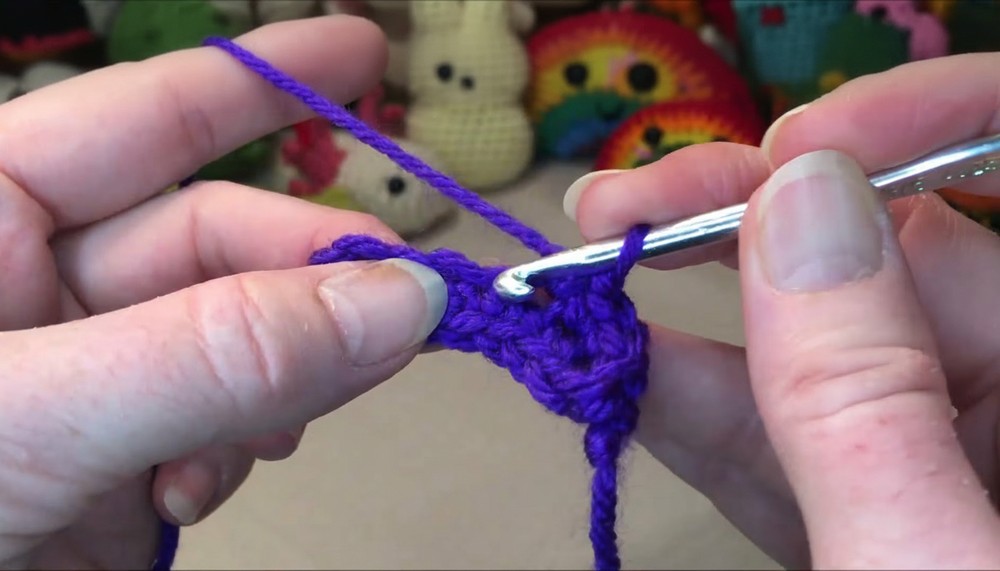
- Foundation Chain:
- Start with a slipknot. Adjust the loop to fit snugly around your hook.
- Ch 9, making sure the chain length is even.
- Round 1:
- Starting in the second chain from the hook, crochet 8 sc along one side of the chain. (8 sts)
- Without turning, continue working on the back side of the chain. Work another 8 sc into the chain. (16 sts total for the first round).
- Slip stitch into the first stitch of the round to join.
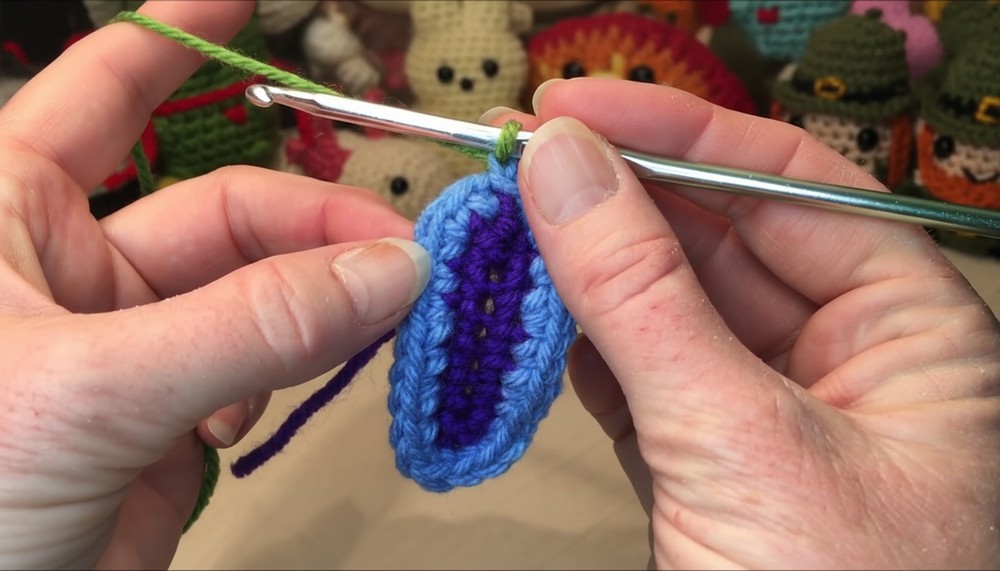
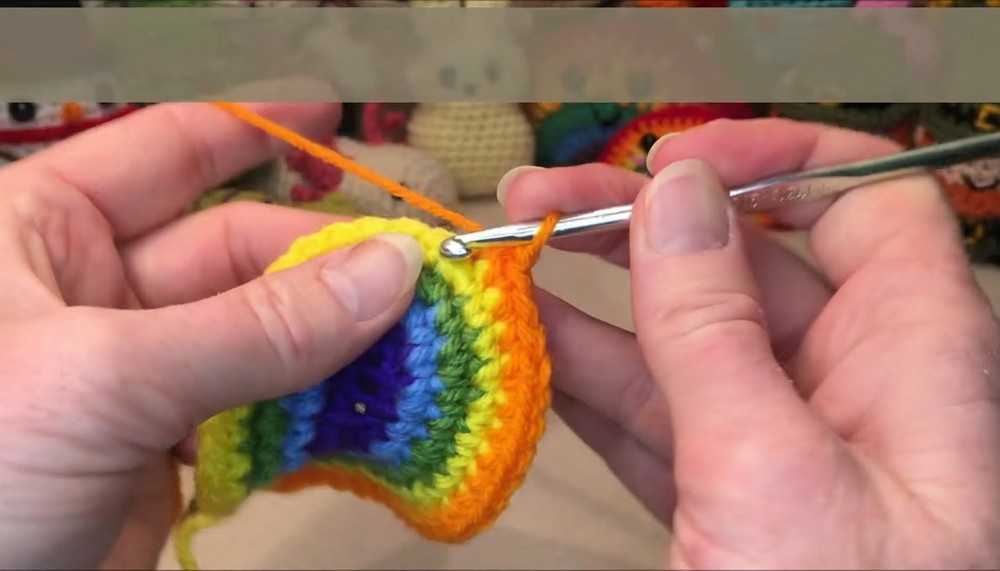
- Switch Colors:
- Cut the yarn, leaving a tail long enough to tie securely.
- Attach the second color (e.g., blue) by tying the two ends close to the hook. Chain 1 with the new color to start the next round.
- Round 2:
- Work [1 sc, 1 inc] around. (24 sts)
- Slip stitch into the first stitch of the round and switch to the next color (green).
- Round 3:
- Work [1 inc, 2 sc] around. (32 sts)
- Slip stitch into the first stitch, and switch to the next color (yellow).
- Round 4:
- Work [3 sc, 1 inc] around. (40 sts)
- Slip stitch into the first stitch, and switch to the next color (orange).
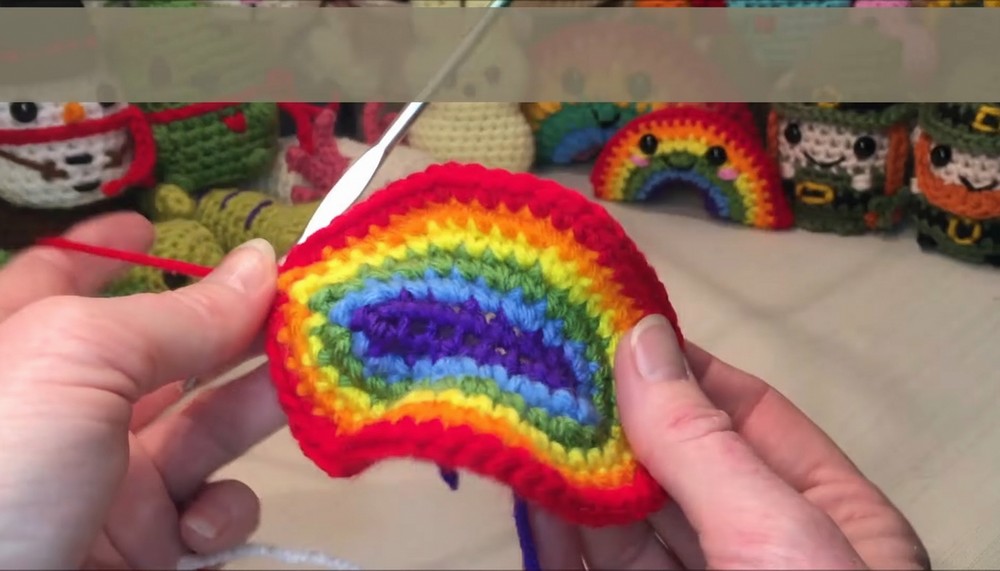
- Round 5:
- Work [1 inc, 4 sc] around. (48 sts)
- Slip stitch into the first stitch, and switch to the next color (red).
- Row 6 (Optional - Final Increase):
- If you want a slightly larger rainbow, work [5 sc, 1 inc] around. (56 sts)

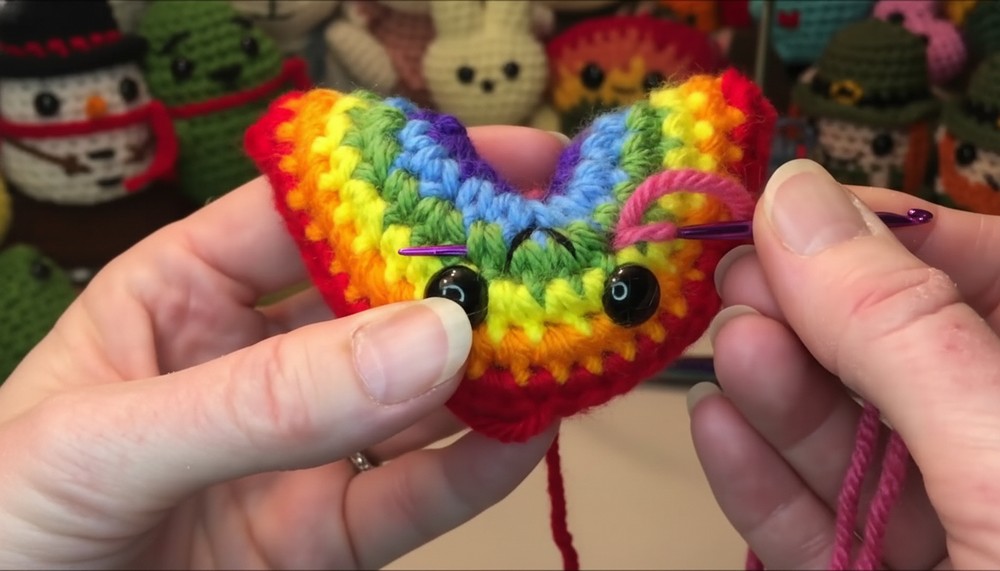
Step 2: Adding Safety Eyes and Finishing the Shape
- Insert Safety Eyes:
- Between the orange and yellow rows, place the eyes approximately 6-8 stitches apart. Secure the backs of the safety eyes.
- If you prefer, embroider the eyes instead.
- Stuffing:
- Add a small amount of stuffing to the rainbow. Ensure it is evenly distributed but not overstuffed.
- Stitch the Rainbow Closed:
- Fold the rainbow in half, and use a tapestry needle to whip stitch through the front and back sides of the rainbow.
- Add more stuffing as you go, especially in the curve of the rainbow, to help it maintain its arched shape.
- Tie a knot at the end of the whip stitching and pull the tail back into the rainbow to hide it.
Step 3: Adding Details
Mouth
- Use black yarn or embroidery floss.
- Insert the yarn under the yellow row, making a simple V-shape for the mouth. Adjust it so it is centered between the eyes.
- Tie the yarn ends securely inside and hide the tails.
Blush
- Use pink yarn or embroidery thread.
- Insert it under the eyes, one stitch over on each side of the mouth.
- Wrap around one or two stitches a few times to create a "blush" effect.
- Knot securely and hide the tails.
Customization Options
- Alternate Colors: Use pastels, bold colors, or different shades of the rainbow for a personalized touch.
- Embroidered Details: Add phrases, hearts, or stars on the rainbow for extra flair.
- Base Shape: Increase or decrease the initial chain to create different sized rainbows.
- Car Mirror Hanger: Create a decorative hanging loop for a rearview mirror.
Final Touches
- Smooth the rainbow and ensure stuffing is evenly distributed.
- Check that all knots are secure, and hide any visible yarn tails inside.
- Add extra details like embroidery or fringe if desired.
Conclusion and Final Remarks
Congratulations on completing your cute little rainbow! This versatile design can be used as a standalone decoration, hung as an ornament, or even as part of a larger crochet project like a baby mobile or wall décor. Switch up your colors, yarn weights, or add extra details to make it uniquely yours.