
Free Crochet Rose Hair Tie Pattern That’s So Pretty and Easy
Find your new favorite handmade accessory with this crochet rose hair tie pattern, great for transforming hairstyles into something special.
Roses have a timeless appeal, and this soft, textured rose hair tie makes a charming addition to anyone's accessory collection. It features delicate layers of petals that come together in a gentle spiral, giving it a graceful and three dimensional look. Attached to a simple hair tie, the rose has both beauty and practicality, perfect for hairstyling or even as a decorative touch to other items.
Crochet Stunning Rose Hair Tie Free Pattern That's Fun to Wear

This Crochet Cute Rose Hair Tie Patter project works for everyone and can be easily customized to fit personal preferences. The size can be adjusted depending on the type of yarn used or the number of petal layers added during construction. Whether you prefer a smaller rose for everyday wear or a slightly larger one to make more of a statement, this pattern adapts beautifully.
Construction is simple, using basic techniques like single and double crochet to shape and layer the petals. At the center of the rose is a magic ring, which gives it a clean, circular start. Yarn choice plays a key role in achieving the best results-using a soft, medium weight yarn with slight elasticity helps the petals hold their shape while staying easy to work with. Shades of red, pink, or cream give the rose a classic look, while brighter colors add a playful flair.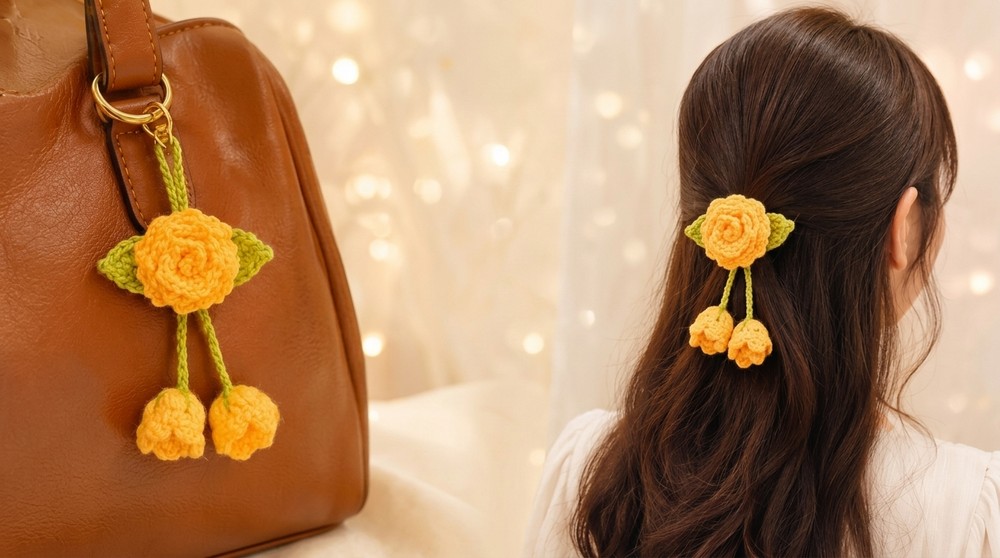
This hair tie was inspired by the quiet charm of roses and their ability to brighten even the smallest moments. There's room to experiment with colors, yarn textures, or even using the rose as part of a pin or bag charm. It's all about adding a touch of beauty in your own way.
Materials Needed
- Two colors of yarn (optimal for 3.5mm crochet hook)
- 3.5 mm crochet hook
- A yarn needle
- Stitch markers (optional, for beginners)
Special Techniques and Stitches Used
- Slip Knot: A basic knot to start your project.
- Chain Stitch (ch): Yarn over, pull through the loop on the hook.
- Double Crochet (dc): Yarn over, insert the hook into the stitch, yarn over, pull through, yarn over, pull through two loops, yarn over again, and pull through the remaining two loops.
- Half Double Crochet (hdc): Yarn over, insert the hook, yarn over, pull through three loops on the hook.
- Single Crochet (sc): Insert the hook, yarn over, pull through one loop, yarn over, pull through the two loops on the hook.
- Slip Stitch (sl st): Insert the hook, yarn over, pull through all loops on the hook.
- Magic Ring: A technique to create an adjustable ring, allowing the stitches to form a tight and neat center.

Pattern Instructions
Step 1: Creating the Base (Rose Center)
- Start with Color 1 yarn.
- Make a slip knot and then chain 31 chains (ch 31). This will be your base. Ensure the chains are even and not too tight.
Step 2: First Row
- Skip the first chain from the hook. Insert your hook into the second chain, yarn over, and create one double crochet (dc) stitch.
- In the same chain, create two more double crochet stitches for a total of three double crochets in the second chain. This forms a "cluster."
- In the next stitch, make two double crochet stitches. After that, chain 1 and begin your picot stitch.
- To create the picot stitch: Insert the hook into the chain space you just created, yarn over, pull through the loop, and make a slip stitch.
- Continue by working three double crochets (three dc stitches) into the next chain space.
- Repeat this pattern across the entire row:
- In one chain: 3 double crochets
- In the next chain: 2 double crochets + chain 1 + picot stitch
- When you reach the end of the chain row, create chain 1, pull the yarn out, and cut the thread. Leave a long tail for finishing.


Step 3: Shaping the Petals
- To create the petals for the rose, begin to roll the base row into a spiral shape, ensuring the petal shapes fit snugly beside each other.
- Using a yarn needle, securely attach the base together by stitching. Begin stitching from the bottommost layers toward the top layer, ensuring every row is secured.
- Use the yarn tail to firmly secure any loose petals and make sure your rose has a neat appearance.
Step 4: Creating the Leaf
- Use Color 2 yarn to create the leaves.
- Start with a slip knot.
- Make 16 chains (ch 16).
Leaf Design Row
- Skip the first chain from the hook and work the following into the next chains:
- Into the 2nd chain: Make 1 single crochet (sc).
- Into the 3rd chain: Make 1 half double crochet (hdc).
- Into the next three chains: Make 3 double crochets (1 dc in each chain).
- Into the next chain: Make 1 half double crochet (hdc).
- Into the next chain: Make 1 single crochet (sc).
- In the final stitch, work the following:
- 3 single crochet stitches into the same chain.
- Rotate to work along the opposite side of the chains.
- Repeat the same pattern:
- Next chain: 1 single crochet (sc).
- Next chain: 1 half double crochet (hdc).
- Next three chains: 3 double crochets (1 dc in each chain).
- Next chain: 1 half double crochet (hdc).
- Last chain: 1 single crochet (sc).
- Once you reach the base, connect both sides with a slip stitch into the starting chain, and chain 1.


Finishing the Leaf
- Leave some extra yarn before cutting to use for attachment later.
Repeat this process to create multiple petals/leaves based on your preference.
Step 5: Assembling the Rose and Leaves
- Take the finished rose (from Step 2) and secure the ends using a needle to hide the threads neatly.
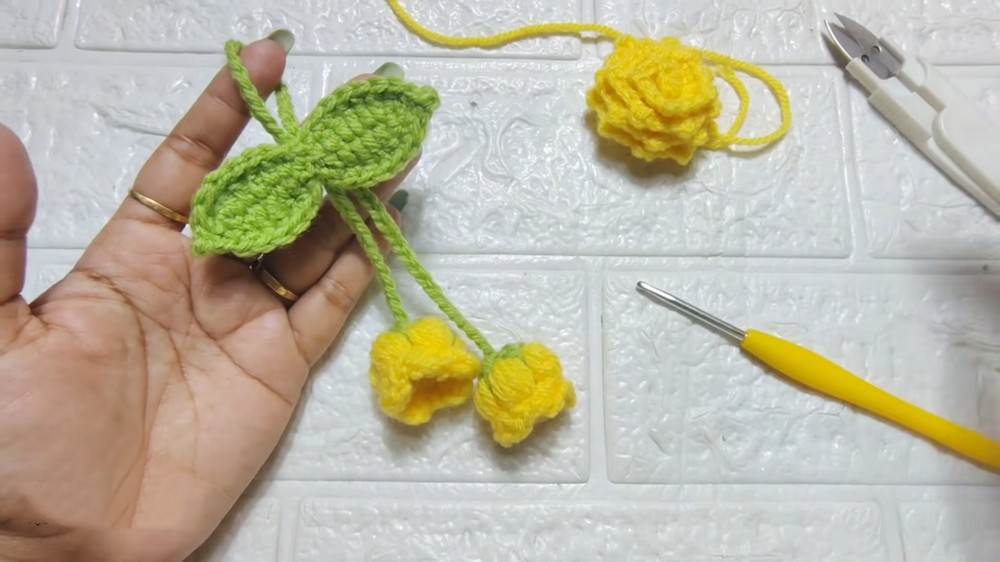
- Position your leaves around or below the rose.
- Use the yarn needle to stitch the leaves securely to the base of the rose. Make sure the leaves are evenly distributed and align properly.
Step 6: Creating the Chain Tie
- Using either Color 1 or Color 2 yarn, create another slip knot.
- Depending on how long you want the tie, chain around 50 to 55 chains.
- Leave a long tail and cut the yarn.
- Attach this tie securely to the back of the rose using the yarn needle.
Step 7: Finishing the Rose Accessory
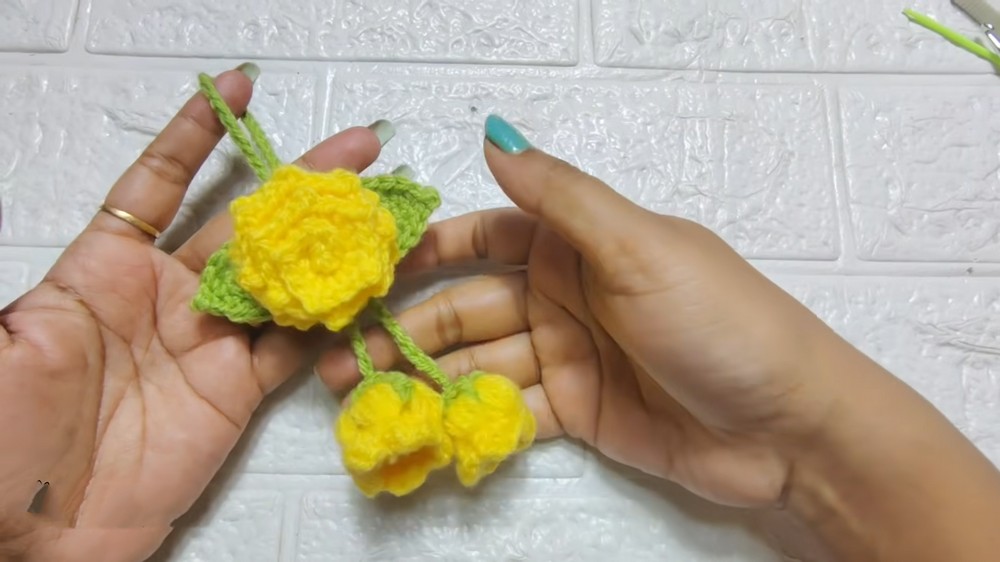
- Ensure that all the threads are neatly secured and hidden to give the accessory a flawless look. Trim any excess yarn if necessary.
- You can use this rose accessory as a hair tie, bag charm, or even as a decorative embellishment for gift wrapping, home décor, or clothing items.
Final Words and Tips
Congratulations, You've successfully created a beautiful handmade crochet rose accessory. Here are some tips to maintain and customize your pattern:
Customization Suggestions
- Use different types of yarn (e.g., cotton, wool, or metallic) for varied textures and appearances.
- Experiment with colors to create vibrant or pastel themed roses.
- Use a smaller or larger crochet hook to adjust the size of your rose for different projects.
Maintenance Tips
- Handwash your crochet rose accessories gently to preserve their shape and color.
- To reshape a flattened or wrinkled rose, lightly spray with water and reshape using your fingers. Allow it to air dry completely.
Creative Uses for Your Crochet Rose Accessories
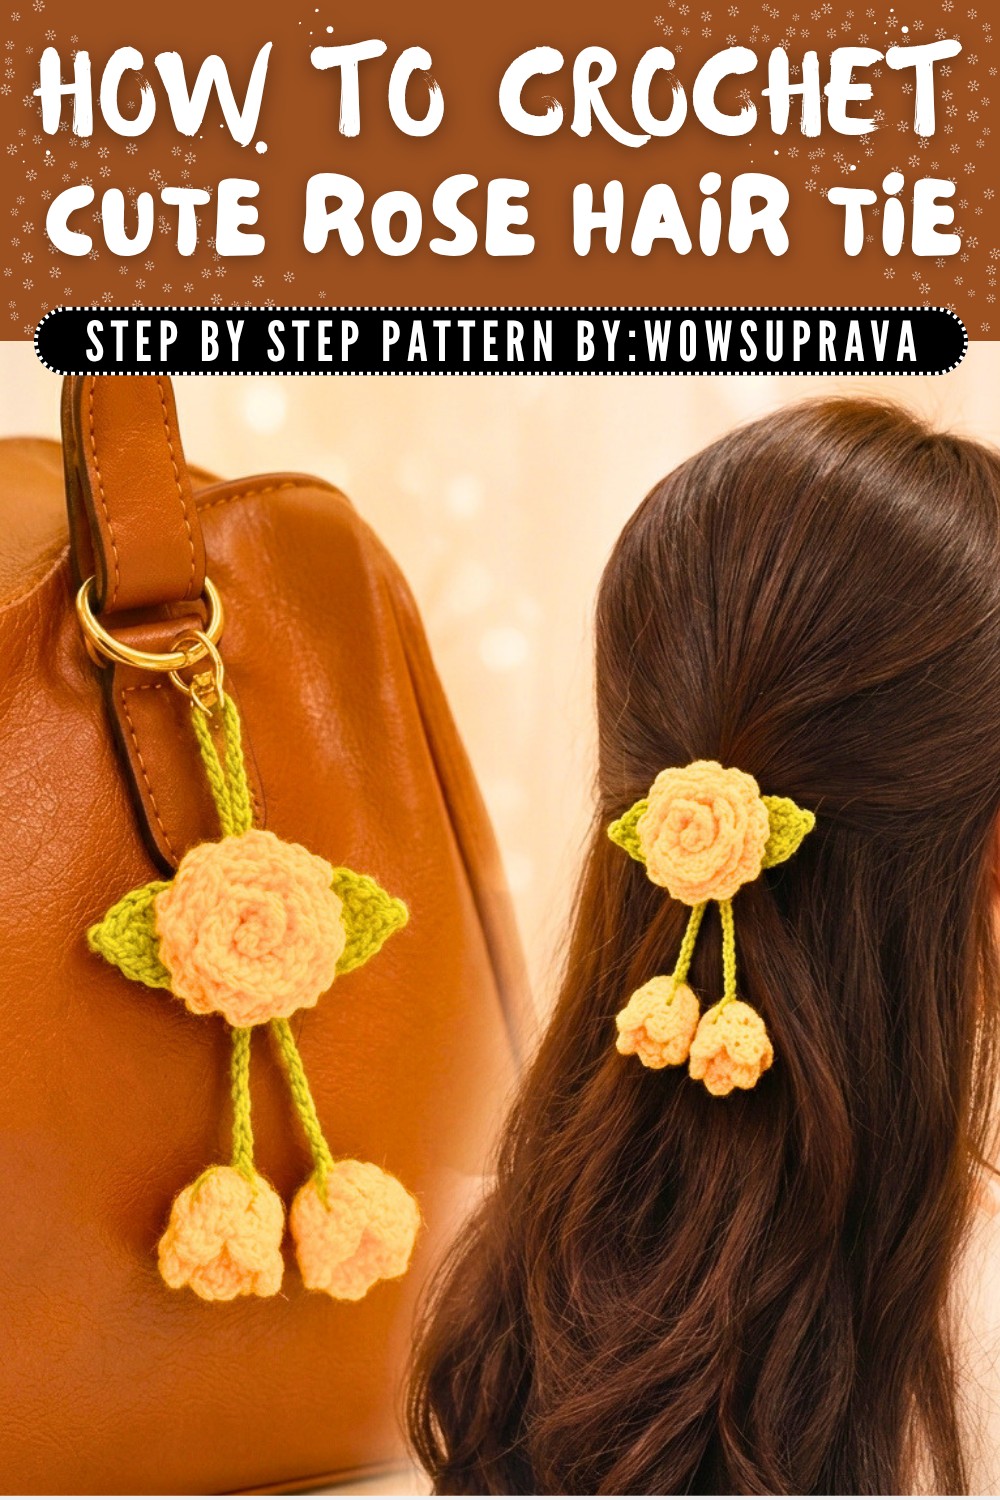
- Attach it to a headband as a hair accessory.
- Use it as a decorative accent for bags, scarves, or hats.
- Combine multiple roses into a floral garland or brooch for a unique homemade accessory.
With this detailed crochet pattern and instructions, you'll be able to make adorable rose accessories suitable for any occasion.