
Free Crochet Round Coaster Pattern That Looks So Elegant
Cozy table moments feel more special with this free crochet round coaster pattern that adds charm to your cups, mugs, and handmade table decor.
With this Free Crochet Round Coaster Pattern, anyone can make a charming and functional accessory that brightens up any table. This pattern teaches you how to crochet a flat, round coaster that is both sturdy and elegant. It's perfect for beginners who want to practice their skills or for experienced crocheters looking for a quick and easy project. It features smooth, even rows that form a clean circle, making it look stylish and polished. The edging adds a neat touch, giving the coaster a decorative and professional finish. Whether made in solid colors or with fun stripes, it is sure to make a lovely addition to your home.
Stylish Free Crochet Round Coaster Pattern for Any Kitchen
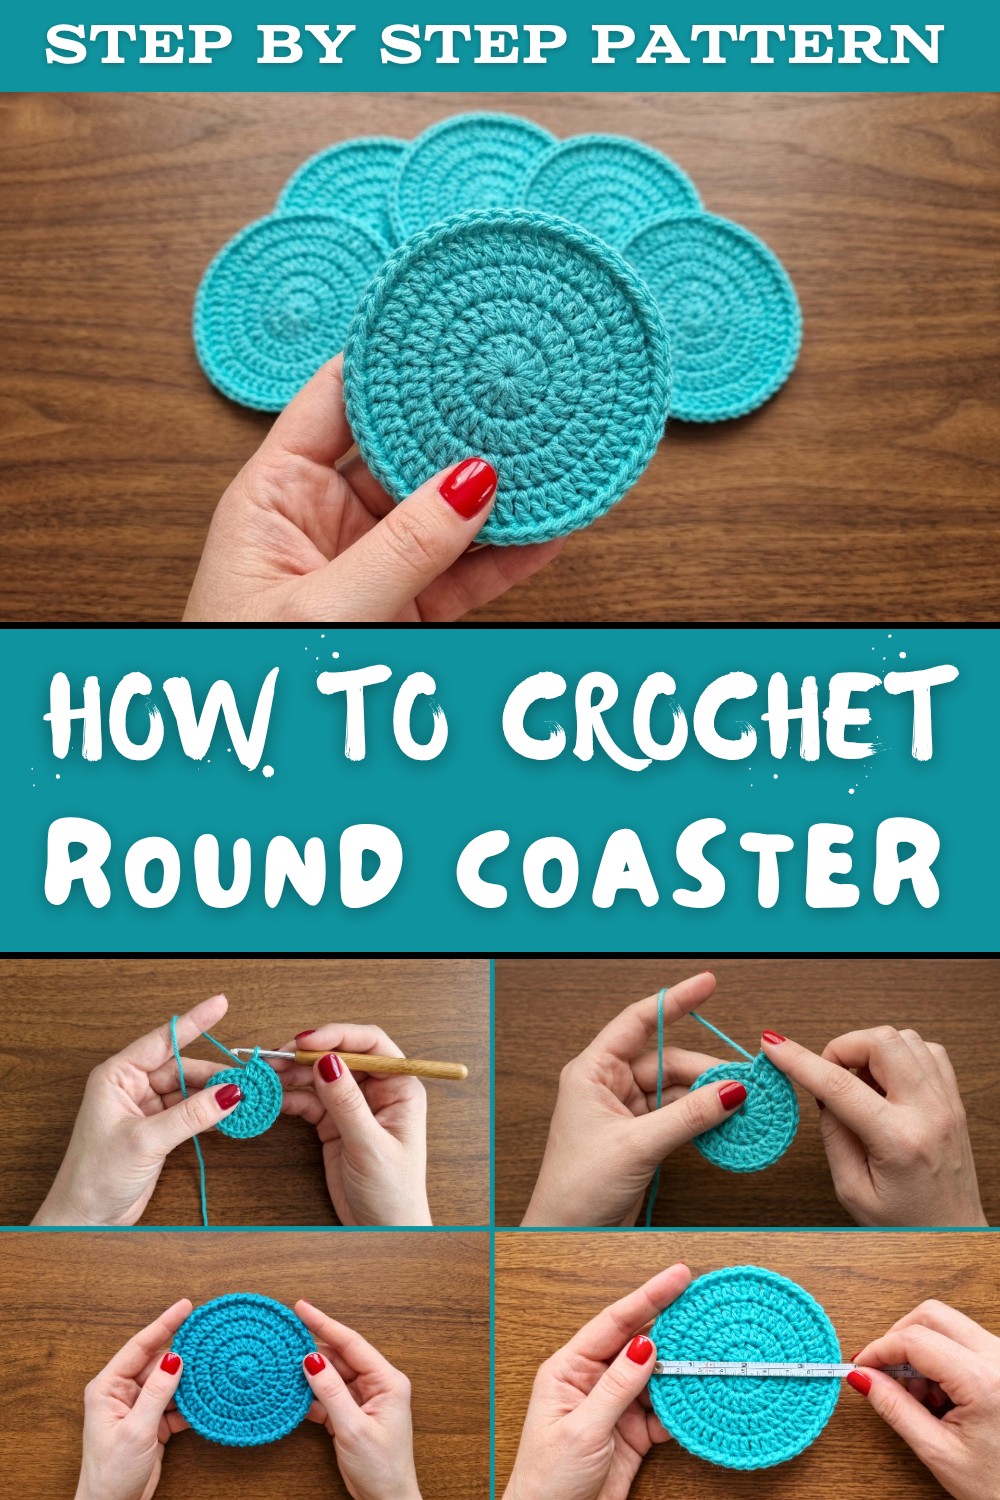
This crochet coaster is not just pretty - it is also practical. Use it to protect your table from water rings, heat, or spills. It can hold cups, glasses, or small dishes, making it ideal for everyday use or special occasions. Since it's made with cotton yarn, it is both durable and easy to wash.
The pattern also allows for creativity. You can customize the size by adding more rounds and choose colors that match your decor or create a fun mix. It's great for gifting to friends and family too, as handmade coasters make thoughtful and personal presents.
Overall, this Free Crochet Round Coaster Pattern is perfect for everyone to try. It is easy to follow, quick to finish, and can turn leftover yarn into something beautiful. Enjoy the process of creating something useful while learning new skills. No matter your age or skill level, you'll love seeing your finished coaster decorating your table.

Simple Crochet Round Coaster Pattern
Materials
- Yarn: Worsted weight (Category 4) cotton yarn
(cotton is recommended for coasters because it absorbs moisture and handles heat well) - Hook: 4.0 mm (G 6) or 4.5 mm crochet hook
(use a size that works comfortably with your yarn) - Notions:
- Yarn needle (tapestry needle) for weaving in ends
- Scissors
- Stitch marker (optional, to mark the first stitch of each round)
Gauge
Gauge is not critical for this project; however, for reference:
- Approximately 14-16 double crochet stitches = 10 cm (4 in)
- Approximately 8 rounds of double crochet = 10 cm (4 in)
If your coaster is ruffling or curling significantly, adjust your hook size (go up or down one size) or your tension.
Finished Size
With worsted weight cotton yarn and a 4.0-4.5 mm hook:
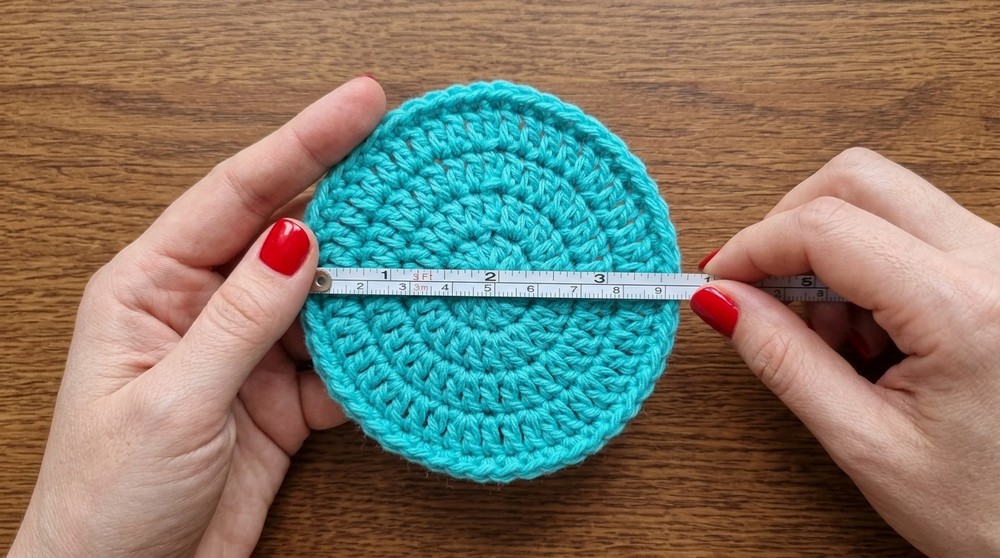
- Diameter: Approximately 10-11 cm (4-4.5 in)
Your coaster size may vary depending on yarn, hook, and tension.
Abbreviations (US Terms)
- ch = chain
- dc = double crochet
- sl st = slip stitch
- st(s) = stitch(es)
Special Notes
- The chain 3 at the beginning of Rounds 1-4 does not count as a stitch.
Always ignore this chain when counting stitches and when joining. - You will be joining each round with a slip stitch into the top of the first actual double crochet, not into the chain 3.
- The coaster is worked in continuous rounds of increasing double crochet, then finished with a slip stitch and chain edging.
Pattern Instructions
Round 1
- Begin with a magic ring,
or:- Chain 4,
- Slip stitch into the first chain to form a ring.
- Chain 3 (does not count as a stitch).
- Work 12 double crochet (dc) into the ring.
- Pull the magic ring tight (if using magic ring).
- Join with a slip stitch into the top of the first double crochet (not into the chain 3).
At the end of Round 1 you should have 12 dc.
Round 2
- Chain 3 (does not count as a stitch).
- In the same stitch (where you joined):
- Work 2 dc.
- Work 2 dc into each stitch around.
This means:- Each of the 12 stitches from Round 1 gets 2 dc.
- Join with a slip stitch into the top of the first dc you made in this round.

At the end of Round 2 you should have 24 dc.
Round 3
- Chain 3 (does not count as a stitch).
- In the same stitch:
- Work 1 dc.
- The increase pattern for this round is:
- 1 dc in the first stitch,
- 2 dc in the next stitch,
- Repeat around.
Step by step:
- First stitch: 1 dc (already done in the same stitch as joining)
- Second stitch: 2 dc
- Third stitch: 1 dc
- Fourth stitch: 2 dc
- Continue this sequence:
1 dc in one stitch, 2 dc in the next stitch, all the way around.
- Join with a slip stitch into the top of the first dc you made in this round.

At the end of Round 3 you should have 36 dc.
Round 4
- Chain 3 (does not count as a stitch).
- In the same stitch:
- Work 1 dc.
- The increase pattern for this round is:
- 1 dc in the first stitch,
- 1 dc in the second stitch,
- 2 dc in the third stitch,
- Repeat around.
Step by step:
- First stitch: 1 dc (already done in the same stitch as joining)
- Second stitch: 1 dc
- Third stitch: 2 dc (increase)
- Fourth stitch: 1 dc
- Fifth stitch: 1 dc
- Sixth stitch: 2 dc
- Continue this sequence:
1 dc, 1 dc, 2 dc, around until you reach the end of the round.
- Join with a slip stitch into the top of the first dc you made in this round.
At the end of Round 4 you should have 48 dc.
Edging Round (Slip Stitch and Chain Edging)
This edging gives the coaster a neat, slightly raised border.
- Chain 1.
- Slip stitch into the next stitch.
- Chain 1 again.
- Repeat the following sequence all the way around:
- Slip stitch into the next stitch,
- Chain 1.
Continue: sl st in next st, ch 1, sl st in next st, ch 1, until you reach back to the beginning of the edging round.
- When you reach the final stitch:
- Work your last slip stitch if needed,
- Then chain 1.
- To finish neatly, you can use an invisible join:
- Cut the yarn, leaving a tail.
- Pull the tail through the last chain to fasten off.
- Thread the tail onto a yarn needle.
- Insert the needle under both loops of the first chain 1 of the edging, from front to back.
- Then go back into the last chain you made, inserting the needle from top to bottom, to create a smooth "fake" stitch.
- Pull gently to shape. This creates a seamless finish.
- Weave in all ends securely on the wrong side of the coaster.
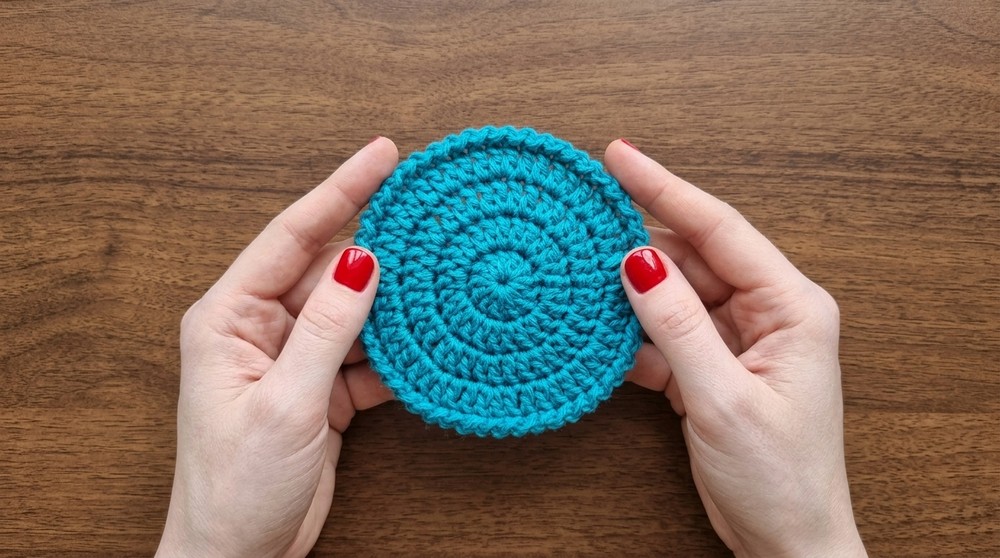
Finished Look
- The coaster will be flat, round, and smooth, with:
- A center worked in double crochet rounds,
- Even increases so it lies flat,
- A simple, decorative outer edge made from slip stitches and chains.
- From the top view, you will see:
- Concentric rings of double crochet,
- A neat edging that frames the circle.
Tips
- Maintain even tension
Keep your stitches consistent. If the coaster curls up like a bowl, your tension may be too tight; try a larger hook. If it becomes wavy or ruffled, your tension may be too loose or you may be adding extra stitches. - Count your stitches at the end of each round
Ensuring 12, 24, 36, and 48 stitches helps catch mistakes early. - Mark the first stitch of each round
Use a stitch marker to mark the first dc of each round so joining becomes easier. - Use cotton yarn
Cotton handles heat, moisture, and washing better than many other fibers, making the coaster more durable and practical.
Customization Ideas
- Change the size
- To make a larger coaster or a small placemat:
- Continue adding rounds using the standard increase pattern:
- Round 5: increase in every 4th stitch
- Round 6: increase in every 5th stitch
- And so on, until you reach the desired diameter.
- Continue adding rounds using the standard increase pattern:
- Then add the same slip stitch and chain edging.
- To make a larger coaster or a small placemat:
- Use multiple colors
- Change color at the start of any round to create stripes.
- For example, different colors for each round or just a contrasting color for the edging.
- Add a hanging loop
- After the final edging round, chain 10-15, then slip stitch back into the same stitch to form a loop.
- This is useful for hanging coasters on a hook when not in use.
- Create sets
- Make a set of 4-6 coasters in coordinating colors for gifts or for matching your home decor.

Special Techniques Used
- Magic Ring (optional start)
- This technique allows the center of the coaster to be tightly closed. If you are not comfortable with the magic ring, the chain 4 and join method is perfectly acceptable.
- Invisible Join
- This finishing technique creates a smoother, professional looking join, especially useful for visible edges like coasters.
Conclusion and Important Remarks
This simple double crochet coaster pattern produces a neat, flat, and functional piece that is ideal for beginners and experienced crocheters alike. The structured increases ensure a smooth circular shape, while the slip stitch and chain edging adds a subtle decorative frame that makes the coaster look polished and complete.
With its straightforward construction, this pattern is perfect for:
- Practicing working in the round,
- Learning to increase evenly,
- Making quick gifts or home accessories,
- Creating matching sets for your dining table.
Once finished, your coaster will appear as a clean, round disc with a defined outer border, suitable for holding cups, glasses, and small dishes while protecting your surfaces in style.