
Free Crochet Ruffle Heart Mirror Charm Pattern for Decoration
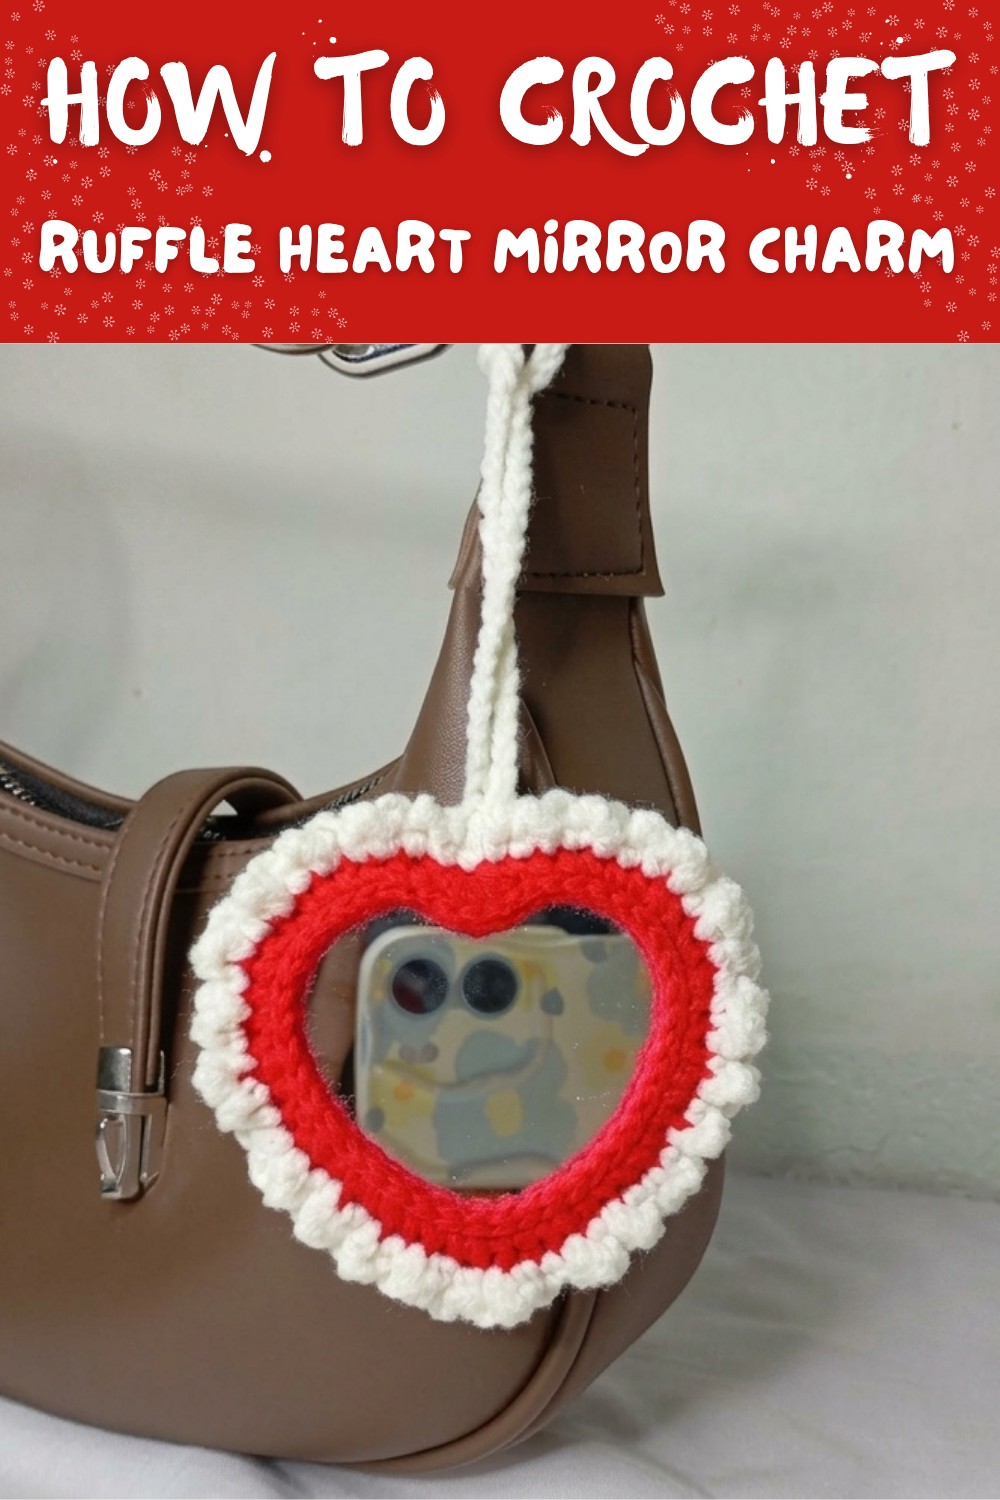
Add charm with this free crochet ruffle heart mirror charm pattern, for cute decorative accessory soft handmade style perfect gift idea use.
Missing out on cheerful decorations can make spaces look plain and dull. With the crochet ruffle heart mirror charm pattern, every day feels a bit brighter and more joyful. This sweet heart charm with soft ruffles draws attention and brings happiness wherever it hangs. Anyone can easily use this pattern to make pretty decorations for mirrors, bags, or keychains. There's no need for advanced skills or fancy tools, so crafting is simple and fun for all.
Quick Free Crochet Ruffle Heart Mirror Charm Pattern for Gifts
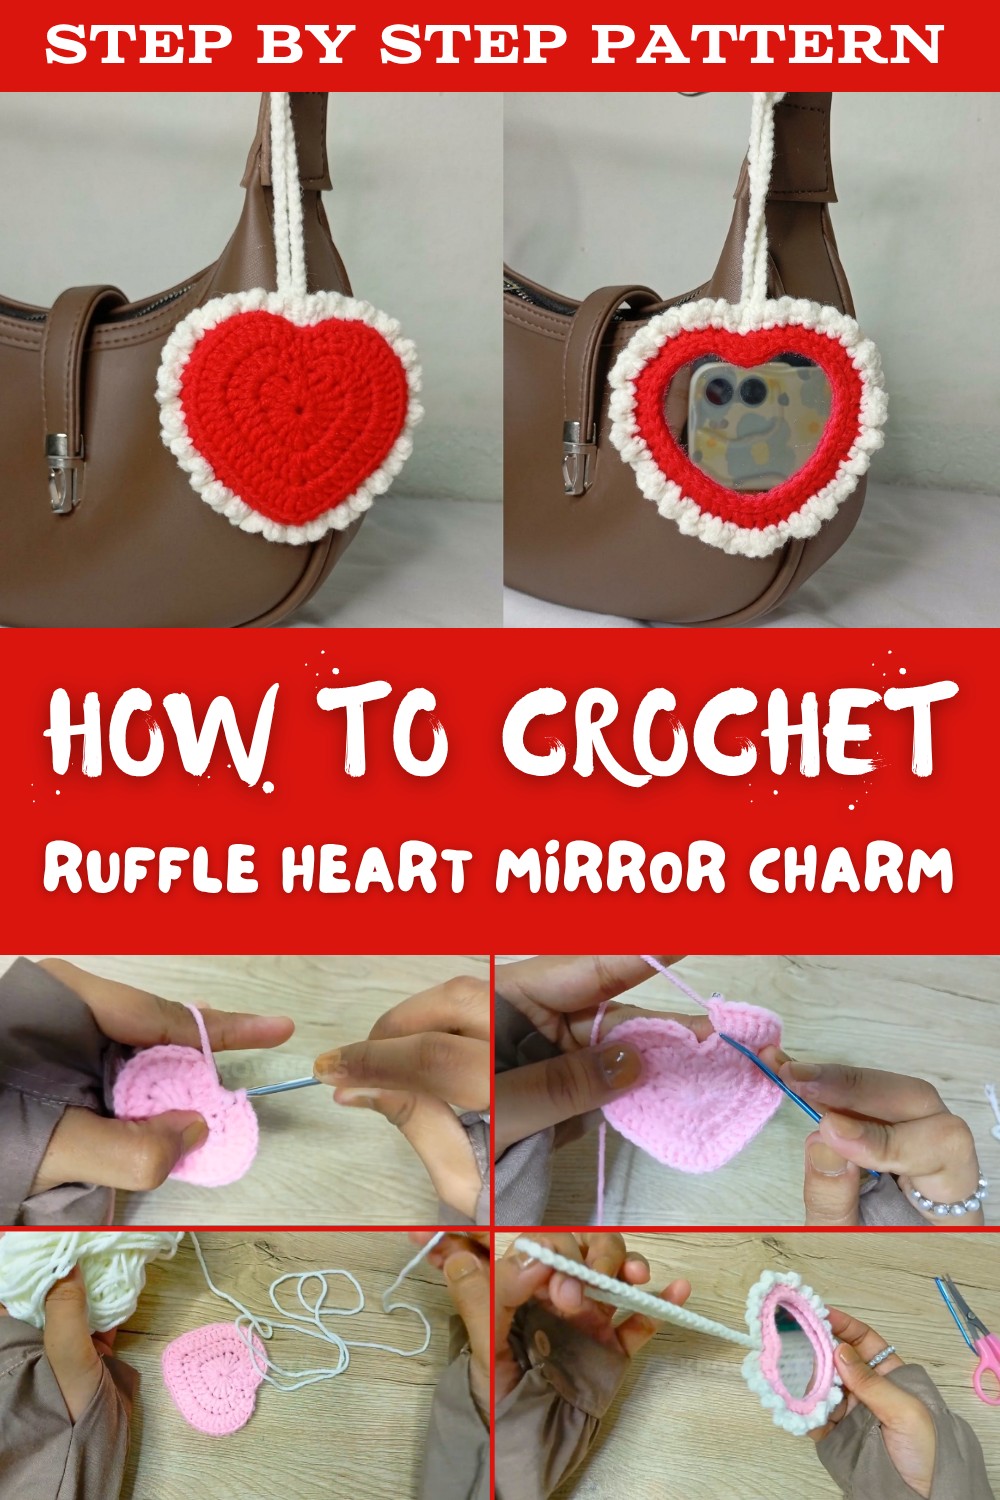
Younger children enjoy the playful shape, while adults love its gentle and elegant style. The charm adds a warm touch to bedrooms and classrooms and makes thoughtful gifts for friends or loved ones. Using the crochet ruffle heart mirror charm pattern helps people create something special and personal. These little hearts are perfect for making any space feel inviting and happy, bringing a proud feeling after every project. The pattern is a gentle way for everyone to share joy and creativity with others.
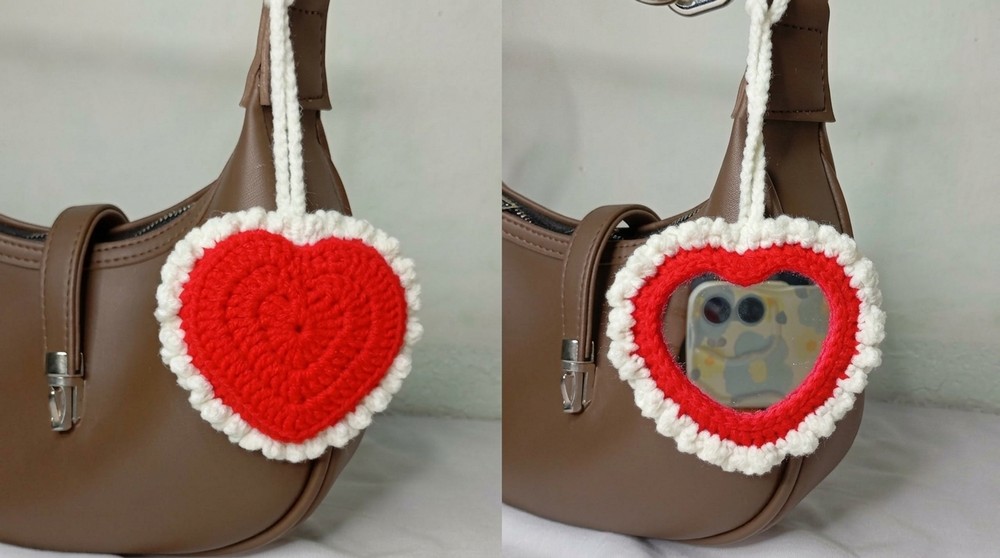
Crochet Ruffle Heart Mirror Charm Pattern
Materials
- Worsted weight cotton yarn (Two colors: Main color and contrast for ruffle)
- 3.5 mm (E) crochet hook
- Small round mirror (to fit your crochet heart, typically ~2" diameter)
- Yarn needle (for sewing and weaving in ends)
- Scissors
Optional: Keyring or chain for attaching the finished charm
Key Abbreviations (US Terms)
| Abbreviation | Stitch Name |
|---|---|
| ch | chain |
| sl st | slip stitch |
| sc | single crochet |
| hdc | half double crochet |
| dc | double crochet |
| tr | treble (triple) crochet |
| dec | decrease (sc2tog) |
| st(s) | stitch(es) |
| BLO | back loop only |
| FLO | front loop only |
Special Notes
- The heart is worked in the round in two main parts: front and back.
- Adjust mirror size or tension as needed to get a snug fit for the mirror.
- Increase or decrease chain length for the strap per preference.
Pattern
Heart Mirror Cover
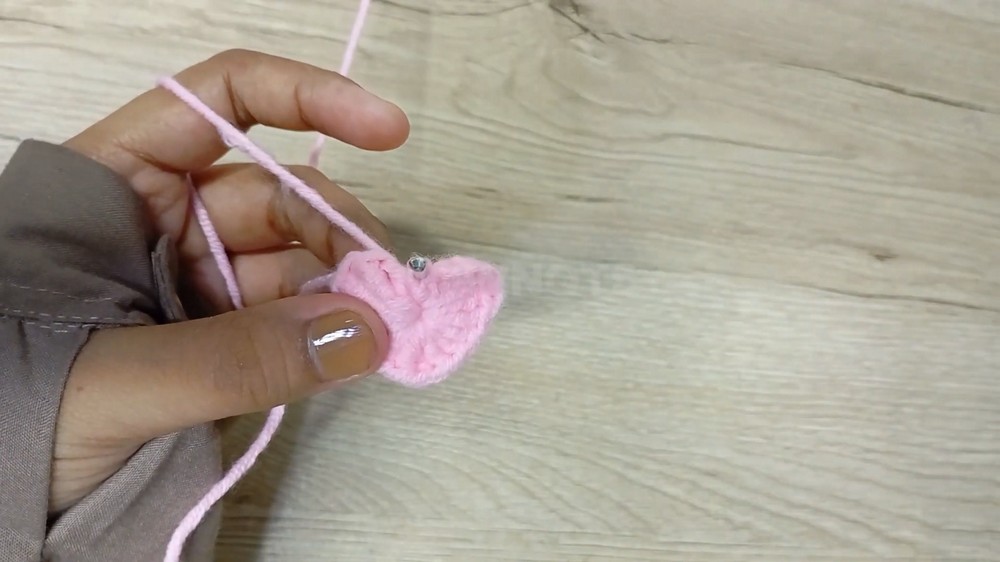
Row 1 (Center of Heart)
- Make a magic ring.
- Ch 3 (counts as first tr).
- 3 tr into magic ring.
- 4 dc into magic ring.
- 1 tr in magic ring.
- 4 dc in magic ring.
- 3 tr in magic ring.
- Ch 3.
- Tighten the magic ring to close the center.
- Sl st into the ring to join.
Row 2
- Work in the space between the beginning ch-3 and the first tr.
- 2 sc in this space.
- For the next three sts:
- 3 dc in each st (increase in each of next 3 sts).
- 1 dc in each of next 4 sts.
- In next st: (1 dc, 1 tr, 1 dc) all in same st.
- 1 dc in each of next 4 sts.
- For the next three sts:
- 3 dc in each st (increase) [mirroring the first half].
- In the next space (corresponds to beginning ch on Row 1):
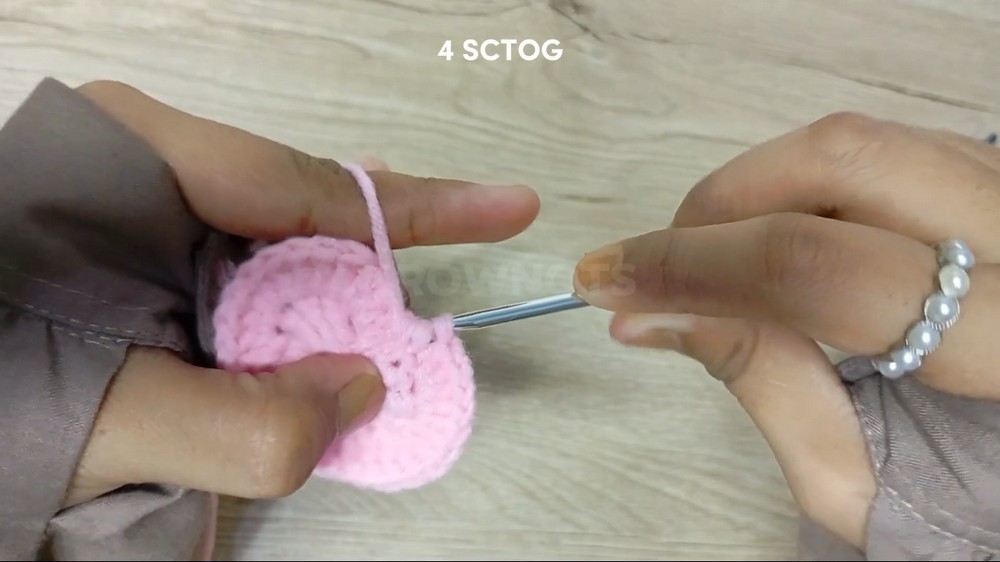
- 4 sc together: Insert hook into each of the 4 stitches (the chs and first 2 sc of the round), pull up a loop, yarn over and draw through all loops.
Row 3
- In first st: 1 hdc.
- Repeat the following for the next 8 sts:
- 1 dc in next st, 2 dc in next st.
- 1 dc in each of next 4 sts.
- In next st: 2 dc.
- In next st: (1 dc, 1 tr, 1 dc) all in same st.
- In next st: 2 dc.
- 1 dc in each of next 4 sts.
- Repeat for next 8 sts:
- 1 dc, 2 dc in the next (eight times).
- Sc into next 3 sts (to the tip of the heart).
- 3 sc together in last 3 sts.
- Fasten off the yarn if working in two pieces to sew later, or leave attached if working in the round for a seamless finish.
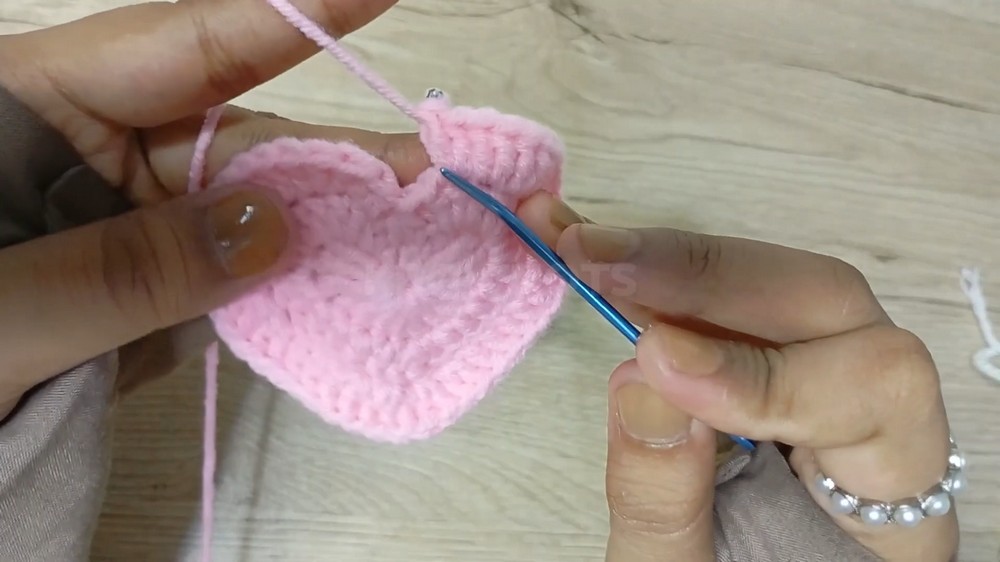
Row 4 (Side Edge; Working in Back Loop Only)
- Work along the edge in BLO:
- 1 hdc in BLO of each st all around the heart shape.
- When you reach the starting point, sl st to join and ch 1.
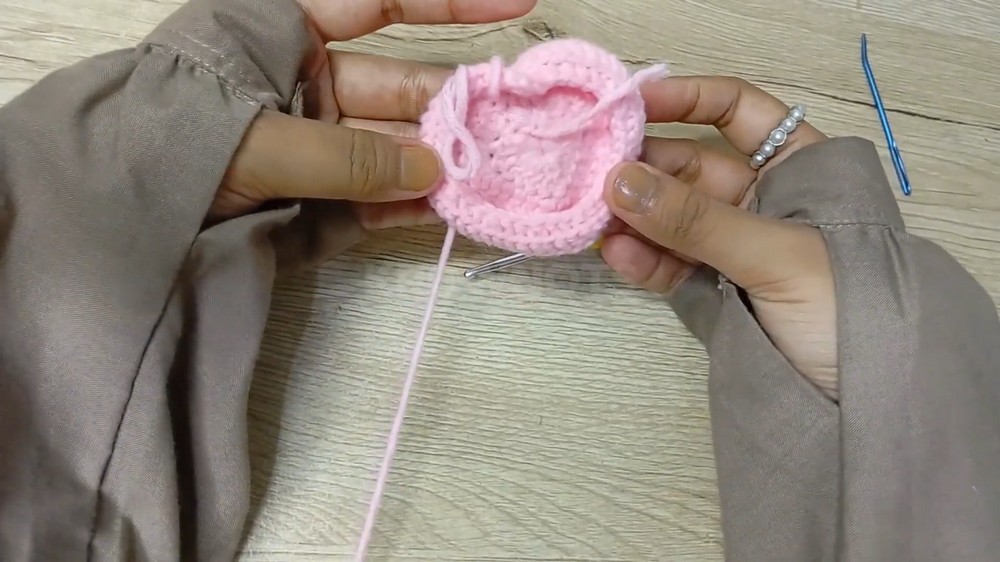
Row 5
- Continue working in BLO:
- In the first st, 5 hdc in BLO (ruffle foundation at the dip).
- Next 2 sts: 1 hdc in each st.
- Next 2 sts: single crochet decrease (sc2tog BLO).
- Repeat: [5 hdc in BLO, 1 hdc in each of next 2, sc2tog BLO] around the edge.
- At end, if 1 st remains, 1 hdc in last st.
- Sl st to the first st to join.
Insert Mirror
- Place the mirror inside the heart cover, aligning the shape.
Last Row (Securing Mirror)
- Sl st around the edge to secure the cover firmly around the mirror.
- At the end, ch 1, fasten off, and weave in ends.
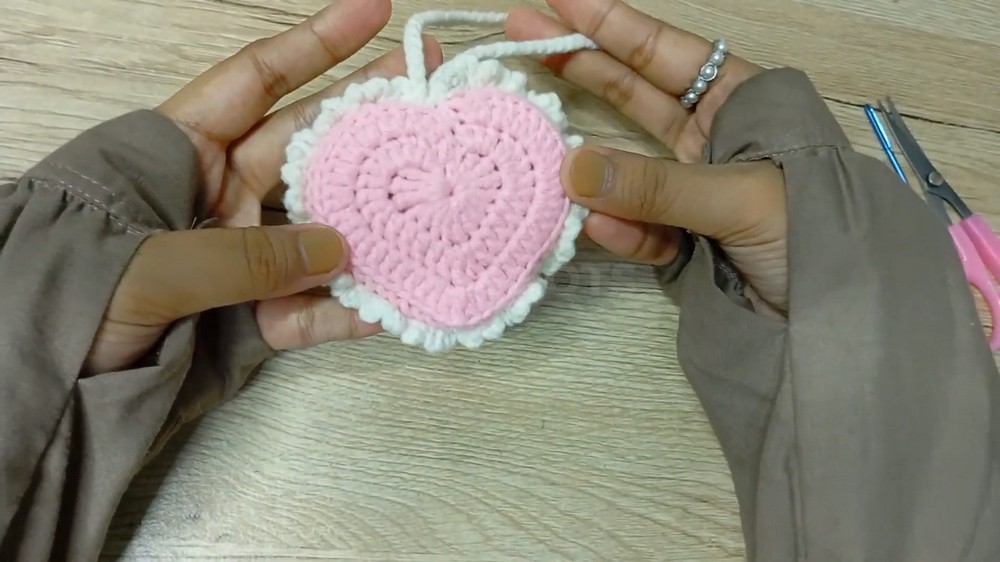
Ruffle (Optional, in New Color)
- Join new yarn (optional contrast color) in FLO at middle top where 5 hdc were made together.
- In each st around the edge:
- Sc in st, ch 3, skip to next st, rep from * to * around.
- At end, sl st to first st to join.
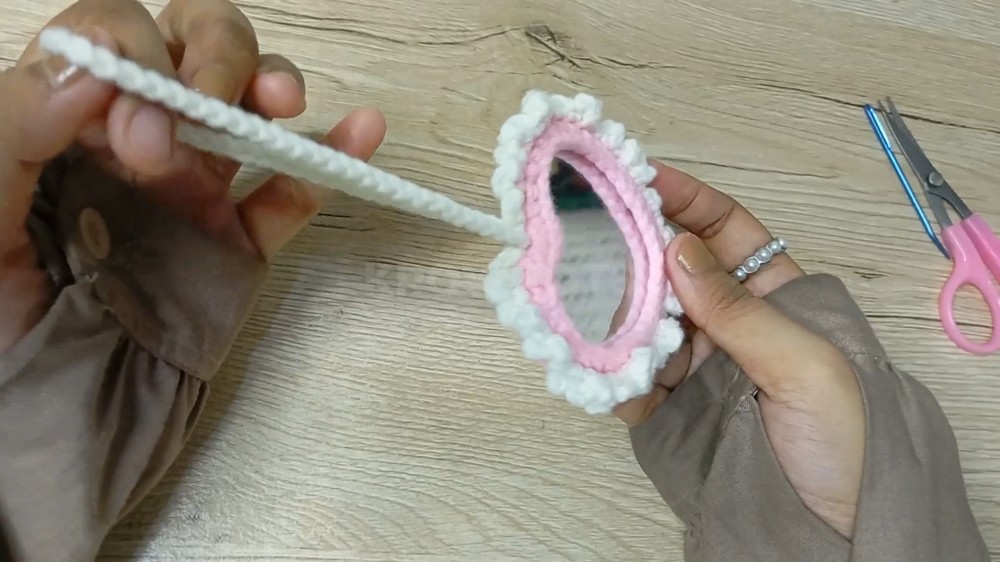
Strap
- Attach yarn anywhere along the top of the heart.
- Ch 60 (or preferred number for strap length).
- Sl st to starting point to form a loop.
- Ch 1, fasten off, and weave in ends.
Conclusion
Your Ruffle Heart Mirror Charm is now finished! It's ready to use as a bag charm, keychain, or sweet gift. The snug cover keeps the mirror secure while the ruffles and strap add a decorative touch.
Pattern Correction
- Ensure an even distribution of increases and decreases in each row for symmetry.
- Adjust the number of increases or decreases in Rounds 2 and 3 if your finished piece puckers or doesn't lay flat.
Tip
- Try your cover on the mirror after Row 3 or 4 to check for fit. If it's too tight or loose, add or remove increase stitches as needed.
- To prevent the mirror from slipping out, be sure the final row is snug, and join stitches tightly.
- For a firmer cover, use cotton yarn instead of acrylic or wool.