
Free Crochet Turtle Keychain Pattern for Key Organization
Light up your keys using this Free Crochet Turtle Keychain Pattern that makes a playful and eye catching accessory you will love to use.
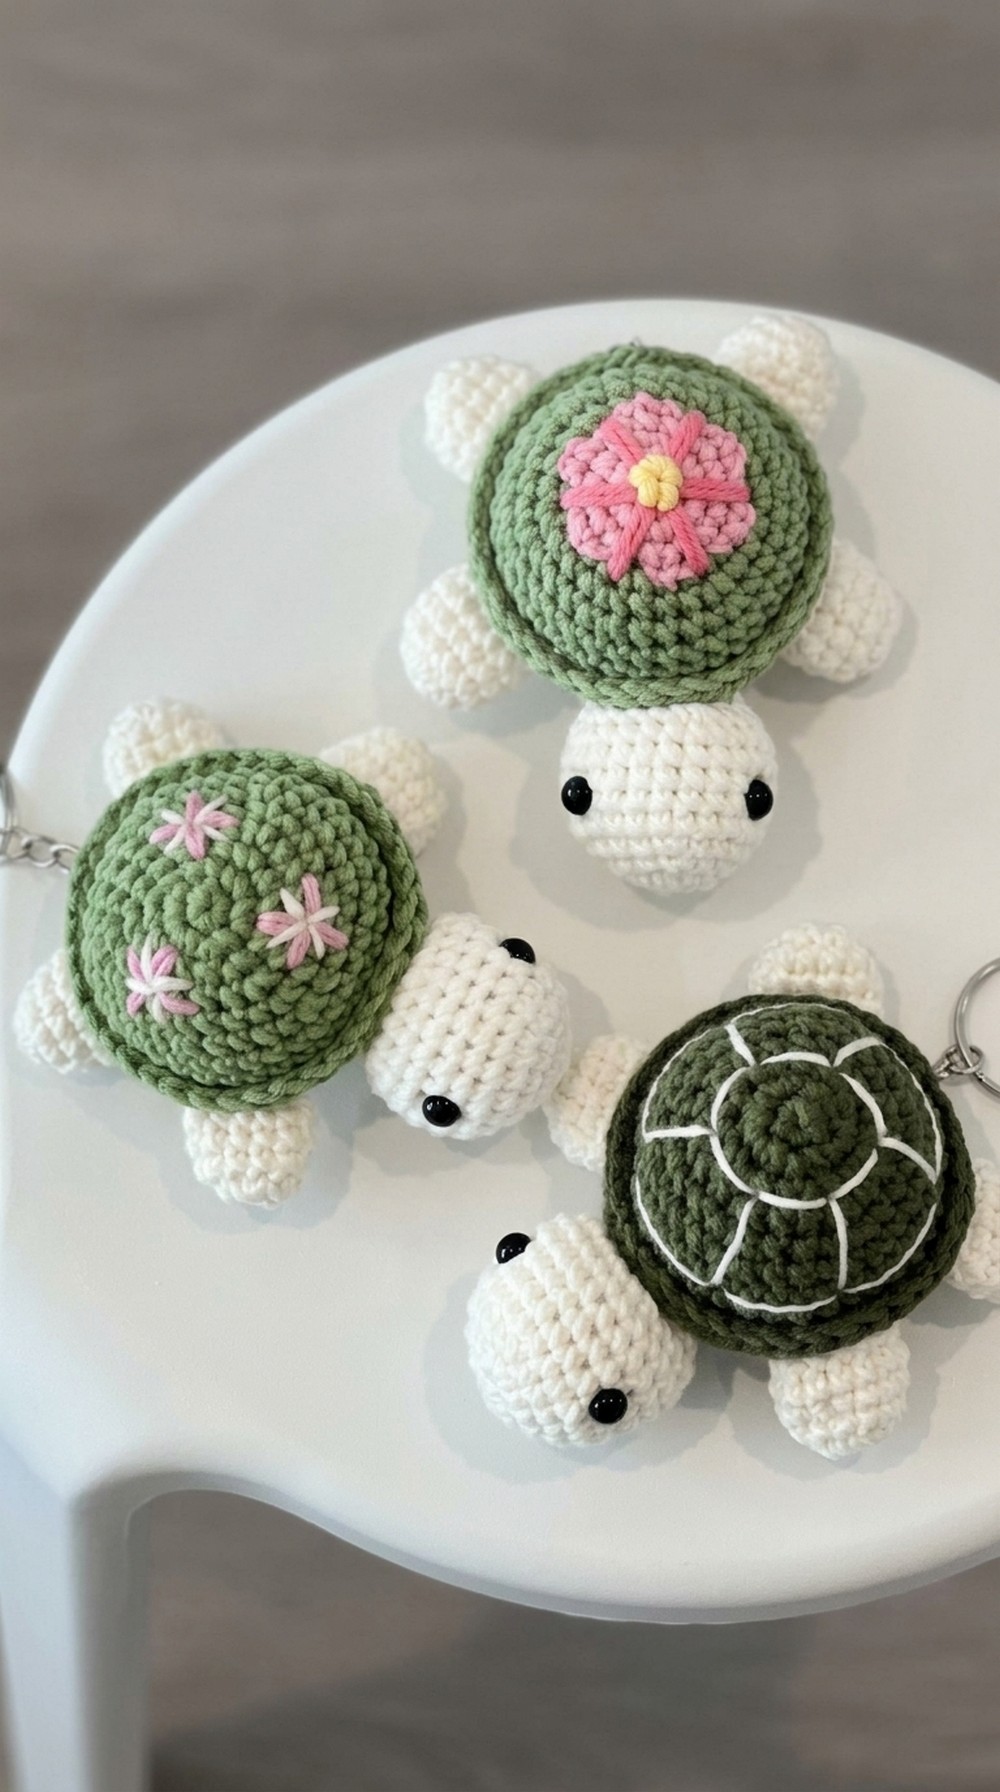
This sweet, tiny turtle is here to bring smiles to everyone's face. It's cute, colorful, and full of charm. Whether you hang it on your keys or clip it to your backpack, it captures attention everywhere you go. The bright and cheerful colors make it stand out, while its lovable features make you want to admire it all day. The turtle's shell is the star of the show. Its round and textured design makes it look neat and eye catching, especially when paired with colors like pink or any shades you love. The fins and head are carefully crocheted to add lifelike detail to this small wonder. The soft and squishy stuffing gives the turtle its huggable quality, making it feel as good to hold as it looks.
Lovely Free Crochet Turtle Keychain Pattern for Friends

Perfectly sized for a keychain, it's lightweight - so you won't feel weighed down carrying it around. You can let it hang on your zipper or gift it to friends and family as a token of love on any special occasion. It's not only adorable, but also durable because the crochet stitches are carefully made to be tight and clean, ensuring it lasts long, even with regular use.
Adding details takes its cuteness one notch higher. Embroidered black thread creates expressive little eyes, and a rosy blush detail gives the turtle a playful personality. You can even stitch a small flower onto the shell for extra beauty that makes it unique.
This turtle is small in size yet big in charm. It adds fun to your day, makes you smile, and brightens up your accessories with its cheerful look. It's not just any keychain - it's your turtle buddy.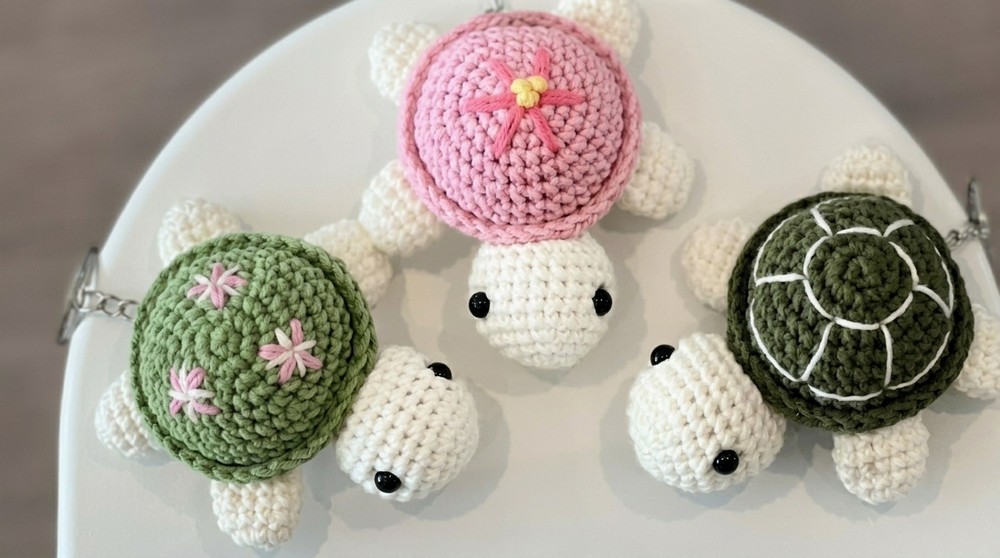
Crochet Turtle Keychain Pattern
Materials Needed:
- Yarn:
- Primary color (e.g., white for the lower body and head)
- Secondary color (e.g., pink for the shell)
- Black yarn for embroidering eyes
- Crochet Hook: Suitable size for your chosen yarn (e.g., 2.5mm or 3mm depending on yarn thickness).
- Embroidery needle or tapestry needle
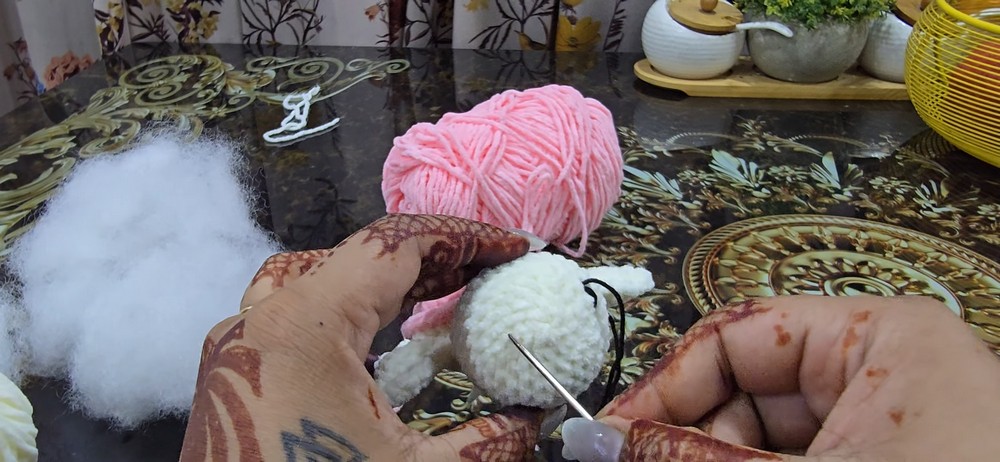
- Polyfill stuffing: Small chunks for filling the turtle's body.
- Stitch marker
- Scissors
Techniques Used:
- Magic Circle (Magic Ring): To create a tight, adjustable center at the start of each round.
- Single Crochet (sc): Insert hook into the indicated stitch, yarn over, pull up a loop, yarn over, and pull through both loops on the hook.
- Increase (inc): Two single crochets in the same stitch.
- Invisible Decrease (dec): Pick up the front loops of two stitches, yarn over, pull through these loops, yarn over, and pull through the remaining loops.
- Front Loop Only (flo): Work only in the front loop of the stitch.
- Back Loop Only (blo): Work only in the back loop of the stitch.
Pattern Instructions:
1. Making the Fins:
You will need to make four fins. Use the primary color yarn (e.g., white).
- Start with a Magic Circle:
- Begin with a magic circle.
- Work 6 single crochets (sc) into the magic circle.
- Pull the yarn tail to close the circle tightly.
- Round 2: Work 6 increases (1 increase for every stitch in the round).
- Total stitches = 12sc.
- Finish off by leaving a long tail for sewing later. Repeat the above steps to create a total of four fins. Set the fins aside for now.


2. Making the Head:
Use the primary color yarn to create the turtle's head.
- Start with a Magic Circle:
- Work 6 single crochets (sc) into the magic circle.
- Pull the yarn tail to close the circle tightly.
- Round 2: Work 6 increases (1 increase for every stitch in the round).
- Total stitches = 12sc.
- Round 3: 1 sc, increase repeat 6 times.
- Total stitches = 18sc.
- Round 4: 2 sc, increase repeat 6 times.
- Total stitches = 24sc.
- Round 5: 3 sc, increase repeat 6 times.
- Total stitches = 30sc.
- Rounds 6 to 9: Work 30 single crochets (sc) around (no increases or decreases).
- Round 10: 3 sc, decrease repeat 6 times.
- Total stitches = 24sc.
- Round 11: 2 sc, decrease repeat 6 times.
- Total stitches = 18sc.
- Fill the head with polyfill stuffing. Ensure the head takes on a nice round shape.
- Round 12: 1 sc, decrease repeat 6 times.
- Total stitches = 12sc.
- Round 13: 6 decreases (dec) until the head is completely closed.
- Leave a long tail for sewing and set the head aside.
3. Making the Shell:
Use the secondary color yarn (e.g., pink). This will form the top of the turtle's body.
- Start with a Magic Circle:
- Work 6 single crochets (sc) into the magic circle.
- Pull the yarn tail to close the circle tightly.
- Round 2: Work 6 increases (1 increase for every stitch in the round).
- Total stitches = 12sc.
- Round 3: 1 sc, increase repeat 6 times.
- Total stitches = 18sc.
- Round 4: 2 sc, increase repeat 6 times.
- Total stitches = 24sc.
- Round 5: 3 sc, increase repeat 6 times.
- Total stitches = 30sc.
- Round 6: 4 sc, increase repeat 6 times.
- Total stitches = 36sc.
- Round 7: Work 36 single crochets (sc), but only in the front loop (flo) of each stitch.
- This creates a distinction between the two colored parts of the shell.
- Change back to the primary color yarn. Work this color in the back loop only (blo) from Round 7.
- Complete one additional round in 36sc blo.


4. Assembling the Turtle:
Step 1: Attach the Fins.
- Use the long tails you left when finishing the fins.
- Place two fins at the front and two at the back (use the gaps created during the process). Sew them securely to the underside of the shell.
- Ensure the positioning of the fins is symmetrical on both sides. Adjust if necessary.
Step 2: Attach the Head to the Shell.
- Position the stuffed head at one end of the shell in the area where the gap of 4 stitches was left.
- Use the long tail left from the head to carefully sew it onto the shell, ensuring it is securely attached. Adjust as needed for symmetry. The head should slightly tuck under the shell.
Step 3: Stuff the Body.
- Before completely closing the shell, fill the turtle's body firmly with small chunks of polyfill, paying attention to maintaining the turtle's shape during this process.
- Once the body is properly filled, proceed with closing the shell by sewing the open end securely.
5. Adding Details:
Step 1: Embroider the Eyes.
- Take black yarn and thread it through a tapestry needle.
- Starting 1 stitch above the midline of the head and leaving 4 to 6 stitches apart for the placement of the second eye, embroider two small circular shapes.
- Work the stitches consistently to maintain roundness, creating a neat and cute look.
Step 2: Add Blush on Cheeks.
- Use pink yarn to create blush on the cheeks.
- Insert the pink thread slightly below the embroidered eyes and work thin passes to create a small blush shape.
- Ensure the blush on both cheeks is symmetrical.
Pattern Finishing:
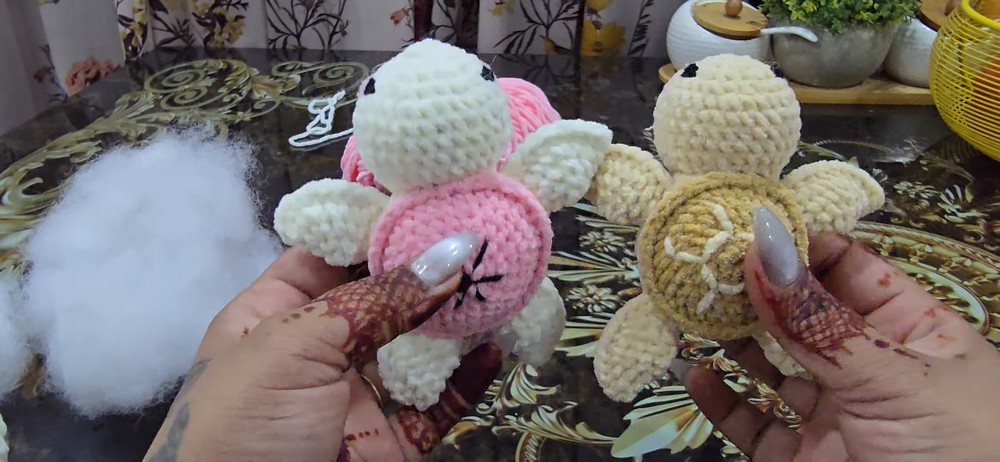
- After completing all the stitching, examine the turtle to ensure all its components are secure. Check the fins, head, and any added details.
- Tuck in and secure all loose ends by threading them into the interior of the turtle using a tapestry needle. If needed, make a few extra stitches to conceal any visible gaps or threads.
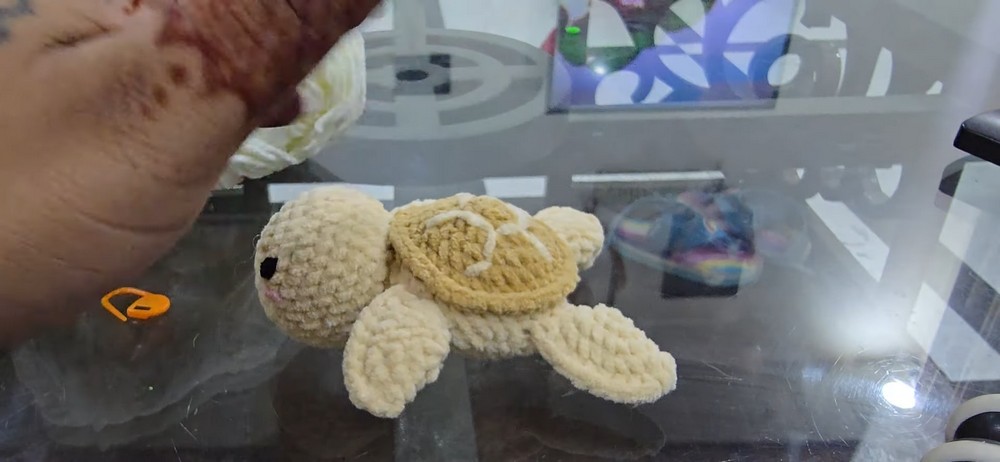
Final Touch:
- You can personalize the turtle by adding additional embellishments: embroider a cute smile, attach a tiny crochet flower on the top of the shell, or add small black seed like decorations to resemble a watermelon pattern.
- Ensure all added details are securely attached, especially if this toy is being crocheted for small children.
Final Words & Maintenance Tips:
Congratulations, Your adorable crochet turtle is now complete. This pattern is not only a fun project but also an opportunity to explore your creativity by experimenting with different colors or adding unique adornments.

To maintain your handmade turtle:
- Cleaning: Hand wash the turtle in lukewarm water with mild detergent. Avoid harsh cleaners or machine washing to keep the yarn and stitching intact.
- Storage: Store your crochet turtle in a clean, dry place to prevent dust buildup or wear over time.
- Handling: Be cautious with small parts such as embroidered eyes or extra embellishments when letting children use the turtle.
We hope you enjoyed this pattern as much as we enjoyed creating this adorable crochet with you.