
Free Crochet Waffle Stitch Cardigan Pattern for Your Collection
Experience the cozy charm of a FREE Crochet Waffle Stitch Cardigan Pattern perfectly tailored for easy customization stylish layering and exclusively handmade warmth.
On chilly days, there's nothing more satisfying than wrapping yourself in a cozy cardigan. The Free Crochet Waffle Stitch Cardigan pattern is a perfect match for anyone looking to combine comfort with eye-catching texture. Known for its signature waffle-like design, this stitch creates a thick, warm garment that's perfect for layered outfits during colder seasons.
Simple Free Crochet Waffle Stitch Cardigan Pattern for Any Skill Level

This cardigan easily works for casual wear, pair it with jeans and boots for a relaxed outing, or as a stylish layer over dresses for added warmth. The texture not only enhances visual appeal but provides durability, making it a long-lasting addition to your wardrobe. Plus, crocheting gives the benefit of tailoring size, color, and sleeves to suit your style effortlessly. Whether for lounging or stepping out, this waffle stitch cardigan is functional, fashionable, and uniquely yours.

Crochet Waffle Stitch Crop Top Pattern
Skill Level
- Intermediate to Advanced: Basic knowledge of single crochet (sc), double crochet (dc), and front post double crochet (FPdc) is required. Familiarity with waffle stitch is an advantage but a separate tutorial can be referenced.
Finished Measurements
The instructions are for a crop top that can be customized to fit any bust size and preferred length.
Materials Needed
- Yarn:
- Medium weight yarn (recommended: yarn that provides good stitch definition like acrylic or cotton blends).
- Approx. 400-500g for size M (adjust based on your size).
- Hook Size:
- 4mm crochet hook (or size needed to meet gauge).
- Other Tools:
- Stitch markers
- Scissors
- Tape measure
- Tapestry needle (for weaving in ends and seaming)
Gauge
- 4-inch (10cm) square: 12 waffle stitch rows x 10 dc (shoulder width row).
Key Abbreviations (US Terminology)
- ch: Chain
- sc: Single Crochet
- dc: Double Crochet
- FPdc: Front Post Double Crochet
- st: Stitch
- sl st: Slip Stitch
- rep: Repeat
Special Notes
- Waffle Stitch Alternation:
Waffle stitch is created by alternating front post double crochet (FPdc) and regular double crochet (dc) stitches, forming raised and recessed sections. - Panel Construction:
This pattern is worked in two panels (front and back), which are later joined at the shoulders and sides. - Customization:
- Adjust size by modifying your foundation chain length and row counts. Ensure your chain length equals half your bust circumference.
- Use the stitch measurement technique rather than chain counts for accuracy.
Step-by-Step Instructions
Foundation Chain and First Panel Creation
Foundation Chain:
- Make a slip knot on your hook.
- Foundation chain: Chain a length equal to half your bust measurement. Use a tape measure to confirm this measurement as you work without stretching the chain. Example: For a 40-inch bust, chain length should measure 20 inches (approximately 76 chains).
- Ensure the chain is a multiple of 2 + 4 (this is needed for the waffle stitch).
Row 1: Single Crochet (Base Row)
- Ch 1 and turn.
- Sc in the first chain from the hook. Continue placing 1 sc in each stitch across the entire row.
- At the end of the row, chain 1 and turn.
Rows 2-9: Single Crochet Repeats
- Place 1 sc into each stitch across, chaining 1 and turning at the end of each row.
- Continue until you have 9 rows of single crochet.

Row 10: Increase Row
- Ch 1, turn your work.
- In the first stitch, place 2 sc.
- Alternate: Place 1 sc in the next stitch, then 2 sc in the following stitch.
- Repeat this process (1 sc, 2 sc) until the end of the row.

Begin Waffle Stitch Rows
Waffle Stitch - Row 1 (Setup Row for Waffles):
- Ch 2 (counts as the first dc), turn your work.
- Dc into the next stitch.
- Work 1 FPdc into the next stitch (insert your hook around the body of the stitch below and yarn over to pull through).
- Continue: 2 dc, 1 FPdc across the row.
- At the end of the row, dc in the turning chain from the previous row.

Waffle Stitch - Row 2:
- Ch 2, turn.
- FPdc into the stitches from the previous row that were dc, and make dc into stitches that were FPdc.
- Alternate: Stitches that "pop out" will get a FPdc, and recessed stitches get a dc.
- Continue this pattern across.
Repeat Rows 1 and 2 for Waffle Stitch
- Work alternating waffles rows until the panel reaches the desired length.
- For reference:
- Crop Length Example: 20-25 waffle stitch rows.
- Full Length: 50 waffle stitch rows.
- Fasten off.

Create Second Panel
- Repeat the instructions for the first panel to create the second panel.
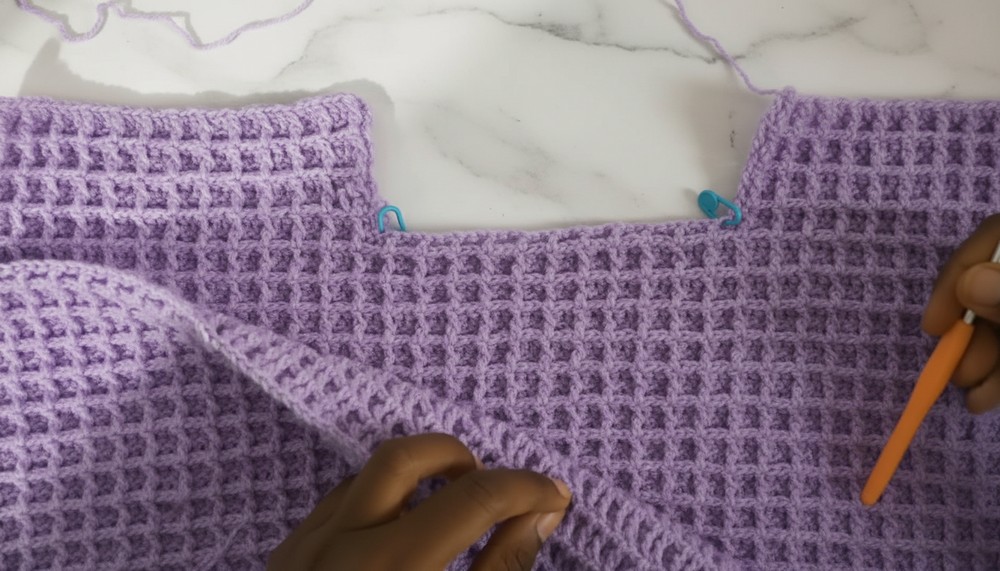
Shaping the Neckline (Front Panel Only)
- Locate the center 10 stitches (for a medium size) or according to the neckline width you prefer.
- Work each shoulder separately (start from the edges and leave the center stitches unworked).
- Left Shoulder: Attach yarn to the edge, work in waffle stitch across to the neckline marker, ch 2, turn, and continue for 4-5 more rows. Fasten off.
- Right Shoulder: Repeat on the other side.
Assembling the Top
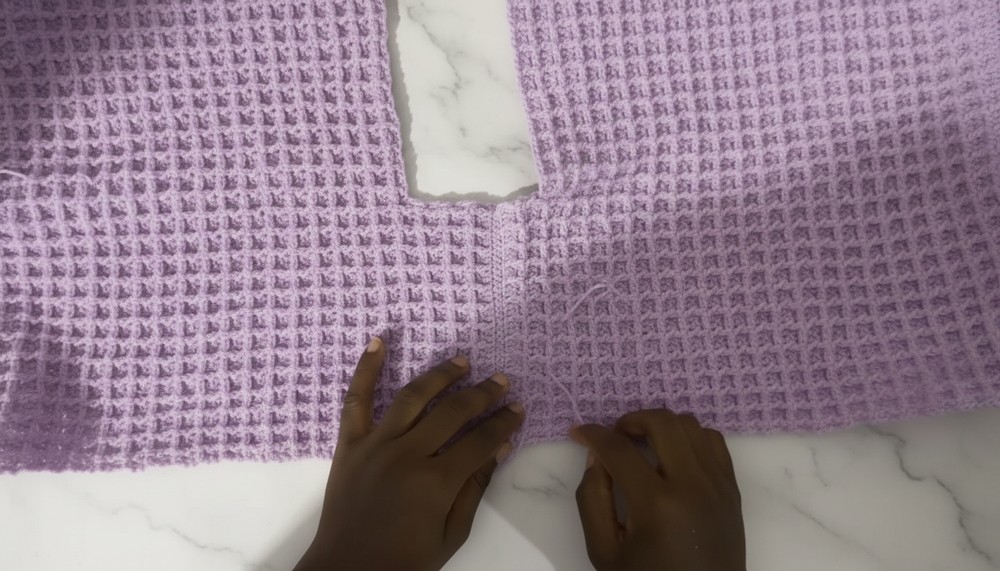
- Place the two panels together with the right sides facing in.
- Use a tapestry needle to sew the shoulder seams together.
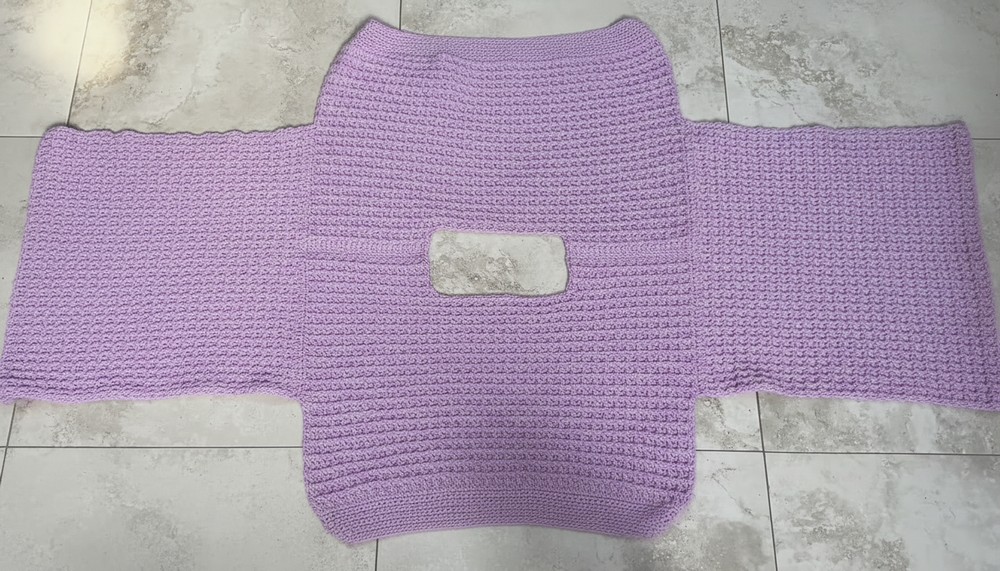
- Sew the side seams, leaving space for the armholes:
- Armhole Length: Approximately 8 inches (customizable based on preference).
Sleeves (Optional)
Set Up Sleeve Base:
- Attach yarn at the armhole opening.
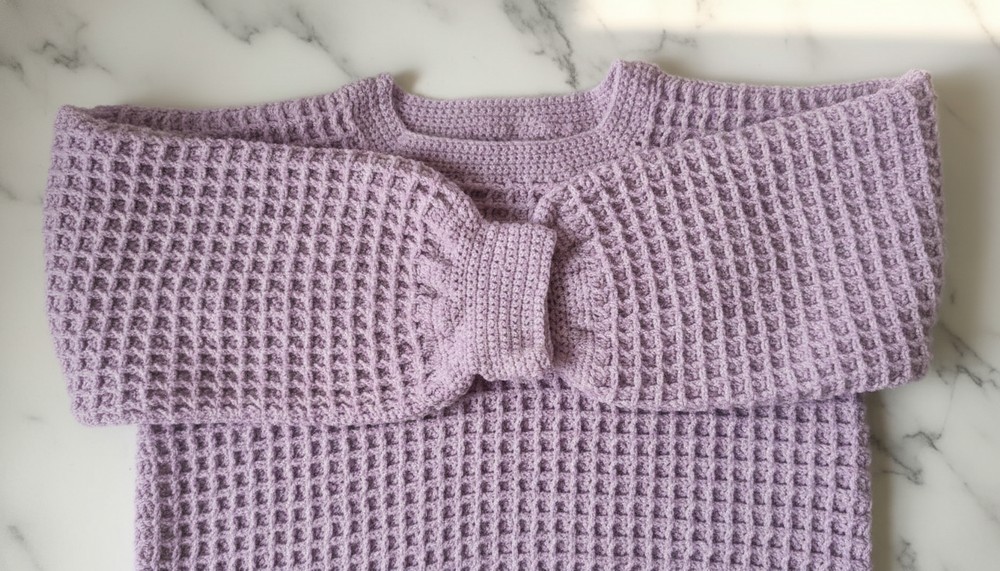
- Work double crochets evenly around the opening to form the sleeve base.
- Adjust spacing to avoid puckering.
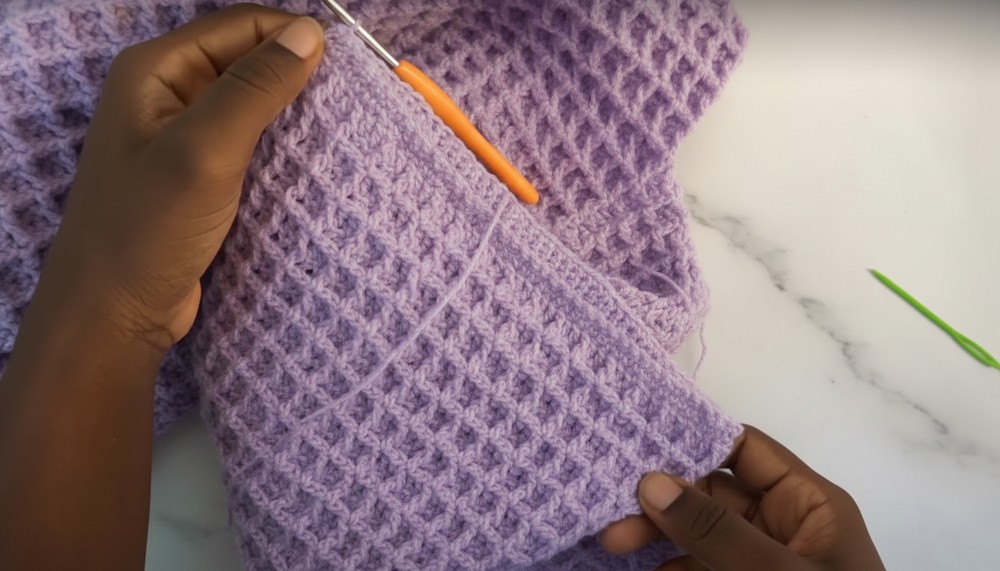
Sleeve Waffle Stitch Rows:
- Begin the waffle stitch pattern in rounds, alternating between FPdc and dc.
- Work evenly until the sleeve reaches your desired length.
- For a wrist cuff, switch to single crochet or decrease rounds if tapering is needed.
Neckline Finishing
- Attach yarn at the neckline and work a round of single crochet evenly around the opening.
- Add optional rounds for a thicker neckband if desired.
Finishing
- Weave in all loose ends using your tapestry needle.
- Block your finished piece gently to help it achieve its final shape.
Pattern Corrections and Tips
- Ensure matching stitch counts at the shoulders for perfectly aligned panels.
- For a cleaner neckline, consider joining in the round and slip stitching at the end of each round.
- Adjust decreases in sleeves or neckline proportionally for larger or smaller sizes.
Conclusion
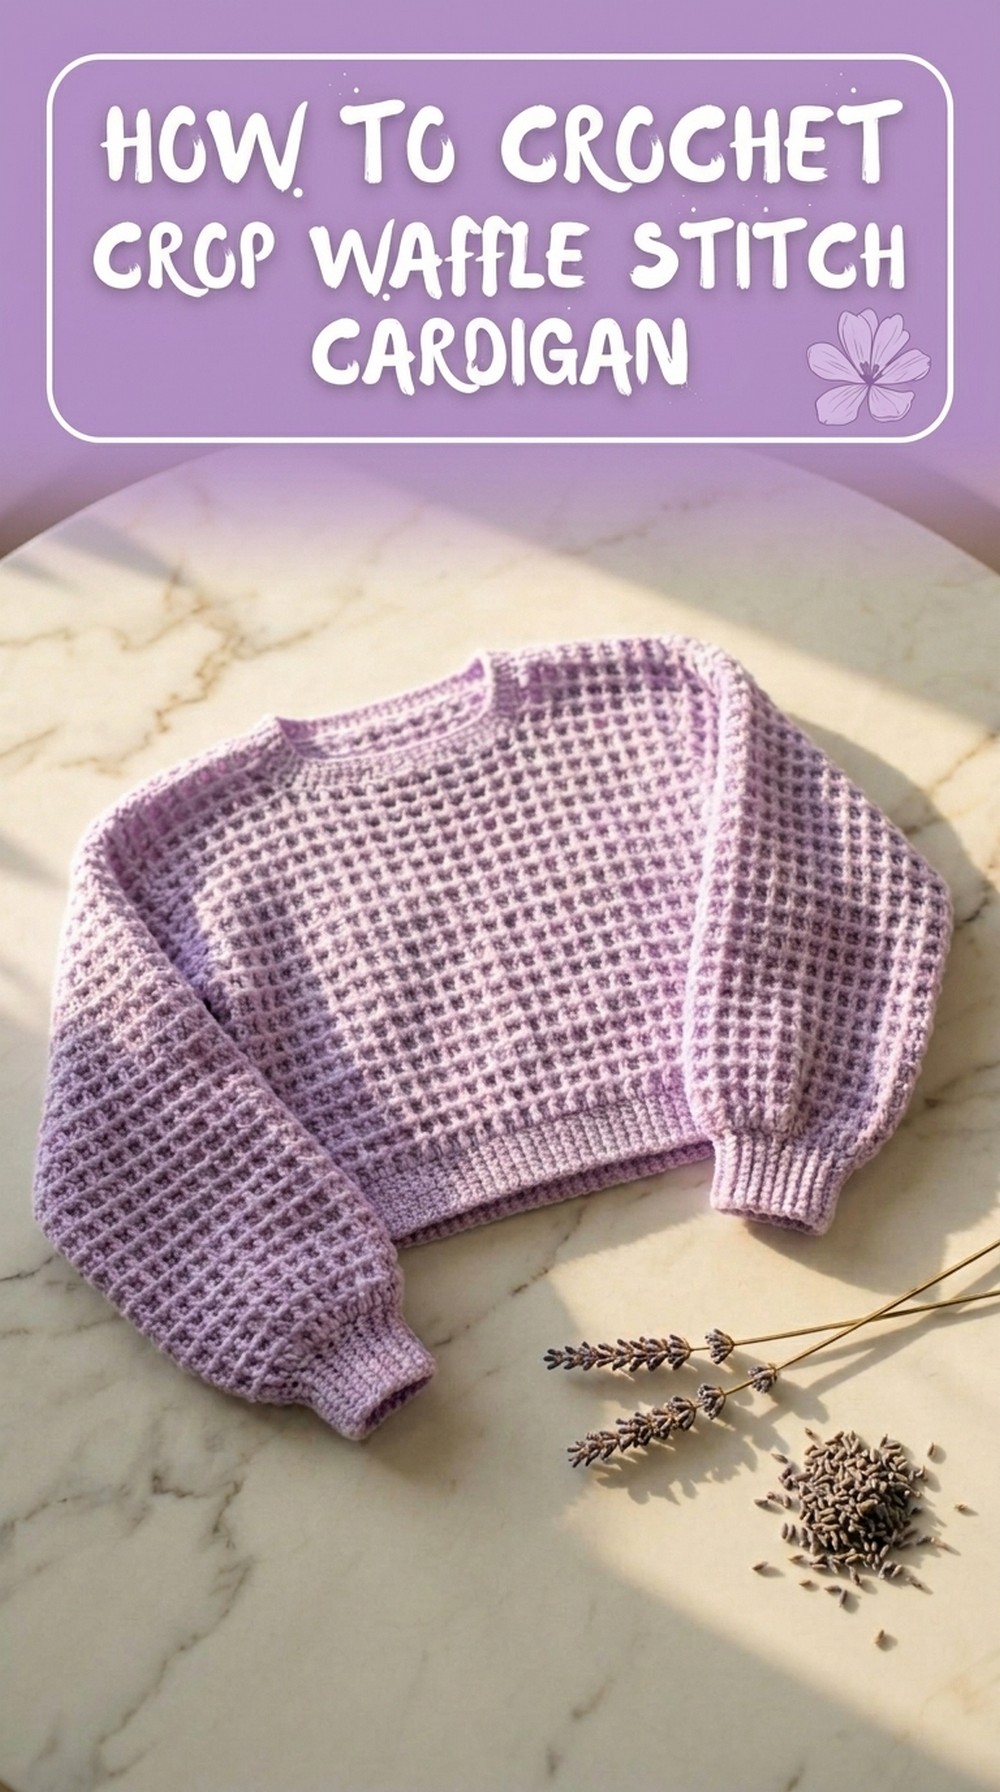
This Waffle Stitch Crop Top is a versatile and stylish garment that allows room for personal creativity. Whether you're pairing it with high-waisted jeans or layering it over a tank top, its textured waffle stitch adds depth and elegance.