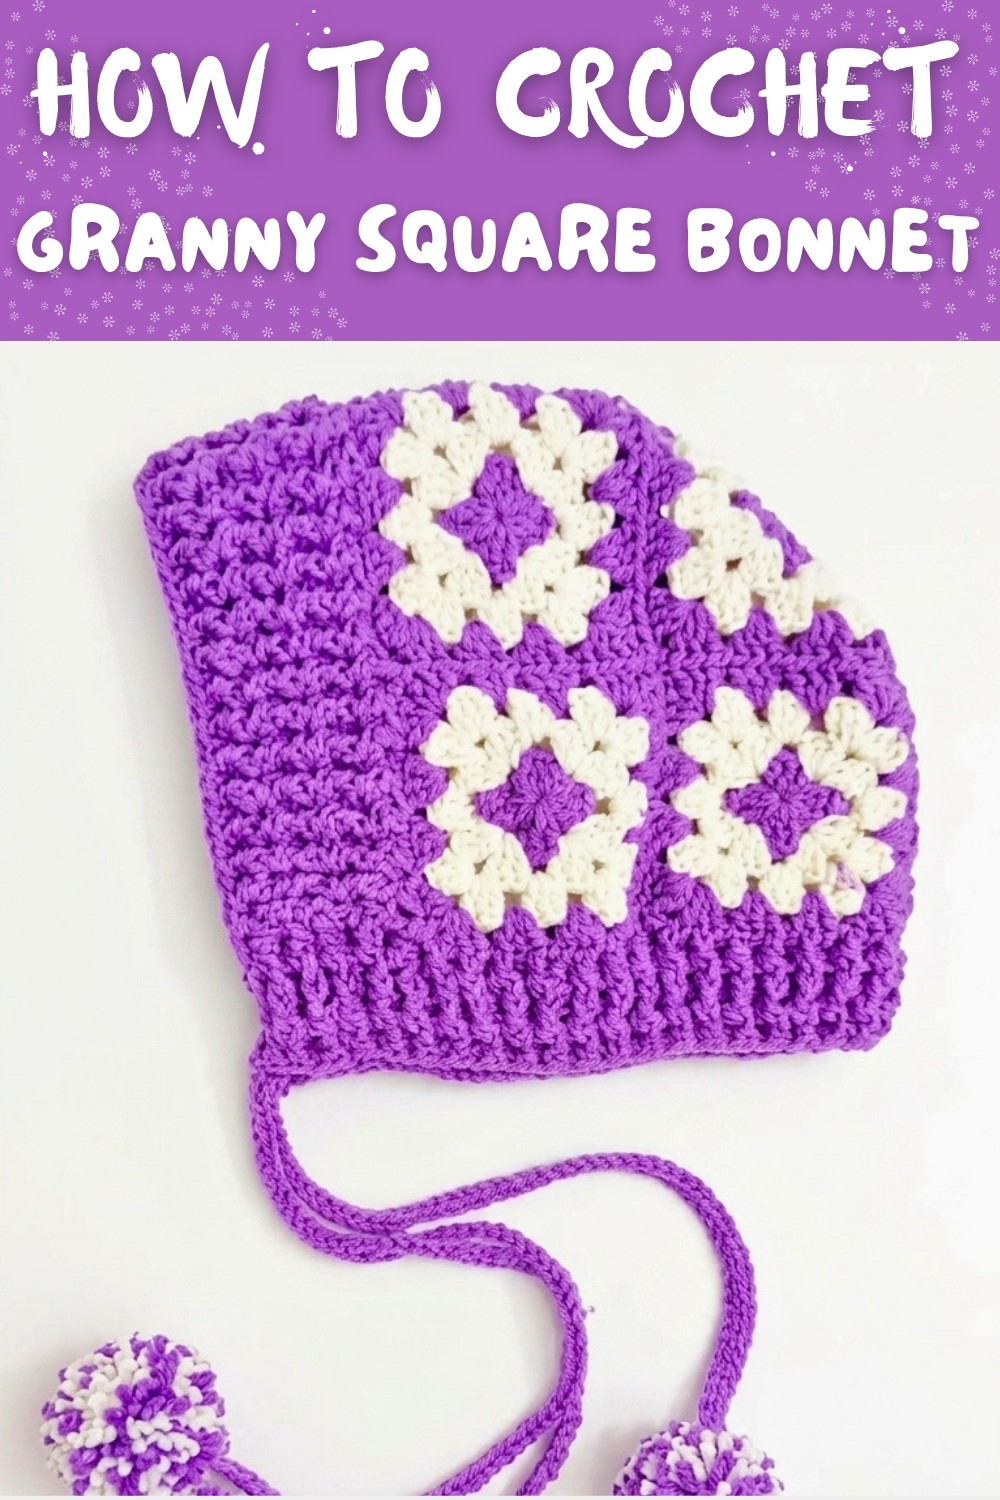
Free Granny Square Bonnet Crochet Pattern in Multiple Sizes
Style cozy outfits with Free Crochet Granny Square Bonnet Pattern featuring classic charm perfect for babies children or lovely photo moments.
Isn't there something wonderfully charming about vintage-inspired accessories that add a cozy, handmade touch to any outfit? The Free Crochet Granny Square Bonnet Pattern captures that nostalgic warmth, making it a joyful project to include in your crochet repertoire. Many crocheters enjoy making bonnets because they're not only cute but also practical-offering gentle protection from the sun or a snug layer on cooler days, all while showcasing the timeless appeal of granny square motifs.
This bonnet features classic granny squares expertly joined to create a soft, textured fabric that feels comfortable against the skin. The geometric shape of the squares adds visual interest, and their repetitive pattern forms a beautiful rhythm throughout the design. The bonnet's shape gently frames the face, providing flattering coverage with an open, airy feel perfect for transitional weather. Plus, customizing colors is a breeze-you can mix vibrant hues for a playful look or stick to soft pastels and neutral tones for something more understated.
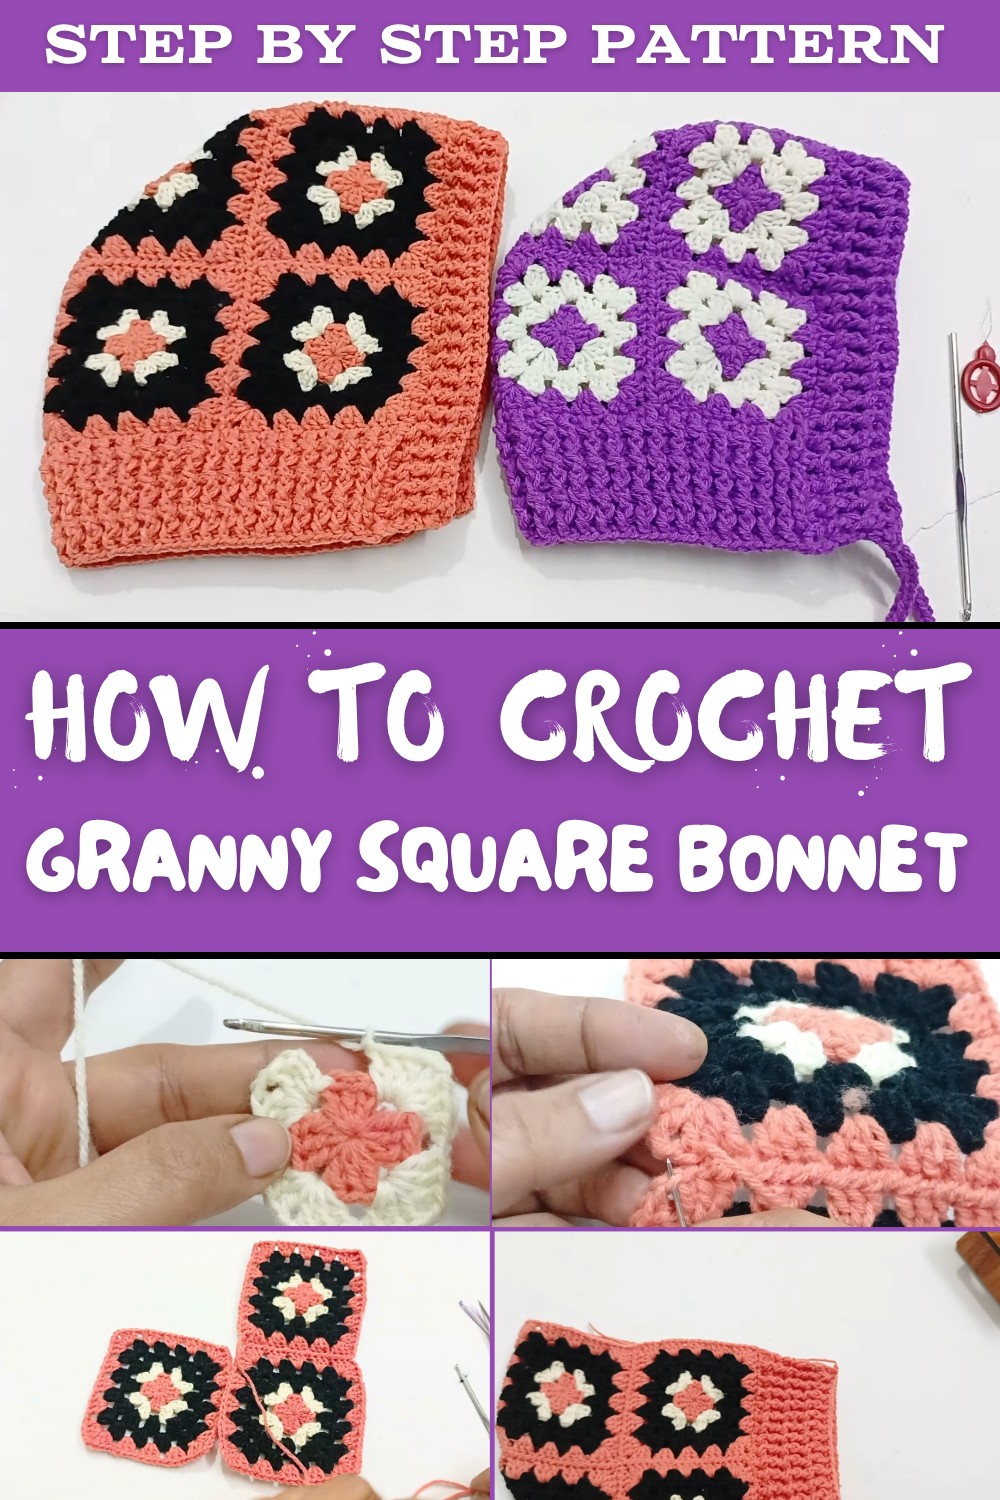
Vintage Granny Square Bonnet Crochet Pattern Free
The Free Crochet Granny Square Bonnet Pattern is ideal for those comfortable with basic stitches and joining methods, making it a great project for confident beginners and intermediate crocheters alike. It offers a wonderful chance to practice making granny squares, perfecting neat joins, and shaping a cozy, wearable piece.
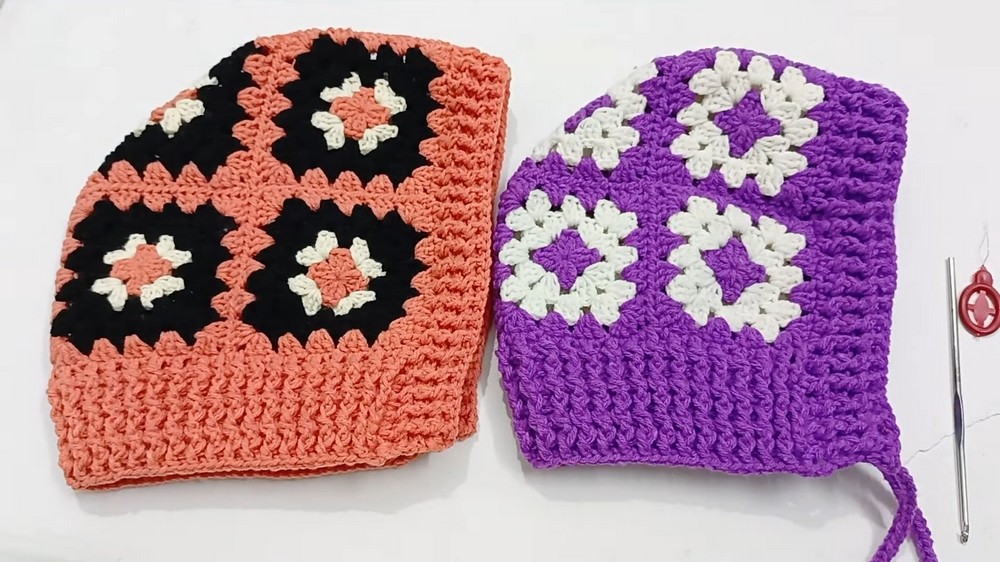
As you work through this pattern, you'll improve your ability to create consistent granny squares and learn how to assemble them into a cohesive, charming accessory. This bonnet isn't just a sweet addition to your wardrobe-it's a thoughtful way to sharpen your crochet skills while crafting something truly unique. Whether for yourself or as a heartfelt gift, it's a project that blends creativity with comfort beautifully.
Crochet Granny Square Bonnet Pattern
This crochet bonnet is beautifully constructed by creating and joining seven individual granny squares, with a carefully designed bottom border and a face-framing front border that gives it an elegant finish. The pattern uses classic granny square techniques combined with textured ribbing to produce a cozy and attractive bonnet. This detailed step-by-step pattern follows a video tutorial, incorporating each significant technique and stitch for a seamless crocheted bonnet project.
Quick Overview of the Pattern
- Create seven individual granny squares, each worked in five rounds starting from a magic ring.
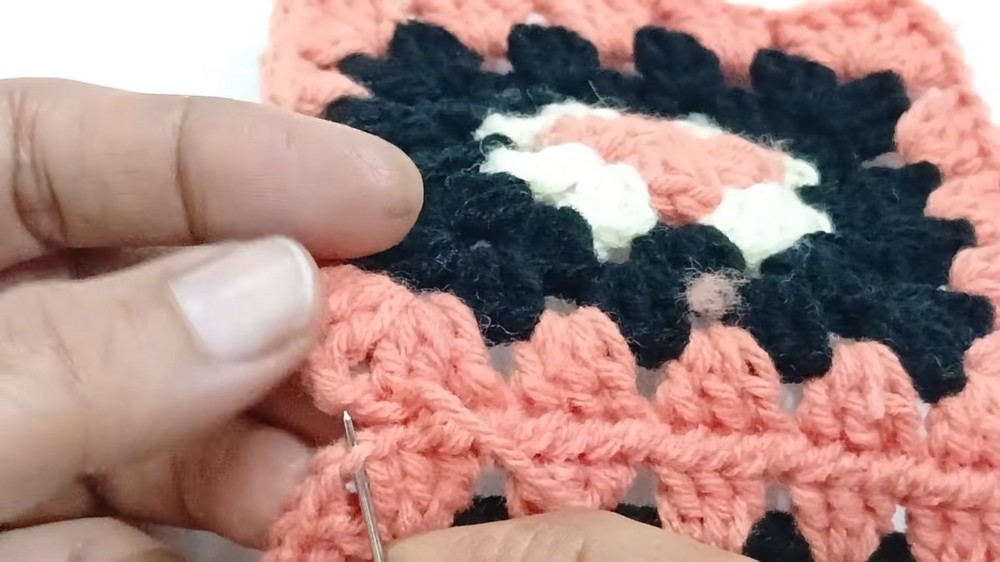
- Join the squares using sewing on the front loops to form the bonnet shape.
- Add a textured bottom border using alternating Front Post Double Crochet (FPDC) and Back Post Double Crochet (BPDC) stitches to create ribbing.
- Crochet a face-framing border along the bonnet opening with double crochet and ribbing stitches to match the bottom border.
- Use 4-ply wool and a 3mm (size 11) crochet hook for the correct gauge and appearance.
- Pompom and chin strap details are available in the accompanying video sequel.
Notes
- The pattern requires intermediate skills: familiarity with granny squares, post stitches, and joining techniques.
- The yarn recommended is 4-ply wool, as it gives the bonnet warmth and a nice stitch definition.
- The bonnet is structured but shows flexibility, ideal for young children and can be sized by adjusting granny square rounds or number.
- The bonnet's seams are joined with yarn needle sewing on the front loops for a neat finish.
- Stitch counts for each round are consistent with standard granny square construction but pay close attention to the chain spaces forming the corners.
- The textured bottom and face borders add extra warmth and form-fitting elastic-like stretch.
Skill Level
Intermediate. Requires comfortable knowledge of:
- Magic ring starting technique
- Double crochet (DC)
- Chain stitch (ch)
- Front and Back Post Double Crochet (FPDC, BPDC)
- Slip stitch (sl st)
- Sewing crochet pieces together
Materials
- 4-ply wool yarn
- 3 mm (size 11) crochet hook
- Yarn needle for joining squares
- Scissors
- Stitch marker (optional)
Measurements / Sizing (Optional Schematic)
- Final bonnet size fits a baby/toddler head. To scale up, add rounds to the granny squares or create larger squares.
- Each granny square approximately size: standard granny square with 5 rounds.
- Assemble seven squares into a bonnet shape as described below.
Gauge
- Gauge measured with DC stitches: Approximately 22 stitches x 8 rows = 10cm (4 inches) in double crochet.
- Gauge is not extremely critical but closely following the yarn weight and hook size is recommended.
Stitch Abbreviations
- ch - chain
- DC - double crochet
- sl st - slip stitch
- FPDC - front post double crochet
- BPDC - back post double crochet
- sp - space
- st - stitch
- MR - magic ring
Special Stitches
- Magic Ring (MR): Adjustable loop starting point for rounds worked in the round.
- Front Post Double Crochet (FPDC): Work double crochet around the post of stitch from the front.
- Back Post Double Crochet (BPDC): Work double crochet around the post of stitch from the back.
Pattern Instructions
Section 1: Creating the Granny Squares (7 rounds total, working up to round 5, optionally 6 for larger squares)
Work each granny square individually. You will make seven identical squares.
Round 1
- Create a magic ring (MR).
- Ch 3 (counts as first DC).
- Work 2 DC in MR, ch 2, 3 DC, ch 2 repeat 3 more times (for a total of four 3 DC groups separated by chain-2 spaces).
- Tighten the magic ring, join with a sl st to the top of the beginning ch-3.
Round 2
- Sl st into the first corner space.
- Ch 3 (counts as DC), 2 DC, ch 2, 3 DC in the same corner space.
- 3 DC, ch 2, 3 DC in each subsequent corner space around (total 4 corners).
- Join with sl st to top of ch-3.
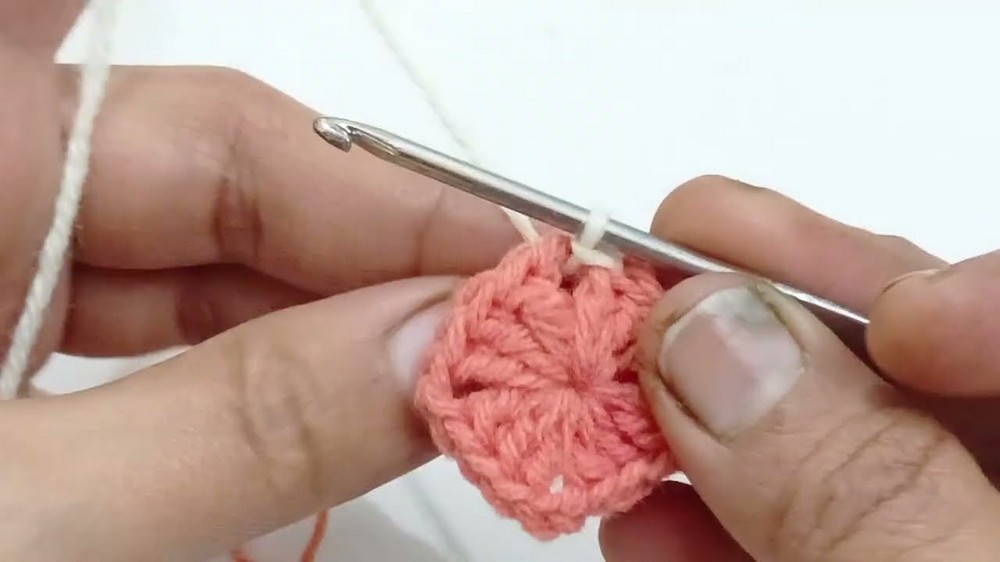
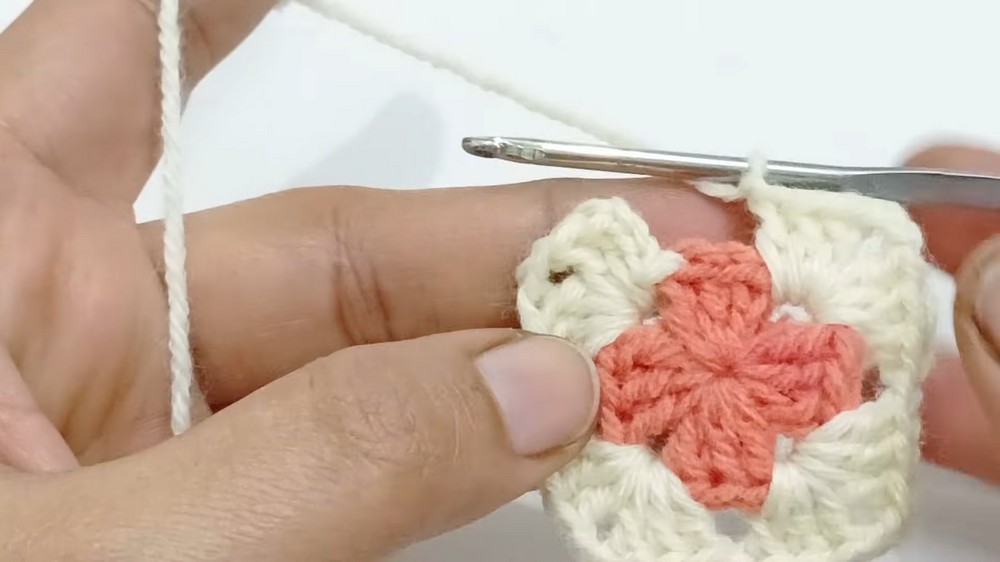
Round 3
- Slip stitch over to the first corner space.
- Work 3 DC, ch 2, 3 DC in each corner space.
- In each side space (chain-1 spaces from previous rounds), work 3 DC.
- Join each round with sl st to top of ch-3.
Round 4
- Slip stitch over to the first corner space.
- Work 3 DC, ch 2, 3 DC in each corner space.
- In each side space (chain-1 spaces from previous rounds), work 3 DC.
- Join each round with sl st to top of ch-3.
- Change yarn colors as desired at the end of rounds.
Round 5
- Repeat the same pattern as rounds 3 and 4 for the final round of the standard size square.
- For larger squares, continue rounds following the established pattern.
Section 2: Joining the Squares
You will join seven granny squares to form the bonnet shape:
- Arrange squares into sections as per video timing. Typically, this means grouping the back/top pieces first, then creating side joins to form the cap structure.
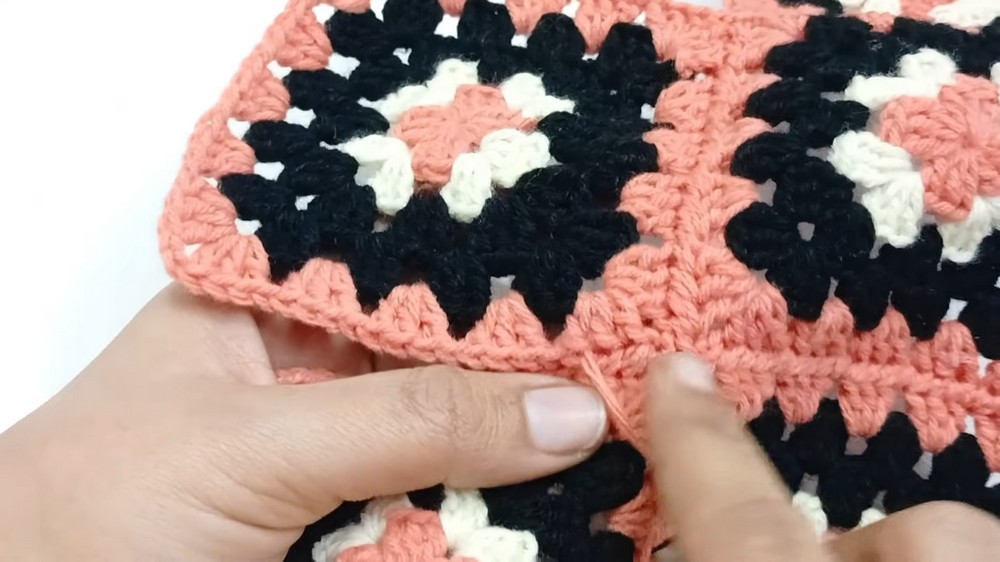
- Join squares using a yarn needle and yarn through the front loops only of stitches to produce clean joins (avoid catching back loops or entire stitch).
- Follow the sequence for assembling: join top/back squares first forming the crown, then join each side square to the central squares completing the bonnet's overall shape.
- Sewing carefully will ensure the bonnet is secure with minimal bulk at the seams.
Section 3: Creating the Bottom Border
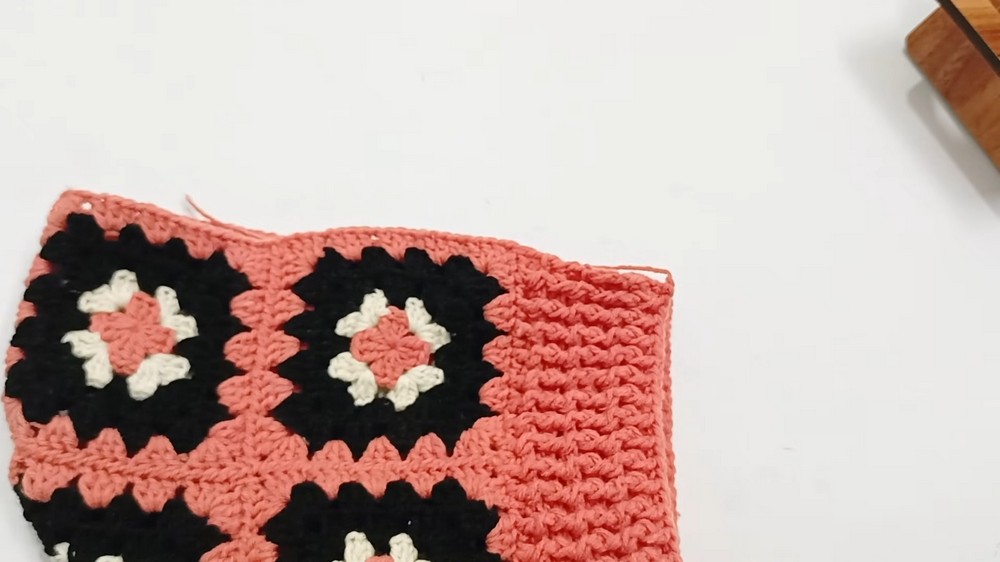
This border adds warmth and elasticity with ribbed texture, working in rounds.
Round 1
- Attach yarn tightly at the bottom edge of the bonnet.
- Work 1 DC in every stitch along the edge, adding extra stitches into corners and join holes to maintain flatness without puckering.
- Join round with a slip stitch.
Round 2
- Work in ribbing by alternating FPDC and BPDC stitches around the border.
- Each round, turn the work before starting the next round.
Round 3
- Work in ribbing by alternating FPDC and BPDC stitches around the border.
- Each round, turn the work before starting the next round.
Round 4
- Work in ribbing by alternating FPDC and BPDC stitches around the border.
- Each round, turn the work before starting the next round.
Round 5
- Work in ribbing by alternating FPDC and BPDC stitches around the border.
- Each round, turn the work before starting the next round.
Round 6
- Work in ribbing by alternating FPDC and BPDC stitches around the border.
- Each round, turn the work before starting the next round.
Round 7
- Work in ribbing by alternating FPDC and BPDC stitches around the border.
- Each round, turn the work before starting the next round.
Section 4: Working the Front Face Border
This border frames the face opening and matches the bottom ribbing for harmony and fit.
Base Row
- Attach yarn to the face edge of bonnet (starting at initial border).
- Work 10 DC across the initial bottom face border area.
- Then work 1 DC in every stitch around the face opening, paying special attention to clean, smooth transitions at square corners to maintain structure.
- Join round.
Ribbing Rows
- Work 4 rows in alternating FPDC and BPDC, just like the bottom border, to produce matching ribbed texture.
- Turn the work between rows for consistency.

Assembly & Finished Size
- After completing the borders, weave in all ends securely.
- The bonnet is ready for final blocking if desired for an even finish.
- The bonnet fits infants/toddlers; adjust granny square size or number of rounds for different sizes.
- Add pompom and chin strap from the next section of the tutorial for a complete finished bonnet.
Conclusion
This granny square bonnet blends classic crochet techniques with clever finishing to create an attractive and cozy accessory. The construction through individual granny squares provides versatility in color and customization, while the ribbed borders add warmth, elasticity, and a polished look. The joining method ensures durability without bulky seams, making it comfortable for the wearer.
Utilizing 4-ply wool and a 3mm hook balances stitch definition and softness, ideal for delicate skin. Although intermediate in skill, this project rewards with a timeless handmade piece perfect for chilly days. Follow the steps carefully for best results, and stay tuned for the charming pompom and chin strap in the forthcoming chapter of the series!