
Free Summer Lace Hat Crochet Pattern for Chic Accessories
Style your summer with the Crochet Summer Lace Hat Pattern, featuring breathable, elegant stitches for sunny days and a lightweight, chic accessory.
Lightweight and breezy, this beautiful design is perfect for warm, sunny days when you want to combine style with functionality. The Crochet Summer Lace Hat Pattern features delicate, openwork stitches that create a breathable, airy texture, making it an ideal accessory for protecting yourself from the sun while adding a touch of elegance to your outfit.
Free Crochet Lace Hat Pattern That's for Summer Outfits

Perfect for those who love creating chic yet practical pieces, this project is a joy to make and customize. Choose soft cotton or linen yarn in your favorite summer colors to suit your wardrobe or experiment with neutrals for a timeless look. Whether worn during a seaside stroll, a picnic in the park, or even as a unique handmade gift, this hat brings a blend of comfort and sophistication. Its lacy details not only make it lightweight but also turn a simple design into a standout fashion accessory.

Summer Lace Hat - Detailed Crochet Pattern
Materials
- Yarn: Lace yarn (cotton or cotton blend with synthetic fiber).
Recommended: 50g/260m per ball. One ball makes 3-4 hats. - Crochet Hook: 2.0 mm (may substitute 1.5 mm for extra delicacy).
- Scissors
- Yarn needle with blunt tip (for weaving in ends)
Special Techniques & Key Stitches
US Crochet Terms Used:
- Treble Crochet (tr):
Yarn over twice, insert hook into stitch, yarn over and pull up a loop. (4 loops on hook)
Yarn over, pull through 2 loops (3 loops remain).
Yarn over, pull through 2 loops (2 loops remain).
Yarn over, pull through last 2 loops (1 loop left). - Chain (ch)
- Slip Stitch (sl st):
Insert hook, yarn over and pull through both loops. - Magic Ring:
Used to begin in the round, creates adjustable center. - V Shape:
(tr, ch 1, tr) worked into same space.
Pattern Instructions
1. Starting the Hat
Step 1: Begin with a Magic Ring
- Leave a 20-30cm tail for weaving in later.
- Wrap yarn around your finger twice, crossing strands.
- Create a small loop (counterclockwise, right to left).
- Insert hook under the loop, yarn over, pull through to form loop on hook.
- Chain 3 (counts as first treble crochet).

Step 2: First Round
- Inside the magic ring, work 19 more treble crochets (total = 20 tr, with initial ch-3 counting as tr).
- Pull yarn tail gently to tighten and close the ring.
- Find the top chain of the first stitch (third chain), insert hook, and make a slip stitch to join the round.
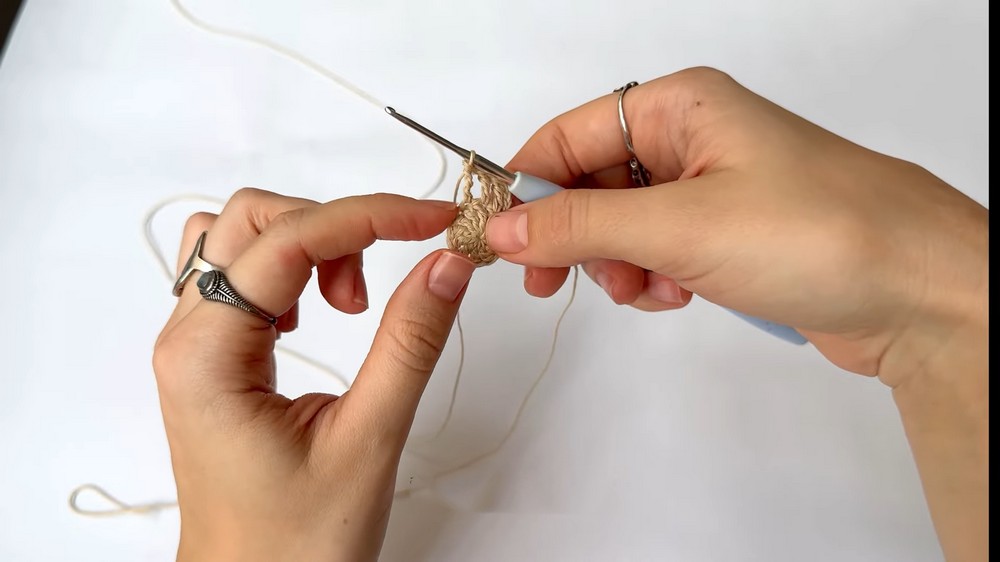
2. Row 2: Building the Lace Structure
- Ch 4 (counts as first treble crochet).
- [tr, ch 1] repeat around, working each tr into the top of the next stitch.
- Pattern: One treble crochet, one chain, one treble crochet, one chain… all around.
- End with last chain stitch to complete final arch.
- Insert hook into third chain from the beginning, make a slip stitch to close the round.
3. Row 3: V-Shapes
- Insert hook into first chain space, pull up loop, make a slip stitch.
- Ch 3 (counts as first treble crochet).
- In same space: tr (1 treble crochet).
- Ch 1.
- In next chain space: tr, ch 1, tr.
- Ch 1 between each V shape.
- In each space: Work (tr, ch 1, tr), then ch 1.
- Repeat for all chain spaces around (13 V-shapes total).
- Finish round with a slip stitch in top of beginning ch-3.

4. Row 4: Expanding the Lace
- Insert hook into first space, pull up loop, sl st.
- Ch 3 (first tr).
- In same space: tr.
- Ch 3.
- Skip one space.
- In next space: (tr, ch 1, tr).
- Ch 3.
- Repeat: Skip one space, in next space (tr, ch 1, tr), ch 3.
- Continue pattern around, ending with ch 3 and sl st into top of starting chain.
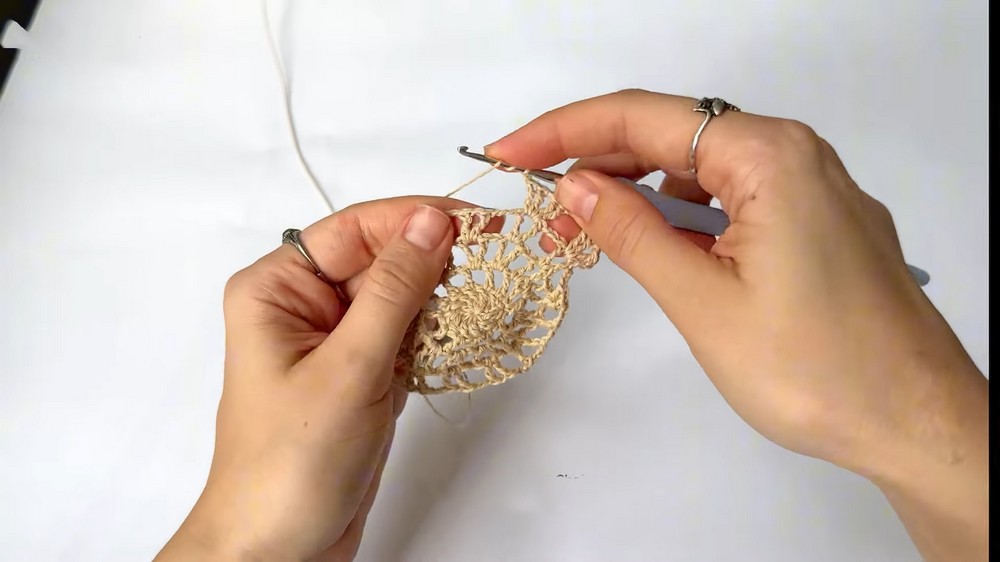
5. Row 5: Main V-Shapes Pattern
- Insert hook into first small space, pull up loop, sl st.
- Ch 2 (first tr).
- In same space: tr, ch 1, tr, tr (total of 4 tr separated by ch 1).
- Ch 3.
- Skip large space, next small space: (tr, ch 1, tr, tr).
- Ch 3 between V-shapes, working only in small V-shaped spaces.
- Continue all the way around, ending with ch 3, sl st into top of beginning chain.
6. Row 6: Increasing Lace for Body
- Insert hook into center of V-shape, pull up loop, sl st.
- Ch 2.
- In same space: tr, ch 1, tr, tr.
- Ch 5.
- Next V-shape space: tr, ch 1, tr, tr.
- Ch 5 between V-shapes.
- Continue around, end with ch 5, sl st to join.
7. Row 7 and onwards: Expanding for Fit
- Begin each row in center of V-shape; sl st, ch 2, tr, ch 1, tr, tr in same space.
- Chains between V-shapes increase with each row:
- Row 7: Ch 7
- Row 8: Ch 8
- Row 9: Ch 9
- Row 10: Ch 11
- Repeat: In each V-shape space, (tr, ch 1, tr, tr), then ch [] as above.
- Continue pattern for fit and expansion.
8. Rows 11-18: Forming Hat Body (No More Increases)
- Begin each row as before; sl st, ch 2, tr, ch 1, tr, tr in center of V.
- Ch 13 between V-shapes for all these rows.
- Work until you have desired depth - usually 18 rounds (but may customize for head size).
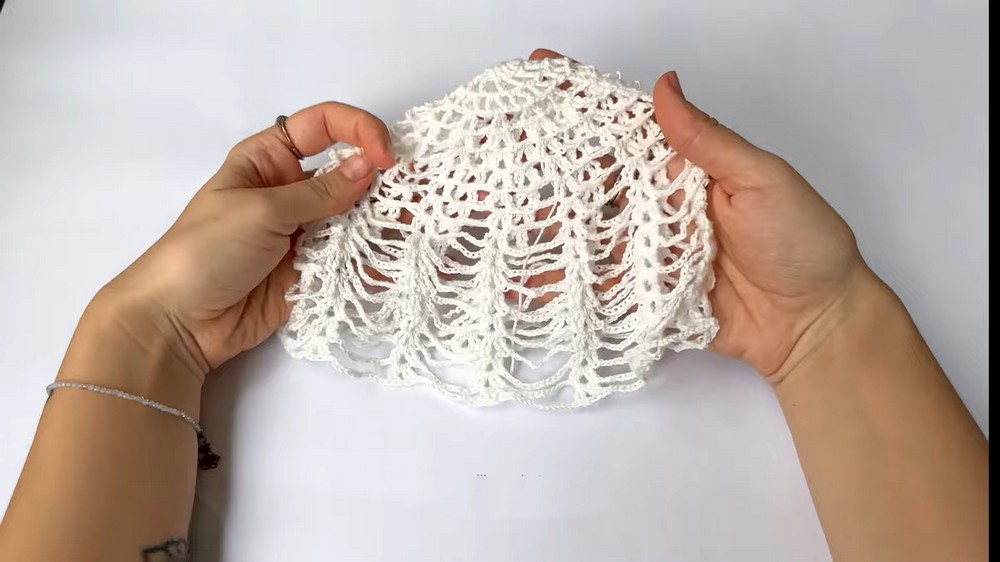
9. Final Round & Finishing
- On the last round, after last V-shape, ch 13, sl st to join as before.
- Make several slip stitches along edge for security.
- Cut yarn, leaving 15-20cm tail; pull final loop all the way through to fasten off.
- Using yarn needle, weave end into stitches (3-5cm) to secure and hide.
- Repeat with tail from magic ring start.
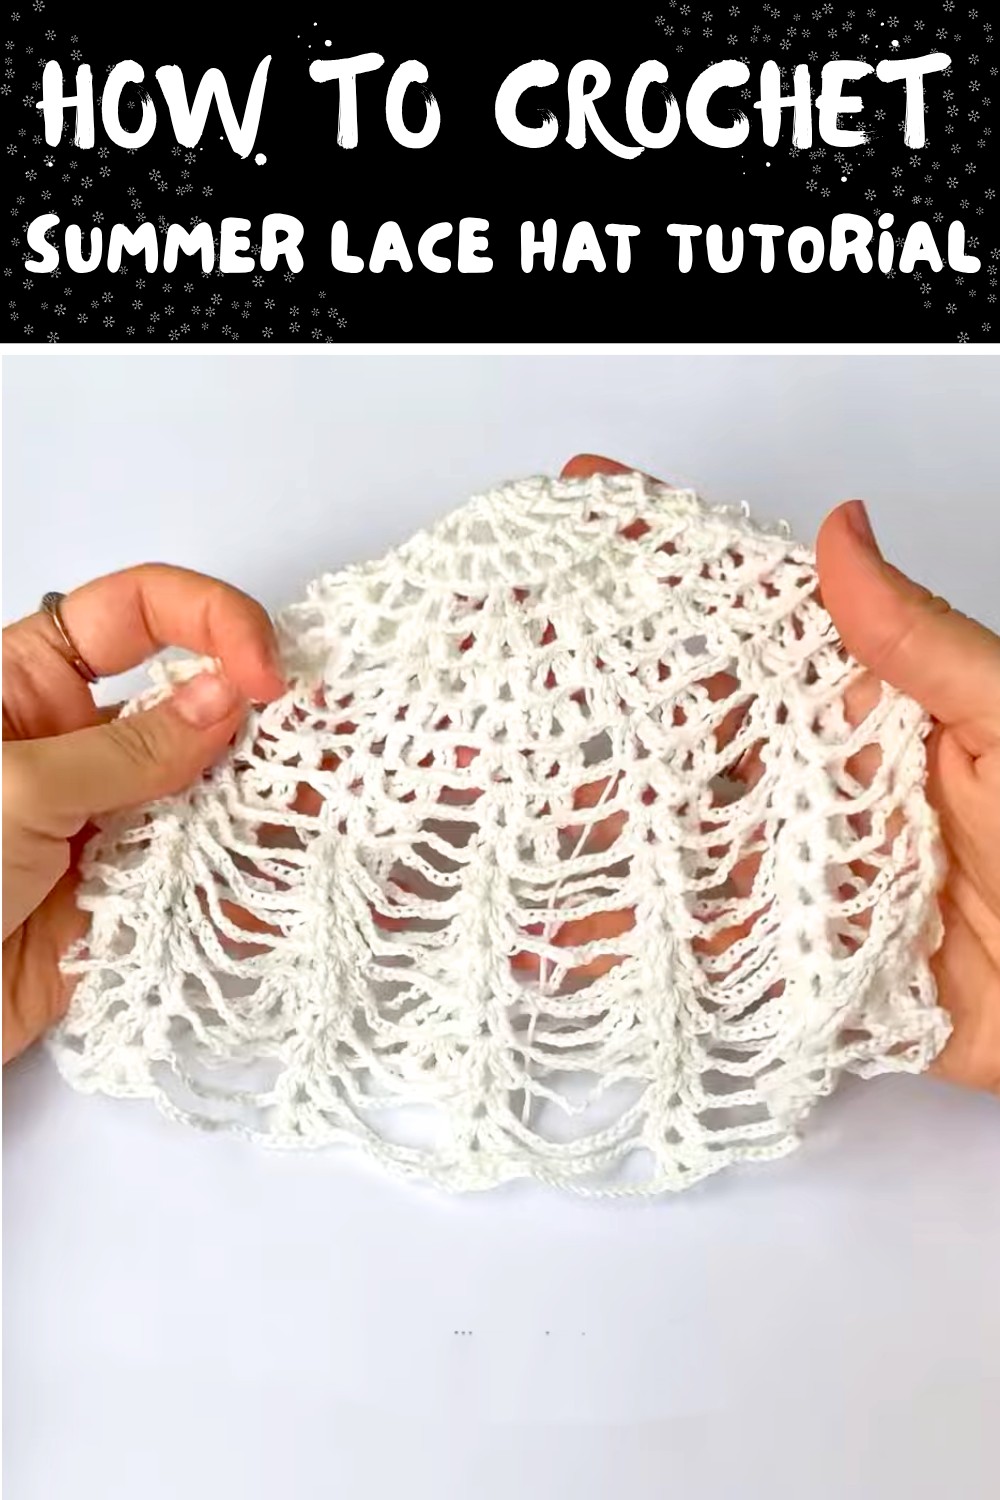
Final Words & Maintaining the Pattern
- Your hat is now complete! The finished hat is light, airy, and beautifully lacy, perfect for summer wear.
- Tips:
- Use gentle hands, as lace yarn is very delicate.
- If your hat appears flat while working, don't worry - it will form a rounded shape after the increases stop and sides are worked.
- If you need a larger/smaller size, adjust the number of rounds with 13 chains, or use a larger/smaller hook.
- For extra security, gently block your hat after finishing to improve shape and drape.
- Always weave in ends using a yarn needle for a neat finish.
Suggestions & Customization
- Try variations in color for stripes or ombré effects.
- Add a picot edge or simple scallop on the last round for extra charm.
- Attach a simple cord or decorative band for a secure fit.
- Use a synthetic blend to improve elasticity if desired.
Conclusion
Your summer lace hat is finished - an elegant, nearly weightless accessory that adds a delicate touch to your wardrobe. Wear it proudly, share photos, and enjoy the compliments.