
Fun Free Crochet Bunny With a Big Bow Pattern for Gifting
Hop into the fun with this adorable crochet bunny with a big bow used as a heartfelt gift or a sweet decoration to cherish forever.
There's something magical about creating a little bundle of cuteness with your own hands. From its soft, round body to its floppy ears and an oversized bow, this crochet bunny melts hearts at first sight. Whether it's sitting on a shelf, bouncing along as a keychain, or bringing giggles to a child's day, this bunny isn't just a project, it's a tiny treasure full of personality.
Free Crochet Bunny With a Big Bow Pattern to Melt Anyone's Heart

The free pattern makes it so easy to bring this adorable companion to life, whether you want a big huggable bunny with chenille yarn or a smaller, keychain-sized version using fine milk cotton. Its sweet little details, from the embroidered nose to its sparkling eyes and soft blush, give it a charm that's hard to resist. This is a project where crochet meets creativity, offering you something fun, simple, and truly delightful to make and cherish.
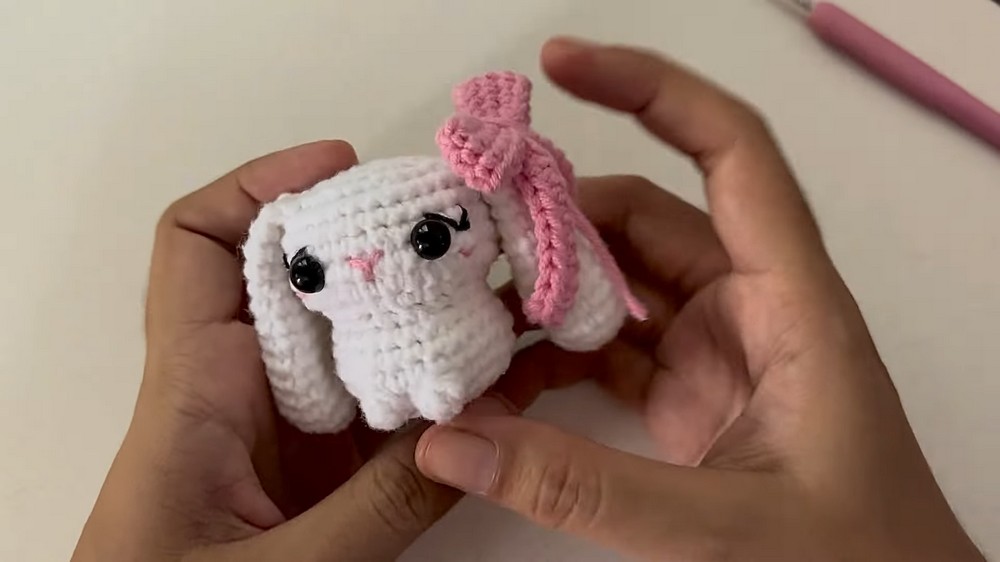
Crochet Bunny with Bow Pattern
Materials Needed
- Yarn:
- Big bunny: Chenille yarn.
- Small bunny: Milk cotton yarn.
- Crochet Hook:
- Big bunny: 5 mm hook.
- Small bunny: 2.5 mm hook.
- Stuffing: Polyester fiberfill for stuffing the body and head.
- Safety Eyes:
- Big bunny: 10mm plastic eyes.
- Small bunny: 5mm plastic eyes.
- Tapestry Needle: To sew and hide the tails.
- Stitch Markers: Optional, but useful for marking rounds.
- Scissors: For trimming yarn.
- Glue: To attach the plastic safety eyes (optional for added stability).
- Black yarn: For eyelashes.
- Pink yarn: For nose and blush details.
Gauge
No strict gauge is required for this pattern. The size will vary based on yarn weight and hook size. Ensure the stitches are tight enough to prevent stuffing from showing through.
Pattern Notes
- The pattern is worked in continuous rounds unless specified otherwise.
- Always use a stitch marker to mark the first stitch of each round and move it up as you progress.
- If you'd like a larger or smaller bunny, the size can be adjusted by varying the yarn weight and hook size.
Finished Size
- Big Bunny: Approximately 5 inches (depending on chenille yarn and a 5mm hook).
- Small Bunny: Approximately 3 inches (depending on milk cotton yarn and a 2.5mm hook).
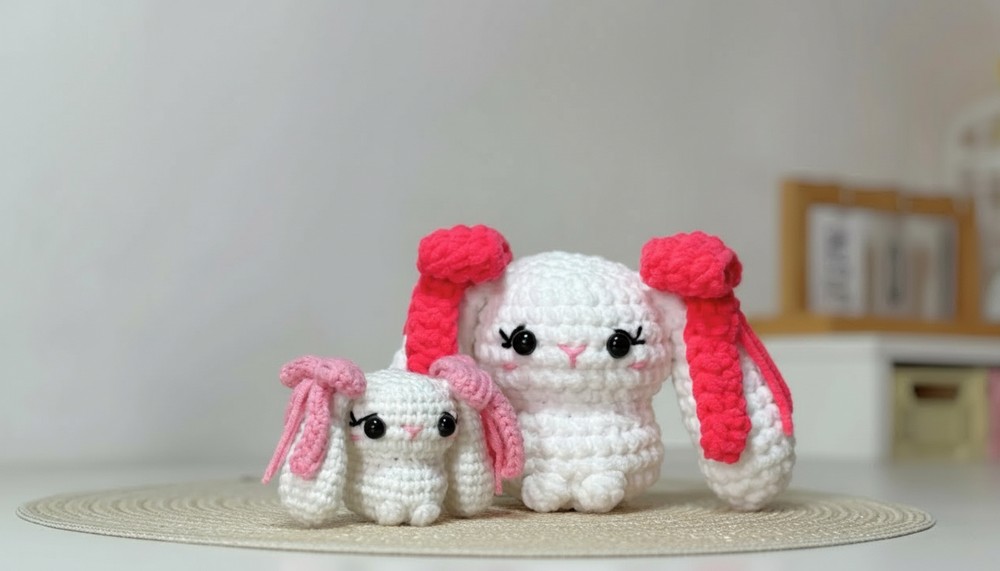
Crochet Pattern
Body and Head
Body:
- Round 1: Create a magic ring, make 8 single crochet (sc) into the ring. Tighten the ring. (8 sts)
- Round 2: Increase in every stitch (2 sc in each st). (16 sts)
- Round 3: 1 sc, 1 inc - repeat 8 times. (24 sts)
- Round 4: 2 sc, 1 inc - repeat 8 times. (32 sts)
- Round 5: Work additional texture (4 triple crochet cluster at the first st, followed by 13 sc, 4 dc cluster into the next st, 2 sc, 4 dc cluster, and finish with 14 sc). (32 sts)
- Round 6: Work 1 sc into each stitch all around. (32 sts)
- Round 7: Add shaping by working decreases. 1 sc, 1 invisible decrease (inv dec), repeat the pattern for the row. (Lowered count accordingly.)
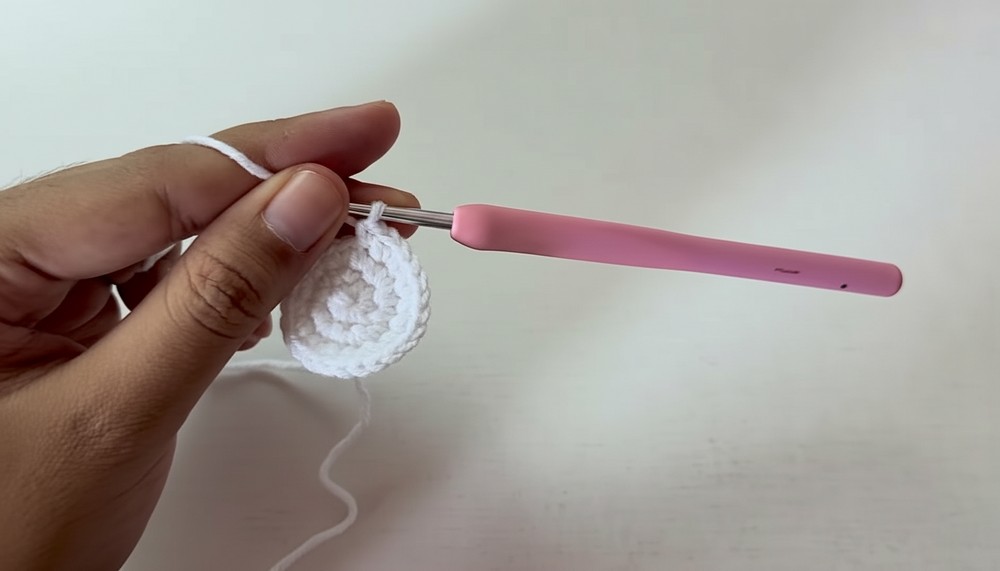

Continue shaping with decreases for each subsequent round, focusing on a balanced reduction in stitches while maintaining a rounded body shape. Your body is complete at around Round 9 when the size looks round and compact.

Head:
Attach the head directly to the body:
- Round 10: Work into the front loops only (FLO) across the stitches from the body's last round. 1 sc, 1 inc, repeat around the row.
- Round 11: 2 sc, 1 inc, repeat until the end. (40 sts approx.)
- Round 12-13: Work 1 sc in each st around to build height.

For shaping:
- Gradually decrease the stitches in a pattern like 3 sc, 1 inv dec and continue to a tighter closure. Stop and stuff the head firmly before the opening becomes too tight.
- Final Round: Inv dec around until 8 sts remain. Use a tapestry needle to weave through the front loops of the last 8 sts, pull tight to close, and hide the tail.

Ears
- Round 1: Magic ring, 6 sc into the ring. (6 sts)
- Round 2: 1 inc in every st. (12 sts)
- Round 3: 1 sc, 1 inc, repeat 6 times. (18 sts)
- Round 4-7: Work 18 sc around for these rows.
- Round 8: 4 sc, 1 inv dec, repeat 3 times. (15 sts)
- Round 9-10: Work 15 sc around to maintain the shape.
- Round 11: 3 sc, 1 inv dec, repeat 3 times. (12 sts)
- Round 12-13: Work 12 sc around.
- Round 14: 2 sc, 1 inv dec, repeat 3 times. (9 sts)
- Round 15: Sew the top edge flat with sc. Leave a long tail for sewing.


Eyes, Nose, and Blush
- Attach the safety eyes between Rows 12-13 on the head, spaced 6 stitches apart.
- Use a needle and black yarn to embroider eyelashes. Insert and secure yarn from the back of the head.
- For the nose, use pink yarn. Embroider a small triangle shape between the eyes.
- Optionally, use pink yarn to add blush near the eyes.

Bow
Bow Ring:
- Chain 20 stitches, join with a slip stitch into a loop.
- Work 20 sc in the ring for 3 rounds. Slip stitch to bind off and cut yarn.
Bow Base:
- Chain 22 stitches.
- Starting from the 3rd chain, work 20 half double crochet (hdc) across.
- Weave in ends and fold this piece. Center it with Bow Ring and tie securely by wrapping yarn around.
Attach the bow to one ear or the top of the bunny's head.

Finishing Touches
- Sew ears securely to the sides of the head.
- Attach the bow to the ear with hidden stitches.
- Make sure all yarn tails are hidden neatly and finish stuffing if needed.

Tips and Customization Ideas
- Use different yarn colors for a playful and vibrant bunny.
- For a keychain, make the bunny smaller using finer yarn and hooks.
- Add a little crochet flower or other accents (e.g., tiny scarf).
- Embellish the bow with beads or sequins for extra charm.
Conclusion
Your crochet bunny with its adorable bow is complete! Whether you're using it as a toy, a decoration, or a gift, this crochet bunny is sure to delight. By playing with yarn texture and hook size, you can craft a variety of bunnies to suit your needs. Don't forget to share your creation and have fun crocheting this heartwarming project.