
Fun Free Crochet Ghost Pattern That’s for Halloween
Bring some spooky fun to your space with this FREE Crochet Ghost Pattern that works for Halloween decorations and adds playful handmade charm to any corner.
Decorating for spooky season doesn't have to rely on store-bought items-why not add a handmade touch to your Halloween décor? A Free Crochet Ghost Pattern can help you create adorable little ghosts that are perfect for adding charm to your space. Whether you're making them to hang as garlands, use as table decorations, or even gift as playful keepsakes, these crochet ghosts are quick, fun, and endlessly customizable.
Simple and Charming Free Crochet Ghost Pattern for Seasonal Fun
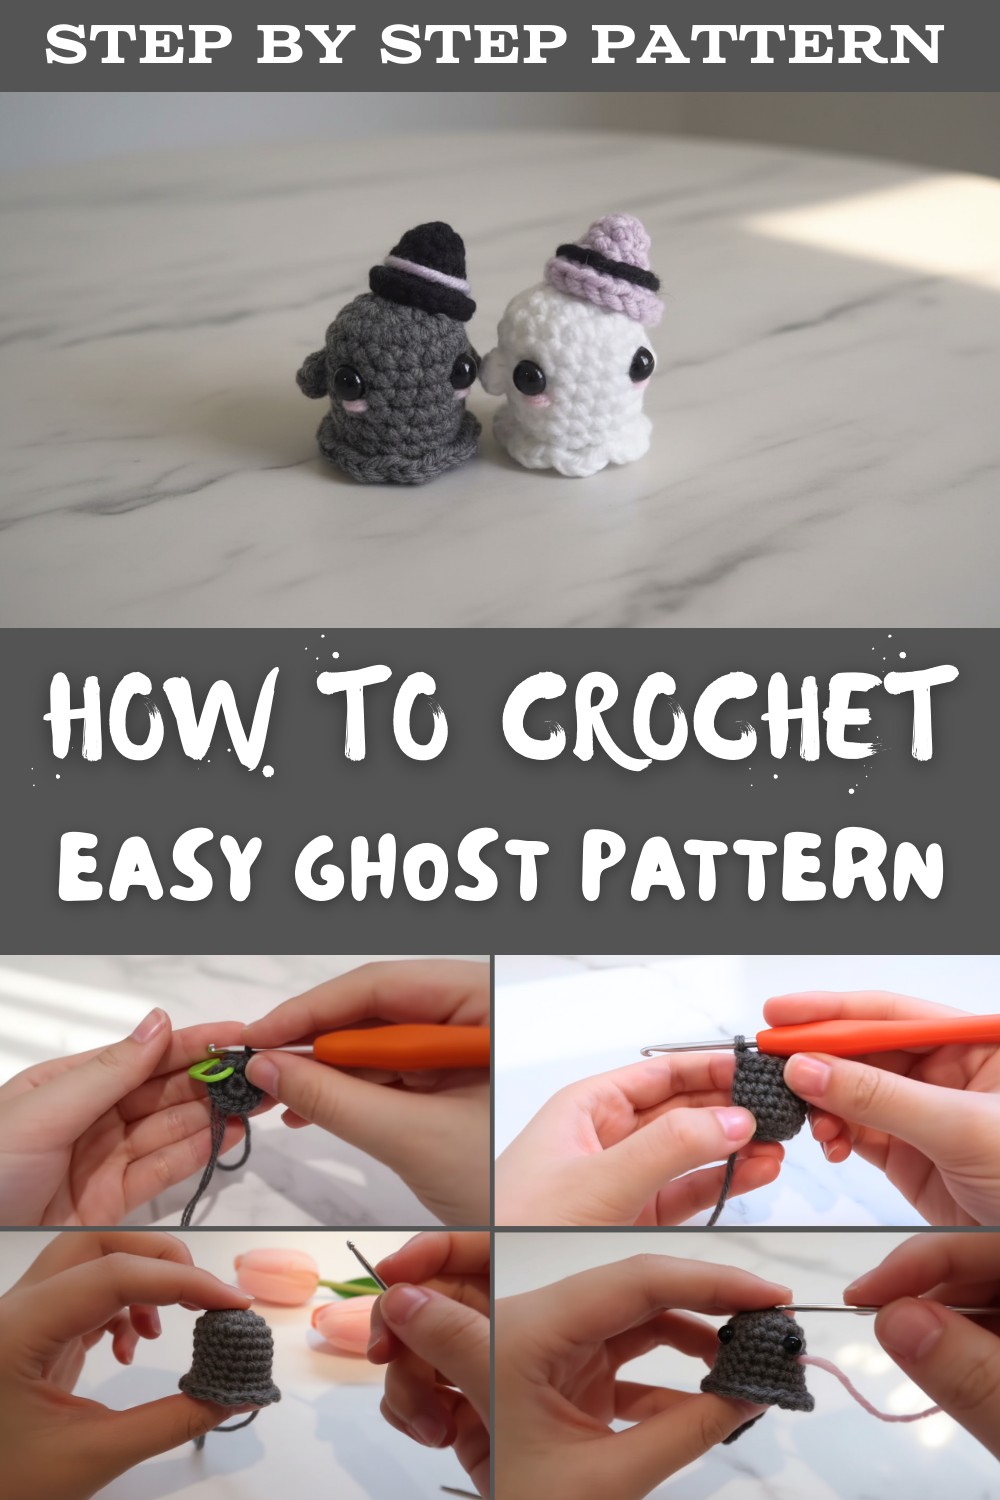
Add safety eyes for a cute look, or stitch on mischievous expressions to make them a little haunting. Perfect for beginners and seasoned crocheters alike, this pattern is a playful way to embrace Halloween vibes while using up leftover yarn.
These lightweight, eye-catching creations work wonderfully as tiered tray accents, dangling ornaments, or even spooky crochet keychains. Handmade ghosts bring character and warmth to any Halloween display-and they're just so fun to create.
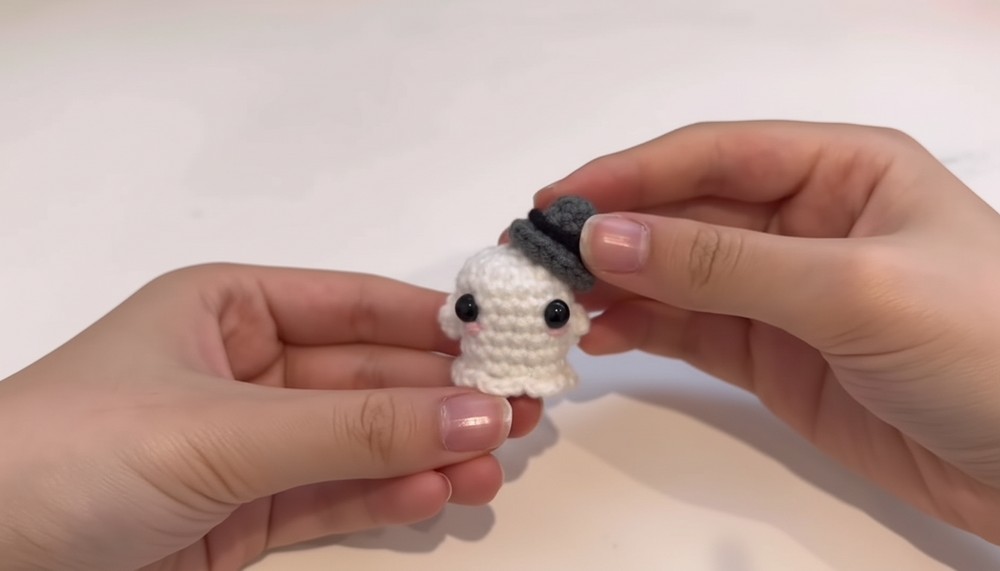
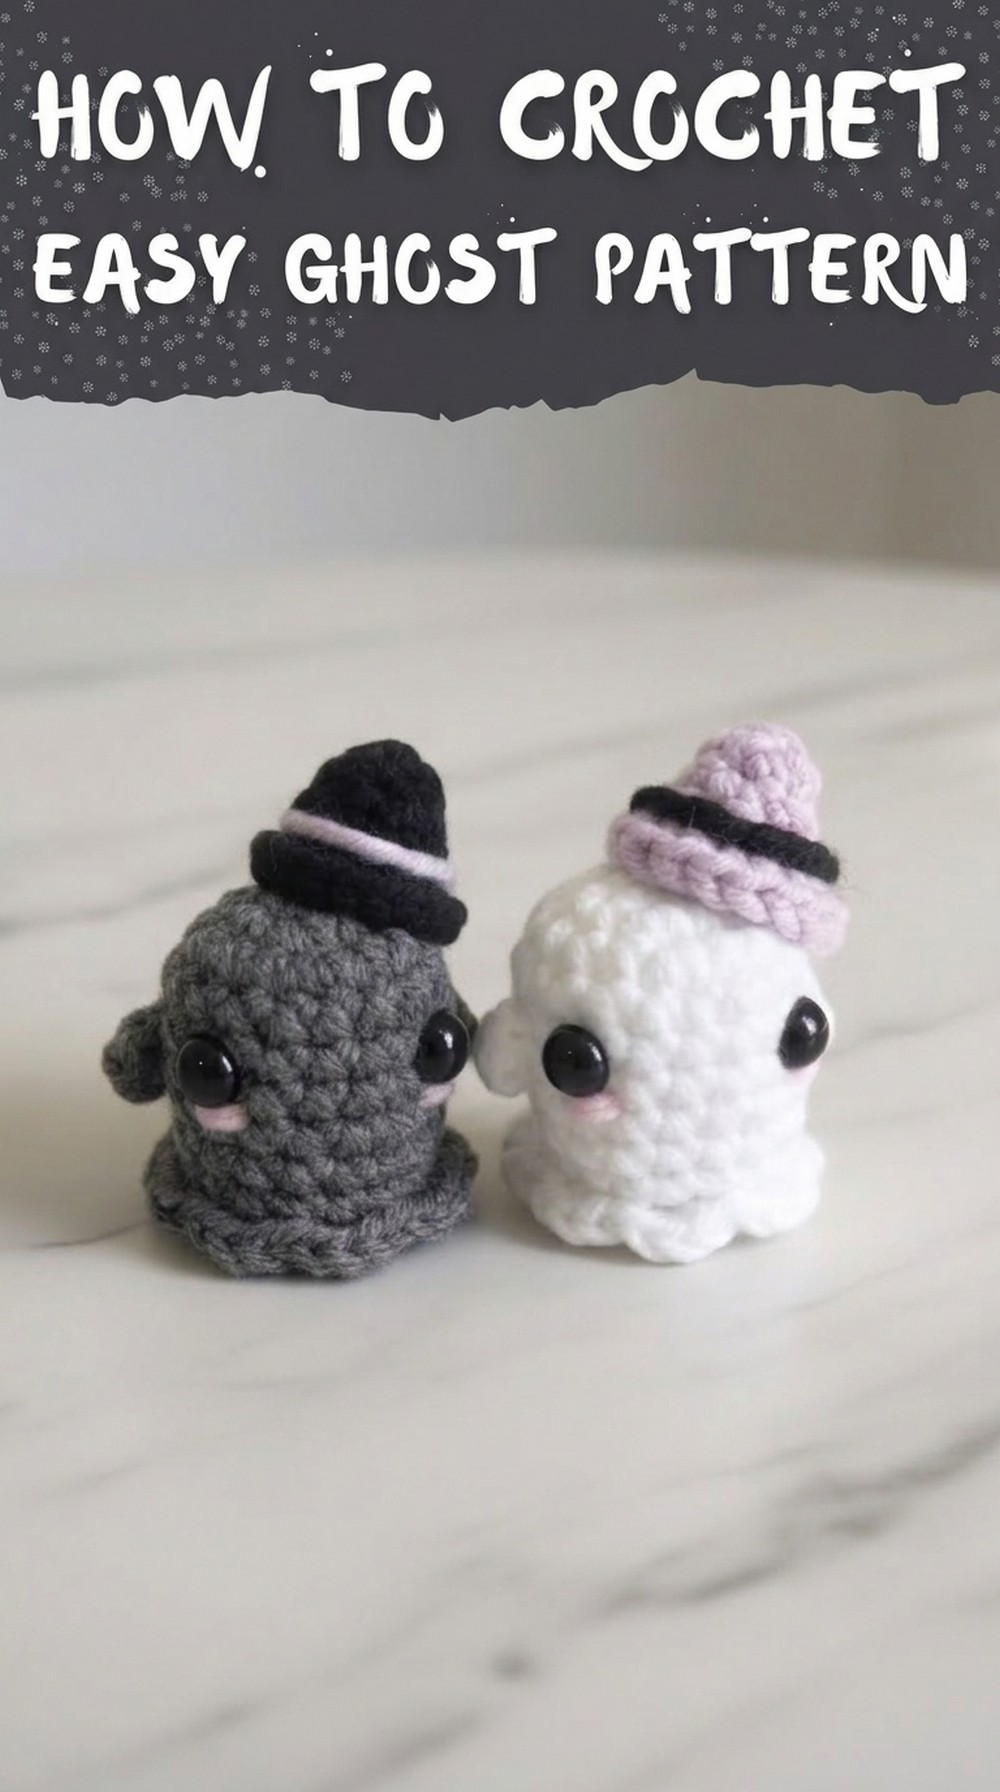
Crochet Ghost and Hat Pattern
Materials
To create your ghost and hat, you will need:
Ghost:
- Yarn: 5-ply milk cotton yarn in white (for the body), black (for details), and pink (for blush).
- Crochet Hook: 3 mm.
- Eyes: 3.5 mm safety eyes (or embroidered).
- Tools:
- Stitch marker.
- Two darning needles.
- Scissors.
- Glue (fabric glue or hot glue).
Hat:
- Yarn: 5-ply milk cotton yarn in purple (for the hat body) and black (for the brim detailing).
- Optional: Stuffing glue for additional stickiness.
Skill Level
Intermediate.
Key Abbreviations (US Crochet Terminology)
- ch: Chain
- sl st: Slip Stitch
- sc: Single Crochet
- inc: Increase (2 single crochets in one stitch)
- dec: Decrease (single crochet two stitches together)
- st: Stitch
- MR: Magic Ring
Special Notes
- Gauge: Not crucial, but stitches should be fairly tight to ensure the ghost and hat hold their shape.
- Reading the Instructions: Parentheses indicate a series of stitches to be repeated in a round (e.g., (sc, inc) means "single crochet, then increase").
- Working in Rounds: This pattern uses continuous rounds, so do not join at the end of each round unless specified. Use a stitch marker to mark the first stitch of each round.
- Optional Adjustments: You can vary the hat's or ghost's size by using thicker yarn and/or a larger hook.
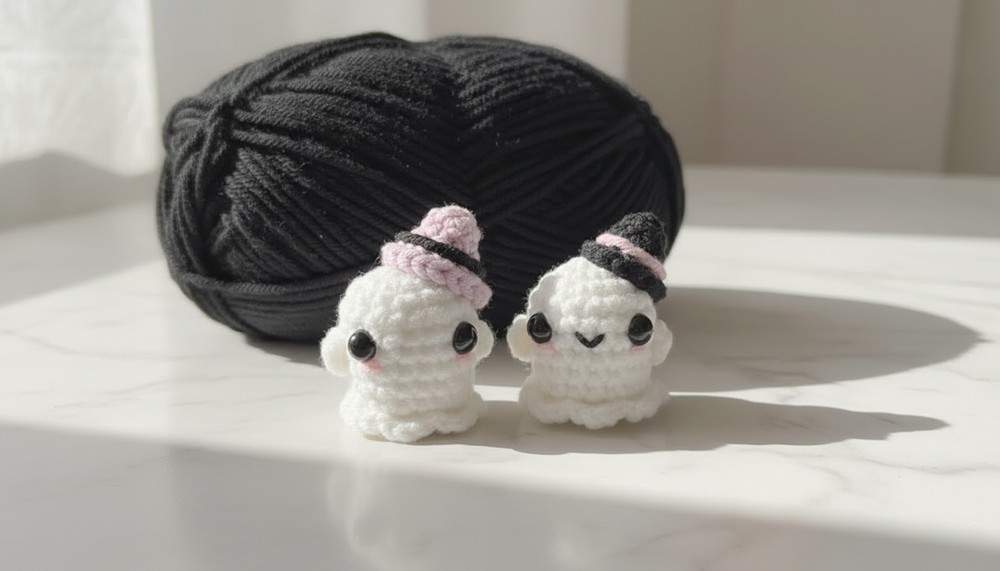
Pattern: Crochet Ghost
Step 1: Ghost Body
Round 1:
- Create a Magic Ring (MR).
- Work 6 sc into the MR.
- Pull the tail of the MR tightly to close the ring. (6 sts).
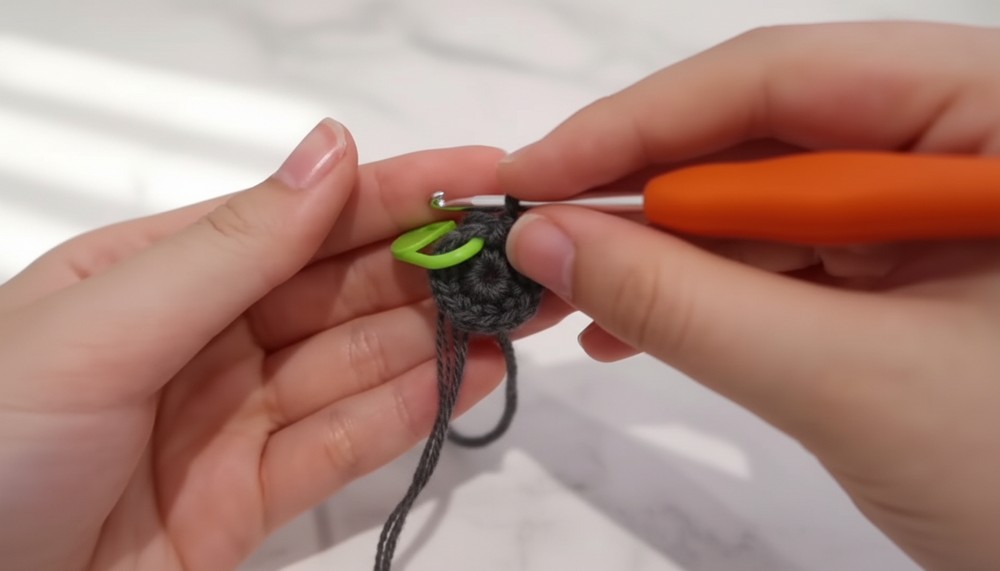
Round 2:
- Work 2 sc in each st around (inc in every stitch). (12 sts).
Round 3:
- (sc, inc) around. (18 sts).
Round 4-9:
- Work 1 sc in each st around. (18 sts per round).Tip: Flip the ghost body inside out as you work these rounds to ensure you are working on the "right side" of the stitches.
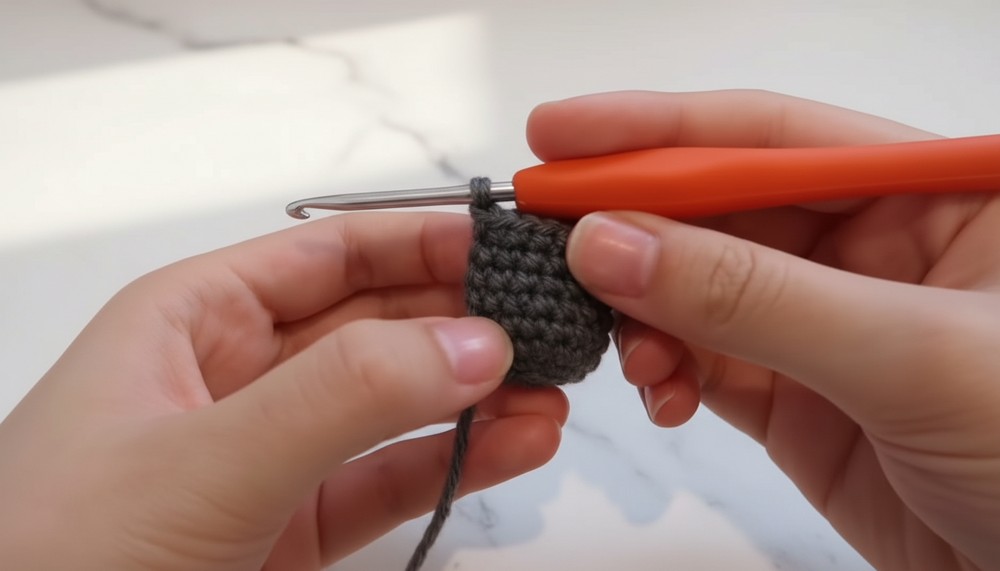
Round 10: (Creating Scalloped Bottom)
- (3 sc in next st, sl st in next st) around. (The bottom will take on a scalloped appearance, representing the ghost's "sheet-like" bottom).
- Fasten off and weave in ends.
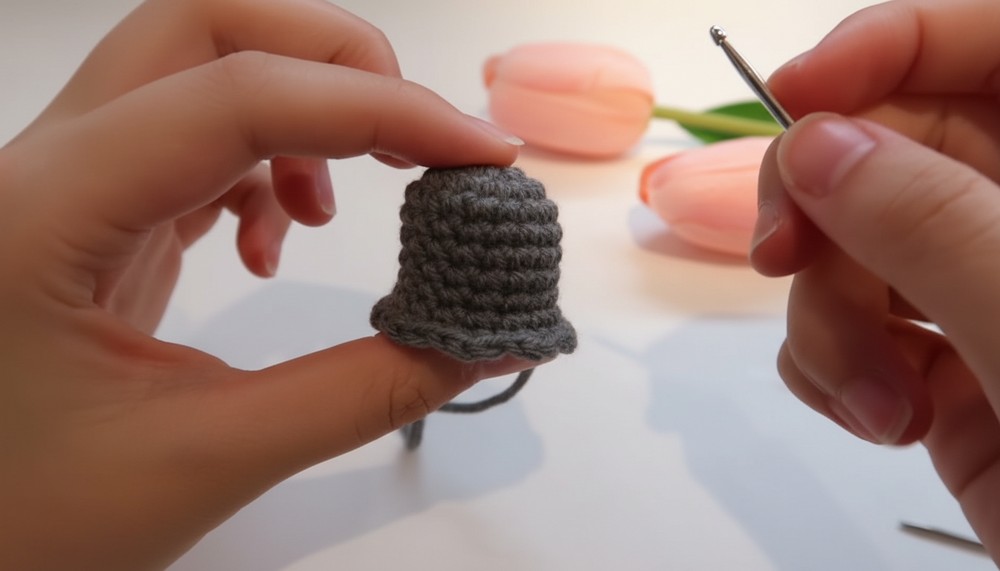
Adding the Eyes
- Identify the placement for the safety eyes between Round 5 and Round 6, leaving 5 stitches between the eyes.
- Use the darning needle to make small holes in the crochet fabric for easier insertion of eyes.
- Insert the eyes and secure the backings.
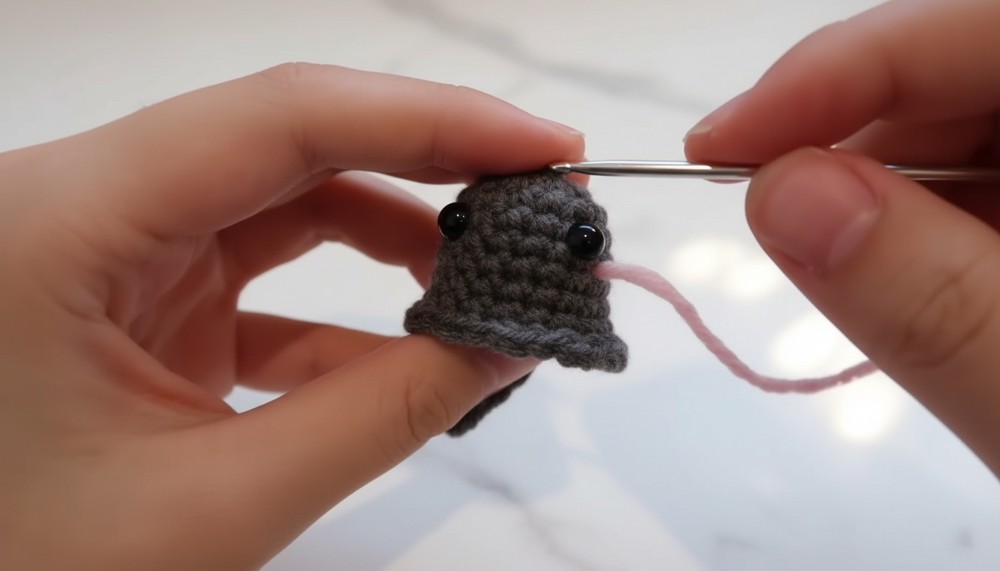
Blush Details
- Use the pink yarn and thread it through the darning needle.
- Stitch a small horizontal line directly under each eye to represent blush. Leave these stitches slightly loose to avoid pulling the fabric tightly.
Adding Hands
Step 1: Create the Hand
- Begin with a slip knot.
- Ch 2.
- Work 1 sc into the second ch from the hook. (1 st).
- Fasten off, leaving a long tail.
Step 2: Attach the Hand
- Using the darning needle, thread the tails of the hand and sew them into place. Position the hands two stitches away from each eye and ensure they are aligned.
- Secure the hand using glue to prevent it from moving or detaching, if desired.
Pattern: Mini Hat
Step 1: Hat Body
Round 1:
- Create a Magic Ring (MR).
- Work 6 sc into the MR. (6 sts).
Round 2:
- 1 sc in each st around. (6 sts).
Round 3:
- (sc, inc) around. (9 sts).
Round 4:
- Work 1 sc in each st around. (9 sts per round).
Step 2: Hat Brim
Round 5:
- Work 2 sc in each st around (inc in every stitch). (18 sts).
- Fasten off.
Step 3: Hat Finishing
- Use black yarn to create a stripe for decoration:
- Thread black yarn through a darning needle.
- Wrap it tightly around the second-to-last round of the hat. Secure the ends by gluing them down.
- Insert the remaining yarn tails into the body of the hat.
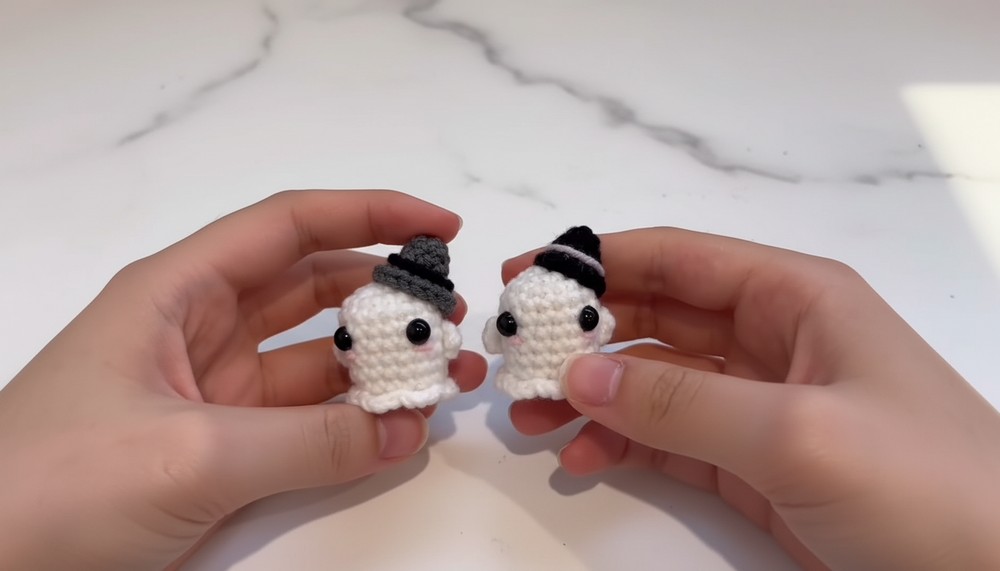
Assembling the Ghost and Hat
- Position the hat slightly tilted on the ghost's head for character.
- Apply glue to the brim of the hat and press it firmly onto the ghost's body. Let the glue dry completely.
Conclusion
Congratulations! You've completed your crochet ghost and hat. This adorable ghost can be used as a keychain, magnet, or Halloween charm. Additionally, you can customize the design by adding different yarn colors for the blush or hat, or even create other accessories for your ghost.
Pattern Corrections & Tips
- If your stitches feel too tight, switch to a slightly larger crochet hook for ease of work.
- Ensure proper tension when working with the magic ring to completely close any gaps in the starting rounds.
- Weave in ends securely to prevent unraveling over time.
- For magnets, glue a small disc magnet to the back of the ghost for a versatile accessory that can stick to metallic surfaces.