Fun Free Crochet Turtle Pattern to Make Soft Baby Toys
Jump into a cute yarn project with this Free Crochet Turtle Pattern and stitch a tiny, lovable turtle that adds playful charm to toys, gifts, or décor.
One quiet afternoon, a small handmade toy resting on a table can easily catch someone's attention with its gentle charm. That is the kind of joy a Free Crochet Turtle Pattern can bring to anyone who loves simple handmade items. This little turtle has a round shell, tiny legs, and a cute face that makes it look friendly and playful. The soft yarn gives it a warm and cozy feel, making it perfect for holding, decorating a room, or placing on a shelf.
Free Crochet Turtle Pattern for Fun Projects

It can also be a lovely small gift for a child, a friend, or someone who enjoys cute handmade toys. The pattern often uses easy stitches that guide each step clearly, helping even beginners make it with patience. With different yarn colors, the turtle can look bright and lively. In the end, this crochet turtle is a sweet handmade piece that shows beauty, care, and creativity.

Materials Needed
- Yarn:
- Chunky chenille yarn for plush texture.
- Light brown (for Pie Turtle's head and fins).
- Cayenne Red (for Turtle upper shell).
- Beige (for Turtle's head and fins).
- White (for whipped cream accent).
- Chunky chenille yarn for plush texture.
- Hook Size:
- 8 mm crochet hook (adjust hook size to match yarn thickness).
- Notions:
- Stitch markers.
- 12 mm safety eyes.
- Darning needle.
- Scissors.
Gauge
Gauge is less critical for this plushie. Ensure stitches are tight to prevent fiberfill from showing through.
- Gauge Estimation: 8 sc x 6 rows = 4 inches (10.2 cm).
Finished Size
- Pumpkin Pie Turtle: Approximately 7-8 inches long with whipped cream accent.
- Pumpkin Turtle: ~7 inches round.
(Note: Size will vary depending on yarn and tension.)
Step-by-Step Pattern
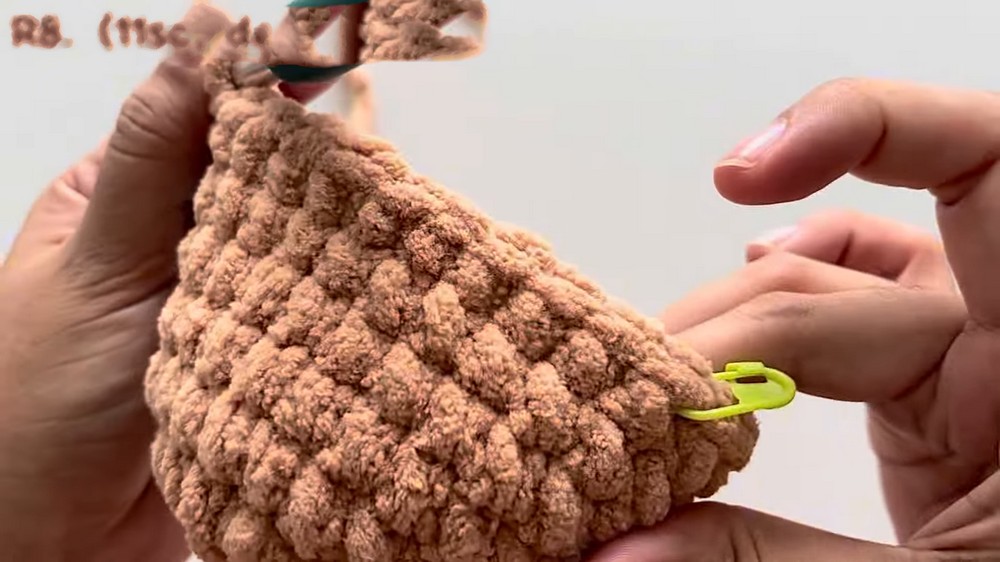
Part 1: Turtle Head
- Magic Ring:
- Create a magic ring with light brown yarn (Pumpkin Pie Turtle) or beige yarn (Pumpkin Turtle).
- Work 8 single crochet (sc) into the ring. Tighten the ring. (8 sts)
- Round 2:
- Work 1 sc inc in each stitch around. (16 sts)
- Round 3:
- Pattern: Work 1 sc, 1 sc inc, repeat eight times. (24 sts)
- Round 4:
- Pattern: Work 11 sc, 1 sc inc, repeat two times. (26 sts)
- Rounds 5-7:
- Work 1 sc in each stitch around. (26 sts)
- Round 8:
- Pattern: Work 11 sc, 1 sc dec, repeat two times. (24 sts)
- Round 9:
- Pattern: Work 1 sc, 1 sc dec, repeat eight times. (16 sts)
- Round 10:
- Work 1 sc in each stitch around. (16 sts)
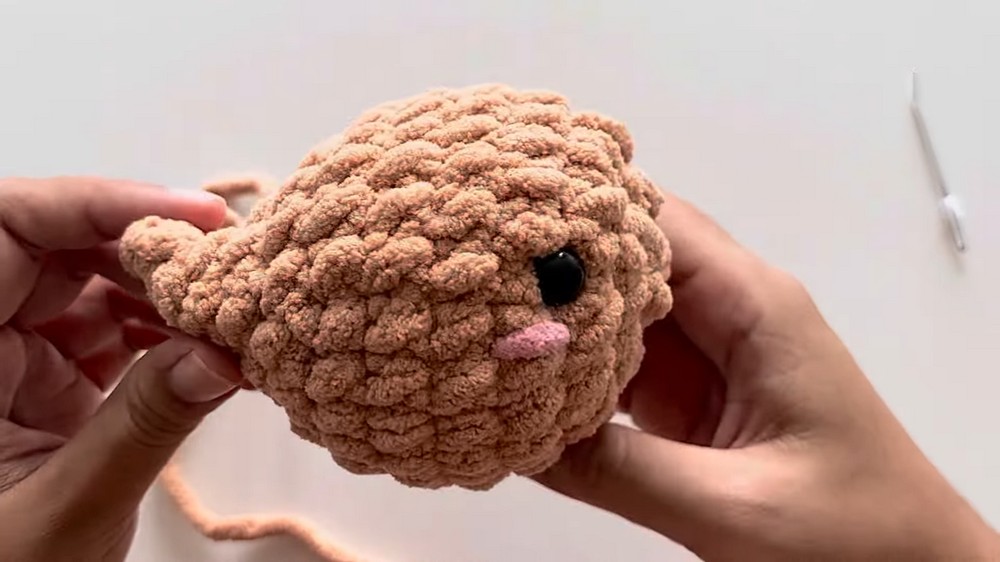
- Attach Safety Eyes:
- Insert 12 mm safety eyes between Rounds 3 and 4. Adjust placement as desired.
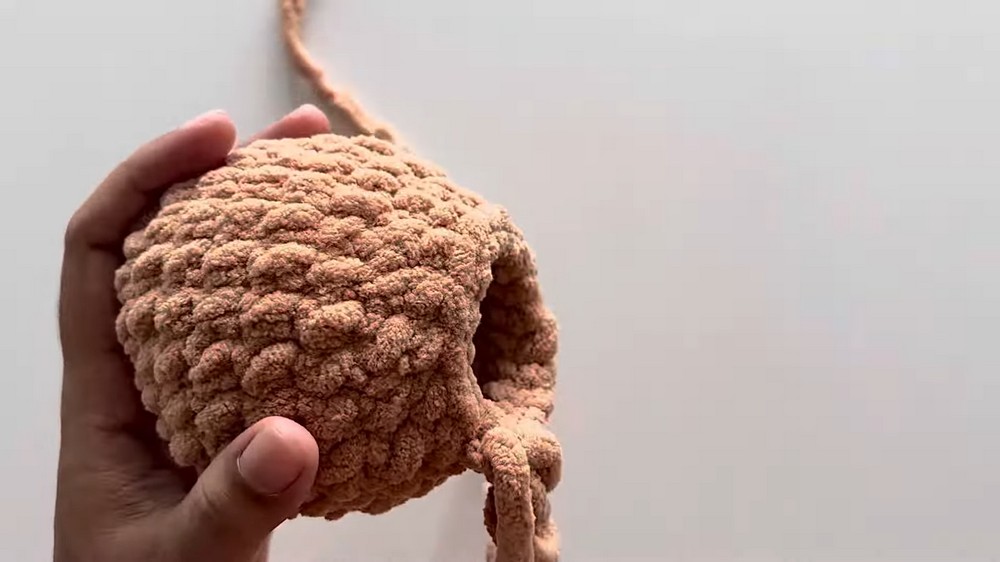
- Stuff Head:
- Stuff the head firmly and evenly to retain the plushie shape.
- Finalize Closure:
- Fold the last stitches. Skip the final stitch and crochet across: first st, second-to-last st.
- Work 7 sc across and create a clean edge.
- Fasten off, leave a long tail for sewing, and secure.
- Blush:
- Use pink yarn to embroider two blush circles beneath the eyes. Tie off and secure ends.

Part 2: Fins
Hind Fins (Make 2):
- Magic Ring:
- Create a magic ring, place 6 sc inside. Tighten it. (6 sts)
- Round 2:
- Work 1 sc inc in each stitch. (12 sts)
- Round 3:
- Pattern: Work 1 sc, 1 sc inc, repeat six times. (18 sts)
- Round 4:
- Pattern: Work 2 sc, 1 sc inc, repeat six times. (24 sts)
- Assembly:
- Fold fins in half. Skip the last stitch and sew across the folded edge using 11 sc.
- Fasten off with a long tail.
Front Fins (Make 2):
- Repeat Rounds 1-4 using the same instructions as hind fins.
- Round 5:
- Pattern: Work 3 sc, 1 sc inc, repeat six times. (30 sts)
- Assembly:
- Fold fins and crochet across the folded edge using 14 sc.
- Fasten off with a long tail.
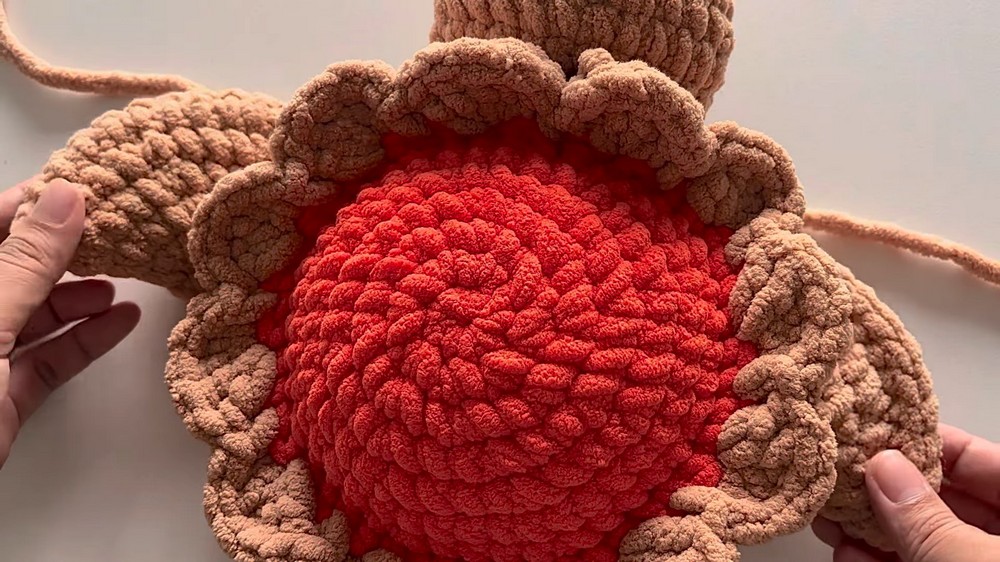
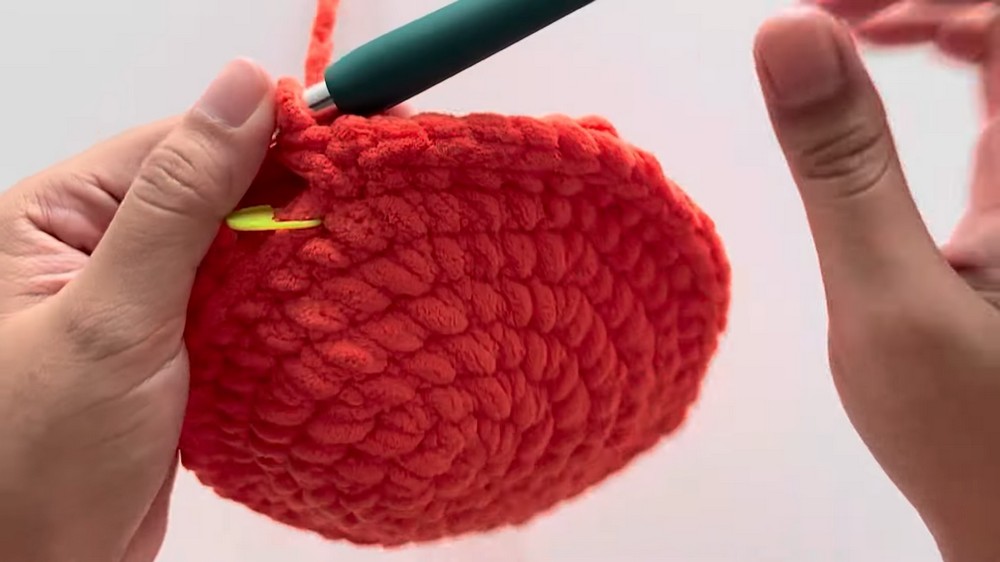
Part 3: Pumpkin Pie Turtle Shell
Upper Shell:
- Magic Ring:
- Begin with bright orange yarn. Place 8 sc into the ring. (8 sts)
- Round 2:
- Work 1 sc inc in each stitch. (16 sts)
- Round 3:
- Pattern: Work 1 sc, 1 sc inc, repeat eight times. (24 sts)
- Round 4:
- Pattern: Work 2 sc, 1 sc inc, repeat eight times. (32 sts)
- Round 5:
- Pattern: Work 3 sc, 1 sc inc, repeat eight times. (40 sts)
- Round 6:
- Work 1 sc in each stitch around. (40 sts)
- Round 7:
- Pattern: Work 4 sc, 1 sc inc, repeat eight times. (48 sts)
- Round 8:
- Crochet front loop only (FLO) for the entire round. (48 sts)
- Switch yarn color to light brown on the final stitch of this round.
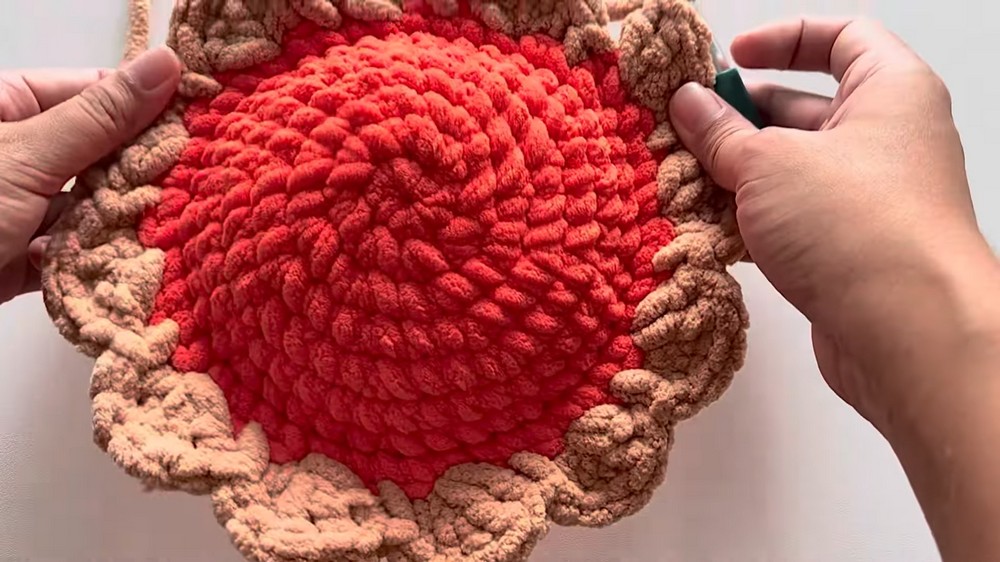
- Round 9:
- Create scalloped edges: Skip one stitch, 5 dc in the next stitch, skip next stitch, 1 sc.
- Repeat this pattern (12 sets total).
Lower Shell:
Work along the back loops left in Round 8 of the upper shell.
- Round 1:
- Attach light brown yarn to the first back loop.
- Work 1 sc in each back loop. (48 sts)
- Round 2:
- Pattern: Work 4 sc, 1 sc dec, repeat eight times. (40 sts)
- Round 3:
- Pattern: Work 3 sc, 1 sc dec, repeat eight times. (32 sts)
- Round 4:
- Pattern: Work 2 sc, 1 sc dec, repeat eight times. (24 sts)
- Round 5:
- Pattern: Work 1 sc, 1 sc dec, repeat eight times. (16 sts)
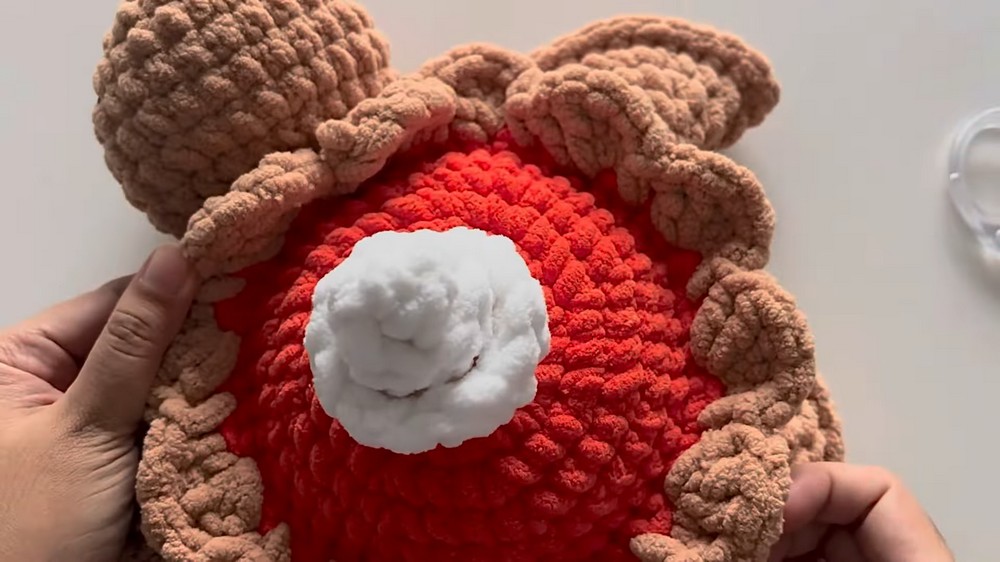
- Stuffing:
- Stuff the body firmly while crocheting the final round.
- Round 6:
- Work 1 sc dec in each stitch until closed.
Part 4: Pumpkin
Make using orange yarn. Follow Rounds 1-5 of the upper shell.
- Shape Pumpkin:
- Divide it into 8 equal sections using yarn stitches to create a defined pumpkin look.
Part 5: Whipped Cream
- Foundation Chain:
- Chain 12 with white yarn.
- Double Crochet Increase:
- Starting from the third chain, make 2 dc in each chain.
- The piece will naturally curl. Secure atop the turtle shell with sewing.
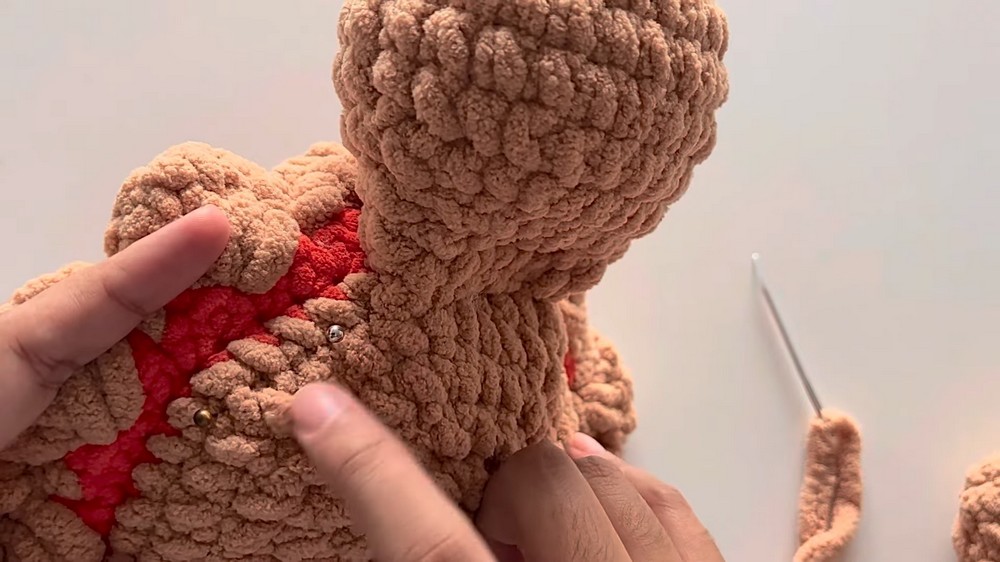
Assembly
- Attach Head:
- Sew the head between Round 1 and Round 2 of the lower shell using 7 stitches.
- Attach Fins:
- Front fins: Place near the head at equal distance.
- Hind fins: Sew towards the back, leaving space.
- Pumpkin Stem:
- Create a magic ring with green yarn. Add 6 sc. Work 2 additional rounds in sc. Sew the stem to the top of the pumpkin.
- Whipped Cream:
- Sew the whipped cream onto the upper shell, letting it curl naturally.
Customization Ideas
- Color Variations:
- Use tan or creamy tones for whipped cream.
- Experiment with shell colors for different turtle designs.
- Embellishments:
- Embroider autumn leaves or vines onto the shell for added seasonal flair.
Conclusion
Congratulations on completing your Crochet Turtle! These adorable plushies are perfect decor or gifts for the fall season. Their cozy charm adds seasonal warmth to any space.

Care Tips:
- Handwash gently with warm water. Avoid machine washing; air dry completely.