
Functional Free Crochet Pouch Handbag Pattern for Every Occasion
Brighten your accessory collection with the free crochet pouch handbag pattern offering a stylish and practical way to keep essentials close.
A small bag that fits essentials neatly can be both useful and stylish. The crochet pouch handbag pattern offers an easy way to make such a bag at home. It provides comfort because it is lightweight and simple to carry around throughout the day. This type of handbag keeps important items like a phone keys or wallet secure and within reach. One great advantage is the ability to customize the size and design to match personal taste or occasions. The crochet texture gives the handbag a unique and cozy feel that stands out from regular bags made of other materials.
Adorable Free Crochet Pouch Handbag Pattern for Your Handmade Collection

It also allows beginners to follow clear instructions and enjoy the satisfying result of having a personalized accessory. The handbag works well for casual trips errands or even small gatherings where a big bag might be unnecessary. Adding small decorations such as buttons beads or patches can make it even more attractive and reflect individual style.
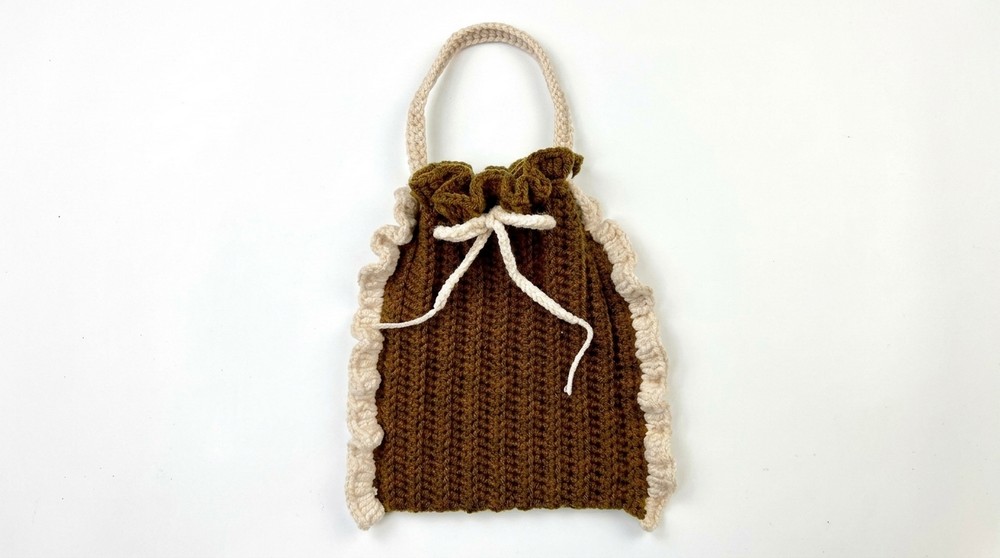
The durability of a crochet pouch handbag often surprises many users since it holds up well to daily use while remaining lightweight and practical. Combining practicality with creative flair this handmade bag offers both function and charm without complexity. Anyone looking for a compact and fashionable way to carry belongings will find that a crochet pouch handbag fashioned from a well-written pattern meets those needs effortlessly.
Cute Crochet Pouch Hand Bag Pattern
Welcome to this beginner-friendly crochet pattern for a cute and simple pouch hand bag. This project is perfect for anyone looking to create a stylish handmade accessory. Follow along carefully to make your own durable and adorable crochet bag!
Before You Start
- Familiarize yourself with basic crochet stitches: slip knot, chain (ch), single crochet (sc), half double crochet (hdc), double crochet (dc), back loop only (BLO) stitch, and slip stitch (sl st).
- Ensure you work comfortably holding your yarn in any way that feels natural.
- Use Milk Cotton yarn, 200g, 5-ply weight (or similar DK/light worsted yarn).
- Crochet hook size 3.5 mm (E-4 US) recommended for best fabric density.
- Have scissors, yarn needle, and measuring tape ready for assembly and finishing.
- This pattern contains simple shapes and repeating stitches, suitable for beginners with basic skills.
- Keep your stitch tension consistent to achieve accurate sizing.
- Always count your stitches at the end of each row or round.
- When changing colors or yarns, tie firmly and weave in ends securely for neatness.
Pattern Notes
- The bag is worked flat for the main panel, then sides are joined by single crochet stitches.
- The closure flap (pouch) and the brim are worked in rounds attached directly to the body.
- Strap is crocheted separately and joined at both ends.
- All rows start with 2 turning chains when working half double crochet stitches.
- The construction emphasizes working stitches into the back loop only on most rows to create texture.
- The pouch flap and brim feature multiple double crochet clusters to add thickness and visual appeal.
- Pattern follows US crochet terminology.
- Work with color changes and finishing tails carefully to ensure a clean look.
How This Crochet Pattern Is Made
- Crochet a rectangular main body panel using half double crochet in back loops.
- Join side edges by single crochet.
- Work a double crochet round around the top edge to create the pouch closure.
- Crochet additional double crochet rounds with clusters in contrasting color to create the brim.
- Make a separate hand strap using chains and half double crochet stitches.
- Attach and sew in all pieces and weave in ends for a polished finish.
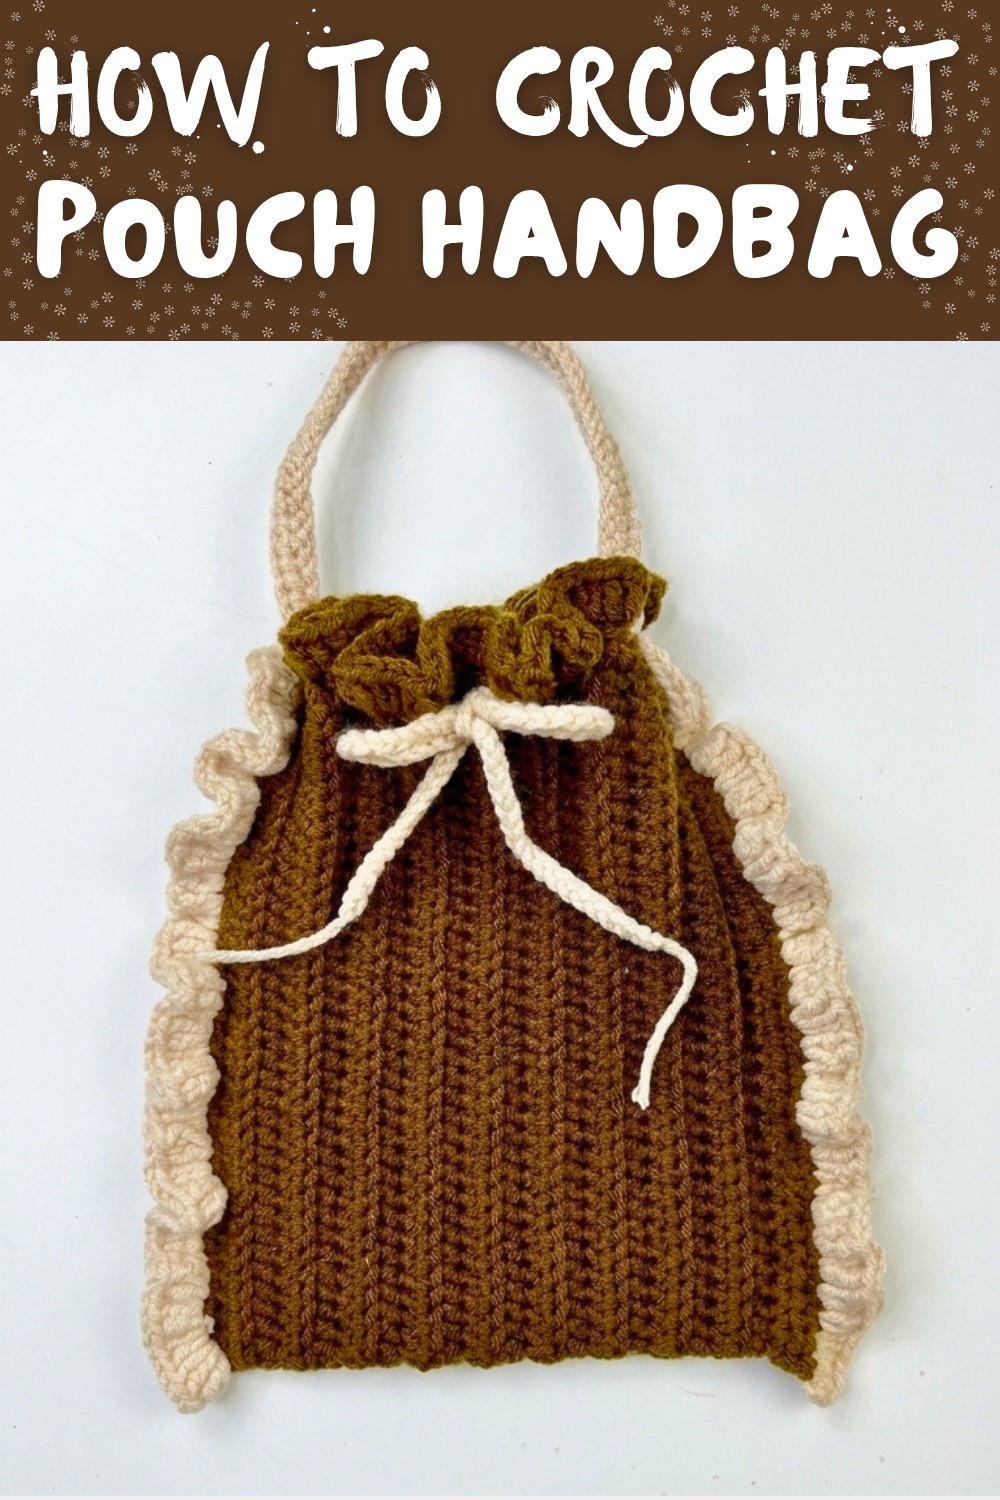
Skill Level
Beginner to Intermediate - basic stitches plus working in back loops and rounds.
Finished Size
- Width: approximately 14 cm (5.5 inches)
- Height (body): approximately 23.5 cm (9.25 inches)
- Strap length: adjustable to preference (chain 50 + rows worked)
Materials
- Milk Cotton Yarn 5-ply, 200 grams (color A: main body, color B: contrasting trim)
- 3.5 mm crochet hook
- Scissors
- Yarn needle
- Measuring tape
Measurements / Sizing
- Main panel: 14 cm width x 23.5 cm height
- Strap: 50 chains plus half double crochet rounds for desired length
- Adjust chain counts for strap length personalization if desired
Gauge
- Half double crochet in back loops: approximately 14 cm width = 72 stitches chained
- Row height and stitch density consistent to maintain size and shape
Stitch Abbreviations (US Terms)
- ch = chain
- sc = single crochet
- hdc = half double crochet
- dc = double crochet
- sl st = slip stitch
- BLO = back loop only
- st(s) = stitch(es)
- rep = repeat
- tog = together
Special Stitches
- Half Double Crochet Back Loop Only (hdc BLO): Insert hook only into the back loop of the stitch below, yarn over, pull through, yarn over, and pull through all three loops on hook.
- 3 Double Crochet Cluster: In the same stitch, work 3 double crochet stitches; this creates texture and extra thickness.
Crochet Pattern Instructions
Part 1: Main Bag Panel
Foundation Chain:
- Make a slip knot.
- Chain 72.
Row 1:
- Skip first 2 chains from hook.
- Make 1 hdc in each chain across (70 hdc).
- Turn your work.
Row 2:
- Chain 2 (counts as first hdc).
- Working in BLO, make 1 hdc in each stitch across (70 hdc).
- Turn.
Rows 3 to 19:
- Repeat Row 2 (chain 2, hdc in BLO across).
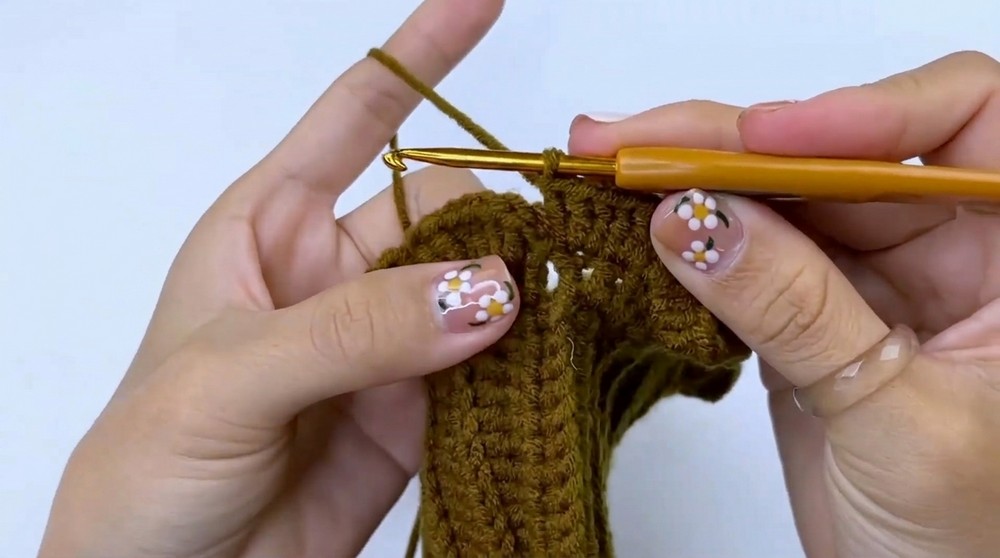
- At the end of Row 19, your panel should measure approximately 23.5 cm in height.
Explanation:
You have now created a nice rectangular piece using hdc stitches mainly worked in the back loop only. This textured effect gives your bag body flexibility and durability.
Part 2: Joining Sides / Forming the Bag Shape
- Fold your panel with the right sides facing each other.
- Align the 23.5 cm edges (both sides).
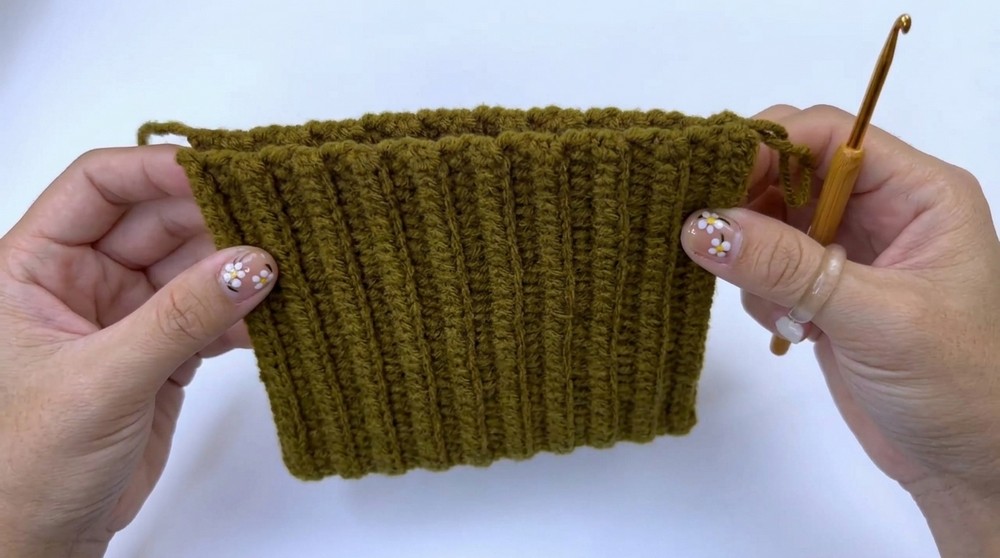
- Using color A yarn, single crochet evenly along one edge to join sides (approximately 23.5 cm / 70 stitches).
- Repeat joining for the other side.
- Your bag is now formed with an open top.

Explanation:
By joining the sides with single crochet, the flat panel turns into a pouch shape, ready for the closure and border.
Part 3: Creating the Pouch Flap
Round 1:
- Attach yarn at the top edge of the bag.
- Chain 2 (counts as first dc).
- Work 1 dc in each stitch around the open edge.
- Join with slip stitch to top of initial ch 2.
Round 2:
- Chain 2.
- Work 3 dc clusters (3 dc in the same stitch) into each stitch all the way around.
- Join with slip stitch to top of initial ch 2.
Explanation:
This flap creates a sturdy closure and adds a decorative element to the bag's opening.
Part 4: Adding the Brim
- Attach white yarn firmly at the edge.
- Chain 2.
- Work 3 dc clusters in each stitch around both sides of the flap.
- Join with slip stitch.
- Cut yarn and weave in ends.

Explanation:
The brim gives a contrasting and finished look while reinforcing the pouch opening.
Part 5: Making the Hand Strap
- Attach white yarn at one side of the bag top edge.
- Chain 50 (or desired length).
- Attach the chain to the opposite top side with a slip stitch.
Row 1:
- Chain 1.
- Work 1 hdc in each chain across.
- End with a slip stitch at the base.
- Cut yarn, fasten off, and weave in ends.
Explanation:
This strap can be customized in length for comfort and style.

Assembly and Finishing
- Sew in any loose ends using a yarn needle for a clean finish.
- Weave all tails securely on the inside of the bag to hide them.
- Block the bag gently if any parts look uneven or stretched.
- Trim yarn tails neatly.

Troubleshooting Guide
- Uneven edges while joining: Count stitches to ensure you have the same number of stitches on each side before joining.
- Loose stitches causing floppy fabric: Maintain a consistent hook size and tension; consider going down a hook size if needed.
- Color changes look messy: Tie yarn securely and weave ends carefully inside the fabric to tidy appearance.
Creative Uses
- Use the same stitch pattern and construction to make:
- Small coin purses or makeup bags
- Crossbody or sling bags by adjusting strap length
- Organizer pouches for craft supplies or stationery
- Gift bags with personalized color schemes
- Beach or market tote bags by increasing panel size