
Handy Free Crochet Mesh Water Bottle Holder Pattern for Travel
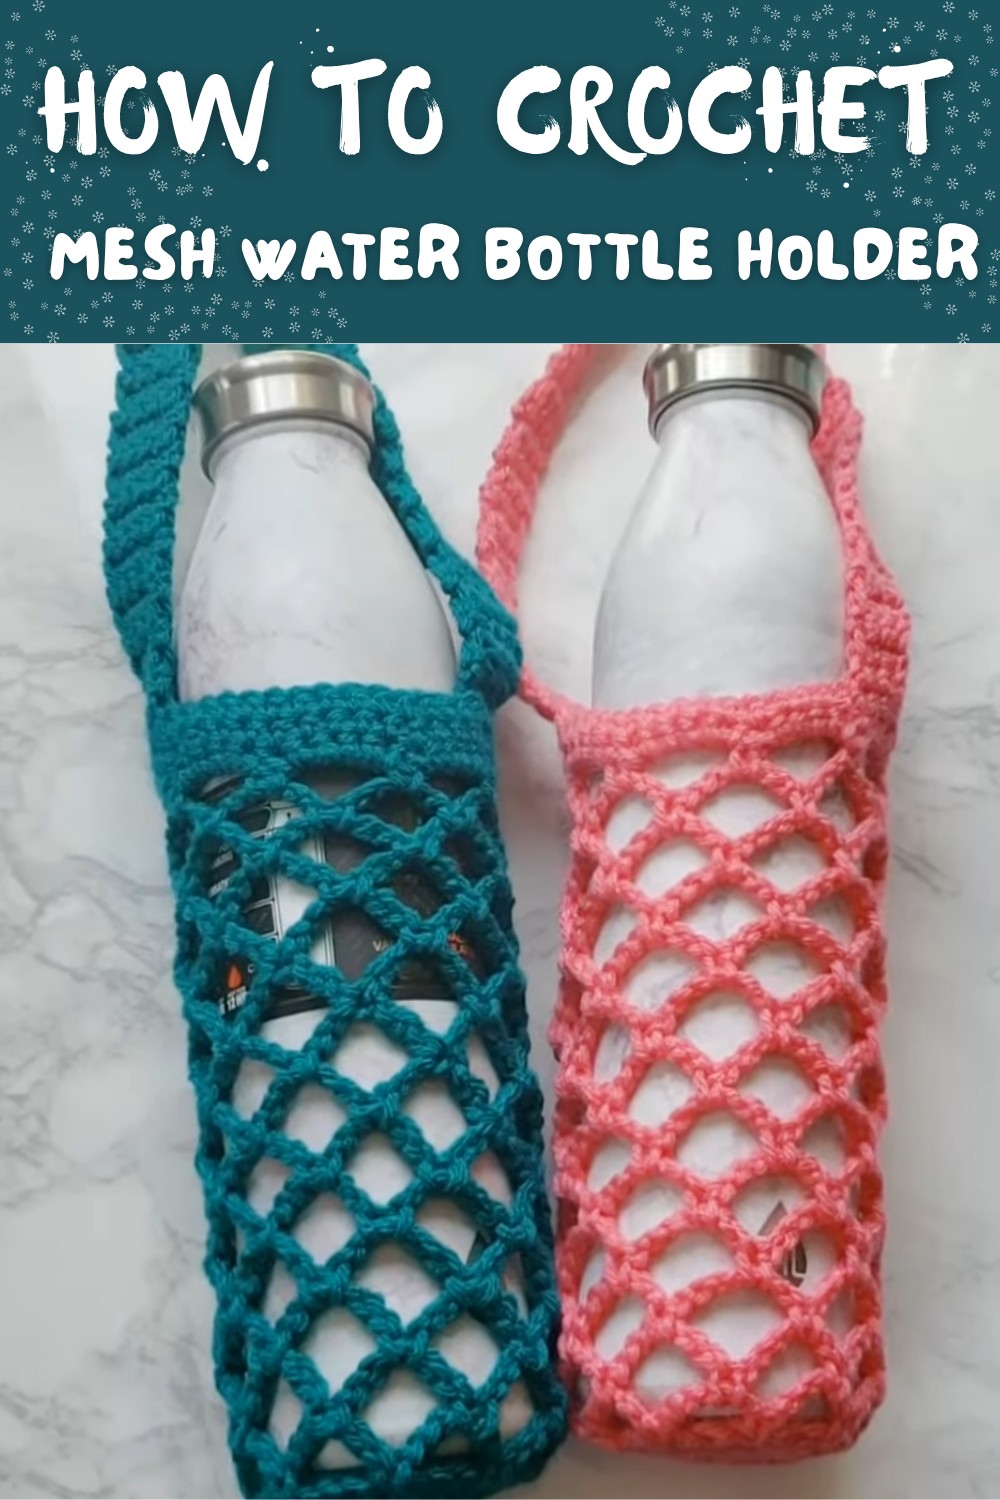
Stay hydrated in style with this Free Crochet Mesh Water Bottle Holder Pattern, perfect for carrying and a chic accessory for every adventure.
Carrying water bottles can be tricky for many people but a crochet mesh water bottle holder pattern makes this task super easy and comfortable. This handy holder is made with simple yarn and a hook so anyone can learn to make it fast. The open mesh style allows air to flow keeping your bottle cool and making it very lightweight. You can use it every day at school work picnics or even when walking in the market. The strap helps you hang it from your shoulder or wrist letting your hands stay free while you carry your bottle safely.
Free Crochet Mesh Water Bottle Holder Pattern Light and Strong

Using a crochet mesh water bottle holder pattern means you never need to worry about drops or spills because the holder fits snugly around your bottle. The design stretches to fit most bottles and can be decorated with buttons or bright colors for fun. It is strong easy to wash and can be reused many times which helps save money and protect the environment. This is a smart choice for everyone.

Lattice Style Water Bottle Holder Crochet Pattern
Materials Needed
- Worsted weight cotton yarn (such as Crafter's Secret from Hobby Lobby; sample uses color "45 Fabulous")
- G/6 (4.25 mm) crochet hook
- Tapestry needle (for sewing and weaving in ends)
- Scissors
- Buttons or decorations (optional)
Abbreviations (US Terminology)
| Abbreviation | Meaning |
|---|---|
| ch | chain |
| sl st | slip stitch |
| sc | single crochet |
| dc | double crochet |
| tr | treble crochet |
| st(s) | stitch(es) |
| sp | space |
Special Notes
- The design features a lattice mesh body with a sturdy single crochet ribbing and thicker handle.
- Suitable for most 20 oz. or standard size water bottles. Adjust base/height for larger sizes.
- Turning the holder inside out after seaming the handle achieves a clean finish.
- The pattern is designed to be beginner-friendly and quick to work up.
Pattern Instructions
Base
- Magic Ring:
- Start with a magic ring.
Alternate: Ch 4, sl st to the first ch to form a ring.
- Start with a magic ring.
- Foundation Round:
- Ch 4 (counts as 1 dc + ch 1).
- [Dc into ring, ch 1]-Repeat 7 times (you will have 8 dc with ch-1 spaces in between).
- Sl st into the 3rd ch of beginning ch-4 to close.
- Pull tail to close ring tightly.

V-Stitch (Lattice) Rounds
- V-Stitch Round 1:
- Sl st into the first ch-1 sp.
- Ch 4 (counts as dc, ch 1), dc into same ch-1 sp (first V-stitch made).
- [Ch 1, in next ch-1 sp: (dc, ch 1, dc)]-Repeat around in each ch-1 sp.
- Ch 1, sl st to 3rd ch of beginning ch-4.
- Repeat V-Stitch Round:
- For each new round:
- Sl st into first ch-1 sp of V-stitch.
- Ch 4, dc in same sp.
- [Ch 1, (dc, ch 1, dc) in next V-st ch-1 sp]-Repeat around.
- Ch 1, sl st to top of beginning ch-4.
- For each new round:

Lattice Loops (Body Mesh)
- Mesh Loops Round (Forming Lattice Design):
- Ch 6.
- Skip next V-st, sl st into space between next V-sts.
- Repeat: Ch 6, skip next V-st, sl st into next sp around.
- Continue until one space remains. For last loop: Ch 3, work tr in same sp to bring up yarn to correct position.
- Mesh Repeat Rounds:
- Ch 6, sl st to center of next loop.
- Repeat: Ch 6, sl st to each loop around.
- For last loop at the end of each round: Ch 3, tr in same sp.
- Continue repeating this round until your holder reaches desired height (approx. 13 mesh rounds for standard 20 oz bottle).

Ribbing (Top)
- Mesh Tightener Round:
- For the next round, ch 5 instead of 6 between sps (this tightens body opening).
- Ch 5, sl st into each loop around.
- Single Crochet Ribbing:
- Ch 1.
- In each loop: 5 sc.
- Continue 5 sc in each loop around.
- Sl st into top of first sc to join.
- Repeat Single Crochet Rows:
- Ch 1, sc in each st around.
- Repeat for 3 total rows (or as preferred for a thicker rim).
Strap
- Strap Foundation:
- From where you finished, ch 1.
- Sc in next 4 sts to create strap foundation.
- Strap Rows:
- Ch 1, turn.
- Sc in each of 4 sts across.
- Repeat: Ch 1, turn, sc in 4 sts, until strap measures desired length (approximately 30 rows for a comfortable shoulder strap-adjust as you like; keep in mind that cotton yarn will stretch).
- Attaching the Strap:
- Fold strap over to the opposite side of holder.
- Ensure handle is not twisted and aligns with base.
- Slip stitch or sew with tapestry needle through both layers (4 sc to body) to attach securely.
- Fasten off and weave in all ends.


Finishing
- Turn holder inside out (so that joining seam of handle is on inside).
- Weave in any remaining yarn ends.
- Optionally, add buttons or other embellishments.

Conclusion
This lattice water bottle holder is charming, sturdy, and practical. The mesh fabric provides stretch to accommodate different bottle sizes, while the thickened ribbing and handle add comfort and support. It's an ideal quick project for beginners or as a thoughtful handmade gift.
Pattern Corrections & Tips
- If your base seems too loose or too tight: Adjust yarn weight, hook size, or add/remove V-stitch rounds to fit your bottle perfectly.
- For extra support: Add an additional row or two to the ribbing or strap as needed.
- Strap length: Remember cotton straps can stretch, so make them slightly shorter than you think needed.
- Clean finish: Always turn inside out before final weaving of ends for a neat appearance.