
How to Crochet Daisy Keychain Free Pattern
Hook your way to happiness with this free crochet daisy keychain pattern that's easy, adorable, and the perfect pop of charm for your keys or bags.
Carrying a little piece of spring with you wherever you go, a delicate bloom that brightens your day and lifts your spirits. The crochet daisy keychain is not just functional but a tiny work of art. Its intricate petals radiate charm, while the cheerful yellow center brings vibrancy to your accessories. Crafted with soft yarn, this daisy is lightweight, compact, and perfect as a keepsake or a thoughtful handmade gift for someone you care about.
Easy Free Crochet Daisy Keychain Pattern You'll Adore
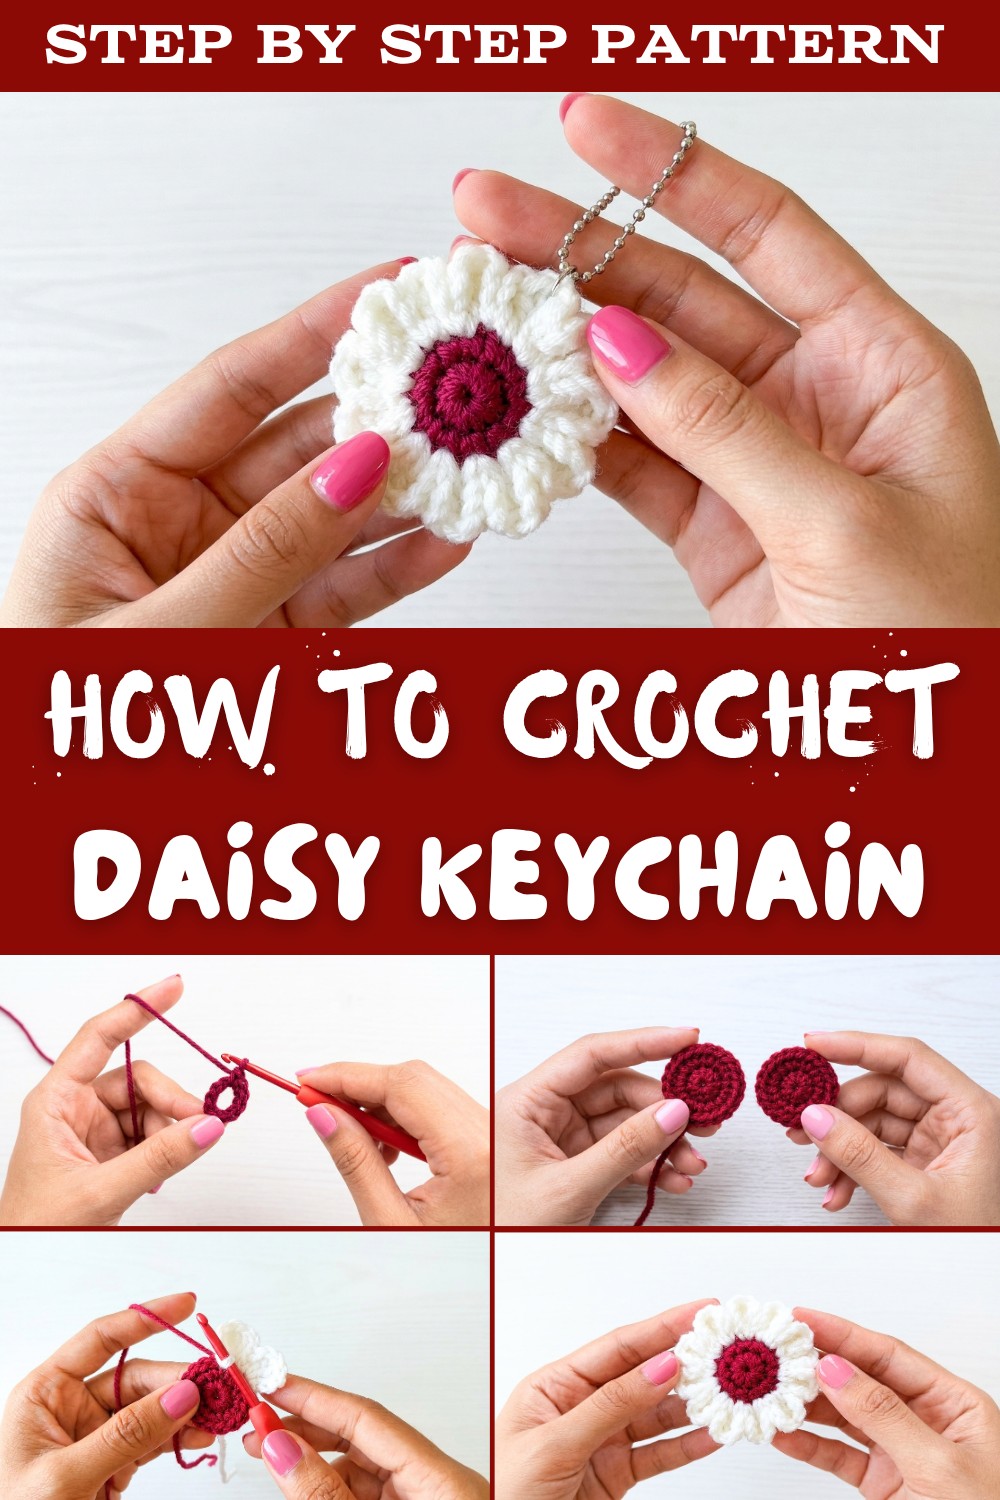
Creating this keychain is an enjoyable beginner-friendly project that opens the door to the world of crochet. It introduces you to basic stitches and techniques without overwhelming you, making it a fantastic way to build your confidence. You'll love how quickly it comes together, transforming into a charming accessory for your keys, bags, or even as a decorative charm for your workspace.
This project also offers room for customization, experiment with different yarn colors to create daisies that reflect your personality. Whether you use it to add a playful touch to your daily essentials or as a heartfelt gift, this keychain proves that even the simplest crochet projects can be magical.

Daisy Crochet Keychain Pattern
Materials
- Yarn:
- Milk cotton yarn, 5-ply (dark red for flower center, white for petals)
- Crochet Hook:
- 3.5 mm (E) hook
- Notions:
- Tapestry/yarn needle
- Scissors
- Keychain hardware ("biji lada" chain or ring)
- Optional: Fiberfill stuffing
Skill Level
Beginner to Intermediate
Key Abbreviations (US Terms)
- mr = magic ring
- ch = chain
- sc = single crochet
- dc = double crochet
- sl st = slip stitch
- st(s) = stitch(es)
- inc = increase (2 sc in one stitch)
Special Notes
- Pattern is worked in rounds, starting with a tightly closed magic ring.
- Changing yarn color is required.
- Weave in ends as you go; you may insert leftover yarn ends or a small amount of stuffing for a plumper look.
Pattern Instructions
Center of Daisy (Yellow Yarn)
First Circle
- Magic Ring:
Create a magic ring. - Round 1:
- 6 sc in the ring, mark the first stitch.
- Pull ring tight.
- (Do not join.)
- Round 2 (Increase):
- In each stitch, 2 sc (inc) in each st around (12 sc total).
- (Optional: If desired, use tapestry needle to create a perfectly round join: skip one stitch, insert needle into the following stitch from above, pull through to shape.)
- Fasten off and weave in ends.

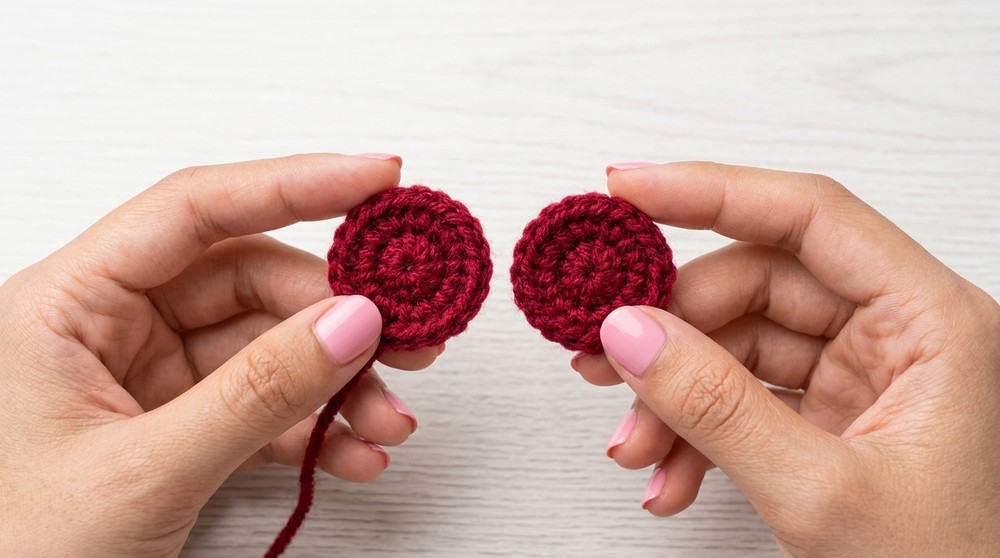
Second Circle
- Repeat steps 1-4 for a second circle.
- With yarn needle, stitch the two circles together around the edge to create a thicker daisy center.
Petals (White Yarn)
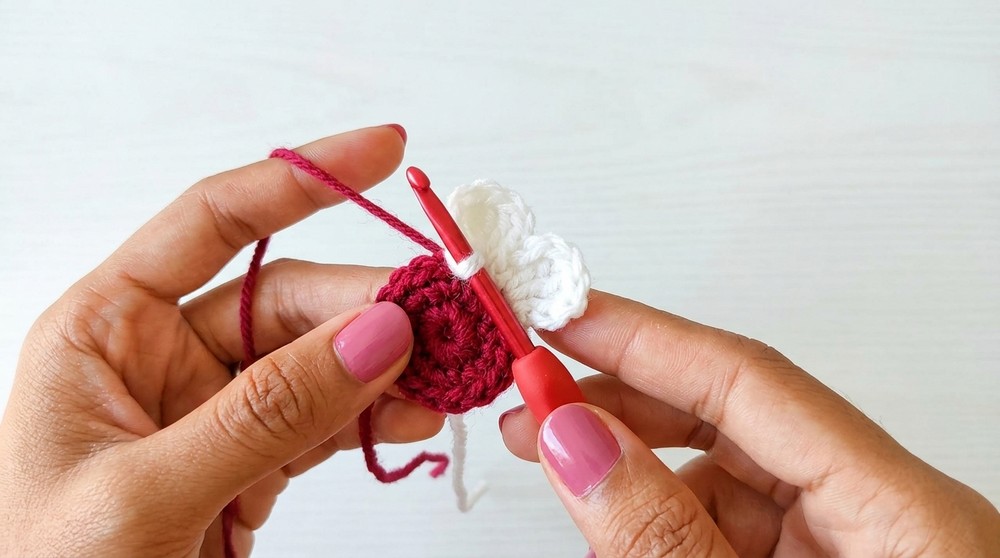
- Slip Knot:
Make a slip knot with white yarn. - Petal Start:
- Insert hook in any stitch on the edge of the circle, sl st to attach white yarn.
- Petal Formation:
- ch 3 (counts as height for petal),
- 2 dc into same stitch,
- ch 3,
- sl st into same stitch.
- Repeat step 9 in each stitch around (total 12 petals):For each next stitch:
- sl st in next stitch,
- ch 3,
- 2 dc in same stitch,
- ch 3,
- sl st in same stitch.
- Continue until all stitches have a petal.
- Fasten off, weave in ends at back with tapestry needle.

Optional: Add Stuffing
- Tuck leftover yarn ends or a small amount of fiberfill inside before closing the circles for a raised daisy center.
Finishing
- Attach Keychain:
- Use tapestry needle to sew keychain hardware/chain securely to the top of your daisy.
- Ensure all threads are woven in and trimmed.

Conclusion
This daisy keychain pattern utilizes basic stitches to create a perfect, dimensional flower, ideal for personal use or gifts. Simple rounds and clusters form the center and petals, making it beginner-friendly yet charming for advanced crocheters.
Pattern Correction & Tips
- Ensure accurate stitch count (12 sc after increase round) for symmetrical petals.
- Tightly pull the magic ring for a neat center.
- If the circle isn't perfect or flat, use the tapestry needle technique described for shaping.
- For a plumper daisy, tuck yarn ends or add fiberfill before closing the circles.