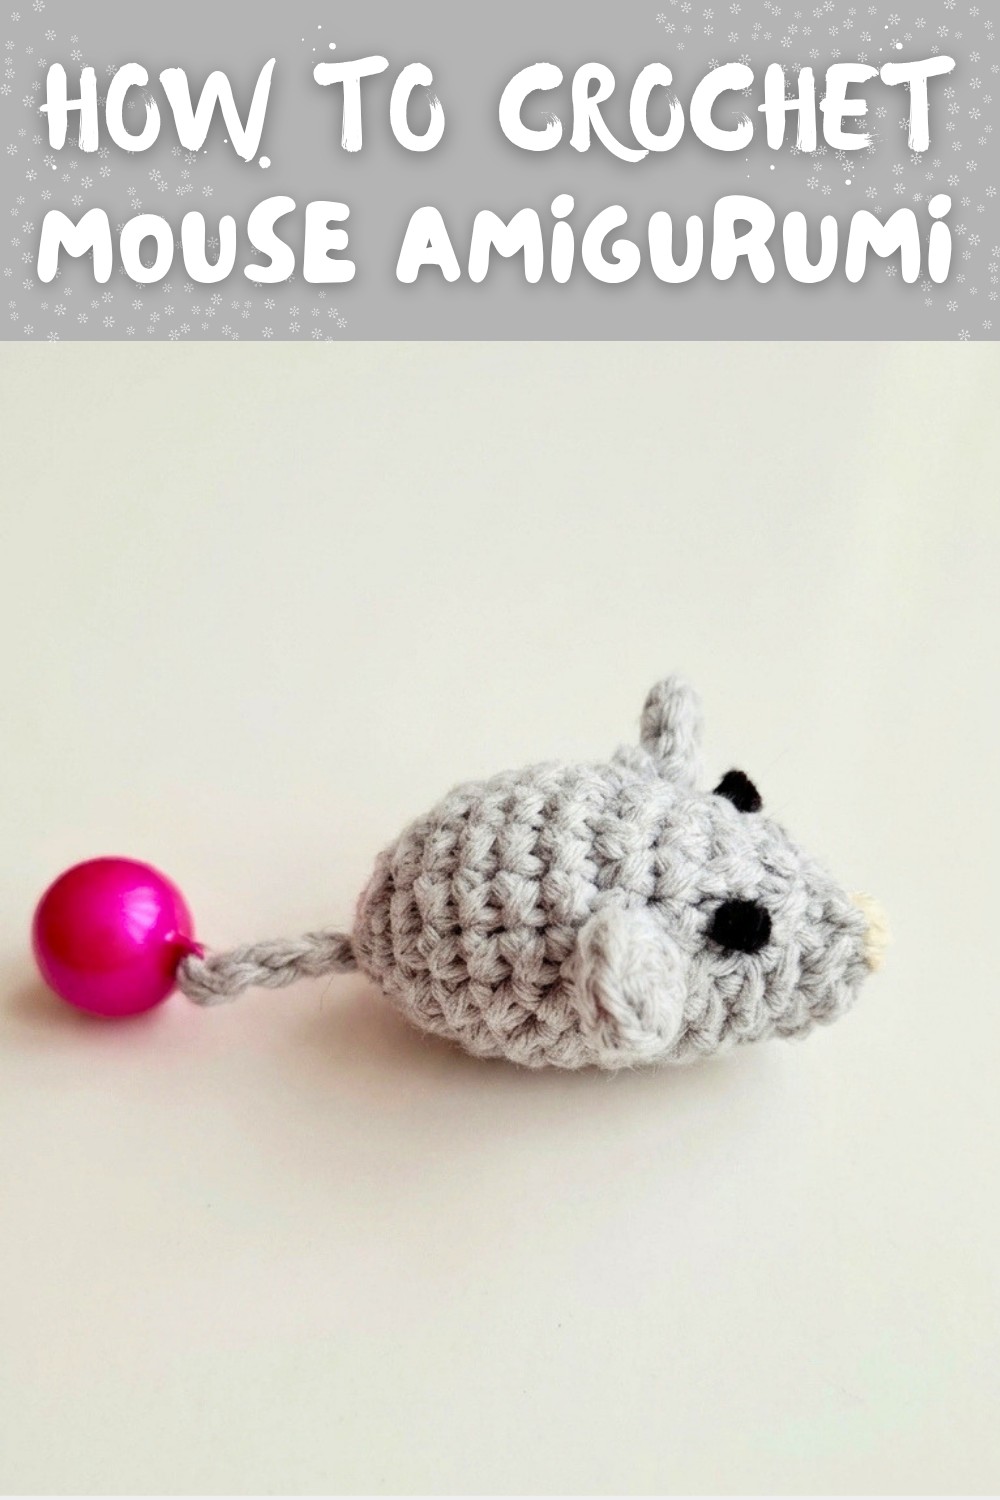
How to Crochet Mouse Amigurumi Pattern for Personal Toy or Gifts
Master this Free Crochet Mouse Amigurumi Pattern in no time ideal for creating adorable toys, keychains, or playful cat accessories.
Adorn your crochet collection with a playful touch that's perfect for gifting, decorating, or simply adding joy to your day. This little crochet mouse amigurumi pattern packs charm and whimsy into every stitch, making it a delightful project for beginners and seasoned crocheters alike. Its compact size ensures a quick and rewarding experience, while the customizable pattern allows room for creativity to experiment with colors, add cute accessories, or even attach a bell to the tail for pets to enjoy.
Beginner-Friendly Crochet Mouse Amigurumi Pattern for Animal Lovers
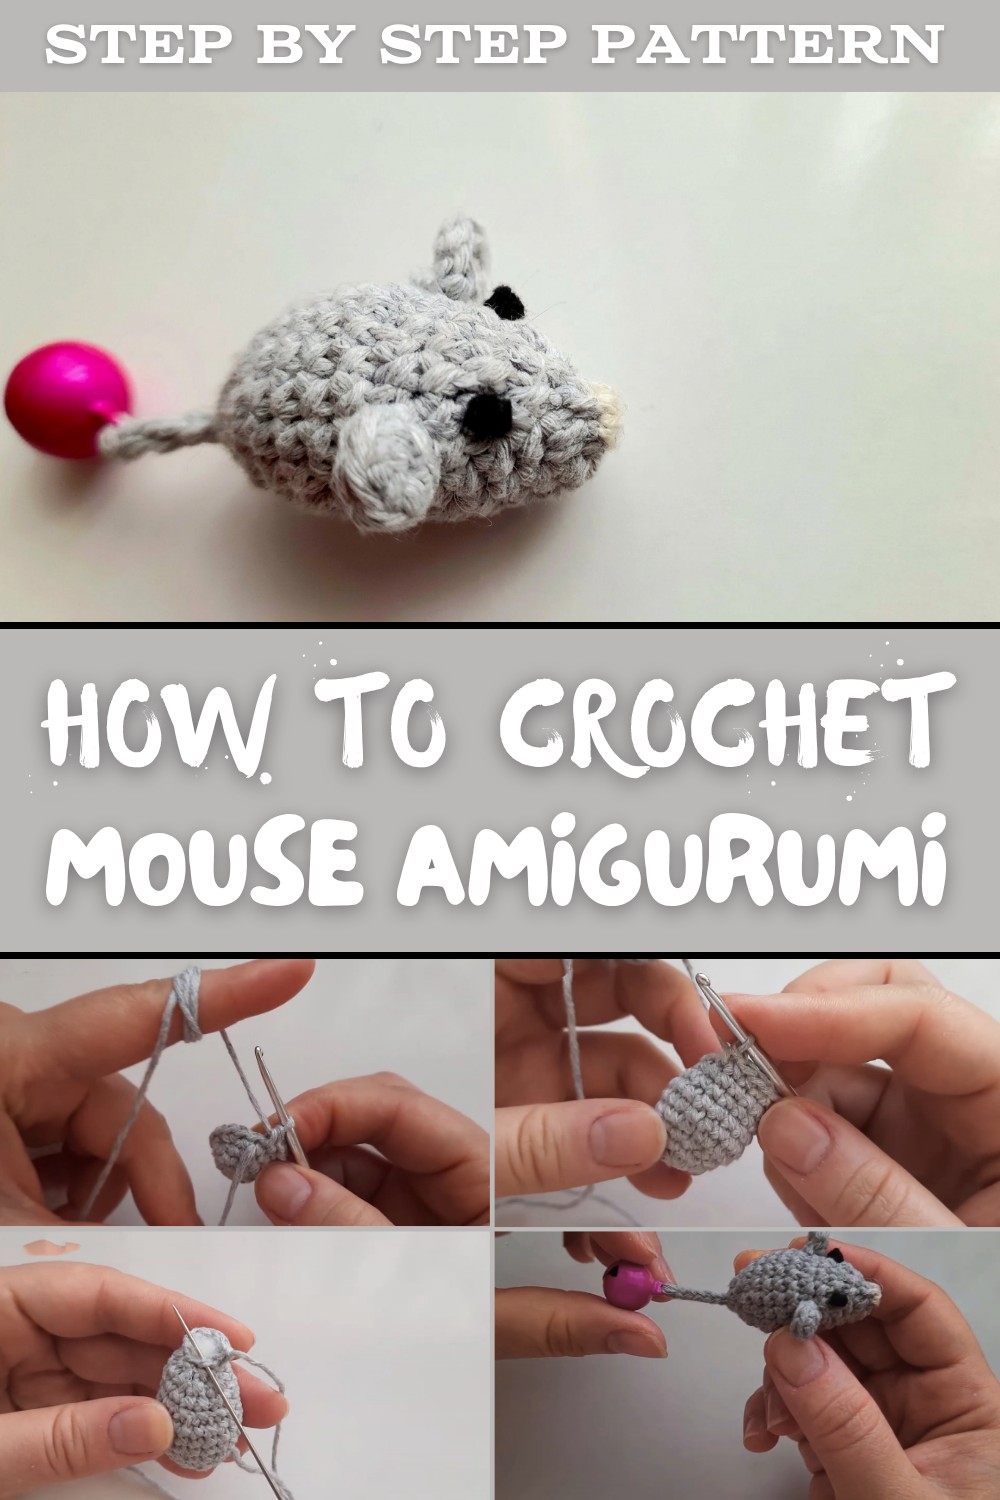
Lightweight and durable, the handmade pattern is ideal as a cat toy, keychain, or cute desk companion. Crocheted with simple amigurumi techniques, it's an affordable and eco-friendly way to turn yarn into something truly memorable. Whether you're looking to surprise a friend with a thoughtful gift or add character to a bag or workspace, this adorable pattern ticks all the boxes.

The project requires minimal materials and time, making it an effortless way to learn or refine crochet skills without compromising on style. Let this cheerful crochet creation inject a dose of creativity and happiness into your crocheting routine.
Special Features
- Level of Difficulty: Beginner-friendly
- Skill Highlights: Basic stitches like single crochets (SC), increases, and decreases.
- Customizable: Adjust the colors, size, tail length, or add a bell for extra charm.
- Uses: Create a toy for your cat, a charming keychain, or a unique gift for loved ones.
- Quick Completion: Finish in just a few hours with minimal materials required!
Materials Needed
- Yarn:
- Gray (body): 100% Yakut cotton amigurumi yarn
- Cream (nose): Any amigurumi yarn
- Black (eyes): Amigurumi yarn or thin thread
- Hook: 2.5mm crochet hook
- Stuffing: Polyester fiberfill (Elyaf)
- Tools: Yarn needle, scissors, small metal bell (optional).
Step-by-Step Pattern
1. Create the Magic Ring (Base of Body)
- Magic Ring: Make a magic ring and crochet 6 single crochets (SC) into it.
- Pull the short tail to tighten the ring and create a closed circle.
2. Round 2: Increase Stitches
- Crochet 2 SC into each stitch from Round 1.
- Mark the beginning stitch using a yarn marker.
- Total stitches: 12 SC.

3. Round 3: No Increases
- Crochet 1 SC in each stitch around (12 SC).
- Move the yarn marker upward at the start of each new round to track progress.
4. Round 4: Increase Again
- Crochet 1 SC in the first stitch, then 2 SC in the next stitch. Repeat the sequence (1 SC, 2 SC) across this round.
- Total stitches: 18 SC.
5. Round 5 to 8: Build the Body
- Crochet 1 SC into each stitch for the next 4 rounds (no increases/decreases).
- Leave your marker in place to count the rounds more easily.

6. Round 9: Decrease & Shape
- Begin with 1 SC, then make 3 decreases:
- Insert the hook under the front loops of two stitches, yarn over, and pull through.
- Finish the round with 9 SC.
- Total stitches: 15 SC.
7. Round 10: No Changes
- Crochet 1 SC into each stitch.
- Total stitches: 15 SC.
8. Round 11 & 12: Decreasing to Close
- Round 11:
- Make 3 decreases at the beginning of the round.
- Crochet 9 SC.
- Total stitches: 12 SC.
- Round 12 (Final Round):
- Make 3 decreases to shape the body.
- Finish with 6 SC.
9. Stuff with Fiberfill
- Use a broken crochet hook or the back of a tool to stuff Elyaf inside through the small opening.
- Stuff enough to give the mouse a firm and round shape.
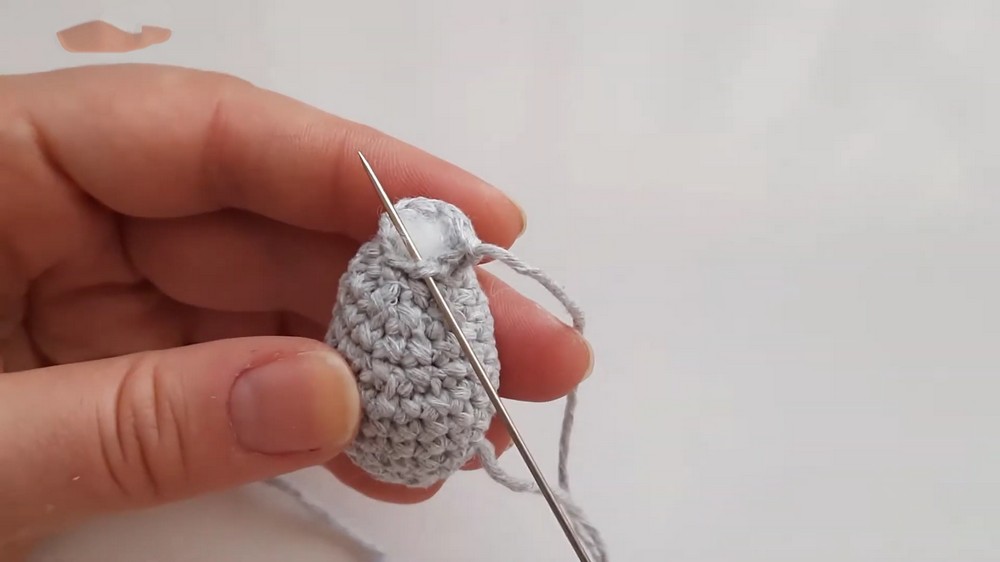
10. Close the Body Opening
- Thread a yarn needle with a long tail.
- Insert the needle into the front loops of the remaining stitches.
- Pull gently to close the opening tightly.
- Secure with a few loops inside the body and snip the excess thread.

Adding Features
Ears:
- Magic Ring: Make a magic ring and crochet 6 SC into the ring.
- Tighten the ring, and finish with a slip stitch followed by a chain.
- Cut the yarn, leaving a long tail for sewing.
- Repeat for the second ear.
- Position the ears between Rounds 5 and 6 with 6 stitches apart.
- Use the yarn needle to sew the ears securely.
Eyes:
- Thread black yarn into a needle.
- Start from the back and stitch outward near the ears for proper alignment.
- Wrap thread 5 times around the needle to form a small knot for the eye.
- Repeat for the second eye, positioning it symmetrically.

Nose:
- Use cream yarn and thread it through the tip of the face with a needle.
- Form a small triangular nose by stitching horizontally and vertically a few times.
- Pull all threads inside the body and snip securely.
Tail:
- Attach gray yarn at the back of the mouse.
- Crochet a chain (8 stitches) to form the tail.
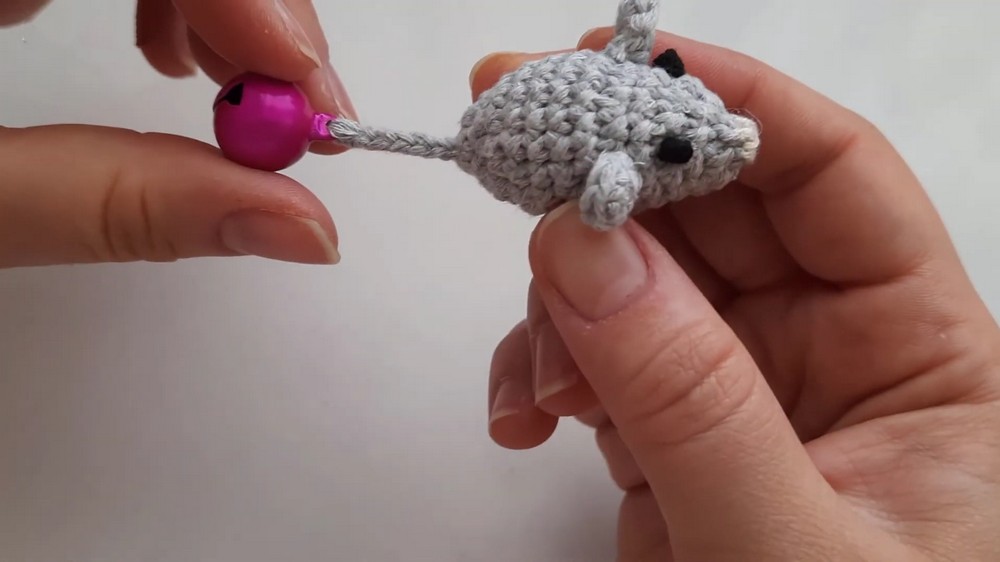
- Optional: Add a bell at the tip using a small needle. Wrap and secure it in place tightly to ensure durability.
Conclusion
Your cute crochet mouse amigurumi pattern is now complete! Measuring around 4 to 4.5 cm, this versatile creation can be a fun cat toy, adorable bag charm, or even an eye-catching decorative accessory. Feel free to experiment with colors, size, or add creative embellishments to suit your needs.
Final Tip
For pet safety, ensure all parts (like the bell or tail) are securely fastened to prevent choking hazards. If gifting, wrap it beautifully and include care instructions for long-lasting use.