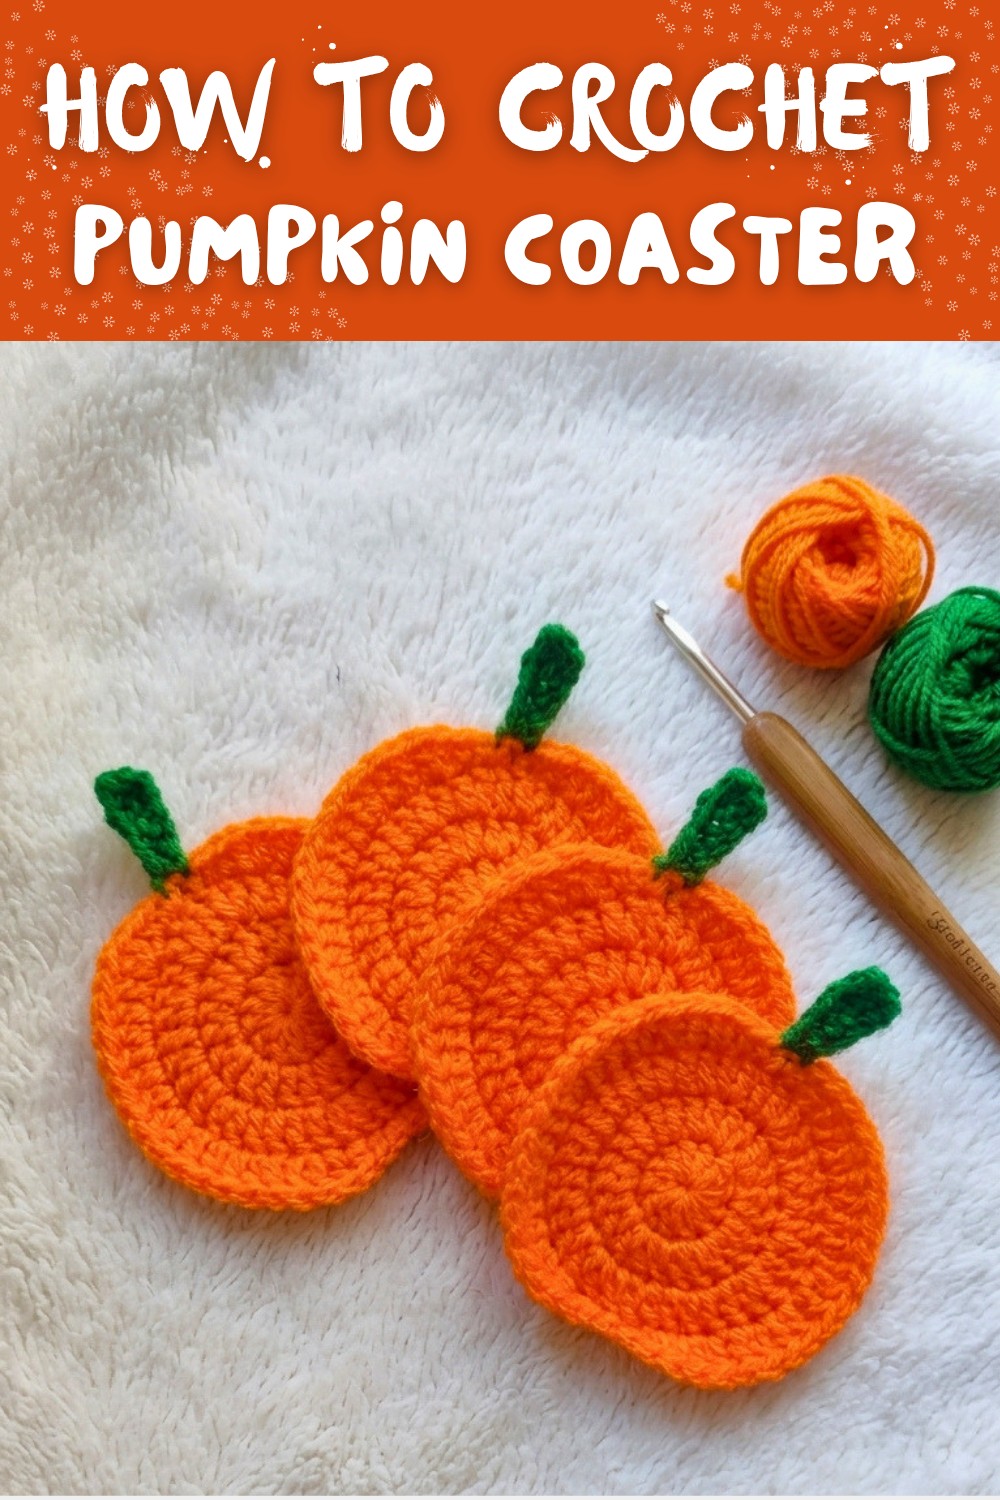
How to Crochet Pumpkin Coaster Pattern Perfect for Holiday Tables
Refresh your autumn table setup using this Free Crochet Pumpkin Coaster Pattern, blending seasonal style with reusable surface protection.
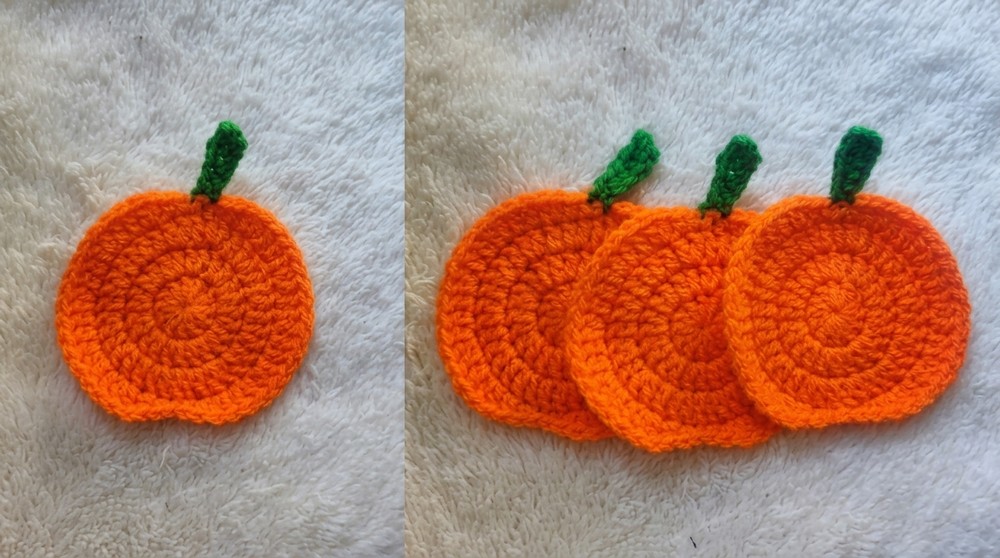
Celebrate the cozy charm of autumn by making an adorable handmade accent for your home. This step-by-step crochet pattern brings to life a delightful pumpkin-shaped coaster, perfect for sprucing up your table or gifting to loved ones. Designed to be practical and stylish, this pattern serves as a functional décor piece that instantly adds warmth and personality to any setting. Made using soft yarn and simple crochet techniques, it is sturdy, reusable, and a great alternative to disposable options.
Crochet Pumpkin Coaster Pattern for Beautiful Fall Kitchen Accents
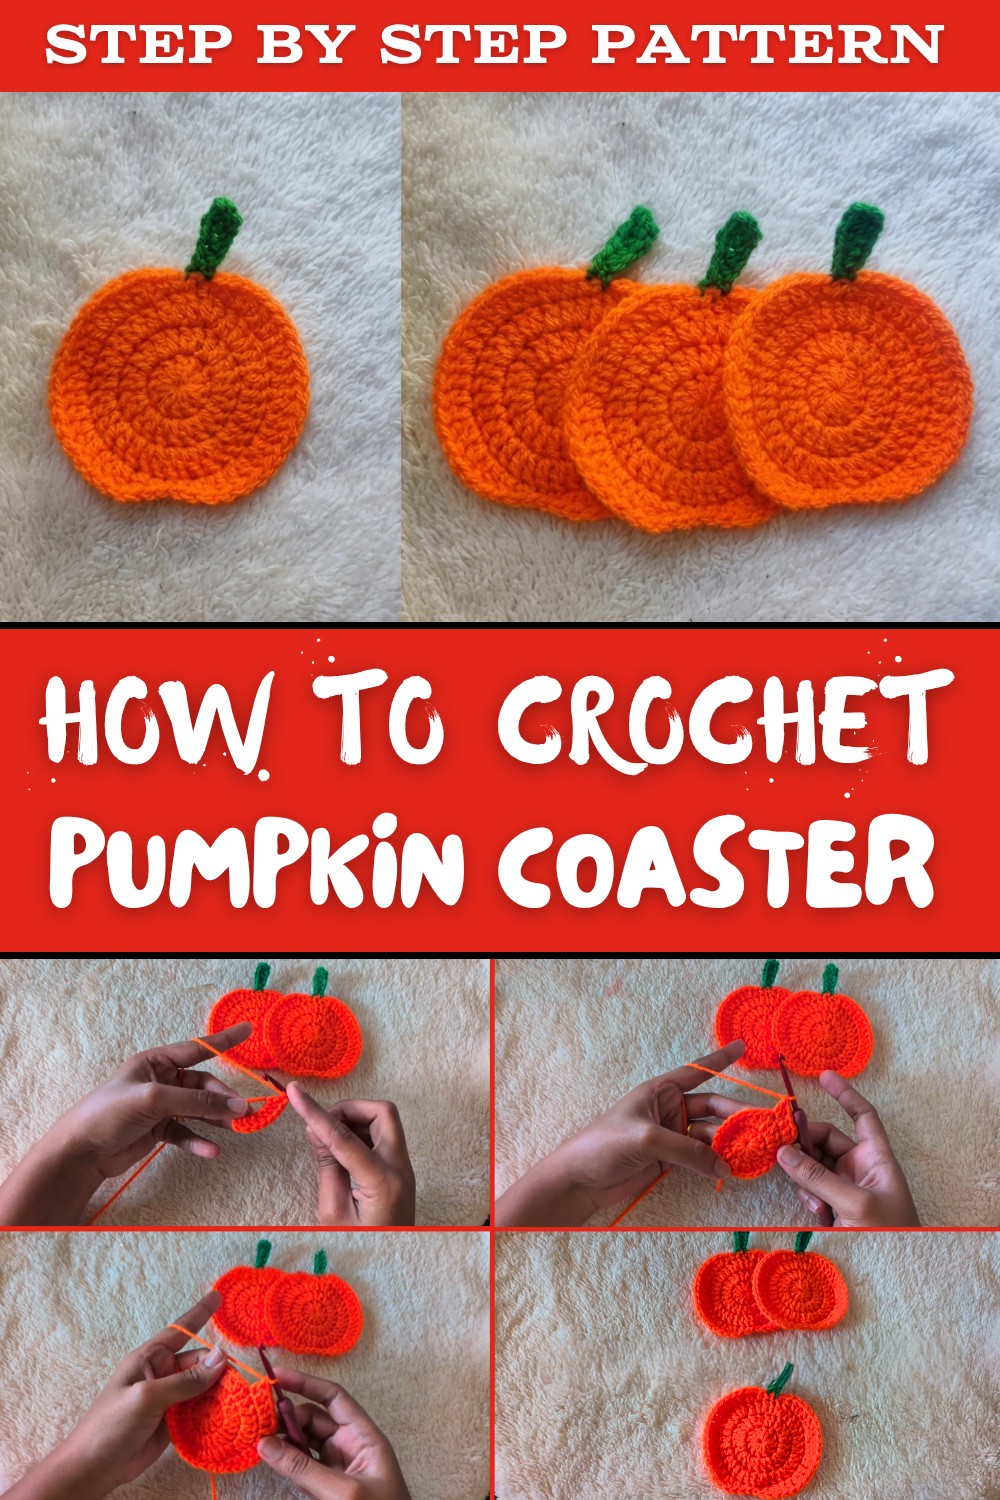
From protecting surfaces to enhancing seasonal aesthetics, this pattern is versatile enough for everyday use or special fall occasions like Thanksgiving. The thoughtful pattern includes intricate details like a textured pumpkin body and a cute little stem, making it uniquely charming. Whether you are a beginner in crochet or an experienced maker, this project offers easy-to-follow instructions for all skill levels.
With minimal materials and time commitment, this coaster pattern is a fun and rewarding project, allowing you to showcase your creativity while celebrating the festive vibe of autumn. Grab your favorite fall colors and bring a touch of warmth to your home with this simple yet beautiful idea. Perfect for coffee tables, holiday setups, or heartfelt gifts!
Pattern Details
Skill Level: Beginner-friendly
Special Features:
- Uses magic circle work for a smooth round base.
- Includes a green stem made separately for added detail.
Recommendations: The tutor suggests using green or brown for the stem to enhance the contrast with the orange pumpkin design.
Step-by-Step Crochet Instructions
Body of the Pumpkin Coaster
- Start with a Magic Circle:
- Make a magic circle to begin the coaster.
- Round 1:
- Chain 2 (Note: This chain will not be counted as a stitch).
- Crochet 12 double crochets (DC) into the magic circle.
- Pull the circle tight and slip stitch into the first stitch to complete the round.
- Round 2:
- Chain 1, followed by a single crochet (SC) and 1 chain (this will count as a double crochet).
- Into the same stitch, crochet 1 additional double crochet.
- For the rest of the round, create 2 double crochets in each stitch.
- At the end of this round, you should have 24 double crochets.
- Slip stitch into the first stitch to complete the round.
- Round 3:
- Chain 1, followed by a single crochet (SC) and 1 chain (this will count as a double crochet).
- Crochet 1 double crochet in the next stitch and then 2 double crochets in the following stitch (increase).
- Repeat this pattern of alternating 1 DC and 2 DC across the round. You should create 12 increases in total.
- At the end of this round, you will have 36 double crochets.
- Slip stitch into the first stitch to complete the round.
- Round 4:
- Chain 1 and single crochet (SC), followed by 1 double crochet in the next stitch.
- Continue with 2 double crochets in the next stitch (increase).
- Repeat the pattern across, alternating between 2 DC increases and individual double crochets.
- At the end of this round, double-check your stitching to ensure smooth edges.
- Shaping Edges:
- To shape the pumpkin edge, work in these stitches:
- Half-double crochets (HDC) in the next stitch.
- Single crochets (SC) in the following stitch.
- Slip stitches (SL) to finish the round smoothly.
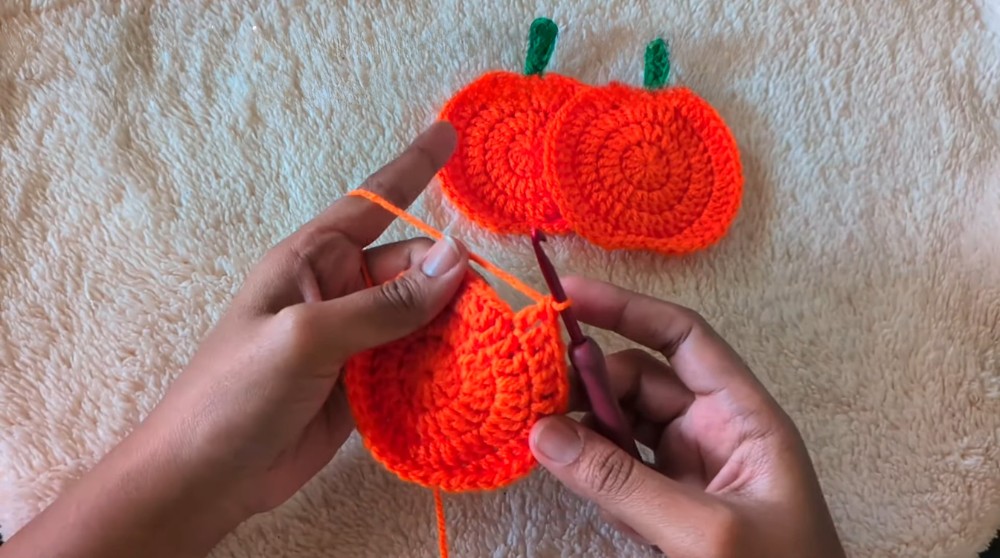
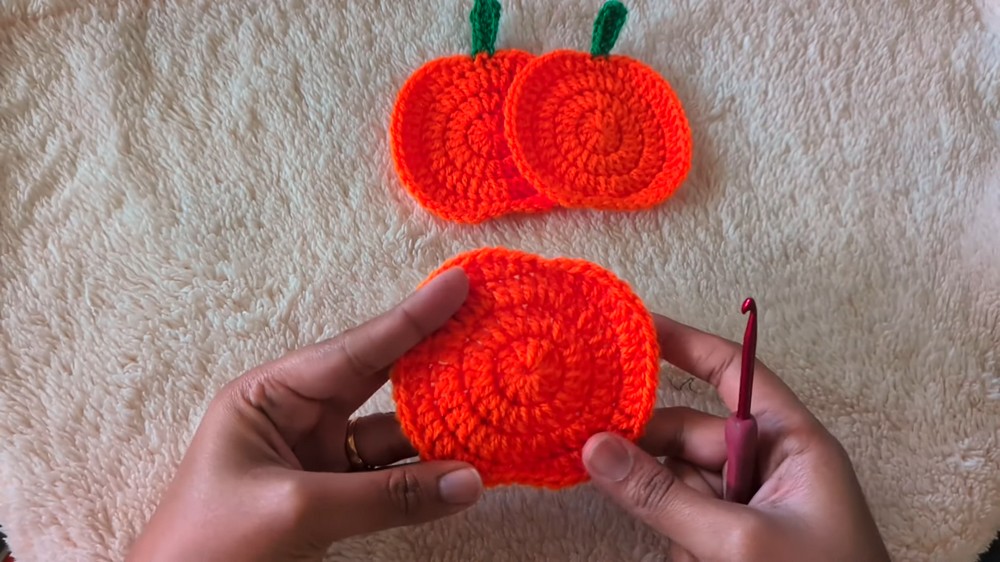
- Bind off your yarn and weave in the ends, taking care to tuck them neatly to avoid visible threads.
- To shape the pumpkin edge, work in these stitches:
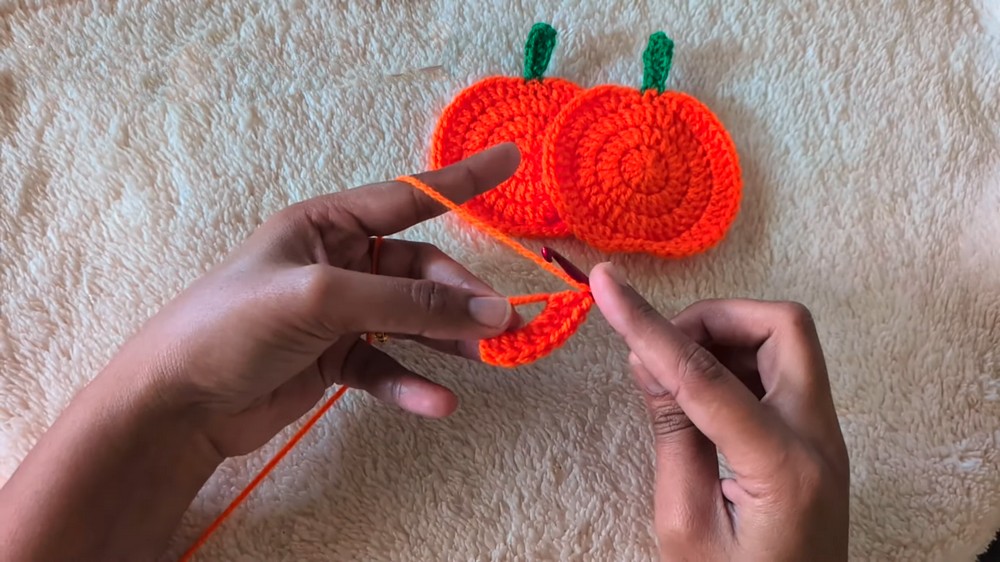
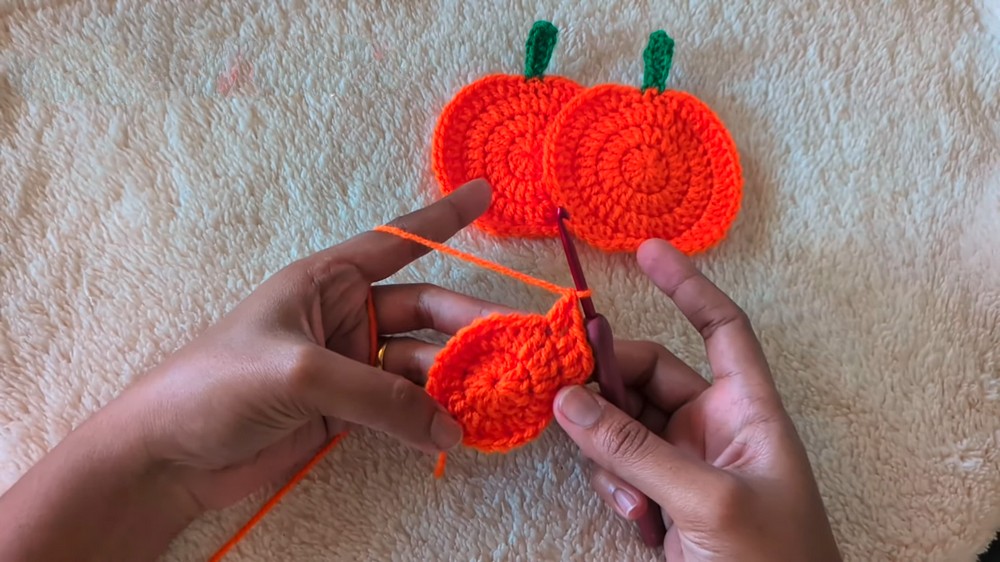
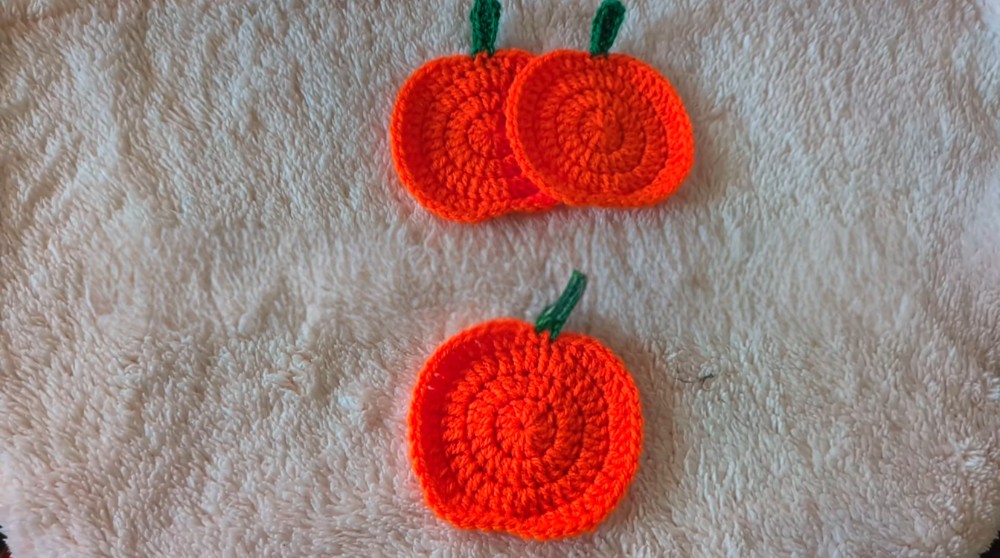
Stem
- Using green or brown yarn, chain 8.
- Work the following stitches into each chain:
- Double crochet (DC) in the 4th chain from the hook.
- Half-double crochet (HDC) in the next two chains.
- Single crochet (SC) in the final chain.
- Slip stitch to secure the stem. Bind off and weave in the ends.
- Attach the stem to the top of the pumpkin coaster using a slip stitch, or sew with yarn.
Tutor's Suggestions and Uses
- Suggestions:
Use color-contrasting yarn to make the coaster stand out. Green or brown is highly recommended for the stem to give a natural pumpkin feel. - Uses:
These crochet Pumpkin Coasters are perfect for decorating fall tables, cozy evenings, Thanksgiving setups, or seasonal gifting for loved ones.
Tip for Better Results
Always keep an even tension while crocheting to ensure a consistent stitch size and smooth coaster surface. Use a yarn needle to secure ends tightly, especially when attaching the stem.
Conclusion & Final Remarks
This Pumpkin Coaster Crochet Pattern is the perfect project for beginners or anyone interested in adding a festive touch to their crochet collection. Whether used as table accessories or gifts, they bring warmth and a seasonal charm to any setting. With simple yet effective techniques, you'll enjoy making these coasters for both decoration and function.