How to Free Crochet Flamingo Pattern for Unique Beach Décor
Bring charm to your creative space with this innovative free crochet flamingo pattern designed for easy gifting and vibrant décor.
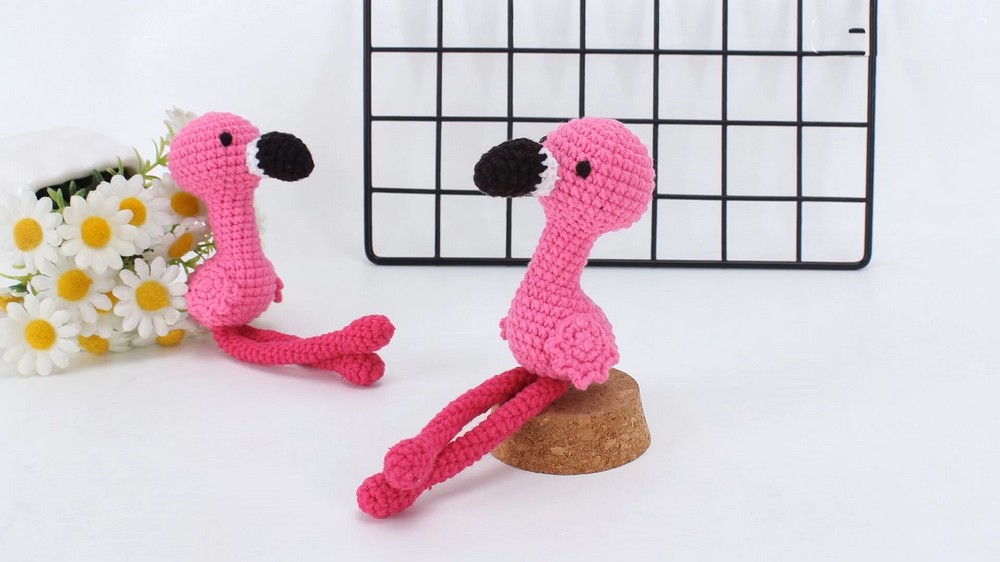
Crocheting a flamingo is the perfect way to bring a touch of playful charm into your creative projects. Featuring its long legs, elegant neck, and feather-inspired wings, this free crochet pattern has been carefully designed to be beginner-friendly while delivering sensational results. Whether you're looking to brighten up your home décor, create a whimsical gift, or simply relax with a fun handmade project, this pattern is a versatile choice that checks all the right boxes.
Charming Crochet Flamingo Pattern to Refresh Your Space with Playful Elegance

With easy-to-follow rounds, customizable color options, and minimal supplies, it's an ideal activity for crocheters of any skill level. Beyond making an adorable plush, this pattern also helps enhance your crochet techniques, introducing stitches like increases, decreases, single crochets, and even chain loops for textured details. The finished flamingo pattern adds personality and charm wherever it's placed - whether perched on a nursery shelf, adorning a crochet fair table, or tucked into a gift box for loved ones.
Plus, the satisfaction of creating your own flamingo pattern is unmatched. If you love projects that are simple, stylish, and reward your effort with a stunning finished piece, this crochet pattern is sure to be a hit. Grab some yarn and bring this little pink beauty to life!
Special Features:
-
- Long, elegant legs and a beautifully crafted neck.
- Contrasting colors for the beak with detailed decreases for a smooth shape.
- Playful wings using chain loops for a feathered effect.
- Difficulty Level: Beginner-friendly with clear step-by-step instructions and stitch recommendations.
- Tutor Suggestions:
- Use soft yarn for a plush feel and an easy grip while crocheting.
- Stuff the flamingo with PP cotton for a perfectly shaped head and body.
- Pay close attention to the diagrams for rounds with increases and decreases.
- Uses:
- Makes an ideal handmade gift for any occasion.
- Perfect as whimsical nursery or living room décor.
- A great crochet project to develop and sharpen single crochet and shaping skills.
Step-by-Step Flamingo Crochet Pattern
Materials Needed
- Pink yarn for the body and wings.
- Black and white yarn for the beak and eyes.
- Crochet hook (size appropriate for your yarn).
- PP cotton for stuffing.
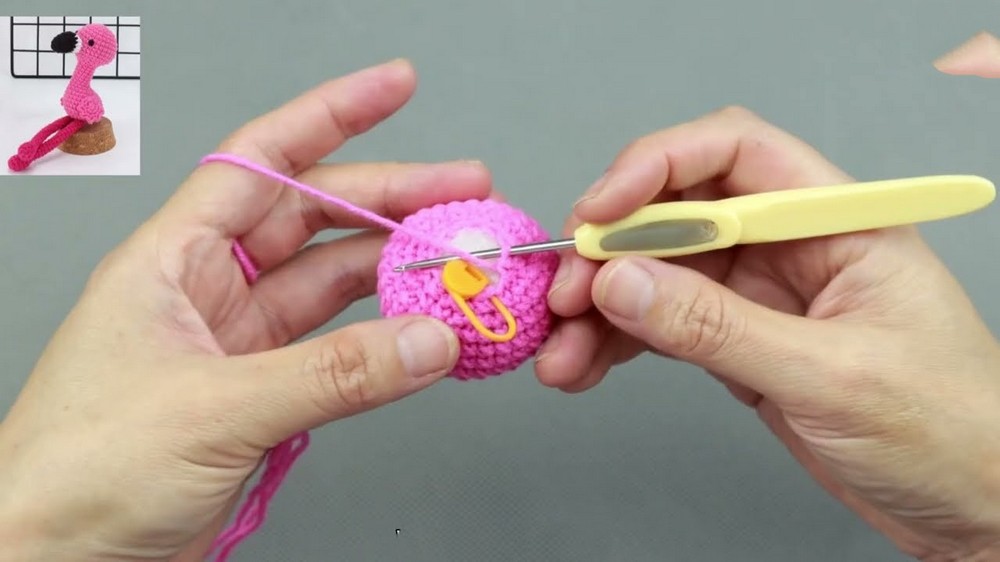
- Stitch marker.
- Scissors and yarn needle for finishing.
Pattern: Head, Neck, and Body
Head
- Magic Ring:
- Wrap the yarn around your fingers and create a magic ring.
- Hook 6 single crochets (SC) into the magic ring.
- Round 1:
- Hook 6 increases (2 SC in each stitch).
- Total stitches: 12.
- Round 2:
- Hook 1 SC, followed by 1 increase, and repeat 6 times.
- Total stitches: 18.
- Round 3:
- Hook 1 SC, 1 increase, and 1 more SC; repeat 6 times.
- Total stitches: 24.
- Round 4:
- Repeat: 1 SC, 1 increase, 1 SC, 1 SC; repeat 6 times.
- Total stitches: 30.
- Tighten the yarn tail to close the magic ring completely.
- Stuff the head as you go with PP cotton.

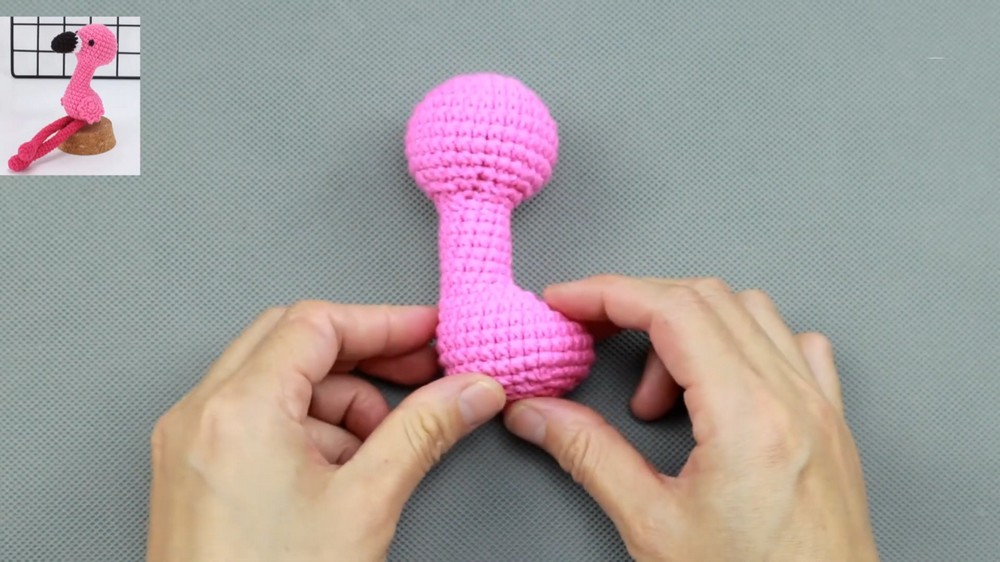
Neck
- Rounds 14-21: Hook 12 SC for 8 rounds without increases or decreases.
- The neck gives the flamingo its distinct elegant shape.
Body
- Round 22:
- Hook 3 SC, then 6 increases, and finish with 3 SC.
- Total stitches: 24.
- Rounds 23-31:
- Continue following the pattern for shaping the body with gradual increases and regular SC stitches.
- Round 32:
- Hook 6 decreases around.
- Stuff the body tightly with PP cotton at this stage.
Pattern: The Flamingo Beak
Rounds 1-4 (Black Yarn for Tip of the Beak):
- Start with a magic ring and hook 6 SC in the first round.
- After each round, connect with a slip stitch (SS).
- Color Change: Gradually transition from black to white yarn by switching colors before completing the last pull-through of a stitch.
- Round 5 (White Yarn):
- Hook 3 SC, then 6 half-double crochets (HDC), and finish with 3 SC.
- Slip stitch at the end to close the round.
- Round 6:
- Repeat the pattern for round 5 but remember to mark the starting stitch.
- Final Steps:
- Stuff the beak lightly with cotton.
- Connect the beak to the head using a yarn needle, ensuring it's centered.

Pattern: Flamingo Wings
- Round 1: Create a magic ring and hook 6 SC.
- Round 2: Hook 6 increases for a total of 12 stitches.
- Round 3 (Feathered Look):
- Transition with a slip stitch.
- Hook 3 chain stitches (CH), insert back into the same stitch, and SC.
- Repeat across the round for a feathered effect.
- Create two identical wings.

Pattern: Flamingo Legs
- Start with chain stitches to create the long legs.
- Follow with single crochet stitches to shape and finish them securely.
- Optional: Sew or glue a small weighted bead inside the legs for added stability.
Assembly
- Attach the wings symmetrically to the body.
- Sew the legs securely at the bottom.
- Embroider the eyes with black yarn, placing them symmetrically above the beak.

Conclusion
Congratulations! Your lovely crochet flamingo pattern is now complete. With its delightful charm and whimsical features, this crochet pattern makes a perfect handmade gift, a fun décor piece, or a playful addition to any collection.
Tip for Success
Always use a stitch marker to keep track of rounds and prevent losing your place, especially in patterns with increases and decreases.

Final Remarks
This tutorial is designed to help you master both beginner and intermediate crochet techniques while enjoying the creative process. Your flamingo's uniqueness lies in every stitch you've made.