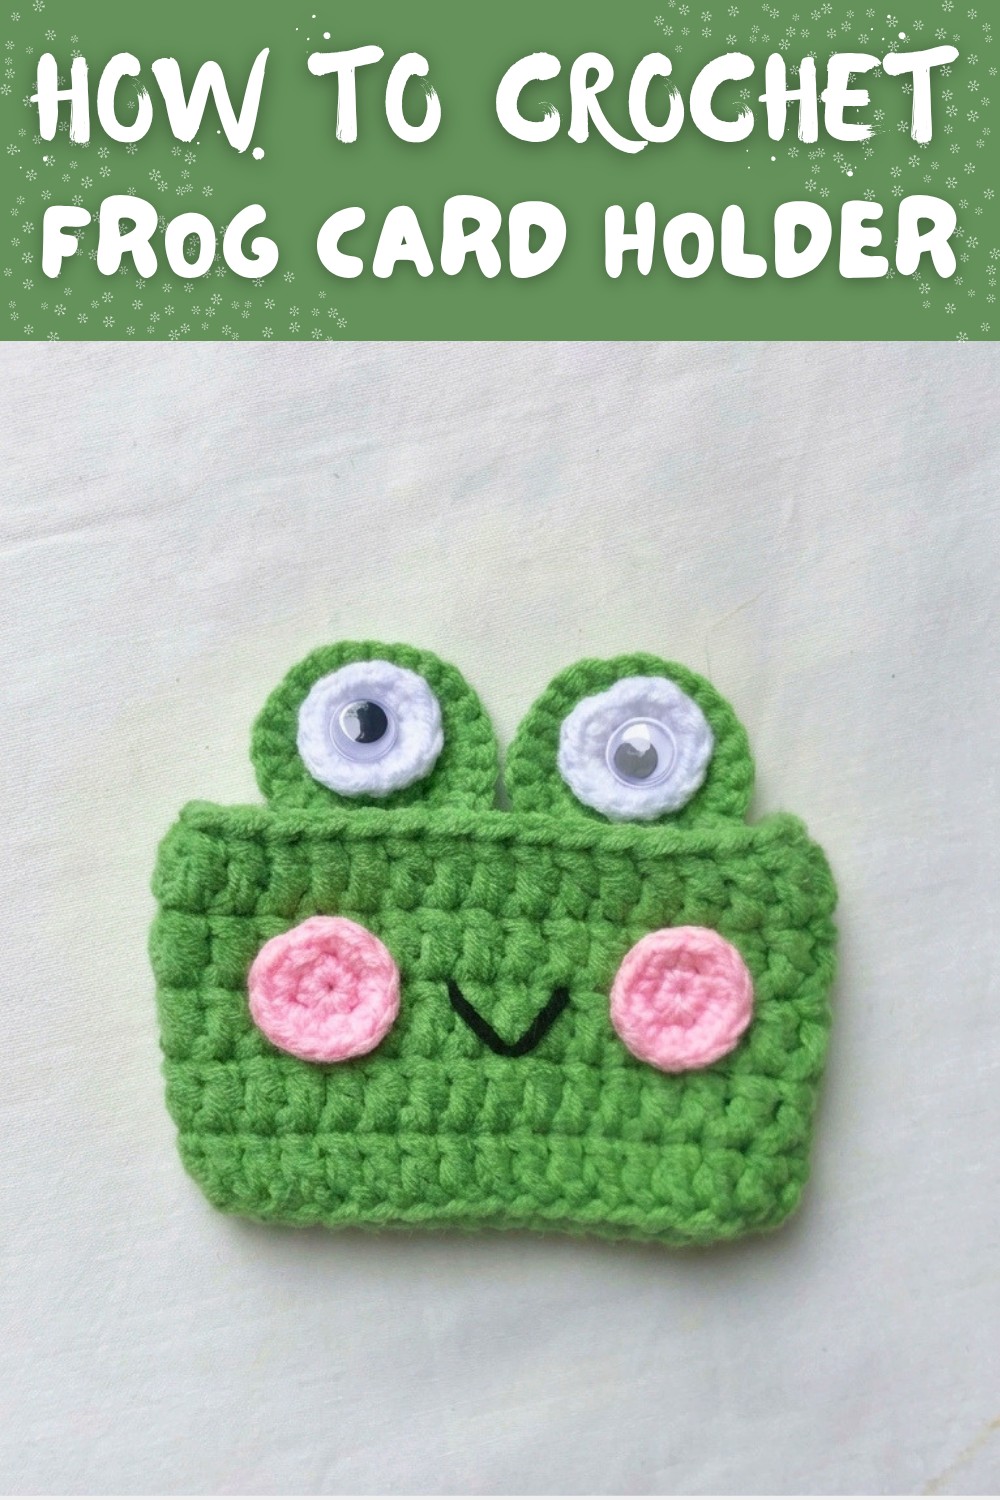
Lovely Free Crochet Frog Card Holder Pattern For Organizing
Carry a touch of charm with this free crochet frog card holder pattern to keep your cards safe while bringing a playful and adorable frog design to life.
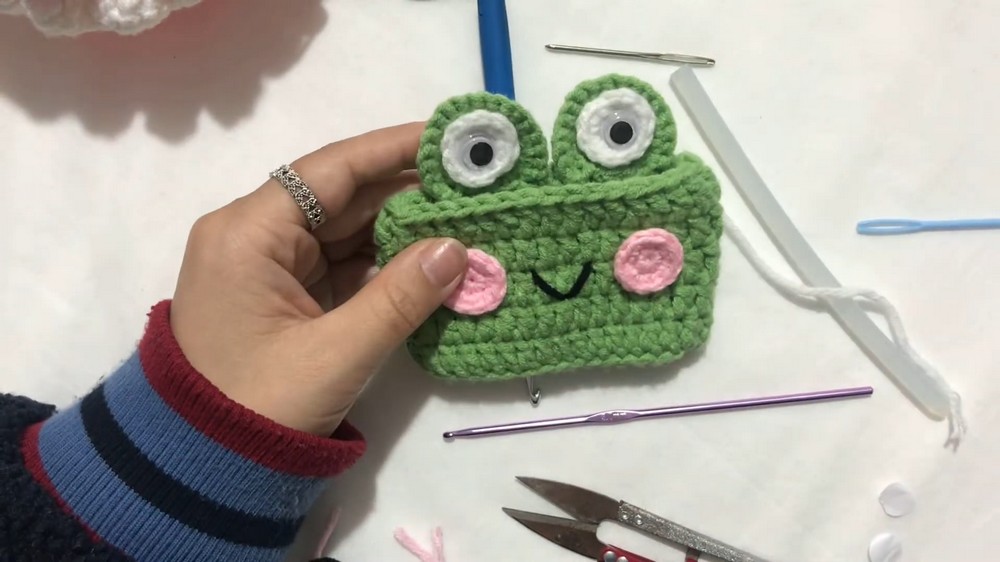
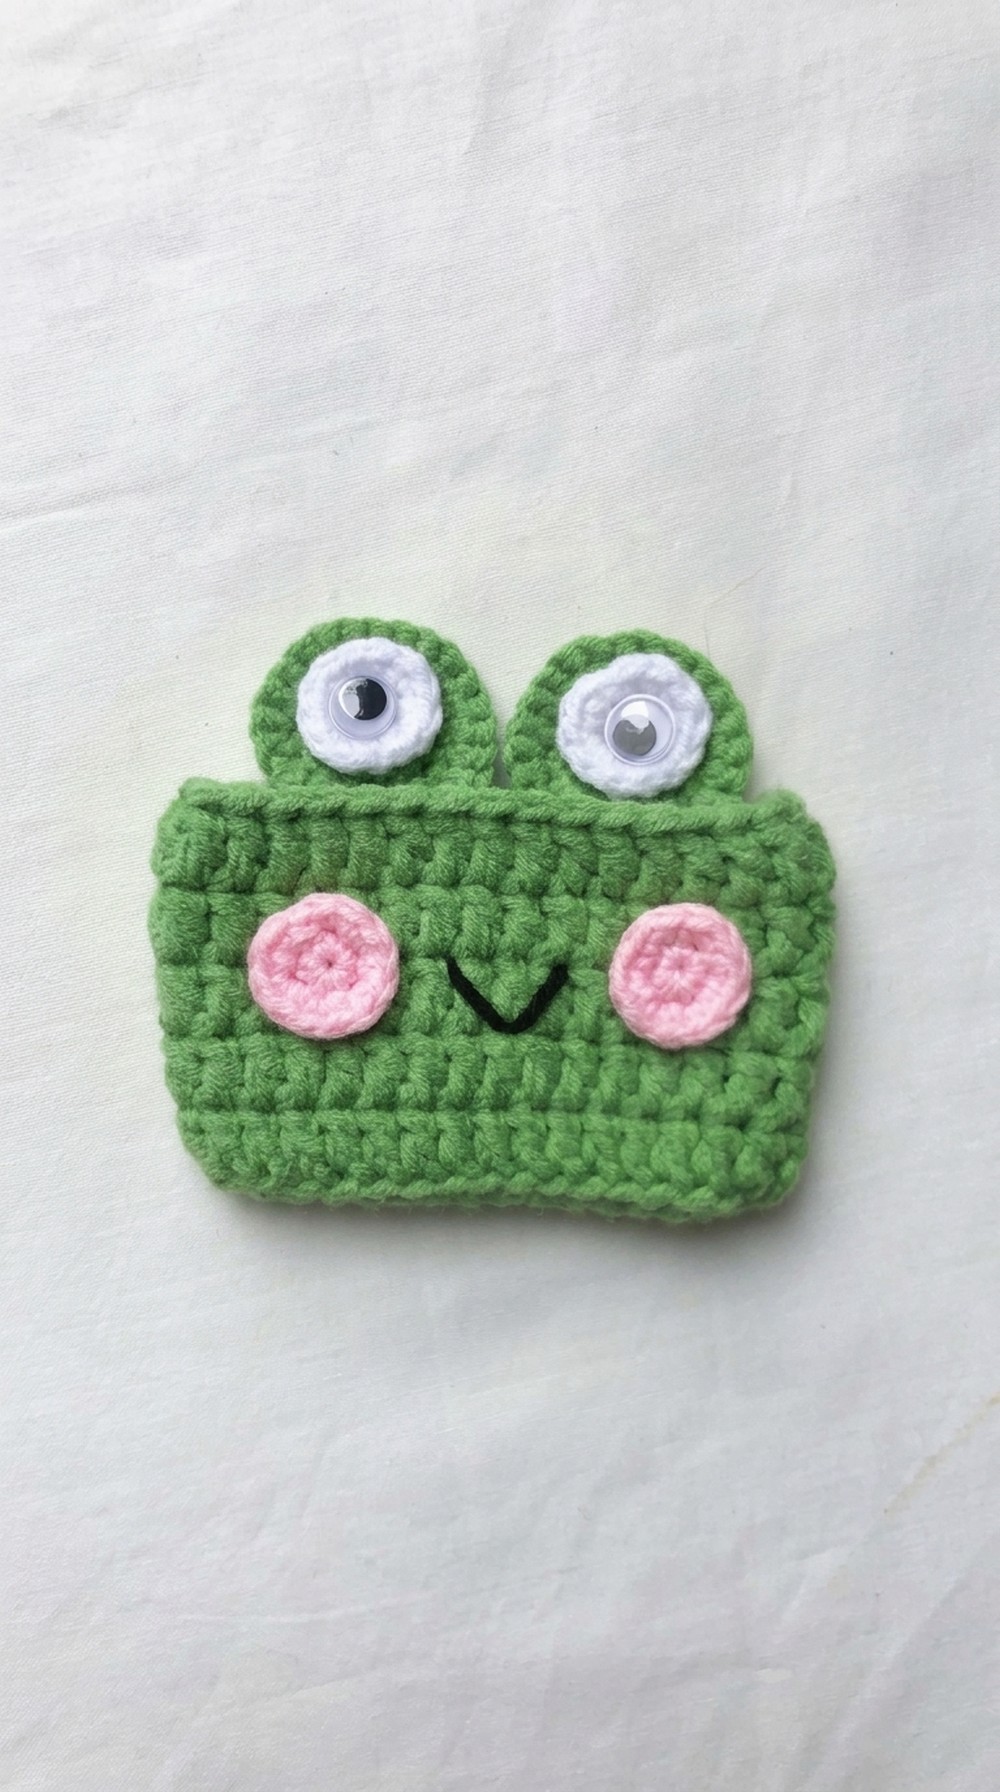
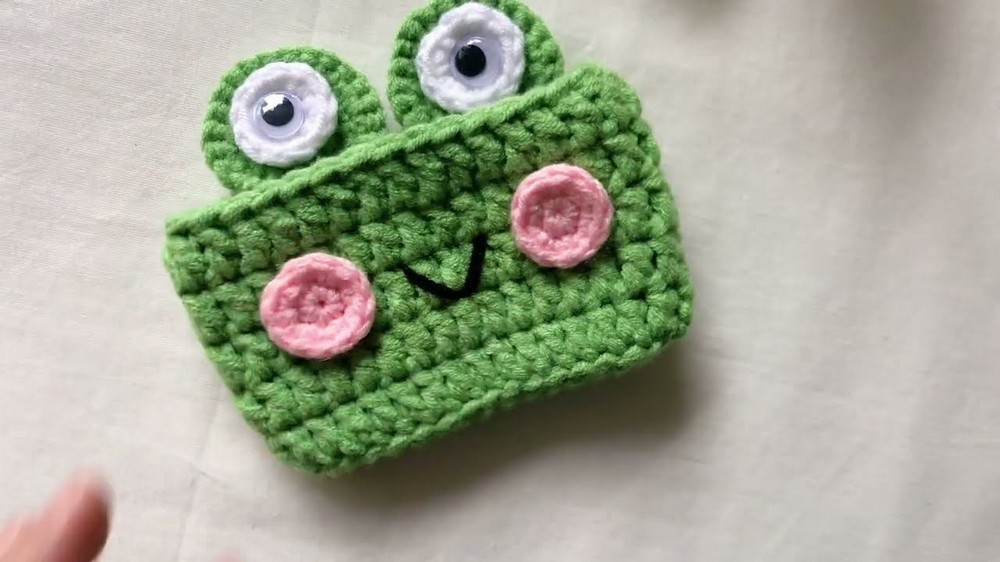
Designed to look like an adorable little frog, this card holder is cute, functional, and easy to make, even for beginners. It's a practical accessory to store your ID, bank cards, or transit passes, and its playful design will make everyone smile. . The beauty of this frog card holder lies in its charming and cheerful design. The main body is crochet in a bright, green yarn that gives the frog a playful and lively appearance. The two ears (or eye bumps) on top add a unique 3D look, making it stand out. The white circular eyes and pink blush cheeks make the frog look extra cute. Add a simple embroidered smile with black yarn to give it personality. It's like having a happy little friend in your pocket.
Charming Crochet Frog Card Holder Free Pattern For Office Style
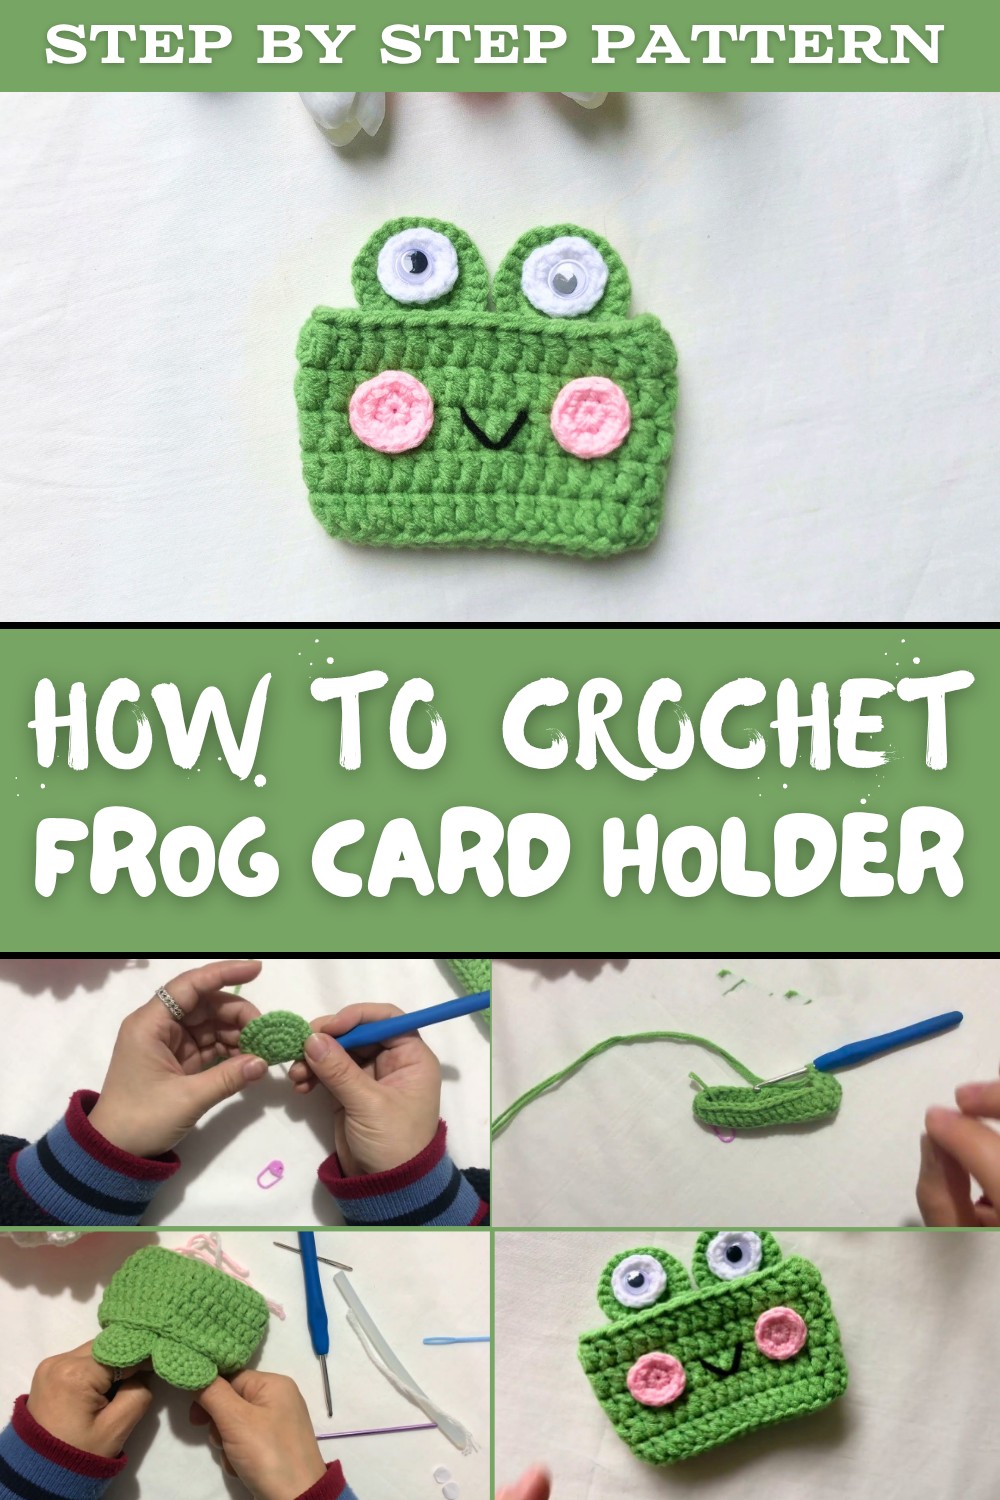
This cardholder is not just cute but super useful. It has a pocket big enough to hold your essential cards while staying lightweight and compact. You can personalize it by using different colors, adding patterns, or even decorating the frog with buttons or bows. The project uses basic crochet stitches like single crochet, double crochet, and slip stitches, making it easy to follow along.
What makes this pattern unique is its combination of playful design and functionality. The frog's quirky appearance appeals to kids, adults, and even those completely new to crochet. It's perfect for gifting, crocheting for fun, or even teaching crochet to children. Start making your very own cheerful frog cardholder today using this free and creative pattern.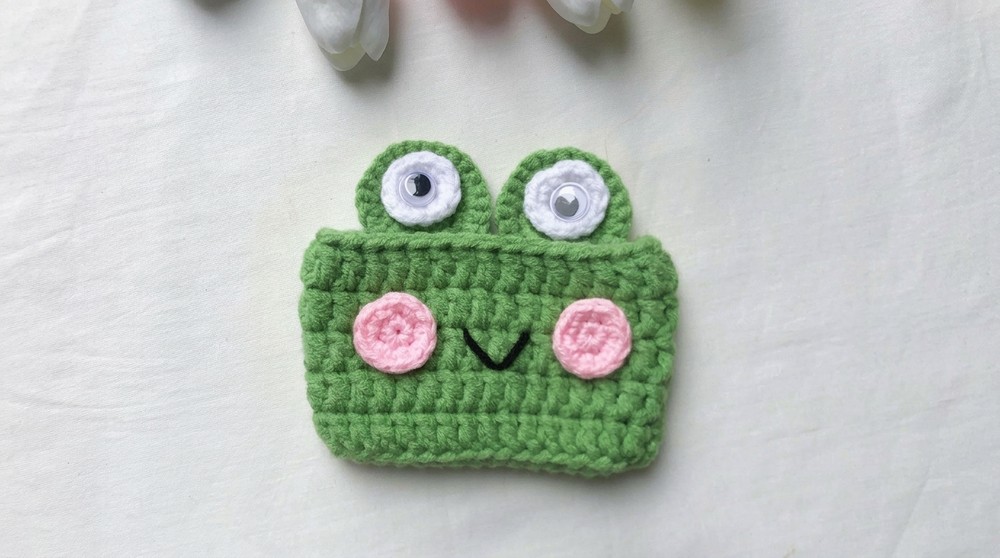
Crochet Frog Card Holder Pattern
Finished Size
With 4.0 mm hook and cotton DK (5‑ply) yarn, the frog card holder will measure approximately:
- Width: 9-10 cm (3.5-4 in)
- Height (without ears): 6-7 cm (2.5-3 in)
- This size comfortably holds standard cards (ID, bank cards, transit cards).
Size will vary slightly depending on yarn, hook, and personal tension.
Materials
- Yarn (cotton, DK or similar weight):
- Main color: light green (body & head)
- White: for eye bases (2 pieces)
- Pink: for blush/cheek circles (2 pieces)
- Black: for mouth and eye details (embroidery thread or fine yarn)
- Hook:
- 4.0 mm crochet hook
- Notions:
- Stitch markers
- Yarn needle (for sewing and embroidery)
- Scissors
- Optional: fabric glue or craft glue (to secure knots or attach details if desired)
- Filling:
- Typically not required, as this is a flat card holder. (You may add a tiny bit of stuffing in the eyes if you want them more 3D.)
Gauge
Gauge is not critical. Aim for:
- Firm stitches with no large gaps, so the holder is sturdy and does not stretch too much with use.
- If your fabric feels too loose or floppy, use a smaller hook (e.g., 3.5 mm).
Special Techniques & Abbreviations
- ch - chain
- sl st - slip stitch
- sc - single crochet
- dc - double crochet
- inc - increase (2 stitches in the same stitch)
- magic ring (MR) - adjustable loop to start working in the round
- back loop only (BLO) - insert your hook into the loop furthest from you on the top of the stitch
All instructions are in US crochet terms.
Construction Overview
- Body / Pocket:
- Worked flat around a foundation chain, then built up in rows/rounds with double crochet. This forms the main pocket to hold cards.
- Ears (Frog "eye bumps"):
- Two circles that are slightly increased to create semi‑round shapes.
- Eye Whites & Cheeks:
- Small circles for the eyes (white) and blush (pink).
- Assembly & Embroidery:
- Ears and facial pieces are sewn on; mouth and eye details are embroidered.
Pattern Instructions
1. Body of the Frog Card Holder
Foundation:
- Make a slip knot on your hook.
- Ch 16.
You will now work around this chain (both sides) to form an oval base.
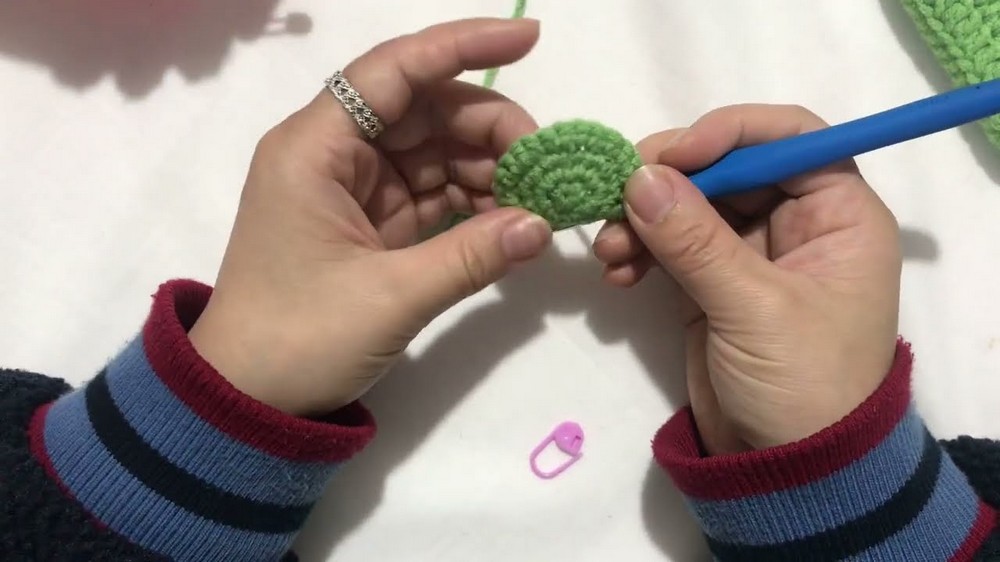
Row / Round 1
- Work into the second chain from hook (use front loop of chain):
- Sc in next 14 ch.
- You now have 14 sc and 1 unused chain at the end.
- Sc in next 14 ch.
- In the last chain, work 3 sc in the same stitch to round the corner.
- Now rotate your work and crochet along the other (back) side of the foundation chain:
- Sc in next 13 sts (along the other side of the chain).
- In the last chain (the one that already has 1 sc at the beginning), work 2 sc in the same stitch.
- Join with a sl st to the first sc.
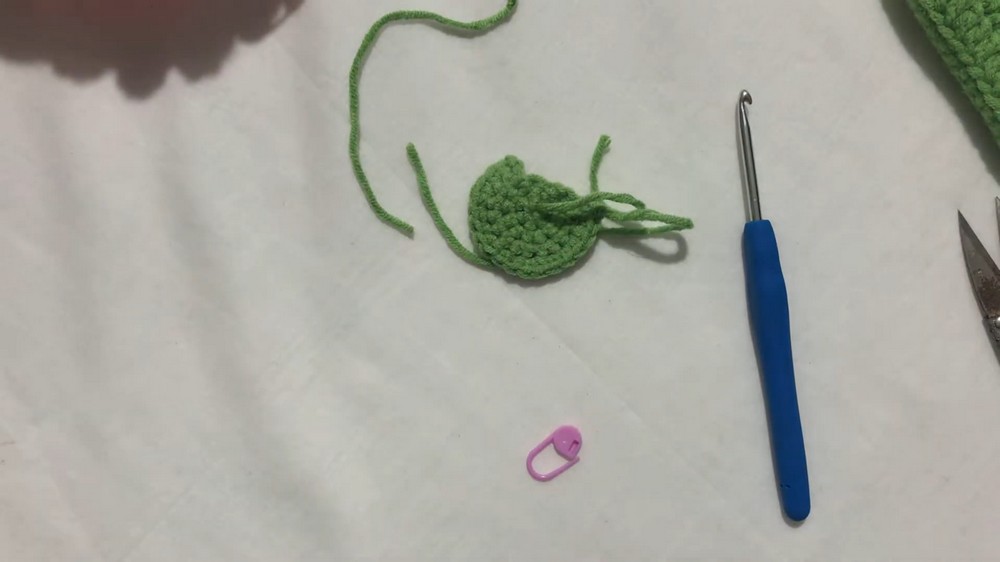
You now have a rounded rectangle/oval base.
Round 2 (Start of Walls - in Back Loop Only)
- From now on, you will work in rounds, not turning.
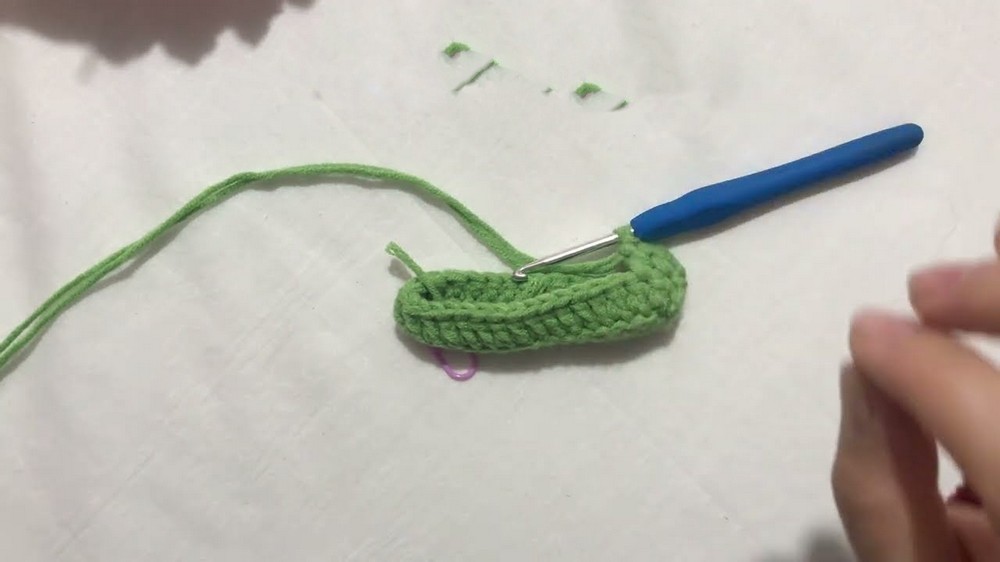
- For this round, work in back loop only (BLO) to create a defined edge at the bottom.
Steps:
- Insert hook into the first stitch (BLO) and sl st to join if needed.
- Ch 3 - this counts as the first dc.
- Work 1 dc in each stitch around, BLO only, for a total of 32 dc.
- Join with a sl st to the top of the ch‑3.
Rounds 3-6 (Body Height)
- Ch 3 at the beginning of each round (counts as first dc).
- Work 1 dc in each stitch around, now through both loops (normal V).
- You will have 32 dc in each round.
- At the end of each round, sl st to the top of ch‑3 to join.
Repeat until you have completed Rounds 3, 4, 5, and 6 - total 4 rounds of 32 dc after Round 2.
This forms the height of the card holder pocket.
Fasten Off the Body
- Cut the yarn, leaving a small tail.
- Pull through to fasten.
- Use the yarn needle to weave in and secure the tail neatly inside.
The main pocket/body is now complete.
2. Frog Ears (Eye Bumps) - Make 2
Use the main green color.
Round 1:
- Make a magic ring (MR).
- Work 6 sc into the MR.
- Pull the ring tight to close.
Round 2:
- Join with a sl st to the first sc, ch 1.
- Work 2 sc in each stitch around (inc in every stitch).
- You now have 12 sc.
- Join with a sl st.
Round 3:
- Ch 1.
- Repeat the following sequence 5 times total:
- 1 sc in next stitch, 2 sc in next stitch (inc).
- This repeated around brings you up to 18 sc.
- At the end, work 1 sc in each of the last 2 stitches to complete the round.
- Join with a sl st.
Fasten off, leaving a long tail for sewing.
Make two identical ears.
3. Eye Whites - Make 2
Use white yarn.
Round 1:
- Make a magic ring.
- Work 6 sc into MR. Pull tight.
Round 2:
- Join with sl st, ch 1.
- Work 2 sc in each stitch around (inc in each stitch).
- Total: 12 sc.
- Join with sl st and fasten off, leaving a tail for sewing.
Make two.
4. Blush / Cheek Circles - Make 2
Use pink yarn.
Round 1:
- Make a magic ring.
- Work 6 sc into MR. Pull tight.
- Join with a sl st and fasten off, leaving a short tail for sewing.
Make two.
Assembly
1. Attach the Ears
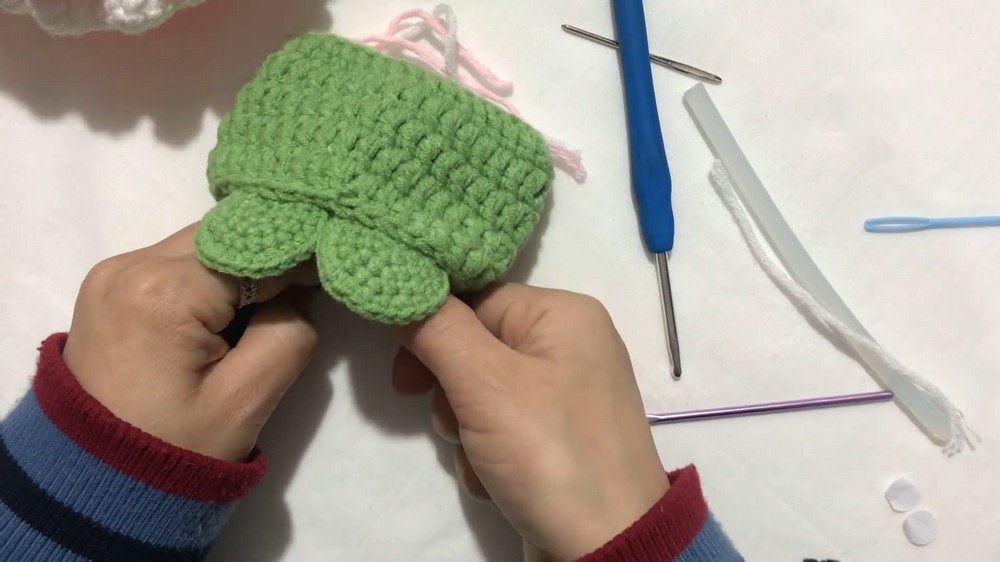
- Position the two green ear pieces on the top edge of the body, spaced evenly so they resemble frog "eye bumps."
- Using the long green tails and a yarn needle, sew the flat side of each ear to the inside of the front top edge of the card holder.
- Secure and weave in excess tails inside the body.
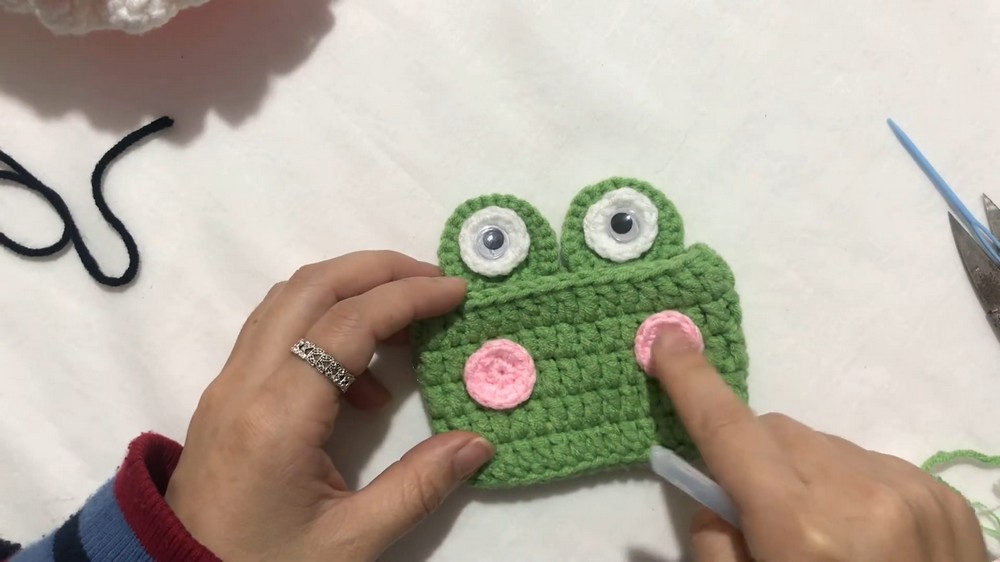
2. Attach the Eye Whites and Blush
- Place the white eye circles slightly below and centered between the ears, or partially overlapping them if you want a very frog‑like look. Sew them on firmly.
- Place the pink circles slightly lower and to each side as cheeks. Sew and secure their tails.
3. Embroider Mouth and Eye Centers
Use black yarn or embroidery thread:
- Mouth:
- Stitch a simple curved line between the cheeks to suggest a smiling frog.
- Eye dots (optional):
- Add a small black stitch or French knot in each white circle to represent pupils.
Weave in all remaining ends securely inside the work.
Tips & Customization Ideas
- Thickness of Pocket:
- If you want a deeper holder, work more dc rounds (e.g., up to Round 8 or 9) before fastening off.
- Tighter Fabric for Durability:
- If you plan heavy use, consider a smaller hook (3.5 mm) with the same yarn to make a denser, sturdier fabric.
- Add a Closure:
- You may sew on a small button and create a chain loop at the back edge to secure cards.
- Color Variations:
- Use different greens or add stripes on the body.
- Use safety eyes instead of crocheted eye whites if preferred.
- Beginner Assistance:
- Always keep a stitch marker in the first stitch of each round to avoid losing your place.
- Practice the magic ring separately if you are new to it.
Conclusion & Final Look
You now have a charming Frog Card Holder: a small, rectangular pocket with a rounded base, straight dc sides, and two raised frog ears at the top. The front features white eyes, pink cheeks, and an embroidered smile, giving it a friendly and playful appearance.
This project is quick, practical, and ideal for gifts or personal use. You can adapt the pattern easily-changing colors, adding accessories, or adjusting the size. With proper finishing and secure stitching, your frog card holder will be both cute and functional.