
Mini Daisy Hair Tie Free Crochet Pattern
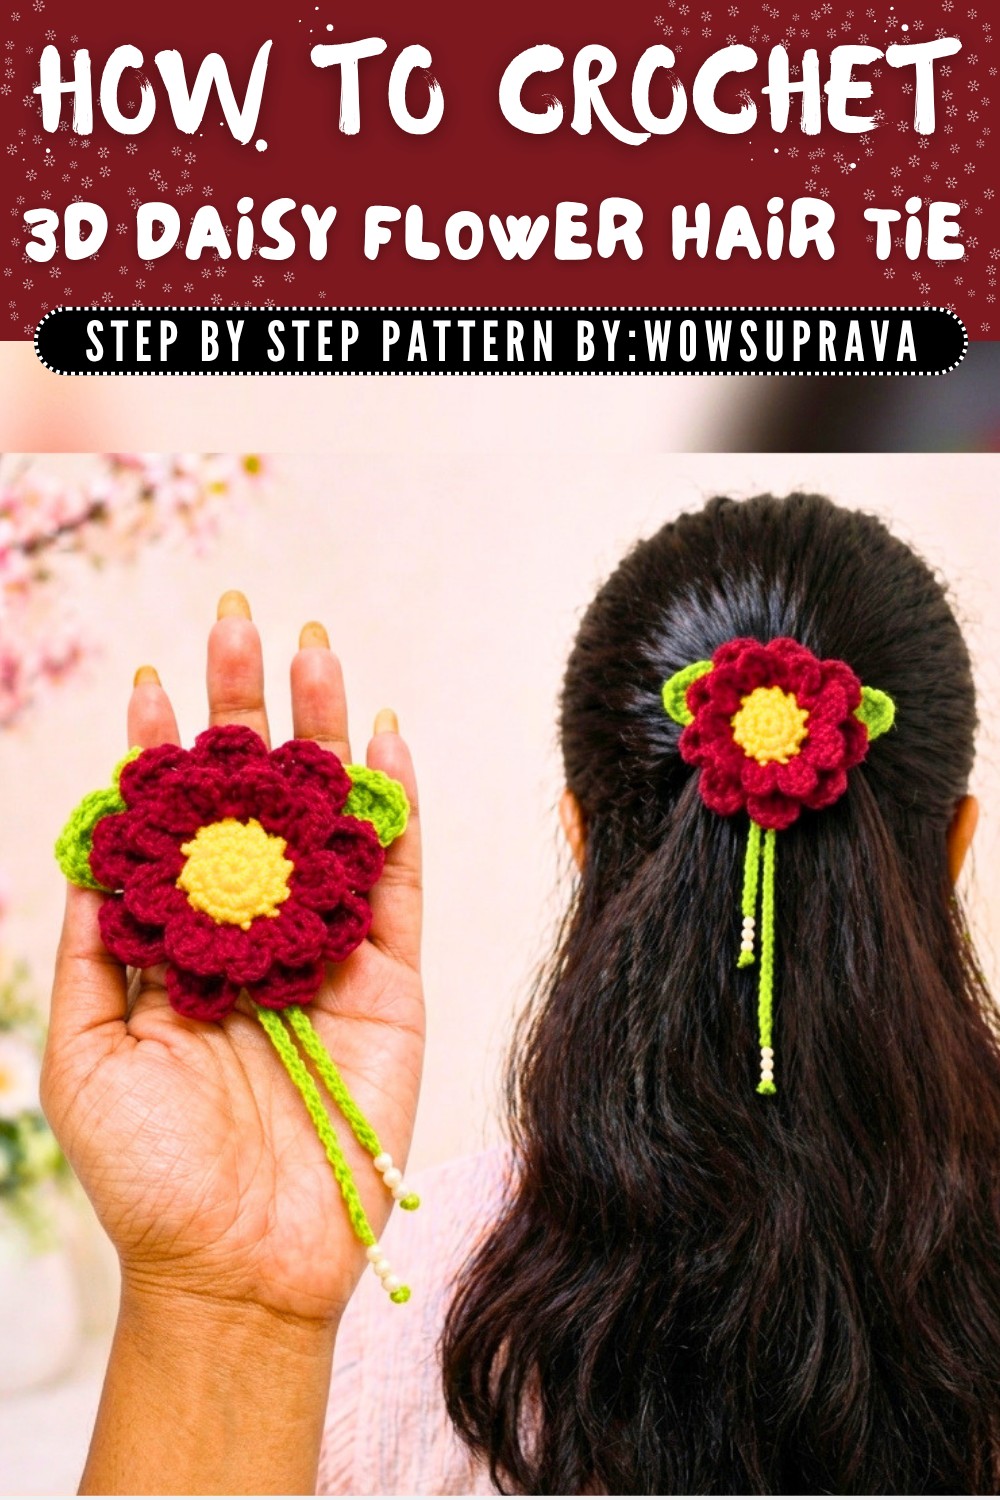
Refresh every hairstyle with Free Crochet Daisy Hair Tie Pattern offering cheerful floral charm and pretty everyday hair accessory style.
I've always loved adding small handmade touches to my outfits, and making hair accessories is one of my favorite ways to do that. The Free Crochet Daisy Hair Tie Pattern is perfect for this. It's a simple pattern to create a pretty daisy flower attached to a hair tie. With just a few minor changes, like switching up the colors or adding more petals, you can also make brooches, headbands, or even little appliques to decorate bags or hats.
This daisy hair tie is charming and cheerful. It has a round shape with soft petals that look fresh and bright. The texture is gentle and smooth, thanks to the neat crochet stitches that bring the flower to life without being stiff. Its style is cute and natural, making it a lovely little accent for everyday wear or special occasions. The standout feature is definitely the delicate petal design, which gives the piece a sweet, handmade feel that's both feminine and fun.
Crochet Daisy Hair Tie Accessory for All Ages

This project is great for beginners who know basic stitches and want a quick, satisfying result. The pattern mostly uses simple crochet stitches that are easy to follow, so even if you're new to crochet, it's a good way to practice and finish something beautiful without too much fuss.

The finished hair tie makes a thoughtful gift and a charming addition to anyone's accessory collection. It's useful for keeping hair neat while adding a pop of personality and can also be displayed with other handmade items as a small decorative piece. If you enjoy projects that are simple, pretty, and useful, the Free Crochet Daisy Hair Tie Pattern could be just what you're looking for.
Free Daisy Hair Tie Crochet Pattern
Create a beautiful, dimensional daisy flower that you can use in various crafts like hair accessories, brooches, or decor. This pattern uses simple stitches and a medium-sized hook for a satisfying project. With detailed instructions and step-by-step rounds, you'll have a lovely 3D daisy to showcase your crochet skills.
Summary
This 3D Daisy Flower is a charming crochet motif made with basic stitches and clever layering techniques to create a realistic floral effect. Perfect for embellishing hats, bags, or hair clips, this flower adds a handmade touch to any project. The pattern includes detailed instructions to form the petals, the second layer of petals, the leaf, and finishing touches such as optional pearl accents.

Pattern Notes
- The flower is worked in rounds, beginning with a magic ring and progressing through several layers of petals.
- The stitch count will increase each round, so watch how you form increases carefully.
- The flower includes front loop and back loop work to create the 3D petal effect.
- Chain spaces and slip stitches are used to shape the petals and attach different layers.
- Optional beads or pearls can be added for a decorative center.
- A leaf with shaped edges accompanies the flower.
- Sewing and finishing touches complete the flower assembly.
Skill Level
Intermediate
While this pattern mainly uses basic stitches like single crochet, double crochet, and triple (treble) crochet, working in front and back loops and shaping petals may require moderate experience. Familiarity with magic rings and reading stitch placements is recommended.
Materials
- Yarn in 3 colors (flower petals, leaf, and center color)
- Crochet hook 3.5 mm (E/4)
- Yarn needle for weaving ends and sewing parts
- Scissors
- Optional decorative beads or pearls for flower center
- Stitch marker (optional)
Measurements / Sizing
- Finished daisy flower measures approximately 3.5 to 4 inches (9-10 cm) in diameter
- Leaf length approx. 4 inches (10 cm)
- Size might vary slightly depending on yarn and hook tension
Stitch Abbreviations
- ch - chain
- sc - single crochet
- hdc - half double crochet
- dc - double crochet
- tr - triple crochet (also referred to as treble crochet)
- sl st - slip stitch
- MR - magic ring
- st(s) - stitch(es)
- FL - front loop
- BL - back loop
Special Stitches
- Magic Ring (MR): A tight adjustable loop used to begin crocheting in the round.
- Working in Front Loop Only: Insert hook into the front loop of the stitch to create texture.
- Working in Back Loop Only: Insert hook into the back loop to create distinct rows or petals.
The Crochet Pattern!
Flower Center and First Round of Petals
- Magic Ring:
Create a magic ring by pulling the yarn end through the loop on your hook to form a knot. - Round 1:
Ch 1, then work 6 sc into the magic ring.
Pull the ring tight to close the center hole.
Join with a sl st to the first sc. (6 sts) - Round 2:
Ch 1. Work 2 sc in each stitch around.
Join with sl st to first sc. (12 sts) - Round 3:
Ch 1. Work 1 sc in each stitch around.
Join with sl st to first sc. (12 sts)
Cut yarn, leaving a tail for finishing. - Finish round:
Chain 1, skip the first stitch, insert hook into next stitch and pull yarn through to make a chain loop on the outside.
Fasten off securely and repeat the chain loops once more to create two loops around the flower base for petal foundation.
Cut excess yarn but leave enough to secure.

Forming the First Petal Layer (Work in Front Loops)
- Attach yarn at the base's chain loops.
- Crochet petals on the front loops only:
Slip stitch into the front loop, ch 3.
Into the next front loop: dc, ch 3, sl st all in the same space. Repeat around.
End with sl st into first sc.

Forming the Second Petal Layer (Work in Back Loops)
- Rotate the flower for the back loop work where petals will sit between the first layer.
- Attach yarn in back loop space between two petals.
- Create petals with chain 4, 2 triple crochets (tr) in the same stitch, chain 4, sl st in the same stitch.
Repeat this pattern around all back loop spaces.
Finish with sl st to join and chain 1.
Cut yarn leaving a tail.
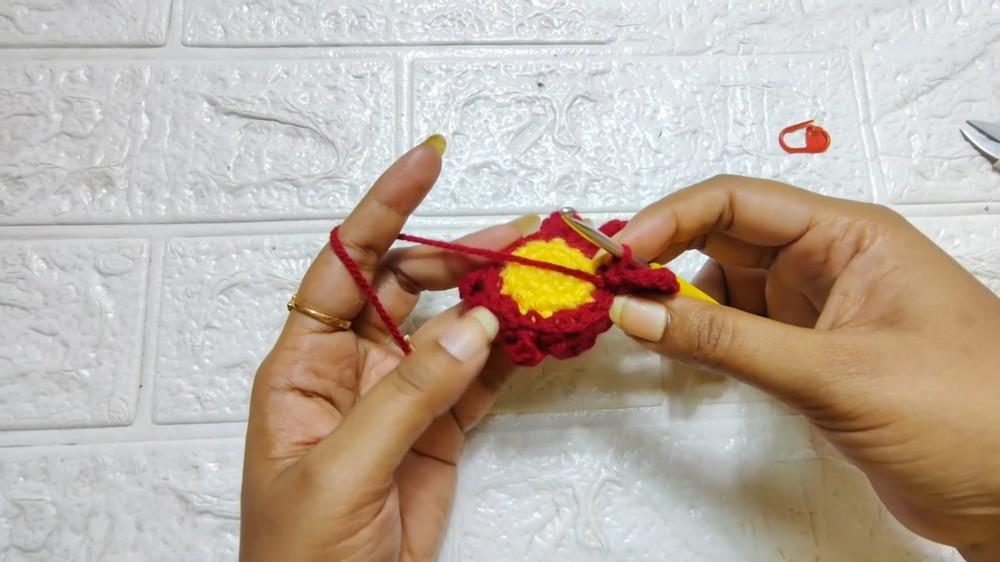
Finishing the Flower Center
- On the last sl st, do two more sl sts to stabilize and cut yarn.
- Weave in all ends neatly on the backside of the flower.

Making the Leaf
- Create a slip knot and chain 12.
- Starting from the second chain from the hook:
Skip 1 ch, sc in next, hdc in next, dc 6 times, hdc in next, sc in next, sl st in last. - Turn and work around the other side of the chain:
Repeat sc, hdc, dc 6 times, hdc, sc. - Slip stitch to join.
- Leave a long tail for sewing.
- Insert needle through the chain 1 space, pull yarn through the center to shape the leaf.
- Secure all ends and trim excess yarn.
Adding Pearls or Beads (Optional)
- Take long yarn tails and thread 3 small beads or one bigger bead.
- Knot securely in the middle of the flower.
- Trim excess yarn.
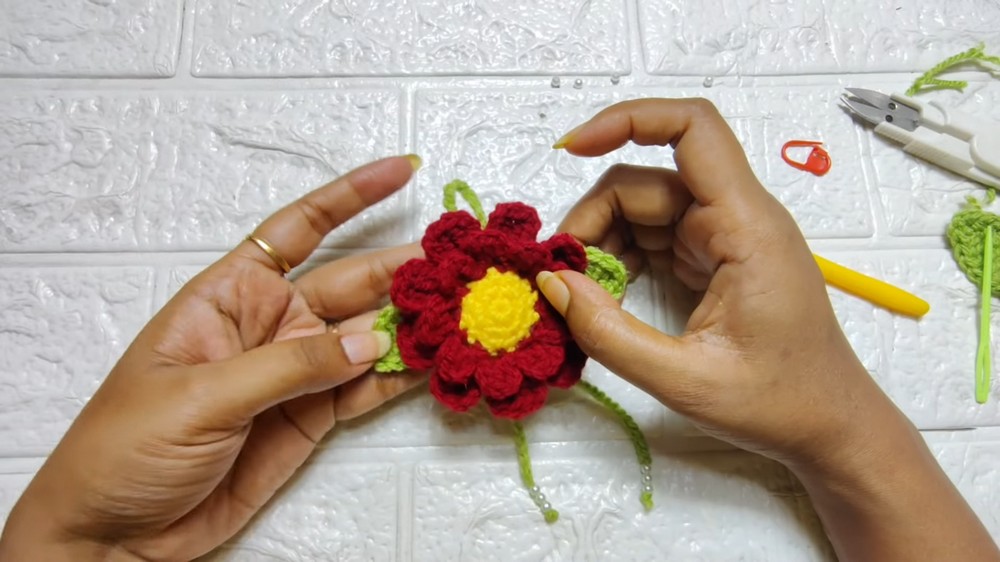
Assembly Instructions
- Align the flower and leaf as desired.
- Use yarn needle and leftover yarn tails to securely sew the flower center to the flower base.
- Attach the leaf to the flower base or project backing.
- Weave in ends carefully for a polished finish.
Gauge and Tips
- Gauge is flexible, but you should achieve a firm fabric that holds the petal shape.
- If chain loops seem loose, adjust tension lightly.
- Practice the triple crochet stitch if new to it.
- Always close the magic ring tightly to avoid gaps in the flower center.
Assembly & Finished Size, Conclusion, and Notes
- Finished flower diameter: ~4 inches (10 cm)
- Leaf length: ~4 inches (10 cm)
- Can be used in hair accessories, bags, brooches, or as applique on garments
- Easy to customize with different yarn colors or bead embellishments
- Perfect project for intermediate crocheters looking for a fun floral motif
- Can be gifted as part of handmade sets or used to brighten your home décor
- Remember to enjoy the creative process and have fun experimenting with colors and textures!
- Thank you for choosing this pattern-happy crocheting!