
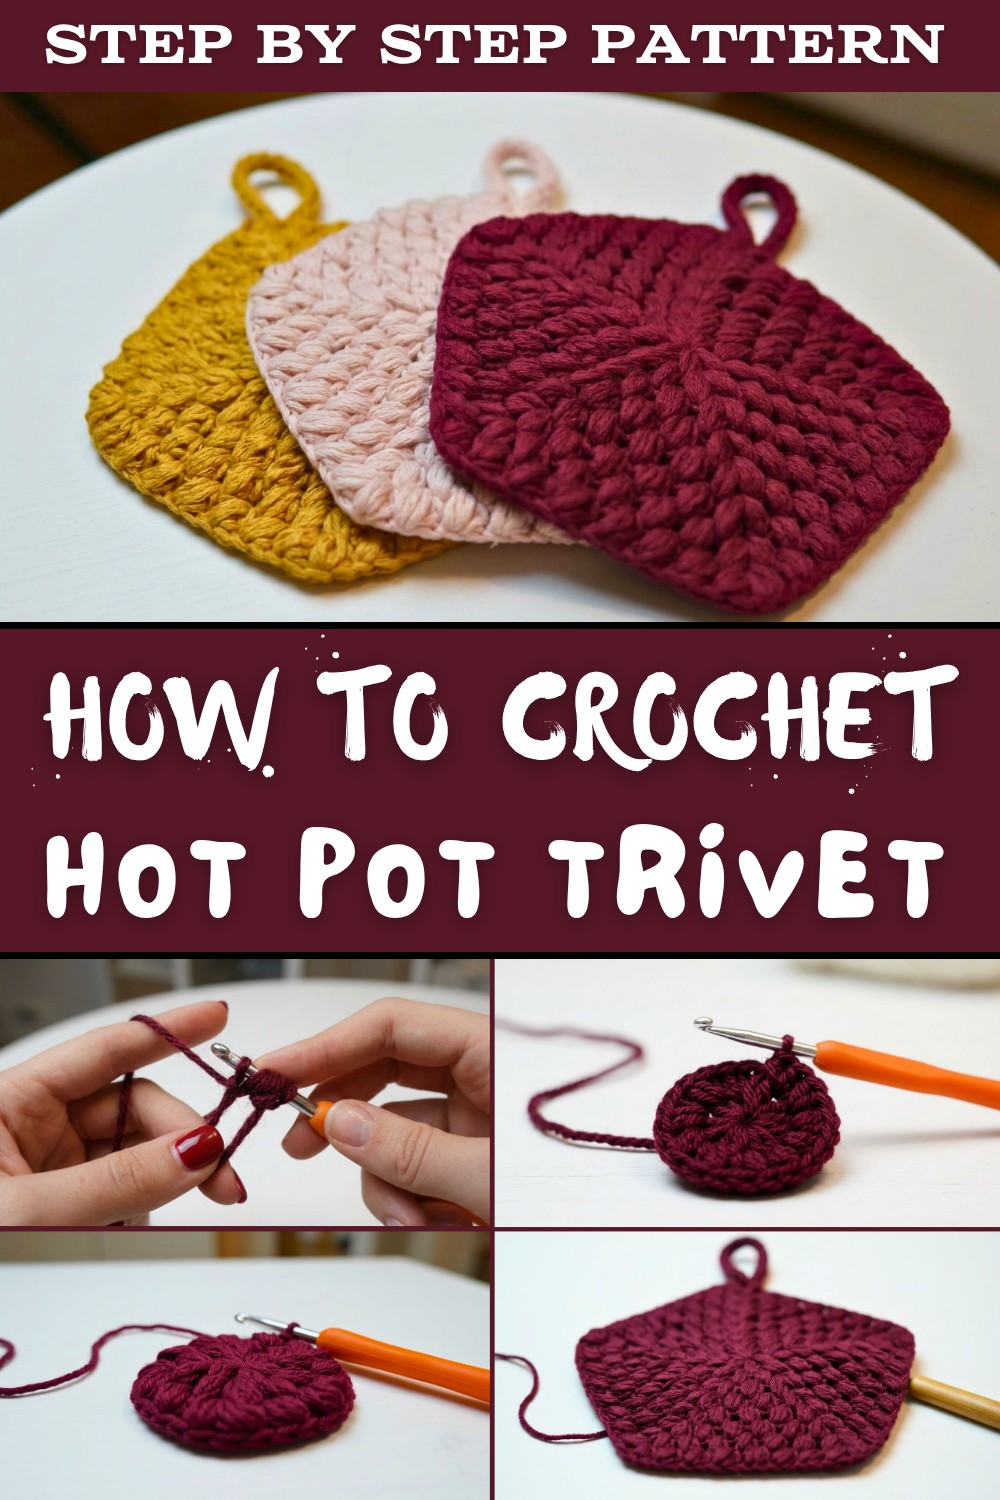
Must-Try Free Crochet Hot Pot Trivet Pattern for Every Crocheter
Hot meals become even more delightful with this free crochet hot pot trivet pattern, a perfect way to protect your tables while adding charm to every lunch and dinner.
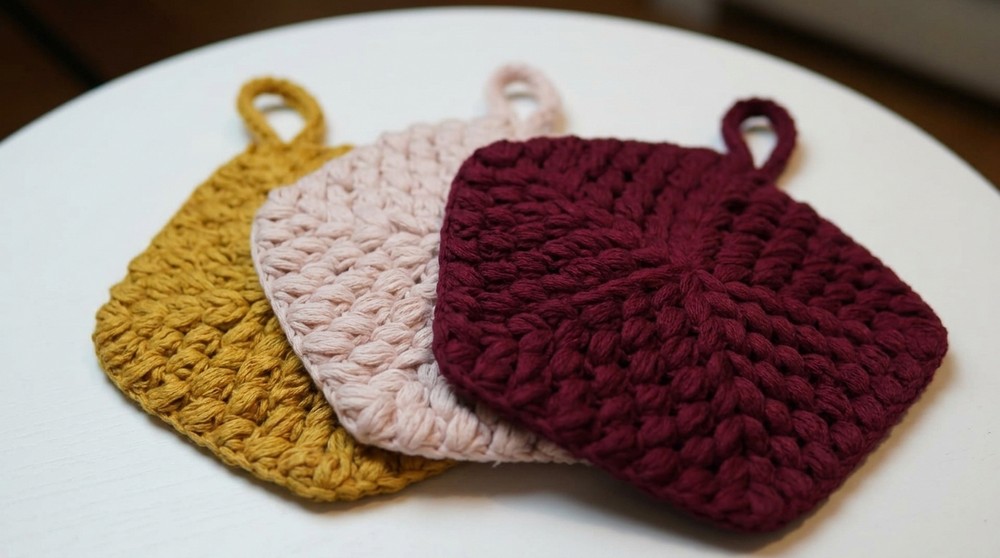
Crochet a beautiful and useful hot pot trivet with this easy to follow free pattern. This trivet is perfect for protecting your tables and countertops from hot dishes while adding a touch of charm to your kitchen. It looks amazing with its puff stitch texture, making it thick, strong, and eye catching. The round shape and detailed design create a unique look that stands out in any home while still being simple enough for beginners.
Charming Free Crochet Hot Pot Trivet Pattern for Your Kitchen
This pattern uses puff stitches, giving the trivet a soft yet firm feel. You'll start with a magic circle for a tidy center and then work in rounds to build its shape. As you go, you'll gradually expand the trivet to the size you want. The best part is that it can be customized. Choose bright colors to match your kitchen or stick with neutral tones for a classic style. Add a handle at the end for easy hanging or handling.
Once complete, this trivet is not only practical but also stylish. Whether you're cooking meals at home or gifting it to someone special, this crochet project is both fun and rewarding.
Crochet Hot Pot Trivet Pattern
Necessary Materials
- Yarn: Loops & Threads Cream Cotton Yarn (available at Michaels or Michaels.com)
- Crochet Hook: Recommended hook size to match gauge (see below)
- Scissors: For trimming ends
- Darning Needle: For weaving in ends
Important Note: The Cream Cotton Yarn is currently on sale, so it's a great value for this type of project.
Gauge (Optional)
Gauge is not critical for this project, but you can work a small test swatch of puff stitches. Adjust hook size if needed depending on your tension.
Finished Size
The trivet with 8 rows measures approximately 8-10 inches in diameter. You can adjust to make it larger or smaller as desired.
Special Techniques
- Magic Circle: Used to create a neat, tight center (important for durability).
- Puff Stitch: A textured stitch with multiple yarn overs for a bold, raised look.
- Increase: Adding extra puff stitches to expand the diameter evenly.
Step by Step Pattern Instructions
Step 1: Start with the Magic Circle
- Create a magic circle: Wrap the yarn around your fingers, insert the hook under the loop, and pull the working yarn through.
- Chain 1 (this chain does not count as a stitch; it helps hold the circle's structure in place).
Step 2: Row 1 - Puff Stitches in the Magic Circle
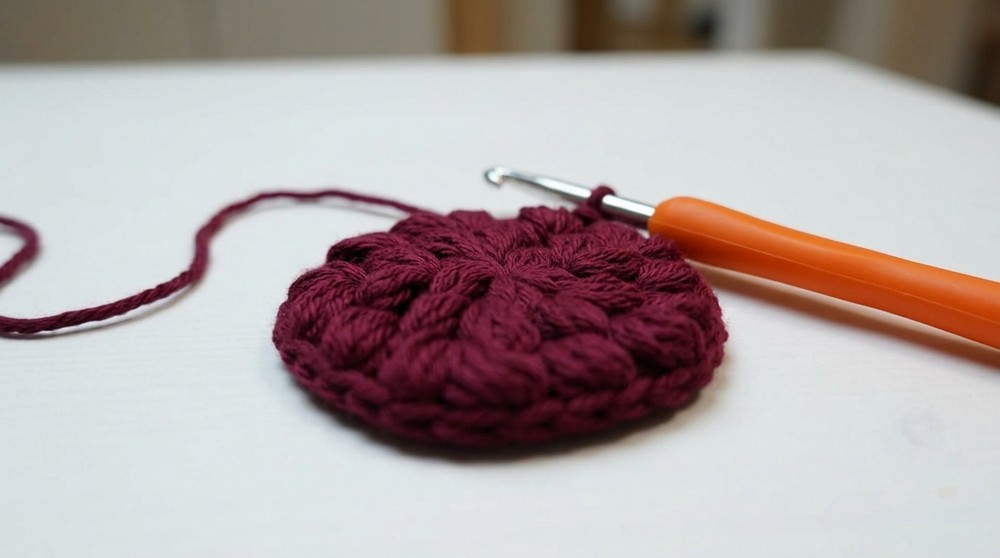
- Yarn over, insert the hook into the circle, yarn over again, and pull through the loop three additional times (total 4 loops on your hook for each puff stitch).
- Yarn over once more and pull through all loops on the hook. Chain 1 to finish your puff stitch.
- Repeat the puff stitch process 5 times into the circle.
- Tighten the magic circle by pulling the ending yarn firmly.
- Slip stitch into the first puff stitch to close the round.


Step 3: Row 2 - Increase
- Begin with the loop on your hook, no need for additional chains.
- Work 2 puff stitches in the space between each puff stitch from Row 1.
- Repeat around, creating 10 puff stitches in total.
- Slip stitch to join the last puff stitch to the first puff stitch.

Step 4: Row 3 - Alternating Puff Stitch and Increase
- Start the row with 1 puff stitch in the corresponding stitch.
- Work 2 puff stitches in the next stitch (increase).
- Alternate this pattern (1 puff, then increase) around the row.
- Ensure that all increases line up neatly as you complete this round.
Step 5: Row 4 and Beyond - Expanding Pattern
- In Row 4, the pattern alternates: 1 puff stitch, 1 puff stitch, 2 puff stitches (increase).
- Continue this pattern in subsequent rows, ensuring increases align.
- Complete a total of 8 rows, or adjust depending on desired size.
Step 6: Create the Edge and Handle
- Finish your trivet by making an I cord handle, attaching it to one corner. Alternatively, you can make a basic chain handle.
- For a detailed tutorial, check Grace Crochets' video on how to make an I cord.
Tips and Customization Ideas
- Change Colors: Add stripes or create an ombre effect with different yarn shades.
- Varied Stitch Styles: Mix puff stitches with double crochets for texture variation.
- Larger Size: Expand the trivet by adding more rows following the established pattern of increases.

Conclusion and Final Look
The finished hot pot trivet is sturdy, textured, and decorative. Its puff stitch design adds volume and style, while the durable yarn ensures longevity. Perfect for protecting surfaces or gifting, this piece can be customized to suit your preferences.

Important Remarks
- Adjust yarn tension to ensure the puff stitches are uniform.
- The magic circle technique ensures a tidy and tight center, essential for durability.
- This project is versatile, eco friendly, and suitable for beginners or experienced crocheters seeking a quick yet rewarding pattern.