
No-Sew Crochet Flower Hair Clip Free Pattern with Pearl Accent
Grow your crochet skills with this free flower hair clip pattern that is perfect for beginners and uses simple techniques to create vibrant accessories effortlessly.
Turning simple yarn into a gorgeous hair accessory in just a short time, this crochet flower hair clip is both fun to make and surprisingly easy! Its soft petals, complemented by a pearl centerpiece, create a timeless look that pairs well with any outfit. Whether you want to add flair to your hairstyle or gift someone a thoughtful handmade item, this flower clip is all about blending style with practicality.
Crochet Flower Hair Clip Free Pattern with No-Sew Technique
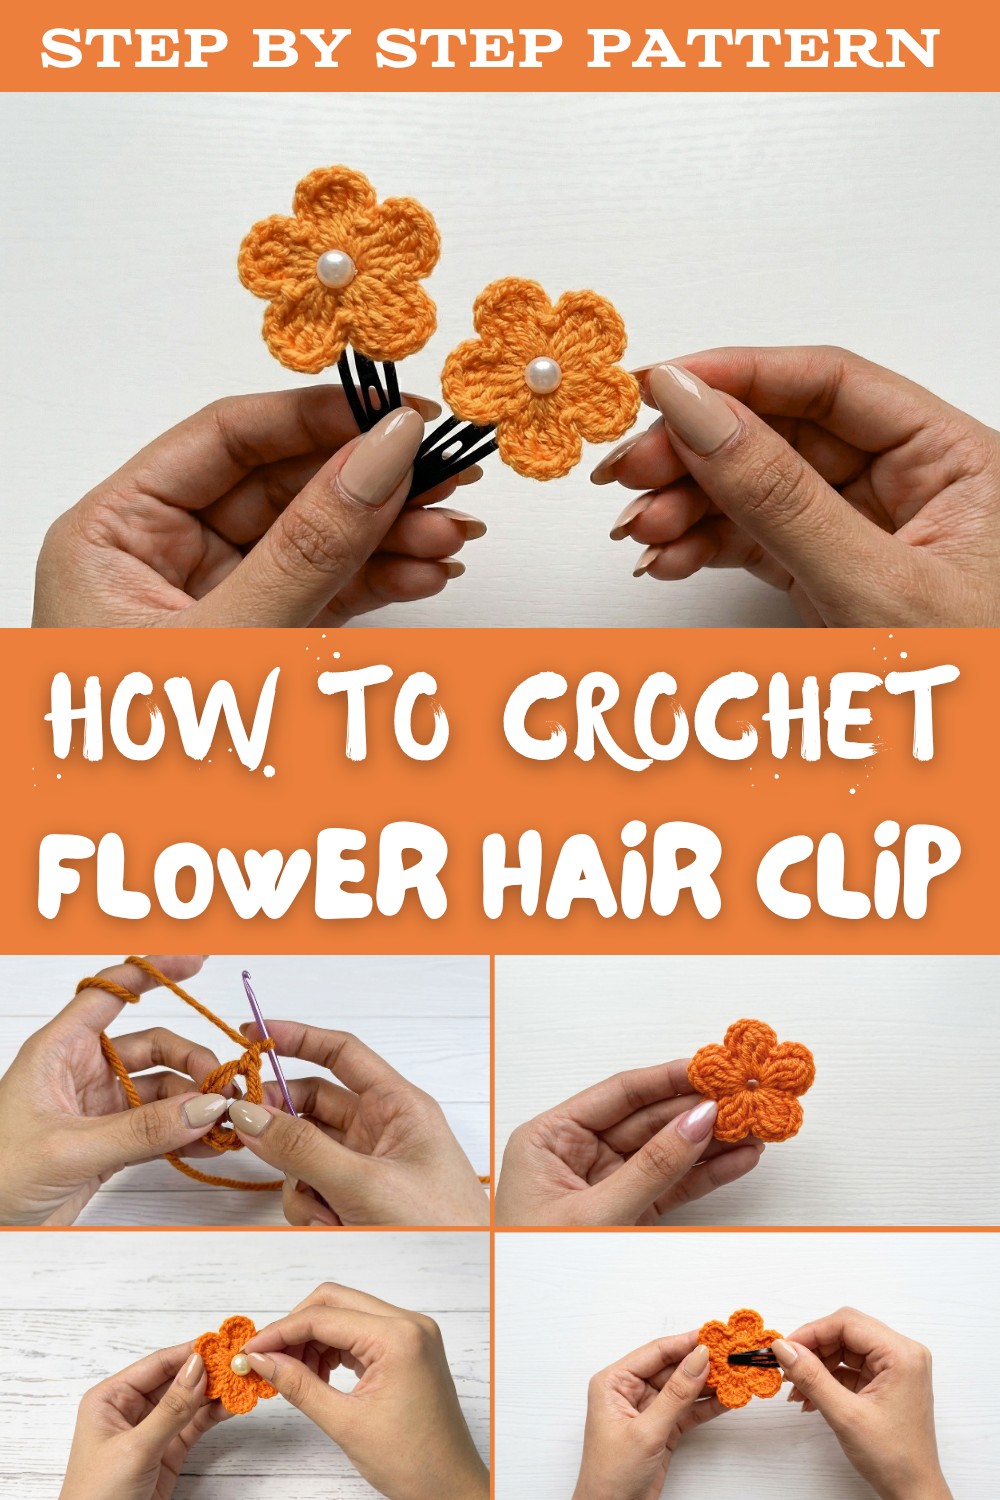
This pattern uses basic techniques like the magic ring, puff stitch, and slip stitch to create a stunning five-petaled flower. No sewing is involved, making it a fuss-free project for anyone starting their crochet journey. After completing the flower, you simply glue a pearl in the center and attach it to a clip for a polished finish.
This quick and enjoyable project lets you explore your creativity by customizing colors and adding personal touches. Whether you're working on it as a relaxing craft or preparing handmade gifts, the crochet flower hair clip adds a unique perspective to your accessorizing game.

Crochet Flower Hair Clip Pattern
Finished Size
- Each flower: Approximately 4-5 cm (1.5-2 inches) in diameter (depending on yarn tension)
- Mounted on: Standard hair clip
Materials Needed
- Yarn: 8-ply (DK weight) milk cotton yarn, color of your choice
- Hook: 3 mm crochet hook
- Hair Clips: 2 standard-size alligator or snap hair clips
- Pearls: 2 small round white pearls, approx. 6-8 mm diameter
- Glue gun: With glue stick (for attaching embellishments)
- Tapestry needle: For weaving in ends (optional)
- Scissors: For cutting yarn
- Optional for packaging:
- 4x4 inch sturdy cardboard
- Clear plastic packaging or film
- Utility knife or scissors (for cutting cardboard slits)
Gauge
Gauge is not critical for this project. Your flower size may vary slightly depending on individual tension and yarn brand.
Special Techniques Used
- Magic ring (also called magic circle)
- Puff stitch (detailed in instructions)
- Slip stitch
- Chain
Step-by-Step Instructions
1. Flower Petal (Make 2 Flowers)
Step 1: Make a Magic Ring
- Wrap yarn around your fingers to form a loop.
- Insert hook into the loop, draw up a loop of yarn.
Step 2: Chain 2
- Yarn over, pull through loop on hook-repeat for a total of 2 chains.

Step 3: Make the First Puff Stitch [One Petal]
- *Yarn over, insert hook into ring, yarn over, draw up a loop (2 loops on hook).
- Yarn over, insert hook into ring, yarn over, draw up a loop (4 loops on hook).
- Repeat this step until you have four loops on your hook.*
- Yarn over, pull through all 4 loops at once.
- Chain 3 (counts as petal tip).
Step 4: Petal Completion
- Slip stitch into the magic ring to finish the first petal.

Step 5: Repeating Petals
- Repeat Steps 3-4 until you have five petals (total of five puff stitches, each separated by chain 3 and slip stitch).
Step 6: Fasten Off
- Chain 1 to secure.
- Cut yarn, pull through loop.
- Pull the beginning tail of the magic ring tightly to close the center and create a neat flower center.
Step 7: Tie Off and Weave Ends
- Use beginning and ending tails to tie a secure knot at the back.
- Weave in or neatly trim excess yarn.
Repeat all steps to make a second flower.
2. Attaching Pearls to Flower
- Place a small amount of hot glue at the center of each flower.
- Quickly press a pearl into the glue at the flower's center.
- Hold in place for a few seconds until secure.
- Safety Note: Use caution with hot glue to avoid burns.

3. Attaching Flowers to Hair Clips
- Apply a line of hot glue to the flat surface of the hair clip.
- Firmly press the back of the crochet flower onto the glue.
- Hold for several seconds until dry.
- Repeat for second flower and hair clip.

4. Optional Packaging Tips
- DIY Hair Clip Card:
- Cut a 4 x 4 inch (10 x 10 cm) square of cardboard.
- Cut two parallel slits in the center (lengthwise), about 1 inch apart.
- Insert and attach finished hair clips onto the slits for an attractive display.
- Gift Presentation:
- Place clipped card inside clear plastic film or bag for a professional and gift-worthy look.
Customization Ideas
- Use different yarn colors for petals or center for a multicolored effect.
- Substitute pearls for buttons, beads, or felt for a personalized touch.
- Add a touch of glitter glue or fabric paint around petals for sparkle.
- Try other yarn types (velvet, metallic, cotton-blend) for unique textures.
- Make smaller or larger flowers by adjusting hook size and yarn thickness.
Tips for Success
- Ensure that when pulling the magic ring tail, the flower center closes tightly for a neat finish.
- Take care to make all puff stitches consistent for even petals.
- Allow glue to fully cool and harden before handling.
- If gifting, consider writing a small note or care instruction on the package.
Conclusion & Final Look
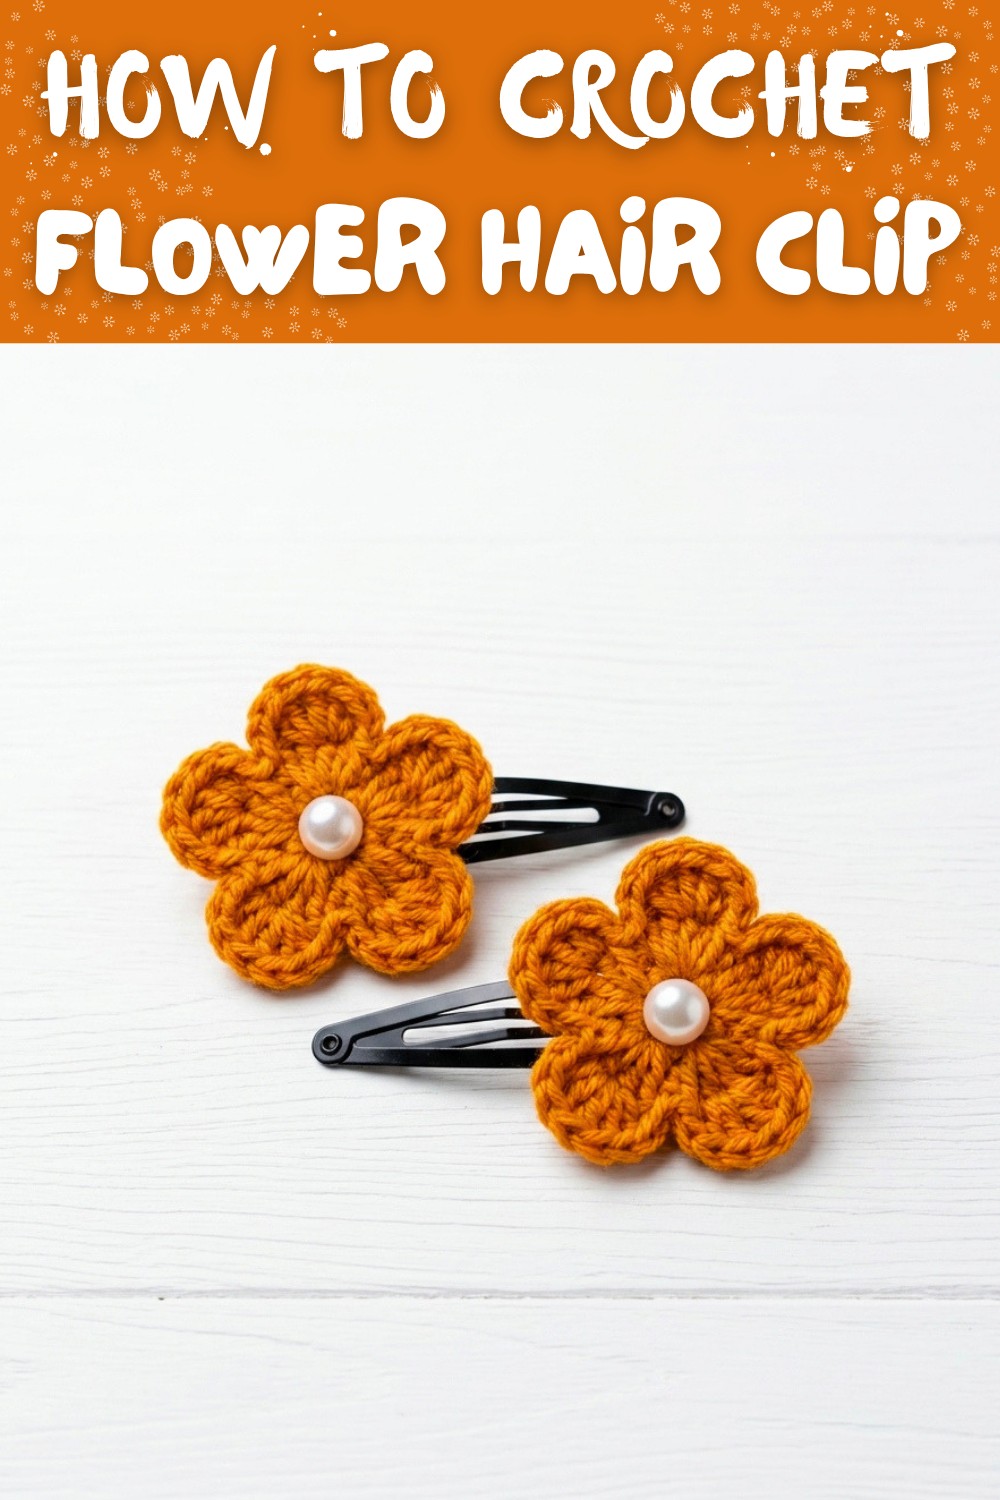
Your finished project should feature a pair of charming, flat, five-petal crochet flowers each centered with a pearl and securely attached to hair clips. They are ready to wear or gift-and beautifully displayed on a handmade packaging card for a professional finish. This project is straightforward, quick (under 10 minutes per clip), and ideal for beginners or as a thoughtful handmade gift.
Important Remarks
- The flower should lie flat for the most polished appearance-shape with your fingers if needed before gluing.
- Precision in puff stitches and even tension improves the overall look.
- This crochet project is a delightful way to practice new stitches, create gifts, and add joy to any occasion.