
Portable Crochet Bottle Holder Pattern Free
Enjoy hands free carrying with this free crochet water bottle holder pattern perfect for keeping your drink close throughout the day.
Crochet allows us to create beautifully functional items, and this bottle holder is no exception. This Crochet Water Bottle Holder is simple, stylish, and perfect for everyday use. Whether you're at school, out for a walk, or traveling, this holder keeps your water bottle handy while adding a personalized touch. Its unique star stitch pattern makes it visually stunning and is worth showing off to friends and family.
The beauty of this water bottle holder lies in its star stitch design. The stitch creates a lovely textured appearance that adds style and elegance to your project. While it may seem slightly challenging for beginners, the detailed steps ensure that anyone can master this technique. The bottle holder is lightweight, easy to carry, and ideal for casual or formal outings. You can add a short handle for carrying by hand or create a long strap for crossbody use, making it versatile for different needs. Furthermore, you can easily modify its size to fit various bottles.
Must-Have Free Crochet Bottle Holder Pattern for Summer
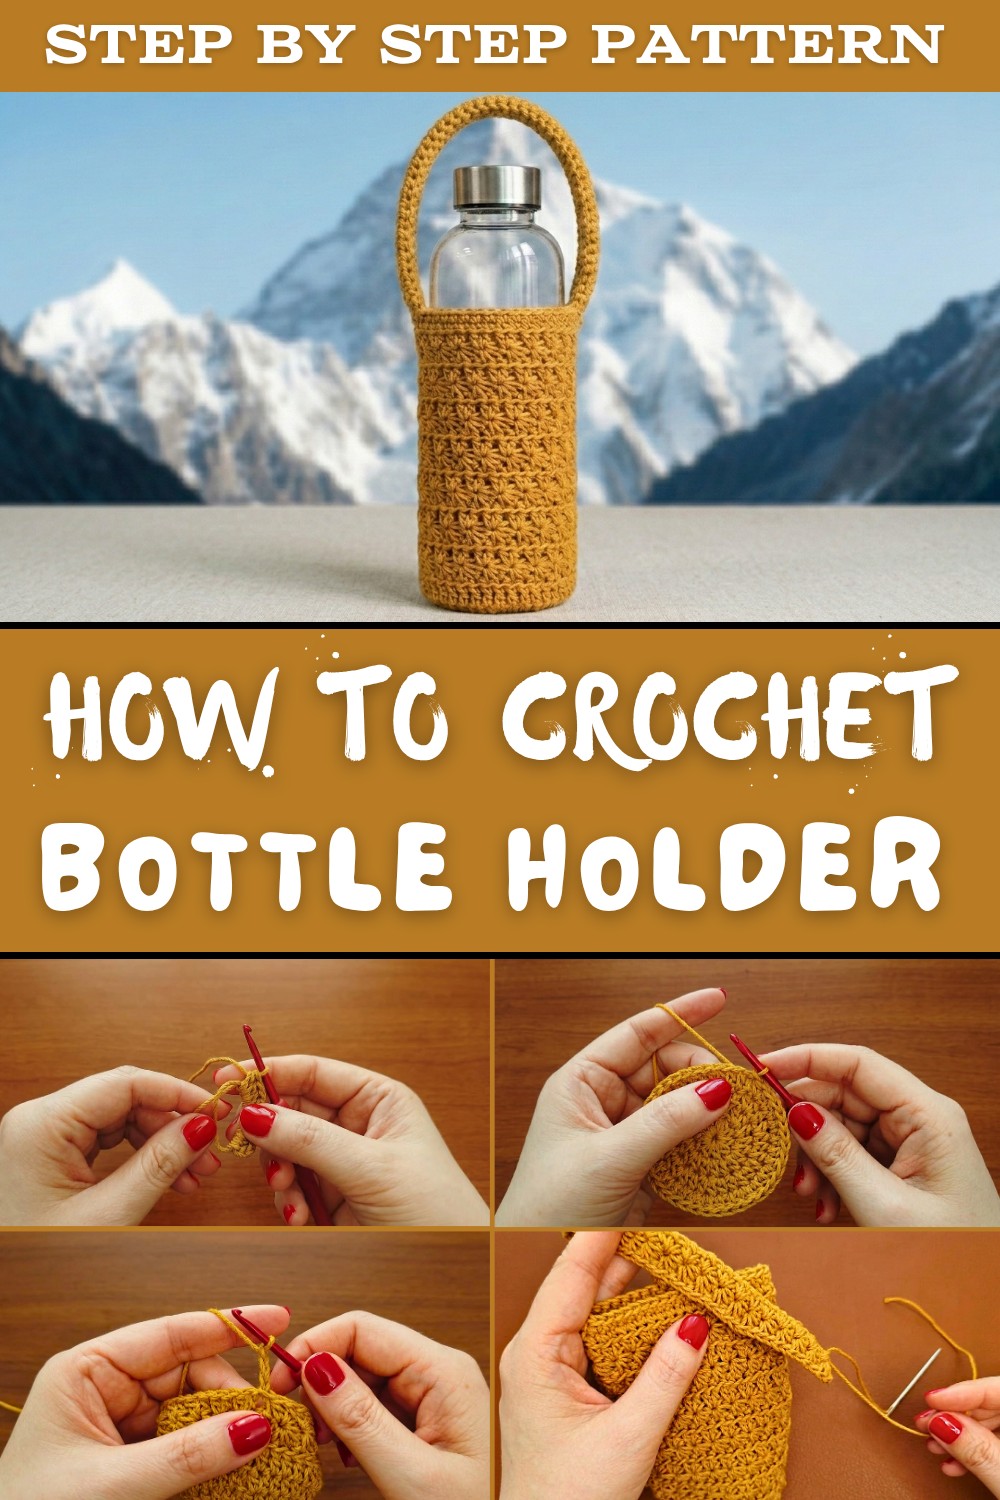
This crochet bottle holder isn't just about looks; it's incredibly functional. It keeps your water secure while freeing your hands. Whether you're packing a small water bottle for school or carrying a larger bottle for hikes, this holder is an excellent companion. You can even create a design without handles, turning it into a protective cover for your bag.
This project is not just about the end result but also the joy of crocheting. You'll learn exciting techniques such as the magic ring and star stitch while building something meaningful. Crocheting encourages creativity, and with this pattern, you can customize colors and sizes to reflect your personal style. Once finished, it makes a great handmade gift.
This free crochet pattern combines beauty, skills, and practicality, making it a project worth trying. Enjoy the journey and the satisfaction of creating something that's not only useful but uniquely yours.
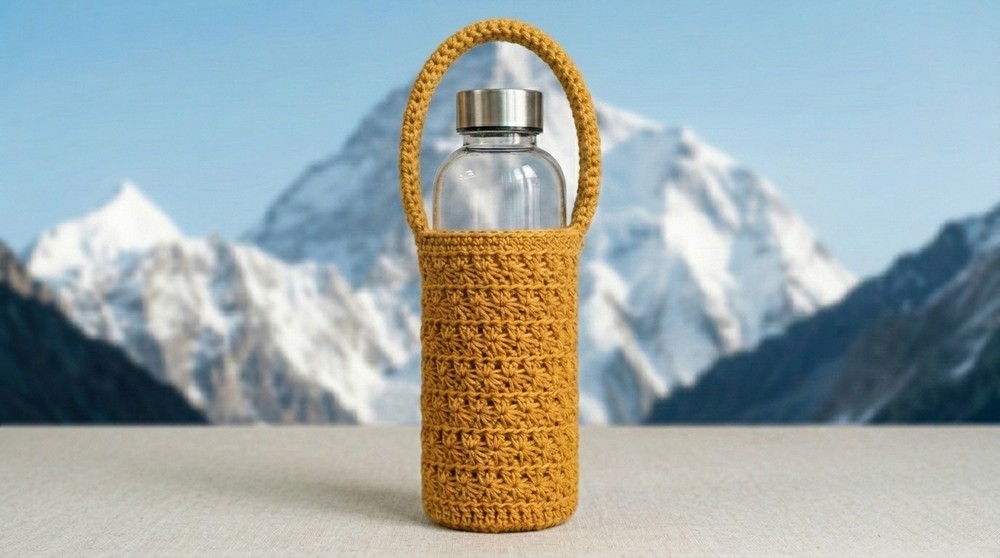
Crochet Bottle Holder Pattern
Materials Needed
- Yarn: 48 ply beige cotton yarn (80g per skein is suggested; about 40-50g will be used).
- Crochet Hook: 5.0mm hook suited for medium weight yarn.
- Scissors: For cutting yarn smoothly.
- Tapestry Needle (Darning needle): For weaving in ends and attaching the handle.
- Optional: Stitch markers for marking the starting points of rounds or stitches.
Special Techniques
- Magic Ring: A technique to create a tight center circle as the base of the item.
- Star Stitch:
- Involves pulling up loops from specific spots in the previous row to create a star shaped design.
- Explained clearly in the individual steps below.
- Invisible Join (Finishing): To seamlessly close the final round of stitches for a polished effect.
- Back Loop Only: Used for texture in specific rounds.
Pattern Instructions
Step 1: Base of the Bottle Holder
- Begin with a magic ring.
- Wrap the yarn around your fingers, insert the hook into the ring, and pull up a loop.
- Chain 1 (does not count as a stitch).
- Inside the magic ring, create 10 double crochet (dc) stitches.
- Yarn over, insert the hook, yarn over, pull up a loop, yarn over, pull through two loops, yarn over, pull through two loops (repeat 10 times).
- Pull the yarn tail to tighten the magic ring.
- Slip stitch into the first double crochet to form a complete round. (Total: 10 stitches)

Step 2: Increasing Rounds
- Round 2: Chain 1 (does not count as a stitch).
- Work 2 double crochet into each stitch (increase in every stitch).
- Total: 20 stitches.
- Round 3:
- Chain 1. Work the following pattern: 1 dc in one stitch, 2 dc in the next.
- Repeat around the round, increasing 10 stitches. Total: 30 stitches.
- Round 4:
- Chain 1. Work the following pattern: 1 dc in the next 2 stitches, 2 dc in the next stitch.
- Repeat around the round, increasing 10 stitches. Total: 40 stitches.

Note: For larger bottle holders, continue increasing rounds using the same logic (1 additional single dc between increases in each round) to achieve your desired base width.
Step 3: Transition to the Body
- After the base is complete, work 1 round of double crochet into each stitch of the previous round without increases.
- This round helps establish the base edges.
- Total stitch count remains the same (e.g., 40 if 4 rounds of increases were made).

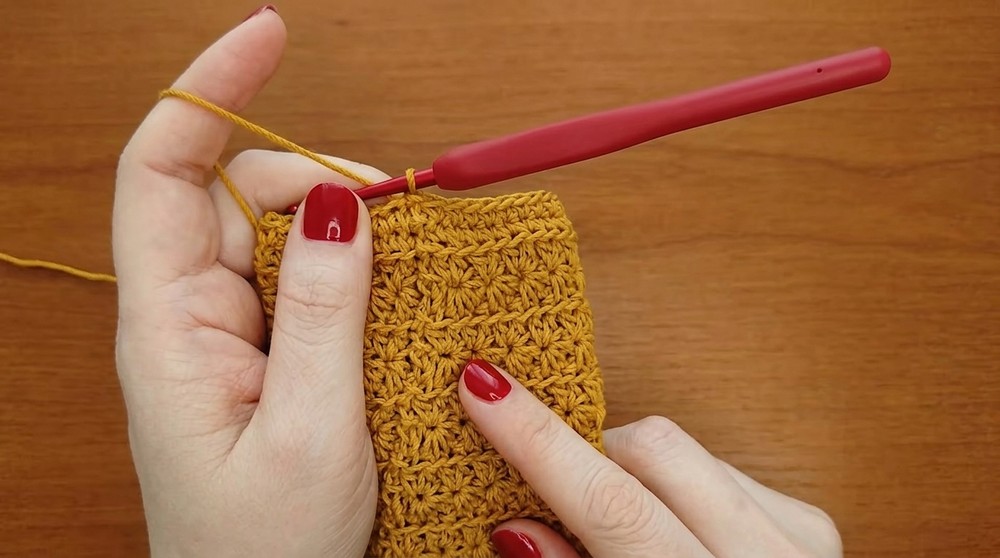
Step 4: Star Stitch Pattern
- Begin the first round of star stitches:
- Chain 3.
- Insert the hook into the second chain from the hook and pull up a loop. Then pull up loops in the third chain, into the same stitch as the chain's base, and the next two stitches (total of 5 loops on the hook).
- Yarn over and pull through all 5 loops. Chain 1 to close the star.
- This first star is complete.
- For subsequent stars, pull loops from:
- The eye of the previous star,
- The last spike of the previous star,
- The next 3 stitches.
- Pull through all loops and chain 1 to close each star. Repeat across the round until 2 stitches remain.
- For the final stitch of the round:
- Pull up loops from the eye of the previous star, the last spike of the previous star, and into the slip stitch used to close the round.
- Pull tight to ensure stars align neatly.
- Next Round:
- Chain 3, and work the star stitch sequence across the round as before.
- Repeat until the star stitch section measures the height needed for your water bottle.
Step 5: Short Handles or Crossbody Strap
- Handle Option:
- Chain your desired handle length (e.g., ~30cm). Make sure it's even (e.g., 80 chains).
- Work 1 row of single crochet into each chain.
- Seamlessly attach the ends of the handle to the opposite sides of the bottle holder using slip stitches.
- Crossbody Strap:
- If a longer strap is preferred, continue with additional chains in Step 1 and reinforce the strap by adding 2 or more rows of single crochet.

Step 6: Finishing the Holder
- For the final rows at the top of the holder, work 2 rounds of single crochet (sc):
- Round 1: Use only the back loop of each stitch for added texture.
- Round 2: Work through both loops.
- Fasten off the yarn, leaving a long tail.
- Use a tapestry needle to weave in all loose ends on the inside of the holder for a polished look.
Final Touches and Tips
- Blocking: Lightly block the finished piece to ensure the stitches settle uniformly.
- Care Instructions:
- Wash gently with similar colors and air dry to maintain shape and texture.
- Avoid using tumble dryers to prevent shrinkage.
- Adjustments:
- To increase or decrease the holder size, modify the base (more or fewer increase rounds) and adjust the body height proportionally.

Final Words
Congratulations on completing your crochet star stitch bottle holder. This charming and functional project is perfect for carrying water bottles in style. The star stitch adds an element of elegance, while the practical size and customizable strap options ensure it suits your needs. Feel free to experiment with colors and yarn weights to create your unique version.