
Quick Free Crochet Mini Flower Bouquet Keychain Pattern for Fun
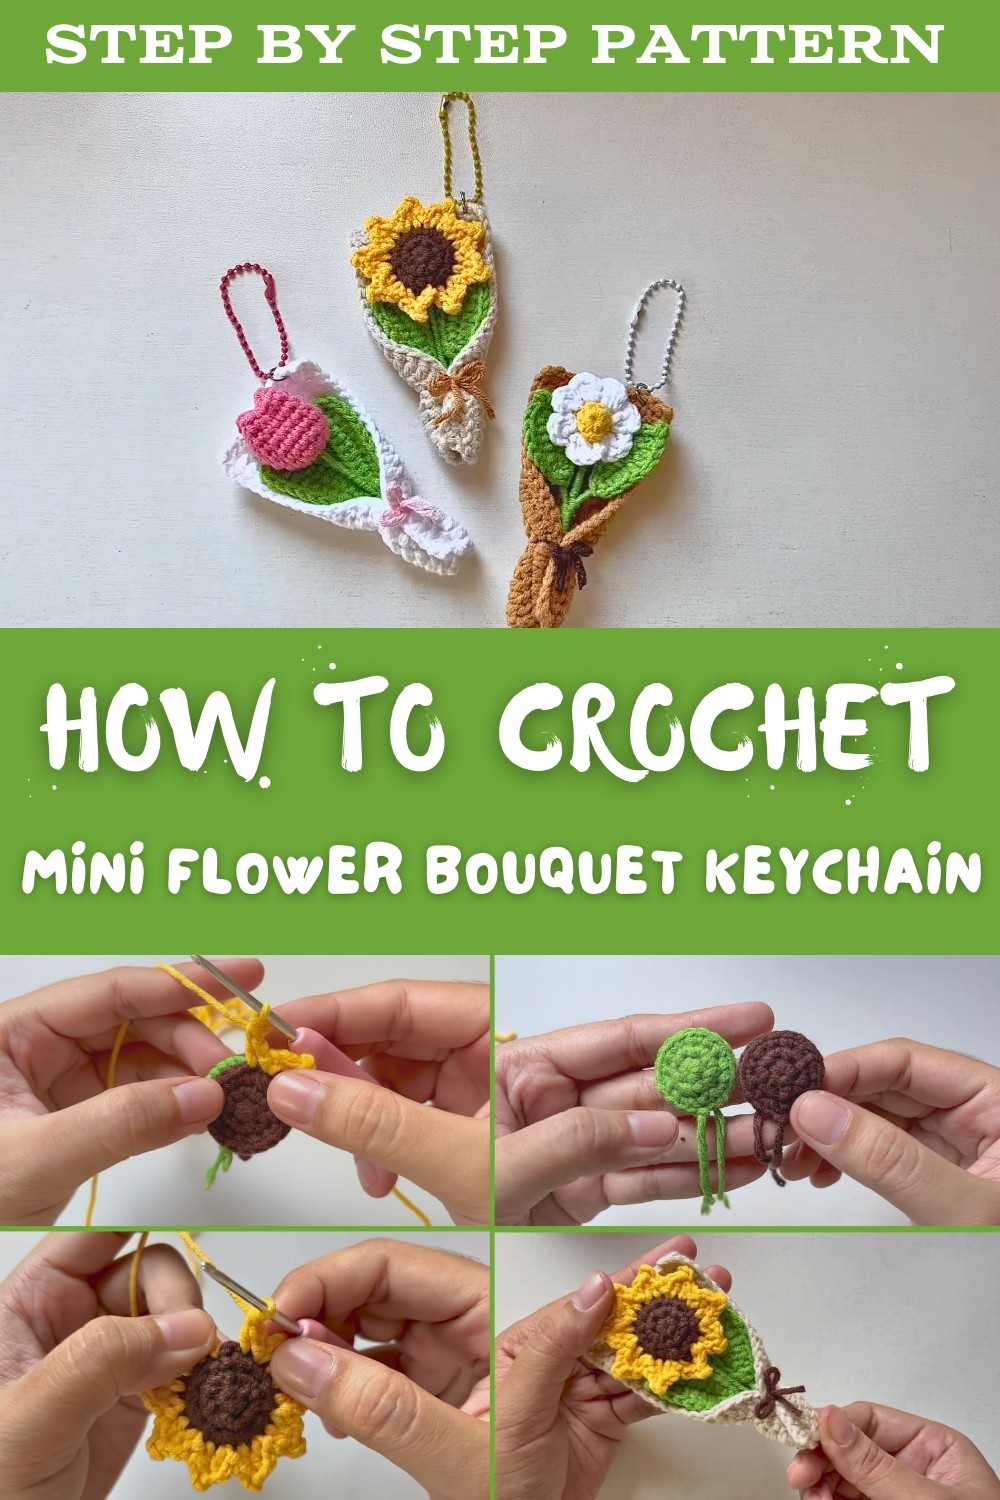
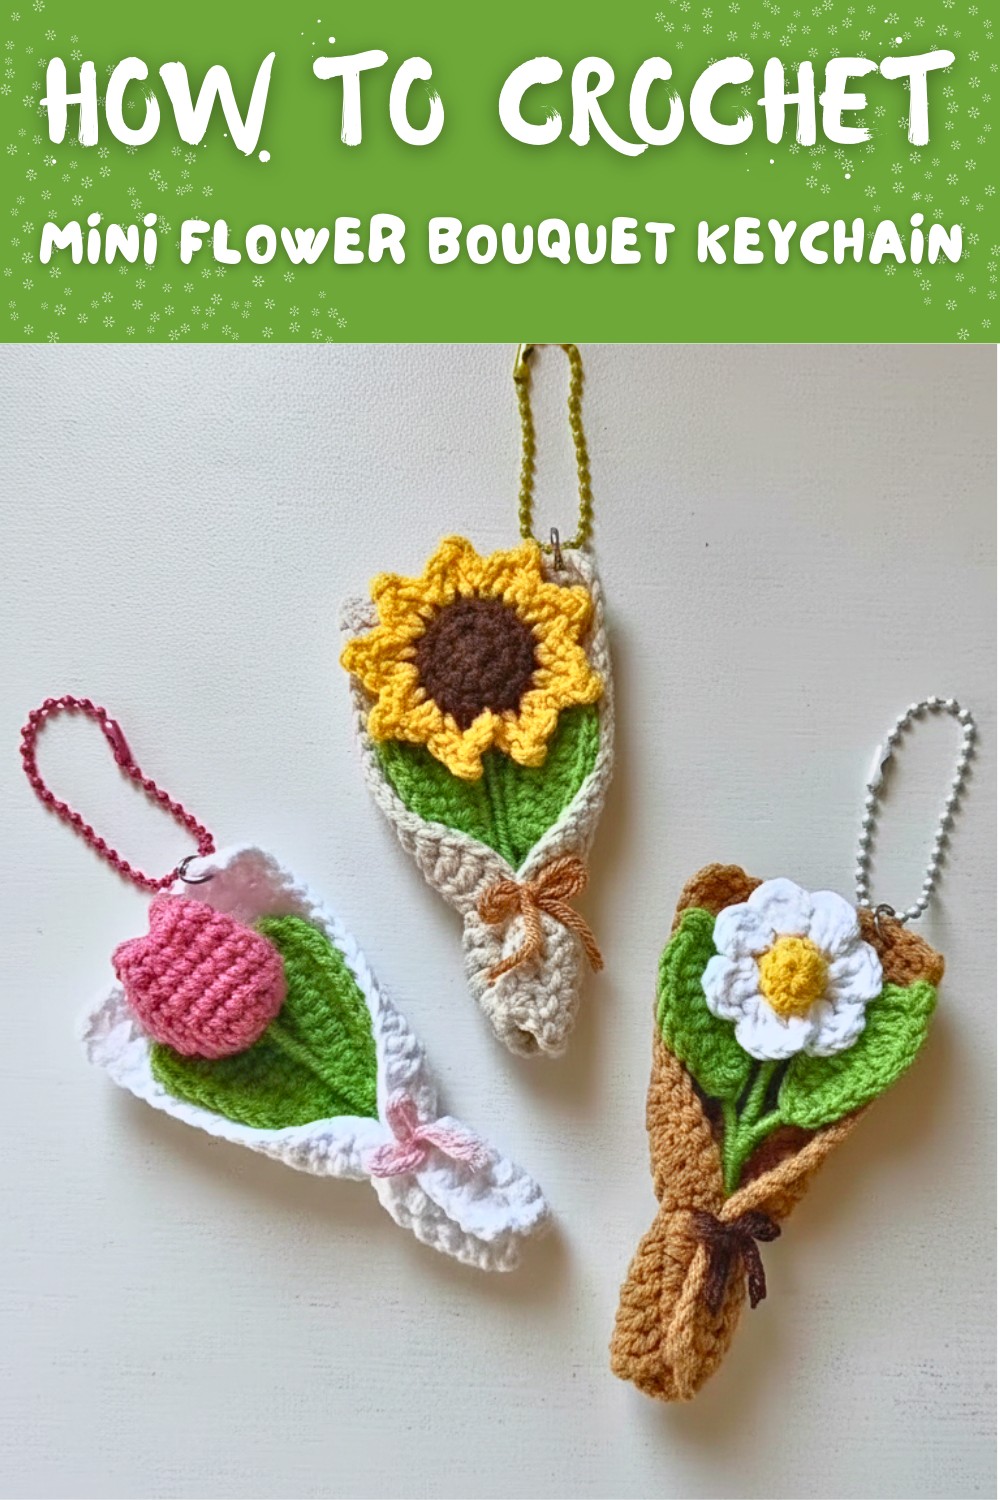
Brighten your day with this Free Crochet Mini Flower Bouquet Keychain Pattern that creates a cheerful accessory for bags, or gifts.
A small bundle of flowers can brighten up any bag or set of keys and bring a touch of handmade charm to daily life. The Free Crochet Mini Flower Bouquet Keychain Pattern shows how to make a tiny bouquet that looks cheerful, delicate, and full of color. Each flower usually has soft, rounded petals and a neat crochet texture that gives it a polished, handmade appearance.
Easy Free Crochet Mini Flower Bouquet Keychain Pattern
The mini bouquet is lightweight, making it easy to hang on a bag, keyring, or even use as a small gift for someone special. The pattern often uses simple, clear stitches, so even a beginner can follow each step without difficulty. By choosing different yarn colors, the bouquet can look bright, gentle, or playful, giving it a unique personal touch. In the end, this crochet mini flower bouquet keychain is a tiny, charming piece that combines beauty, practicality, and the joy of handmade creativity.
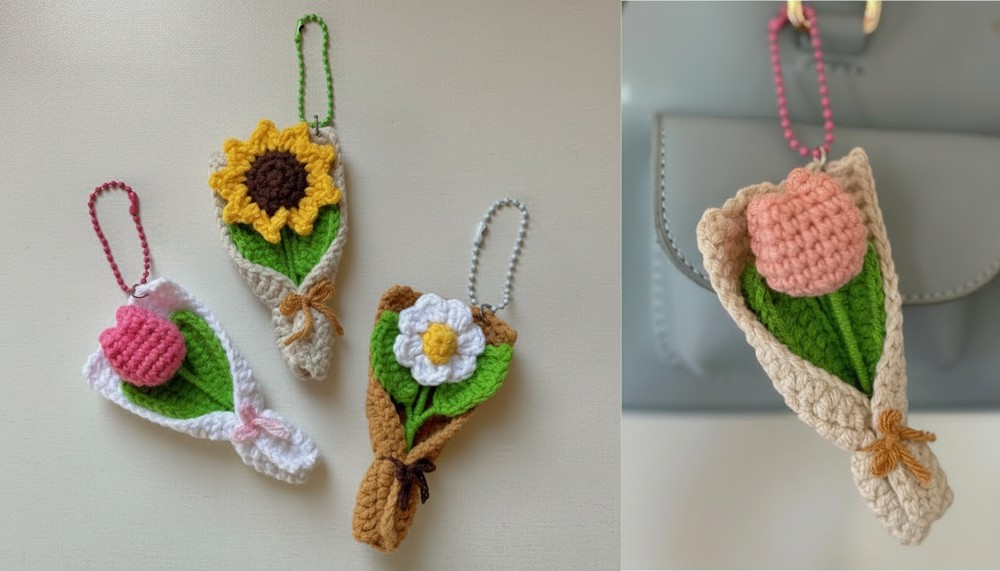
Mini Crochet Bouquet Pattern: Step-by-Step Guide
Materials Needed
- Yarn:
- Milk cotton or any fine yarn in various colors (yellow, brown, green, white for flowers; green for leaves; your choice for wrapping paper).
- Hook:
- 2.5 mm crochet hook.
- Wire:
- 1.0-1.5 mm thick wire for making stems and leaf stiffness.
- Additional Supplies:
- Scissors, craft glue (hot glue or any strong adhesive), stitch markers, and scrap yarn for stuffing.
Gauge
- Gauge is not critical, but ensure the flowers and leaves have uniform tension for a neat finish.
Finished Size
Each flower measures roughly 2-2.5 inches in diameter, with stems about 7 cm (adjustable). Bouquets measure approximately 4-5 inches tall.
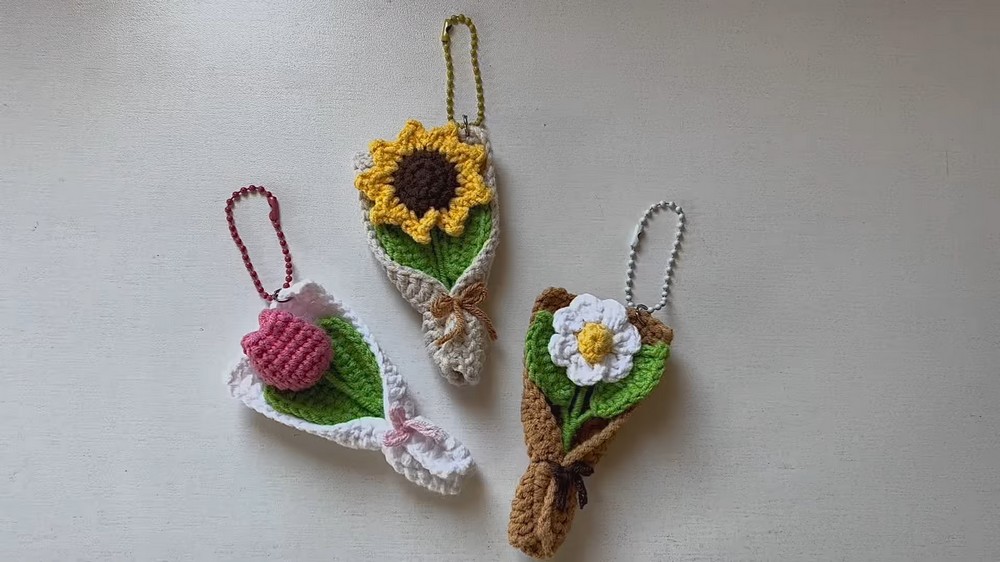
Abbreviations (US Terms):
- ch = Chain
- sc = Single Crochet
- hdc = Half Double Crochet
- dc = Double Crochet
- tr = Treble Crochet
- sl st = Slip Stitch
Special Notes & Techniques
- The flowers, leaves, stems, and wrappers are crocheted individually and assembled together.
- Wires are inserted to make leaves and stems sturdy and realistic.
- Colors can be customized to suit preferences or themes.
Crochet Pattern Instructions
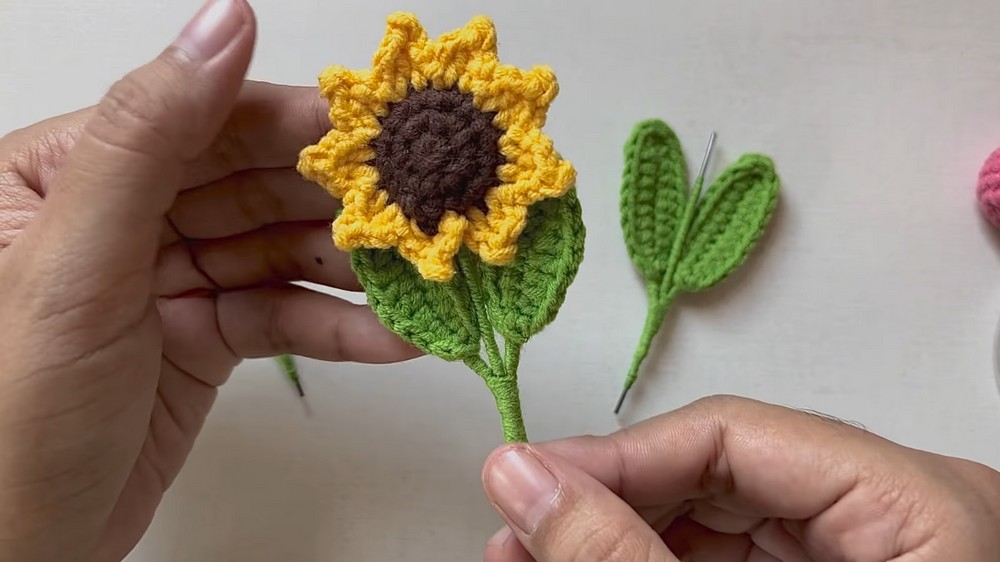
Part 1: Sunflower
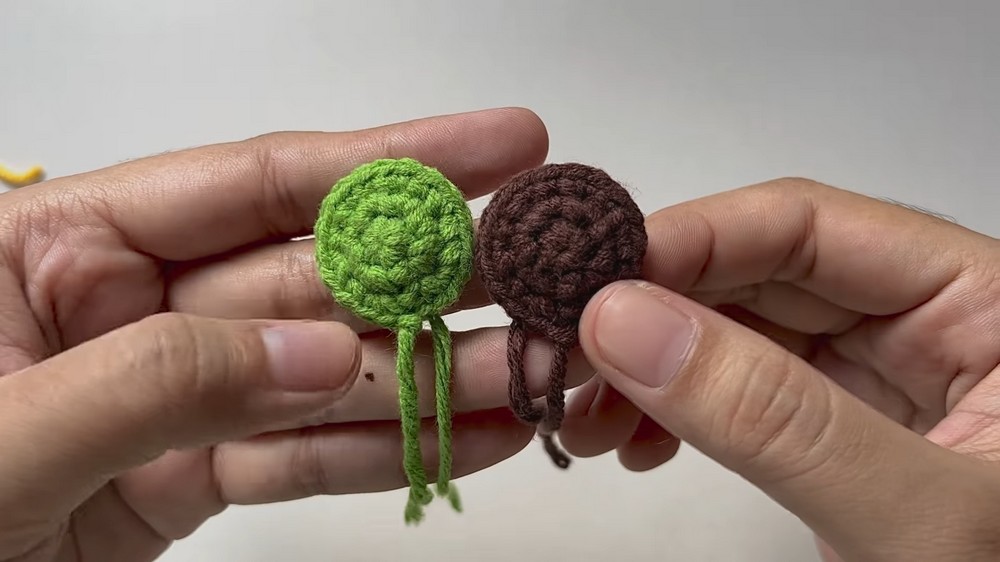
Sunflower Center
Using green or dark brown yarn:
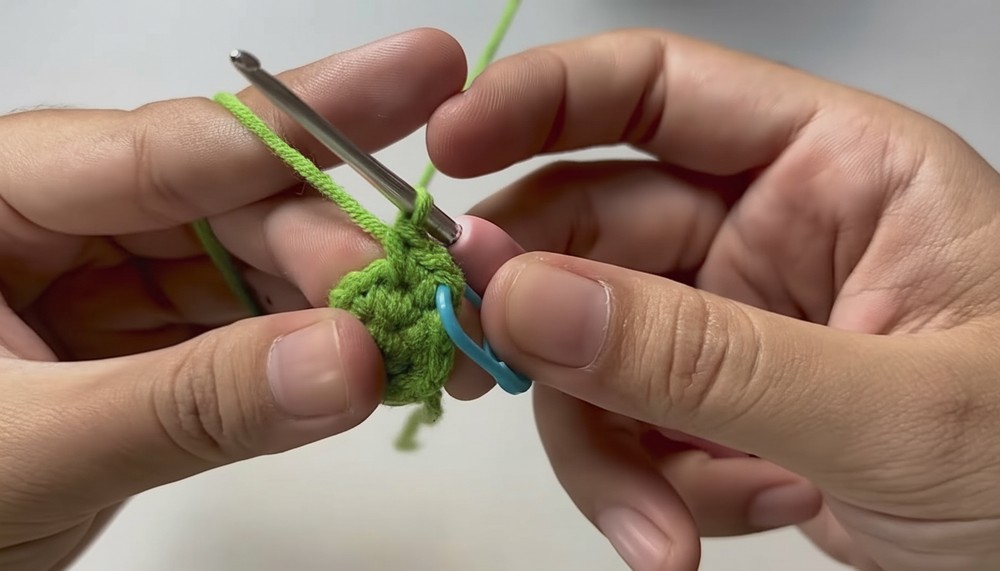
- Make a Magic Ring:
- Form a loop with your yarn, leaving a tail. Insert your hook, yarn over, and pull through to create a ring.
- Round 1:
- 6 sc directly into the magic ring.
- Mark the first stitch with a stitch marker. Pull the yarn tail to close the ring.
- Connect the first and last stitches using sl st.
- Ch 1.
- Round 2:
- Start with sc in the same stitch where the slip stitch is.
- Place two sc in each stitch (6 increases). Total = 12 sc.
- Sl st into the first stitch and chain 1.
- Round 3:
- Create 1 sc in the next stitch, then make 1 increase (2 sc in the same stitch).
- Repeat: 1 sc, 1 increase 6 times. Total = 18 stitches.
- Sl st into the first stitch and cut the yarn.
Sunflower Petals
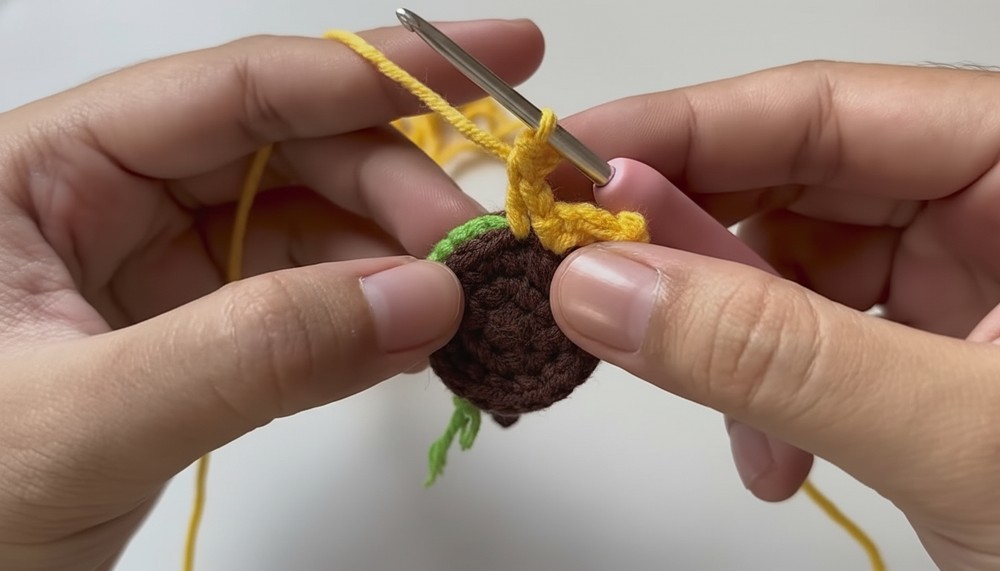
- Attach Yellow Yarn:
- Locate the stitch where you ended the sunflower center. Insert the hook and pull through yellow yarn.
- Ch 2.
- First Petal:
- In the next stitch, make 1 dc.
- Ch 2 and make sl st into the center of the dc to form the tip of the petal.
- In the next stitch, make 1 dc, then repeat: Ch 2, sl st at base of dc.
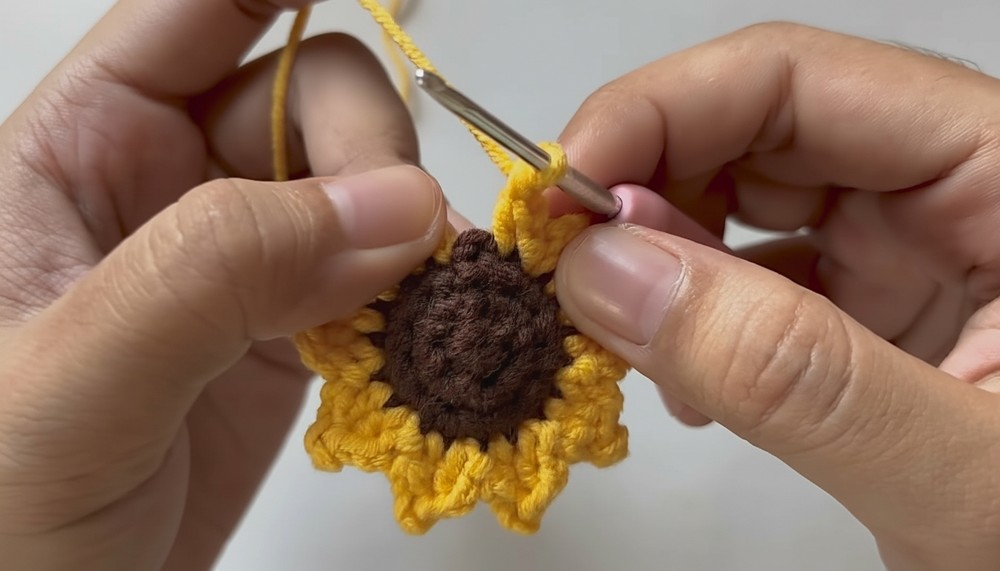
- Repeat Petals:
- Continue repeating petals (total of 9 petals).
- At the end of the last petal, slip stitch in the first stitch and cut the yarn.
Part 2: Daisy
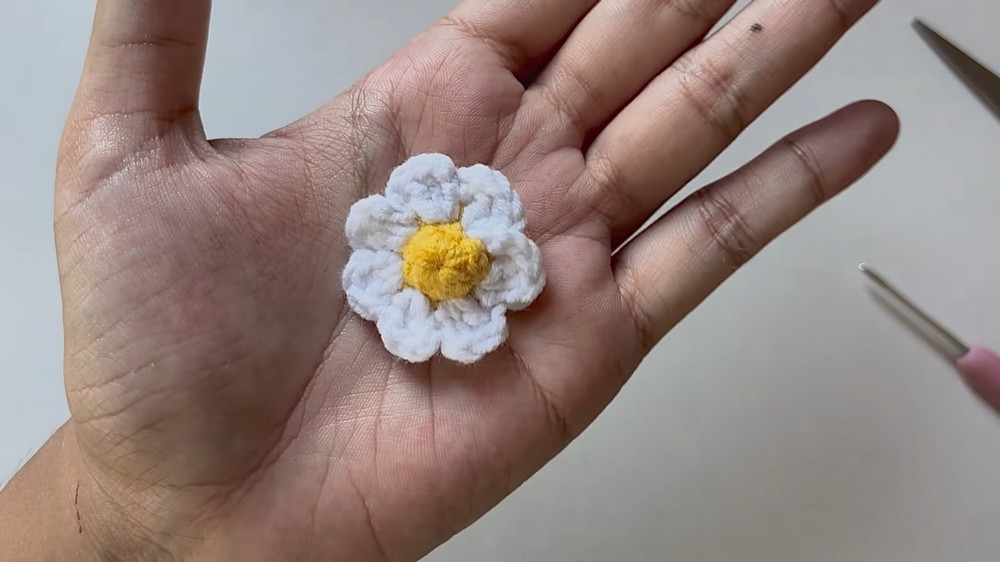
Daisy Center
Using yellow yarn (front side) and green yarn (back side):
- Create Center:
Follow the same instructions as the sunflower center, with 7 sc in Round 1 instead of 6 sc. - Back:
Repeat the same pattern for the back side with green yarn. Attach the front to the back by aligning both centers.
Daisy Petals
- Attach White Yarn:
Begin in the same way as the sunflower petals. - Petal Pattern:
Each petal consists of 2 dc, Ch 2, and ends with sl st into the next stitch. Repeat for a total of 7 petals.
Part 3: Tulip
Tulip Body
Using yarn of your preferred tulip color:
- Base:
Create a magic ring. Place 6 sc in the ring, pull tail to close, and sl st into the first stitch. - Rounds:
- Round 2: 6 increases (12 sc total).
- Round 3: 1 sc, 1 increase (repeat 6 times). Total = 18 sc.
- Continue crocheting single stitches for 4 additional rounds.
- Closing:
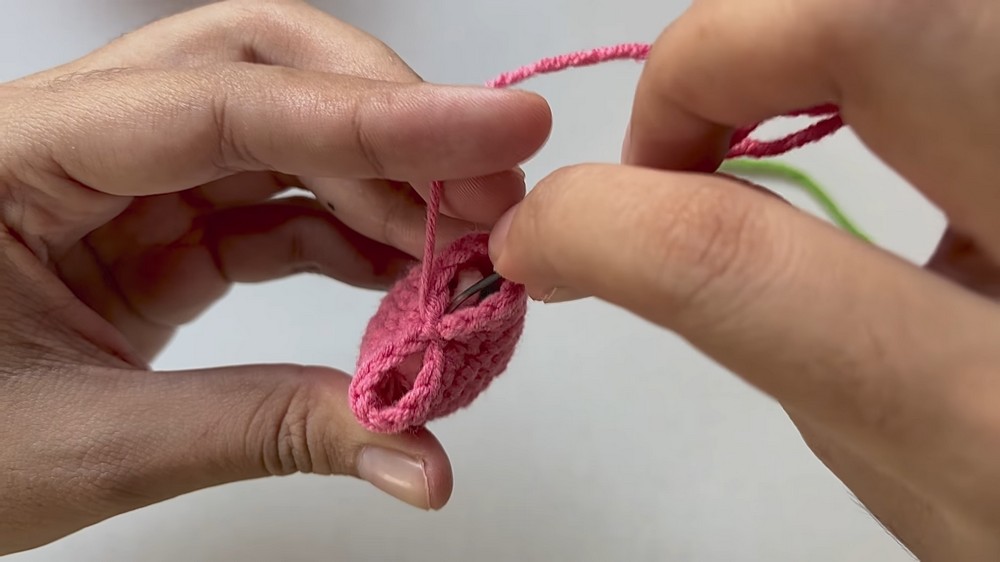
Stuff lightly with scrap yarn and shape the tulip by sewing and cinching the upper edge together.
Tulip Leaves
Follow the sunflower leaf instructions below, adjusting the length as needed.
Part 4: Leaves
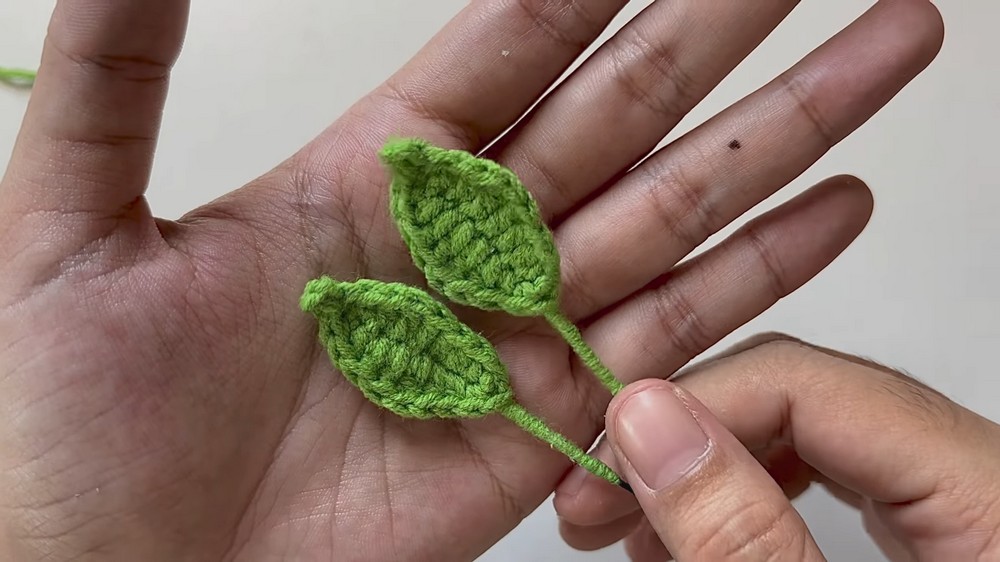
Sunflower and Tulip Leaves
- Foundation:
- Ch 9.
- Start in the second chain and make 1 sc.
- Wire Placement:
- Before pulling yarn through for the first sc, insert the wire and work stitches around it.
- Leaf Pattern:
- Work 2 hdc in the next chain, 2 dc in the next two chains, then work back down the leaf.
- Finish with sl st and wrap the stem with yarn to complete.
Part 5: Wrapping Paper
- Foundation:
- Ch 24.
- Rounds:
- Starting in the third chain, make 22 dc per row for 6 rows.
- Finish:
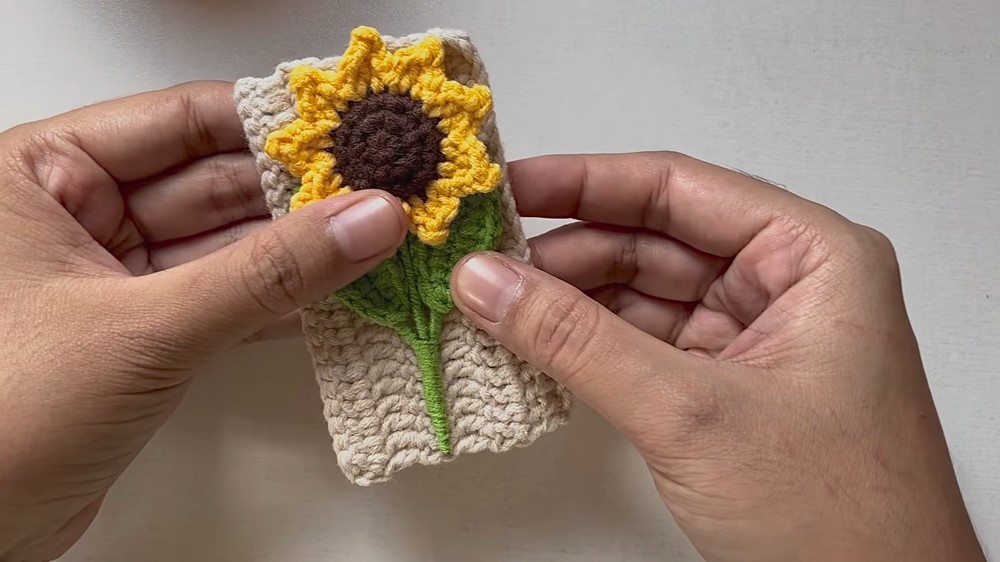
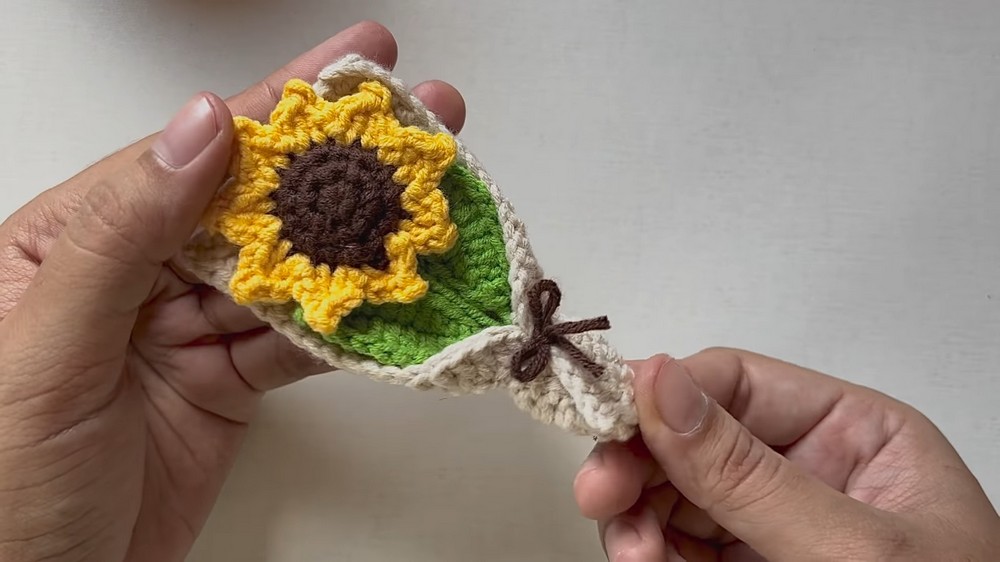
- Cut yarn and hide ends. Use this "paper" to wrap flowers.
Assembly Instructions
- Stem Construction:
Cut wires to approximately 7 cm, wrapping them entirely with green yarn and adding glue. - Attach Leaves:
Secure leaves to stems using glue and wrapped yarn. - Attach Flowers to Stems:
Place flowers on stems, using glue to stabilize them. - Wrap Bouquets:
Place flowers and stems into wrapping paper. Tie at the base with yarn or ribbon, pulling tight to secure.
Customization Ideas
- Color Variations: Create flowers based on seasons or holidays.
- Extra Decoration: Add beads or embroidery for detailed petals.
- Personalized Wrappers: Use multicolored yarn for bouquets.
Conclusion & Final Touch
This mini bouquet is a thoughtful handmade gesture that anyone will love. Attach a keychain, turn it into decor, or gift it as a meaningful keepsake.