
Quick Free Crochet Slippers Pattern For Cozy Home Comfort
Learn how to make cozy and stylish slippers with this free crochet pattern, perfect for beginners and easy to customize for all sizes.
With the right measurements, you can create slippers that fit perfectly and feel amazing. The flexible design allows you to customize the size for anyone, from kids to adults, making them ideal for the whole family. These slippers are crocheted with a lovely ribbed texture, which not only gives them a unique and stylish look but also makes them stretchy and snug. The soft and thick yarn creates warmth and comfort, making them perfect for cold days or lounging at home. You can also choose any yarn color to match your style-bright and cheerful for fun vibes, or neutral tones for a classic and cozy feel.
Fun Crochet Slippers Free Pattern For Handmade Footwear

What makes this pattern stand out is its simplicity. It uses basic crochet techniques like single crochet stitches, making it beginner friendly and easy to follow. Even if you're new to crochet, you'll find this project satisfying and manageable. With just a size 4 crochet hook, some yarn, and a yarn needle, you can crochet high quality slippers in no time.
These slippers aren't just beautiful-they're also highly practical. They are lightweight, durable, and even washable, ensuring they stay in great shape for everyday use. Whether you're making them for yourself or as thoughtful gifts, these handmade slippers are both functional and stylish. Dive into this fun and relaxing project, and enjoy the joy of creating something unique and comforting.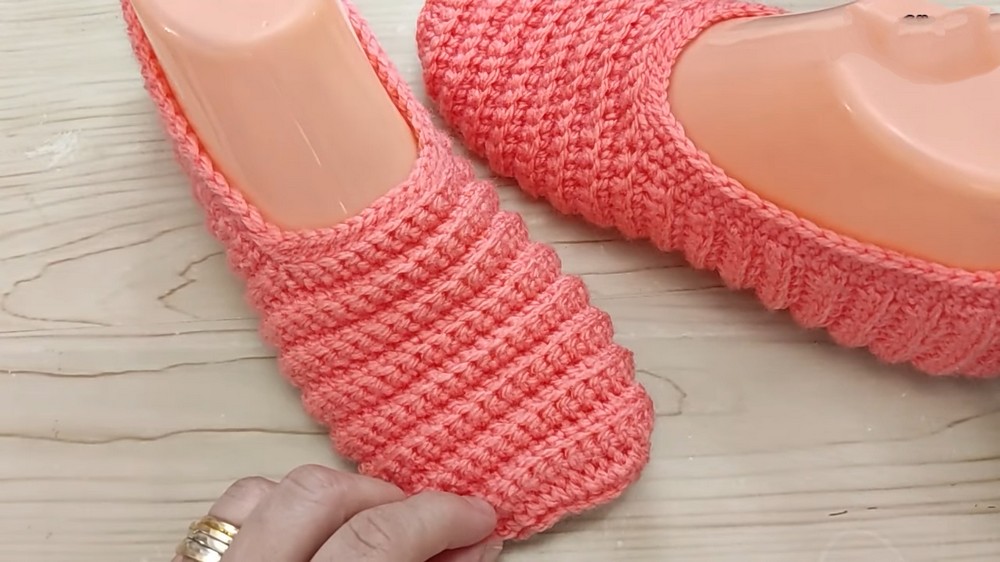
Step by Step Crochet Slipper Pattern
Materials Needed
- Yarn: Use Alesper Classic wool yarn (medium thickness). A similar thick wool or medium weight yarn will also work.
- Crochet Hook: Size 4 mm aluminum hook.
- Measuring Tape: To measure the circumference and length of the foot.
- Stitch Marker: For marking stitches or sections.
- Yarn Needle: For sewing and finishing.
- Scissors: For cutting yarn.
Gauge
- Gauge is critical for ensuring the slipper fits well.
- Gauge (example): 10 single crochet stitches and 10 rows = 10 cm x 10 cm. You can adjust your hook size if necessary to achieve the correct gauge.
Finished Size
- The pattern provided corresponds to a women's size 37/38 (foot circumference = 21 cm, length = 23.5 cm).
- You can customize the size by adjusting the initial chain length and row count (guidance provided in customization).
Pattern Instructions
1. Preparations
- Measurement: Measure the circumference and length of the foot you are making the slipper for. Write these measurements down.
- Remember: The slipper will stretch, so you can work the pattern up to 1 to 2 cm less than the measured length.
2. Creating the Sole
Step 1: Foundation Chains
- Create a slip knot on your hook.
- Crochet foundation chains in multiples of 3 until the chain equals the measured circumference of the foot.
- For a size 37/38: Crochet 36 chains (21 cm).
- Ensure the chain is not too tight or loose, as this affects the stretch and comfort of the slipper.

Step 2: Single Crochet Row 1
- Chain 1 after finishing the foundation chain.
- Starting from the second chain from the hook, work one single crochet into each chain across the row.
- At the end of Row 1, there will be 36 stitches.

Step 3: Single Crochet Row 2 and Beyond
- Chain 1, turn the work.
- Work a single crochet into the back loop of each stitch in the previous row. This creates a ribbed texture.
- Repeat this step for a total of 17 rows (this is approximately 9 cm for size 37/38). Adjust the number of rows for larger or smaller sizes-refer to the customization section for tips.
3. Dividing and Shaping for the Upper Part
At this stage, the sole like section is complete. To shape the slipper for the foot:
- Divide the sole into thirds:
- For 36 stitches: 12 stitches per section.
- Use a stitch marker to separate them (this leaves a center opening for the top of the foot).
- Work on each side separately:
- Begin working back and forth on the first third of the section, following the same single crochet in the back loop.
- Stop when the rows reach the desired height for the slipper sides. For size 37/38, this is approximately 20 rows.

4. Joining and Finishing
- Joining the Sides:
- Fold the slipper so the sides meet.
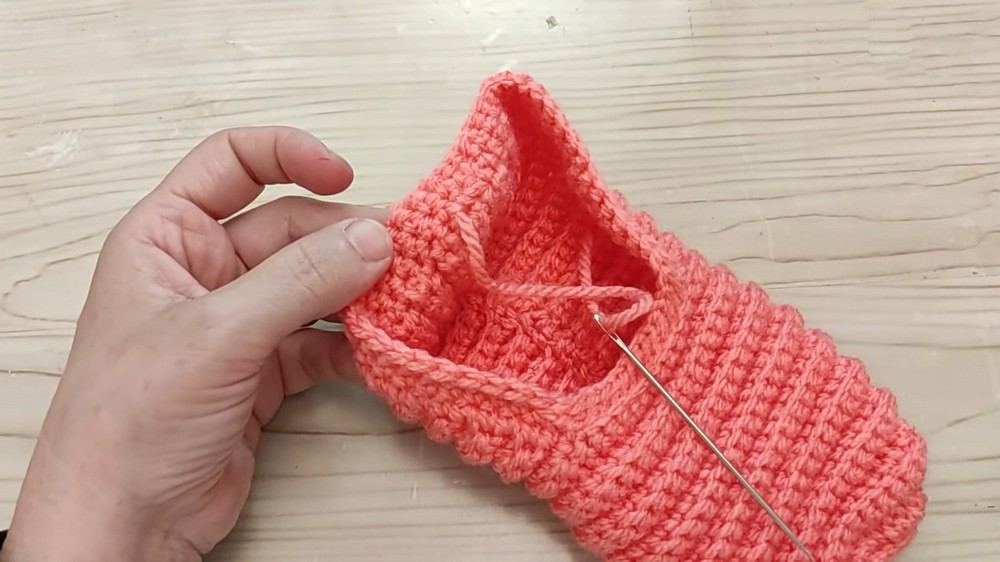
- Use a yarn needle to sew the edges together, matching rows evenly.
- Alternate between the front and back edges for smooth seaming.
- Close the Heel and Toe:
- For the heel: Pull the edges together and sew tightly to make a rounded shape.
- For the toe: Leave a small opening and secure with a few stitches.

5. Adding Finishing Details
- Top of the Opening:
- Return to the slipper opening at the top.
- Attach yarn with a slip knot and work single crochet stitches around the edge.
- Complete 2 to 3 rows to tighten this section for a snug fit.

Tips for Success
- Customization:
- For wider feet: Increase the number of chains in the foundation row and work extra rows for height.
- For smaller or larger sizes: Adjust the initial chain length and make sure it is divisible by 3.
- Colorwork:
- Use contrasting colors for different sections of the slipper, such as the sole and upper portion, for added style.
- Durability:
- Opt for washable wool or durable cotton blends for slippers that last longer.
- Finishing Touches:
- Add decorative buttons, appliqués, or tassels for a unique touch.


Special Techniques
- Single Crochet in the Back Loop:
- This stitch creates the ribbed, textured pattern on the slipper. Always insert the hook into the back loop only of the stitch.
- Even Joining:
- Proper alignment of rows is essential for a polished look. Use stitch markers to keep track of rows as you sew the pieces together.
Conclusion
Your crocheted slipper is complete. This one piece design is both practical and stylish, providing comfort and a snug fit for daily use. The ribbed texture adds a modern touch, while the flexibility in customization allows you to make slippers for anyone-men, women, or children.
This project also lends itself well as a thoughtful handmade gift, especially with creative color choices and decorative additions.

Remarks on Final Appearance:
When finished, the slippers should have a neat ribbed body, a properly sewn seam, and a snug upper opening that comfortably hugs the foot. The back-loop stitches give the slippers a professional and sophisticated texture.
Enjoy the warmth and satisfaction that comes with wearing or gifting your handcrocheted slippers.