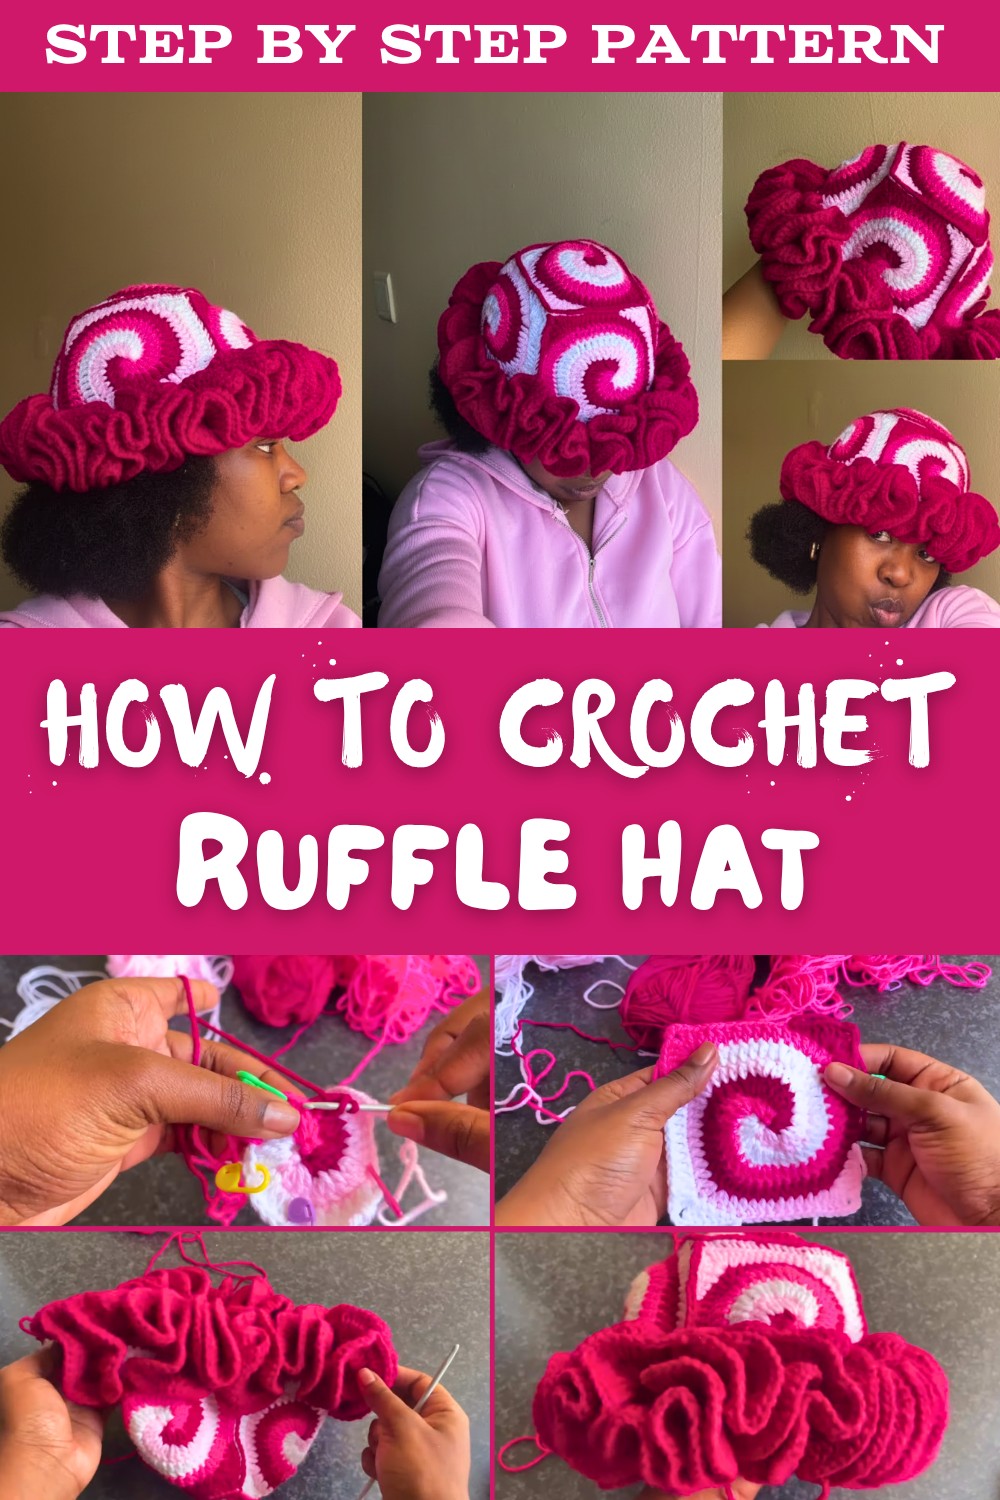
Ruffle Hat Free Crochet Pattern for Cozy & Stylish Accessories
Jump into creativity with this free crochet ruffle hat pattern that's easy to make, fun to wear, and adds a touch of style to your everyday outfits.
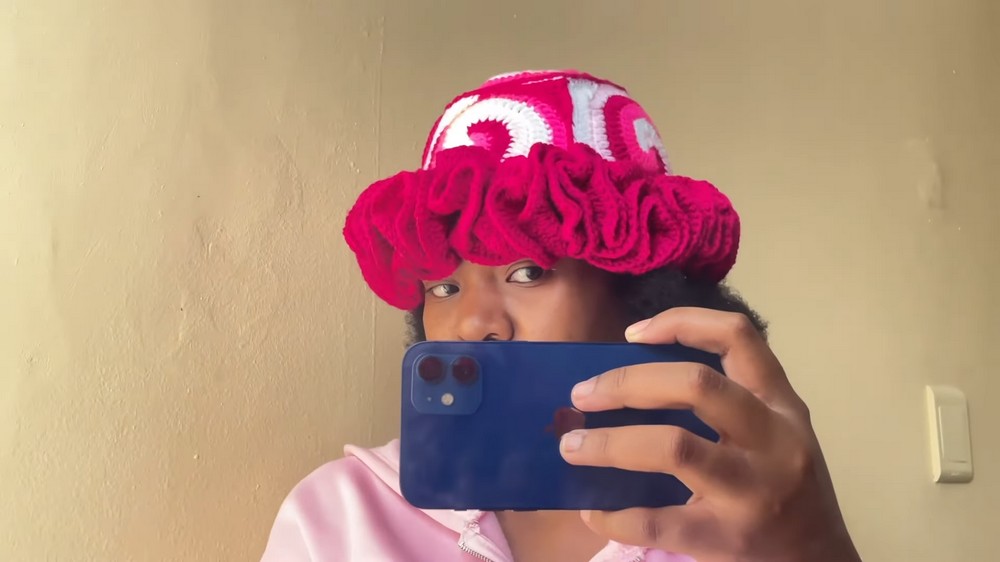
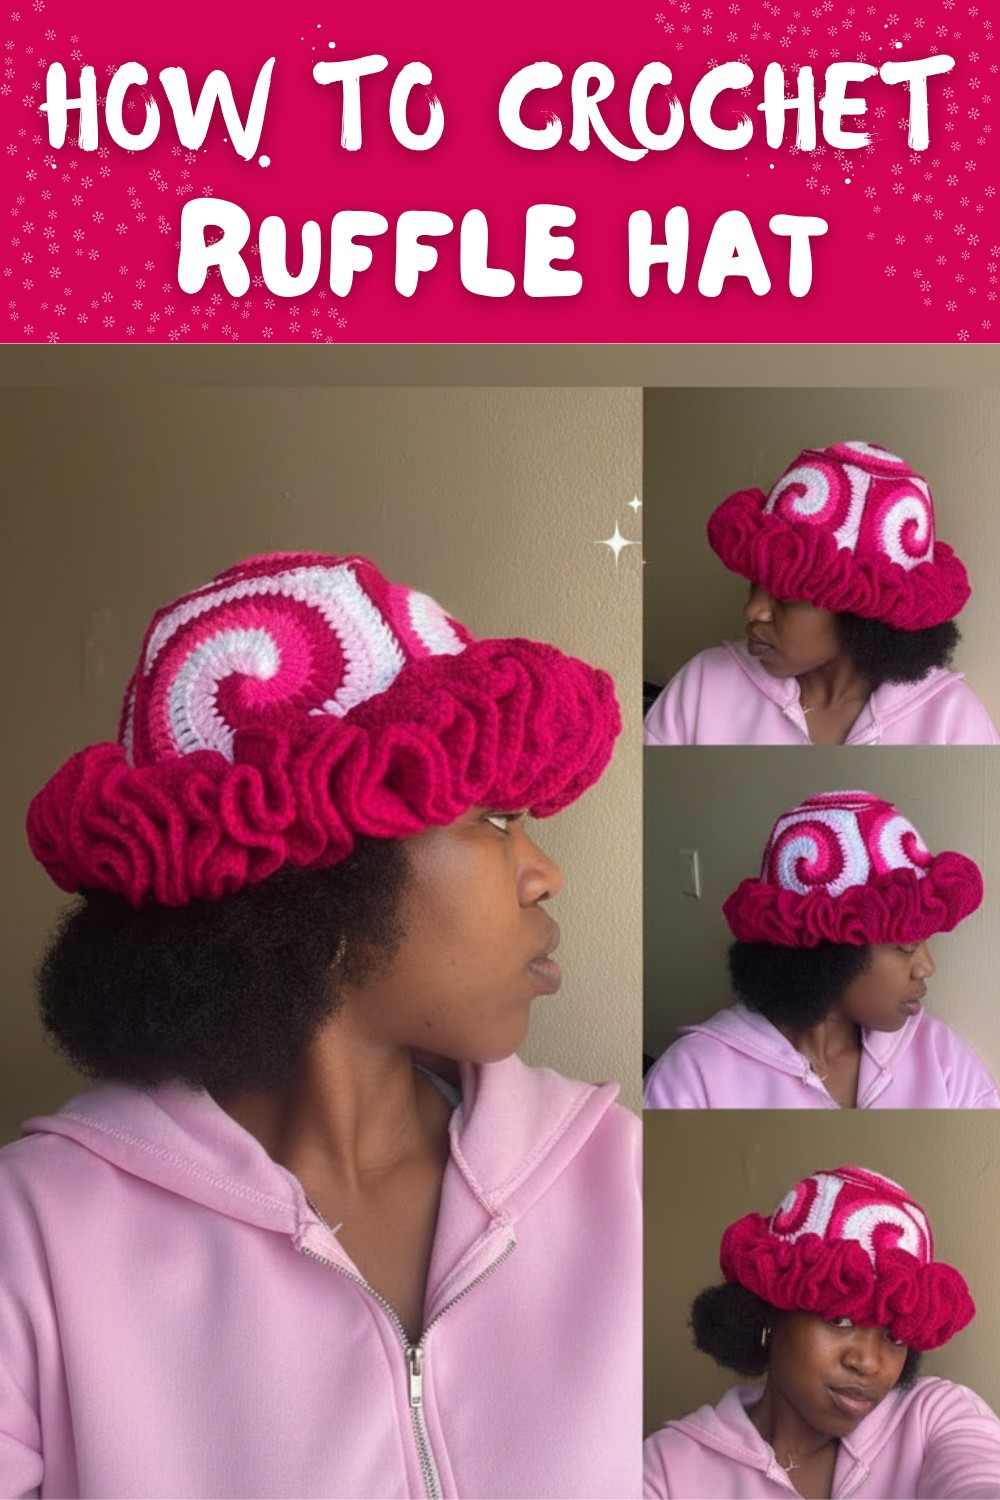
This hat is a playful and stylish accessory with soft, wavy ruffles that make it unique and fun to wear. Its beautiful design stands out, adding charm to any outfit while keeping your head warm and cozy. The lightweight and comfortable feel make it a practical choice for casual outings, special occasions, or as a thoughtful handmade gift. With textured layers and colorful details, this hat creates a cheerful and creative vibe that catches the eye.
Easy Free Crochet Ruffle Hat Pattern for Every Skill Level
Made with simple crochet stitches, it offers the perfect balance of beauty and usefulness, fitting effortlessly into any wardrobe. This design can also be easily customized with your favorite colors, making it ideal for anyone who loves adding a personal touch to their accessories. Whether styled for winter or paired with everyday outfits, it adds extra flair with its soft and distinctive look.
Spiral Granny Square Ruffle Hat Step-by-Step Pattern Guide
Materials Needed
Yarn
- Four different colors of double-knit yarn (Choose colors based on personal preference; this pattern uses white, pink, and two other contrasting colors).
- Weight: DK (Double Knit, category 3 yarn).
Crochet Hooks
- 3 mm crochet hook: For joining granny squares and main body.
- 4 mm crochet hook: For the ruffles.
Additional Supplies
- Stitch markers: You will need four for marking key stitches.
- Darning needle: To weave in loose ends.
- Scissors: For trimming excess yarn.
Special Techniques
Magic Circle:
Used to create the center of the spiral granny square.
- Make a loop with yarn, ensuring a tail remains.
- Insert the hook into the loop, pull up a loop, and secure it with a chain.
Flat Slip Stitch Join:
Creates a smooth and seamless join between squares.
- Insert the hook into the back loops of stitches on two squares.
- Pull yarn through both loops and slip stitch.
Pattern Instructions
Part 1: Making the Spiral Granny Squares
Five granny squares are required to complete the hat.
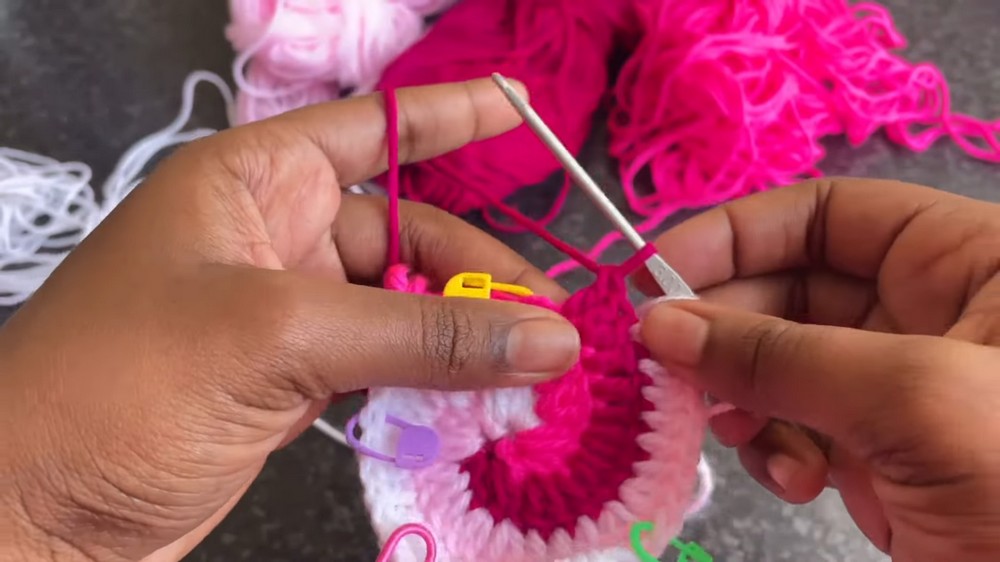
Step 1: Magic Circle
- Begin with the first color yarn and create a magic circle.
- Chain 1 (to secure the circle).
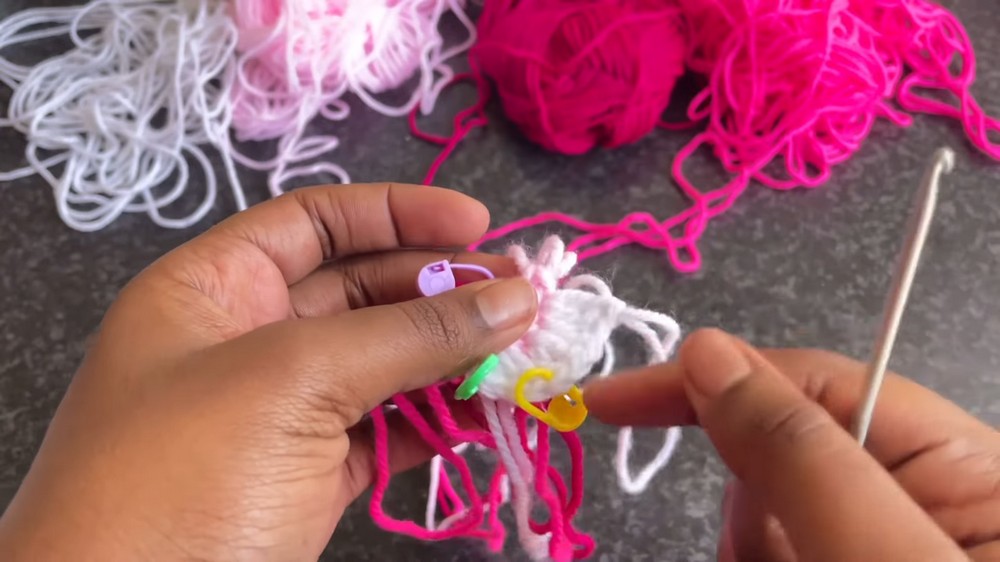
Step 2: First Round
- Work the following pattern into the magic circle:
- 1 Single Crochet (SC): Mark with a stitch marker.
- 1 Half Double Crochet (HDC).
- 2 Double Crochets (DC).
- Extend the loop by pulling the yarn to prevent unraveling.
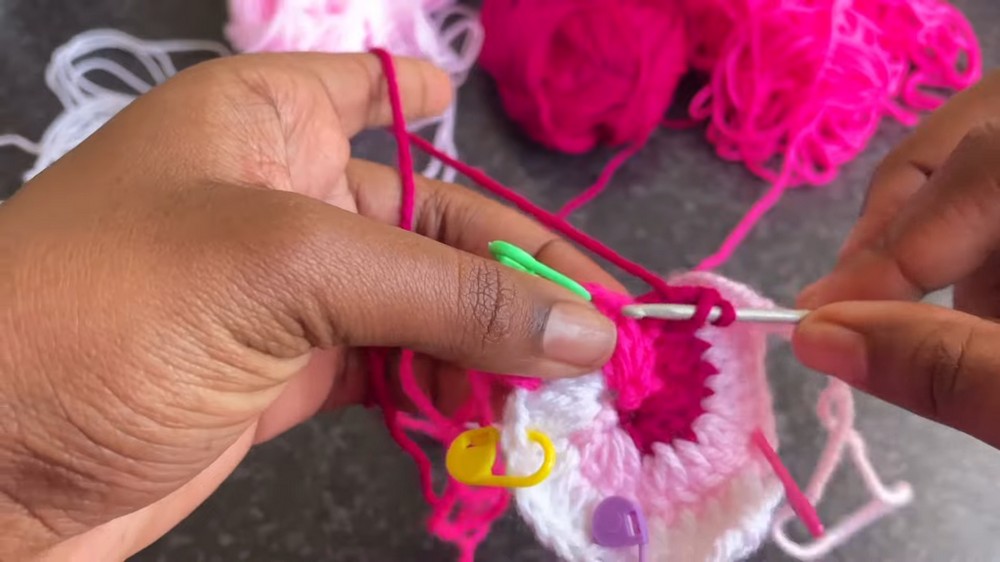
Step 3: Add Second Color
- Join the second color with a slip knot.
- Attach the new color to the magic circle and repeat the same pattern:
- 1 SC (mark stitch with stitch marker).
- 1 HDC.
- 2 DC.
- Extend the loop as before.
Step 4: Add Third Color
- Join the third color with a slip knot.
- Attach it to the magic circle and repeat the same pattern:
- 1 SC (mark stitch with stitch marker).
- 1 HDC.
- 2 DC.
Step 5: Add Fourth Color
- Join the last color with a slip knot.
- Attach it to the magic circle and repeat:
- 1 SC (mark stitch with stitch marker).
- 1 HDC.
- 2 DC.
- Pull the magic circle tail gently to close the center (don't pull too tight).

Subsequent Rounds:
For all rounds, follow the instructions below for increases, ensuring each color section is worked sequentially:
- Turn your work after every round to prevent tangling.
- Work increases in marked stitches:
- Round 2: Work 2 DC in the marked stitch, followed by 1 DC in the next stitch, then another increase (2 DC). Leave the last stitch unworked.
- Round 3: Work 3 DC between increases.
- Round 4: Work 5 DC between increases.
- Round 5: Work 7 DC between increases.
- Final Round: Work 9 DC between increases.
Corner Shaping:
After completing all rounds, shape each spiral into a square:
- Begin in the next stitch after the last round.
- Work 3 DC, followed by Ch 3, and another 3 DC into the same stitch to form a corner.
- In the following stitches, continue:
- 1 DC, 1 HDC, 1 SC, 1 Slip Stitch.
- Repeat for all corners.
Make five squares using this pattern.
Part 2: Joining the Granny Squares
- Arrange four squares to form the sides of the hat and place the fifth square on top for the crown.
- Use the Flat Slip Stitch Join method:
- Insert the hook into the middle chain loops of corresponding stitches from each square.
- Slip stitch across to join the seams.
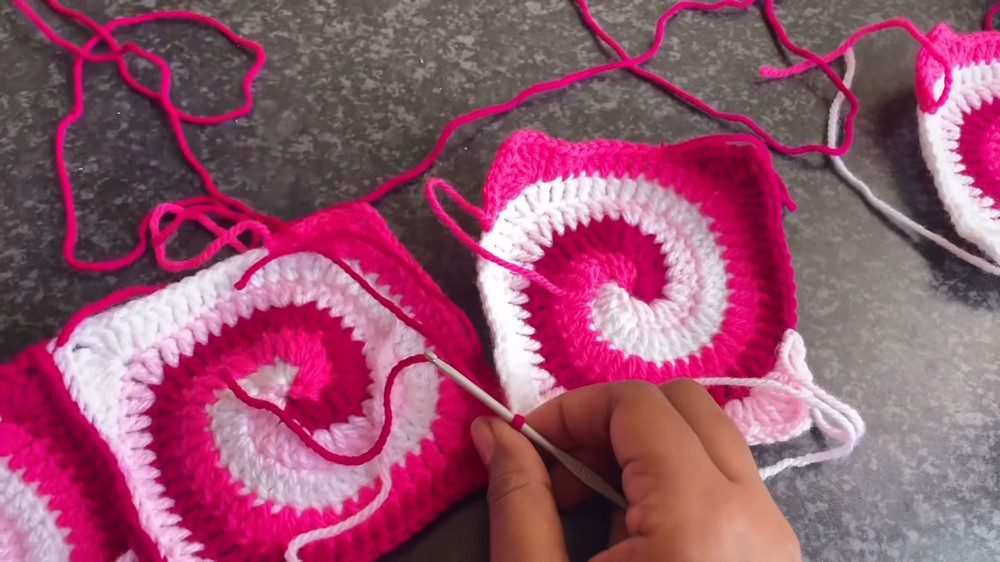
Important: Ensure stitches are evenly aligned to prevent uneven shaping.
Part 3: Adding Single Crochet Base
- Attach yarn to any stitch along the bottom edge of the joined squares.
- Work 1 SC in each stitch around the base of the hat.
Part 4: Creating Ruffles
The ruffles consist of three rows with increasing double crochets to give volume.
Row 1:
- Switch to the 4 mm crochet hook.
- Work 3 DC in each stitch around.
Row 2:
- Continue working 3 DC in each stitch.
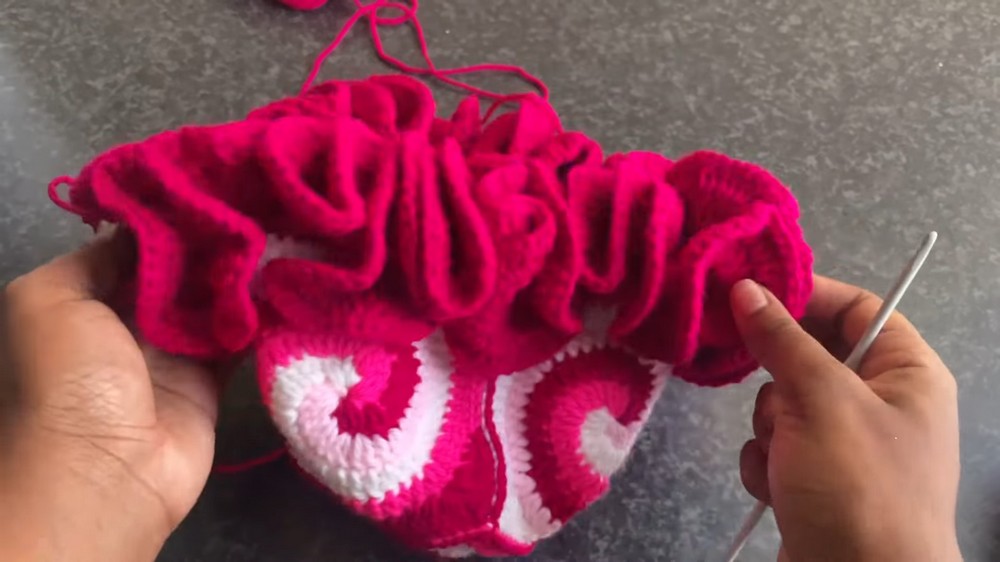
Row 3 (Final Row):
- Reduce the ruffle volume by switching to 2 DC in each stitch.
- Work all around, ensuring stitches remain even.
Finishing Instructions
- Weave in all loose ends with a darning needle.
- Block the hat if desired to enhance its shape and structure.
- Inspect joins for tightness and ensure uniform ruffles.
Tips for Maintenance
- Washing: Hand wash the hat with gentle soap in cold water to maintain yarn texture.
- Storage: Store flat or on a hat stand to preserve its shape.
- Ruffle Volume: If you prefer more dramatic ruffles, repeat Row 1 an extra time.
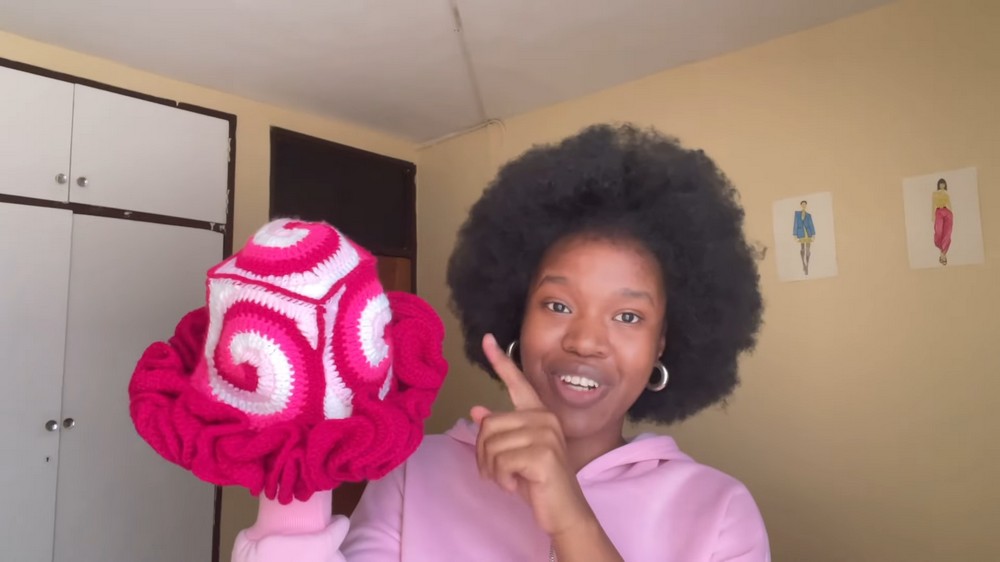
Final Words
You've successfully crafted a stylish Spiral Granny Square Ruffle Hat that's perfect for cooler seasons or as a fashion statement. Feel free to experiment with color combinations and square arrangements to make it uniquely yours.