
Easy Crochet Daisy Bag Using Chunky Yarn - Free Pattern
Try this simple Free Crochet Daisy Bag Pattern, featuring daisy accents, durable chunky yarn, and room for essentials like your phone, cash, and cards.
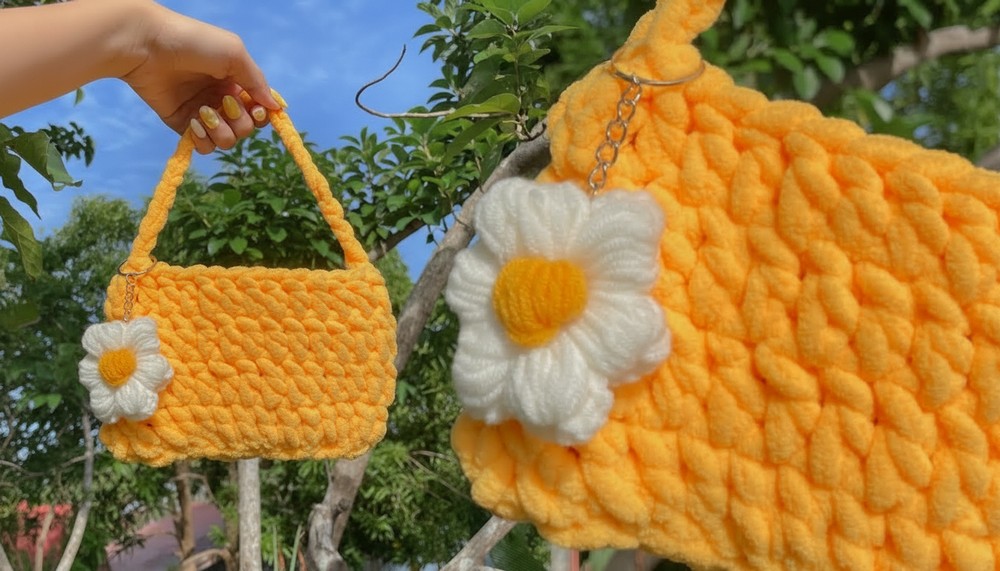
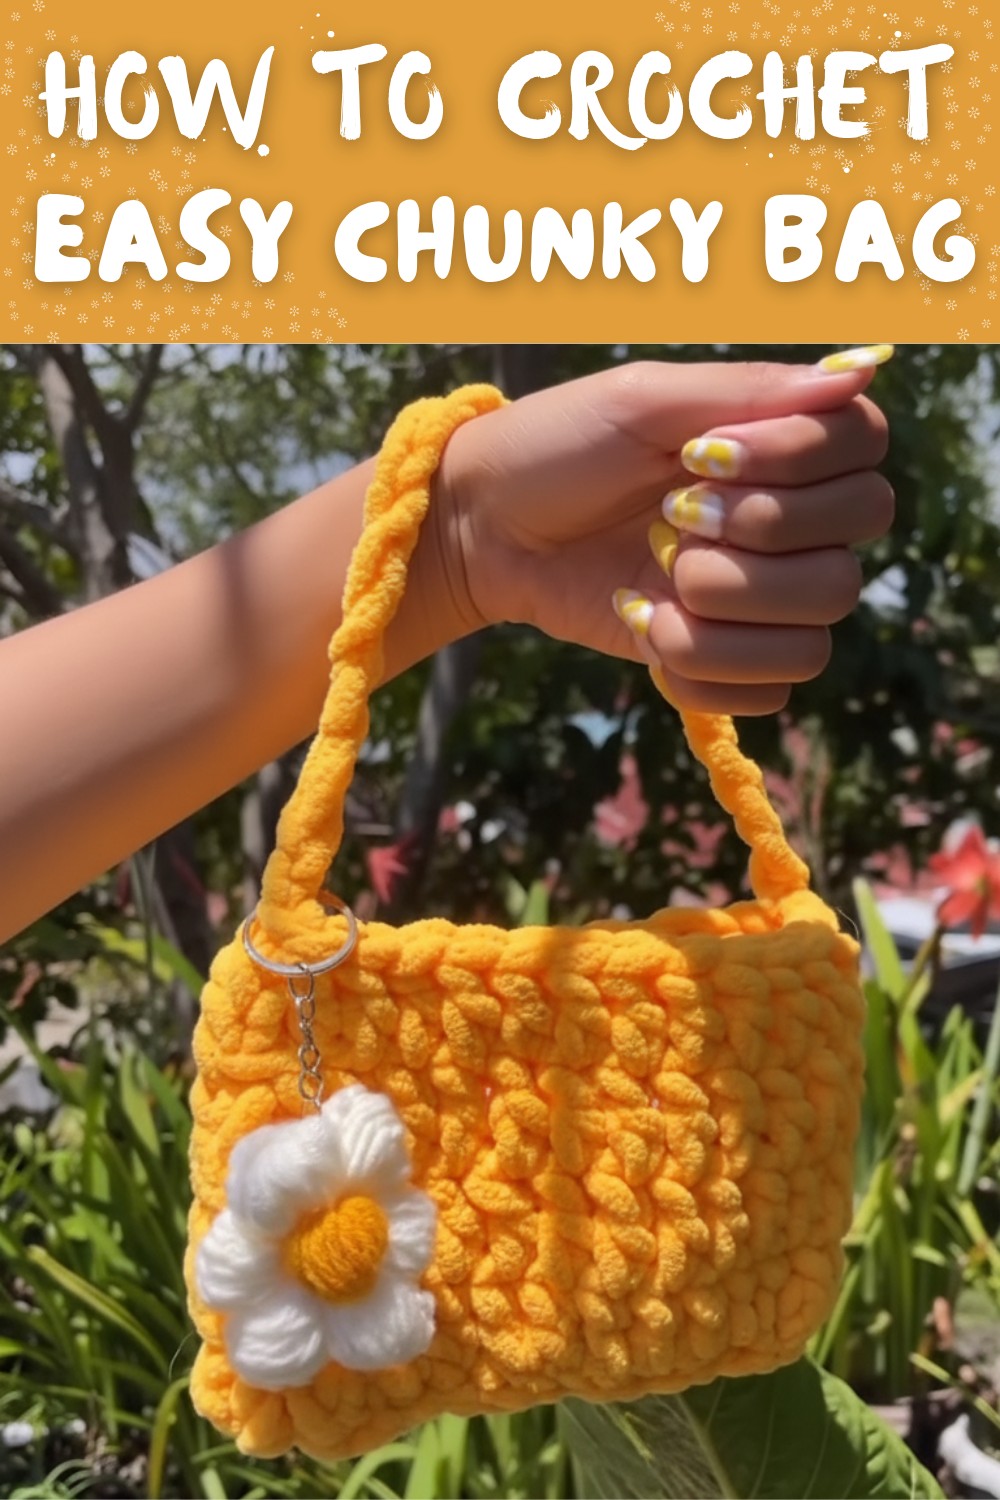
A bag with a touch of charm and beauty, the crochet daisy bag can brighten anyone's day. The Free Crochet Daisy Bag Pattern features delightful daisy motifs that add a fun and cheerful vibe, making it more than just an accessory. Its floral design and simple structure bring out a softness and elegance that's sure to draw attention wherever you go. With its lightweight and durable nature, this bag is ideal for carrying daily essentials, whether you're running errands, shopping, or enjoying a casual outing.
Simple Free Crochet Daisy Bag Pattern That Holds Essentials
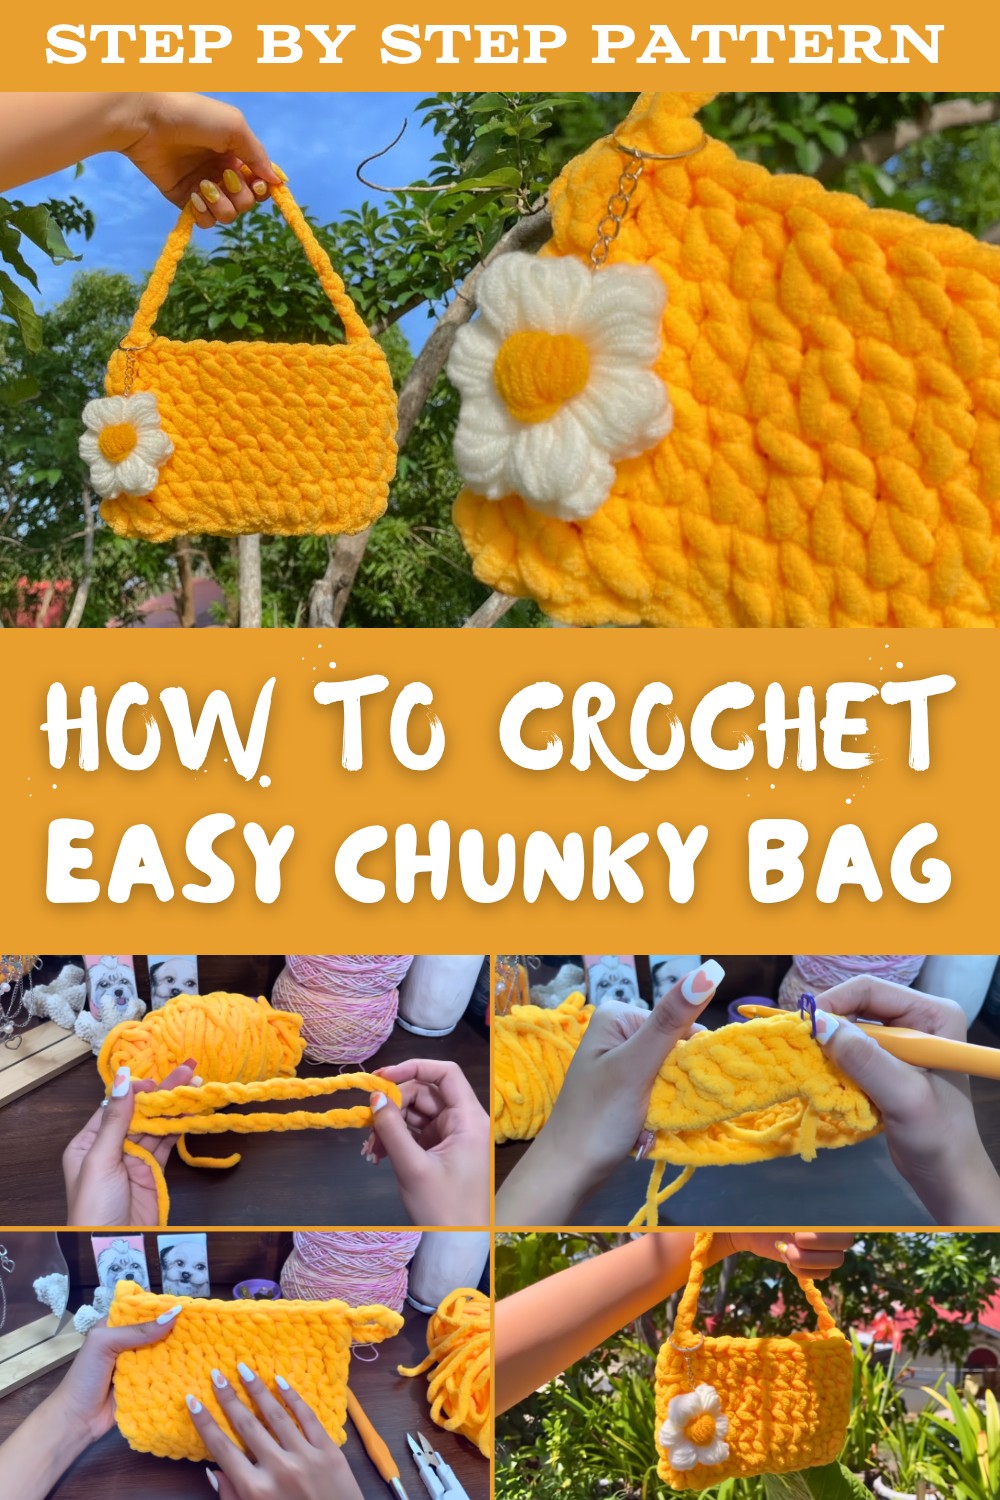
Soft yet strong yarns turn this piece into a practical item that's versatile for everyday use. Bright colors can bring out a playful look, while softer shades offer a more subtle charm. The daisy clusters, combined with a minimalist finish, make this bag functional while keeping it stylish. The process is straightforward for all skill levels, offering an enjoyable and relaxing crochet experience.
Once complete, it's perfect as a personal accessory or a thoughtful handmade gift for loved ones. Whether thrown over your shoulder or held in your hands, the daisy bag will add a touch of joy, showcasing its timeless and thoughtful design in all its floral glory.
Detailed Step-by-Step Pattern: Daisy Bag
Finished Size
- Width: Adjustable based on the number of chains (e.g., fits essentials like a phone, cards, and cash).
- Height: With 4 rows of double crochet stitches, approximately 6-8 inches tall, depending on yarn thickness and tension.
Materials Required
- Yarn:
- Use chunky yarn for the bag (recommended: approx. 200g) to create a sturdy structure.
- For the daisy flower (if crocheting), use thinner yarn, such as 4-ply milk cotton.
- Crochet Hook:
- 10 mm hook for the chunky yarn.
- A smaller hook for the thin yarn (e.g., 4 mm) if creating the daisy flower.
- Stitch Marker: Useful for marking the start of each round, especially for beginners.
- Keyring or Keychain: To attach the flower to the bag.
- Scissors: For cutting yarn.
- Tapestry Needle: For weaving in loose ends.
Special Techniques Used
- Slip Knot
- A basic crochet technique used to begin a project.
- Chain (ch):
- Foundation stitches that determine the size of the bag's base.
- Slip Stitch (sl st):
- Used to join the beginning and end of a round seamlessly.
- Double Crochet (dc):
- Primary stitch for the bag's texture and structure.
Pattern Instructions
Step 1: Creating the Foundation Chain
- Make a Slip Knot:
- Wrap yarn around your two fingers to form an "X."
- Insert your hook under the first loop, pull through the second loop, and tighten.
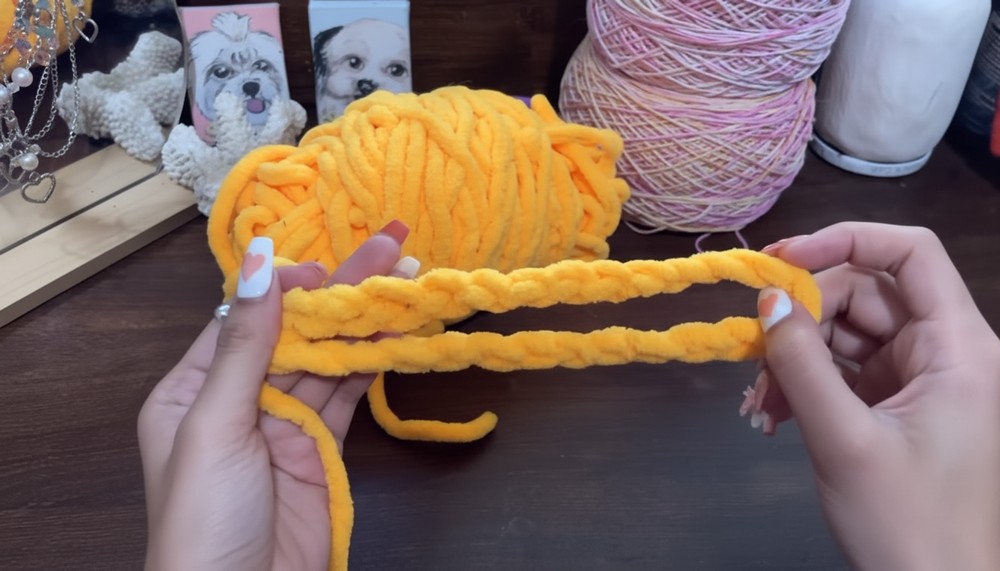
- Chain 27 Stitches (or an Adjustable Length):
- Yarn over, pull through the loop on the hook to form a chain. Repeat until you have 27 chains.
- This serves as the circumference of the bag. Adjust the number based on the desired width of your bag. Ensure the chain fits your phone or items it will carry.
Step 2: Join the Chain into a Circle
- Ensure the chain isn't twisted. Locate the first chain.
- Insert the hook into the first chain, yarn over, and pull through both loops to slip stitch the first and the last chain together.
Step 3: Building the Body
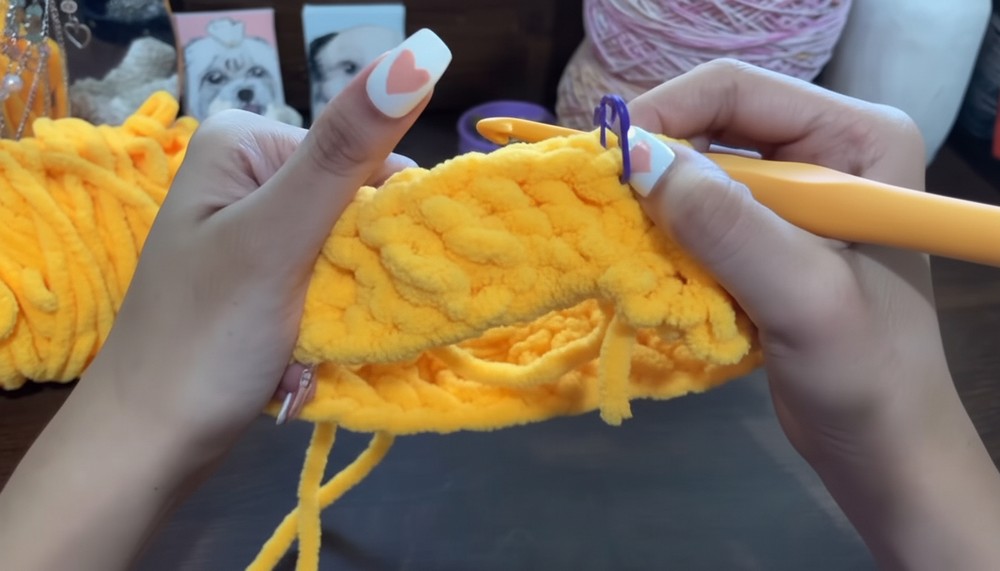
- Row 1:
- Chain 2 (does not count as a dc). This gives height to start the first row of double crochets.
- Yarn over, insert the hook into the first chain (base chain), and complete a double crochet (dc).
- Place a stitch marker in the first dc to mark the row's starting point.
- Continue making double crochet stitches into each chain around (1 dc per chain).
- For a 27-chain base, you will have 27 dcs at the end of the row.
- Join the last dc to the first dc with a slip stitch.
- Rows 2-4:
- Repeat the same process:
- Chain 2, work a dc in the first stitch, mark it with the stitch marker, and continue working 1 dc in each stitch around.
- Slip stitch to join the last dc of the row to the first.
- Repeat the same process:
Step 4: Adding the Strap
- Chain the Strap:
- Choose the strap length and make a chain (e.g., 20 chains for a short handle).
- Attach the strap directly opposite the starting point by slip stitching into a double crochet on the opposite side.
- Secure the Strap:
- After attaching, cut the yarn and pull it tight. Use the tapestry needle to weave in the loose ends for a neat finish.
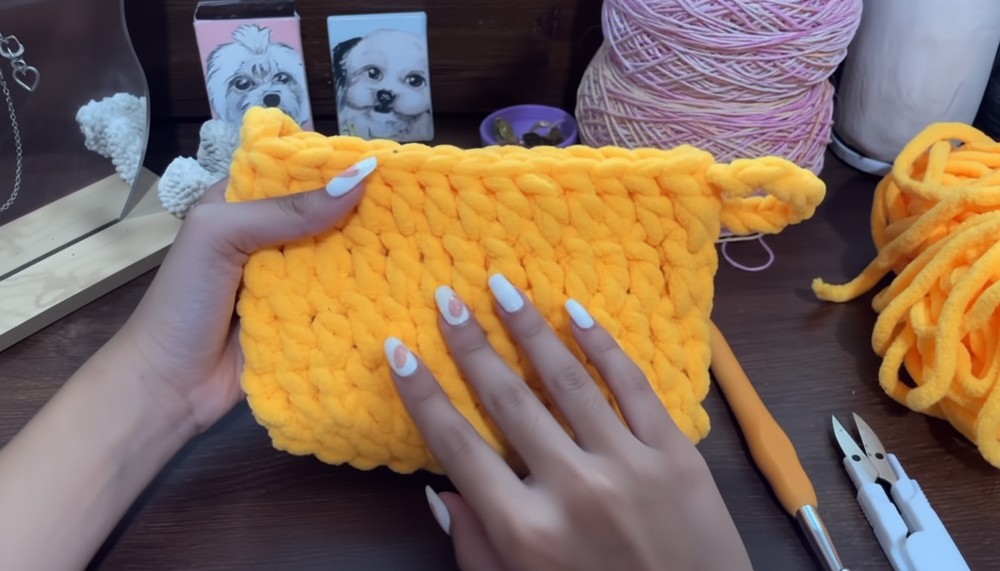
Step 5: Joining the Bottom
- Align the Bottom Edges:
- Fold the bag in half, ensuring both sides align evenly.
- Join the Edges:
Choose one of the following options:- Single Crochet (Recommended): Insert the hook through corresponding stitches along the bottom edge, making single crochet stitches across. This creates a robust, clean seam.
- Slip Stitch Method: Insert the hook, yarn over, and pull through both edges for each stitch to join them.
- Cut the yarn, secure the ends, and weave them into the bag.
Step 6: Adding the Daisy Accent
- Crochet the Daisy Flower:
- Follow a tutorial linked in the description by the original creator or create your favorite flower design.
- Use thinner yarn (e.g., 4-ply milk cotton) to keep the flower delicate.
- Attach the Daisy to a Keychain:
- Tie or sew the flower to a keyring for a removable accent.
- You may also sew the flower directly onto the bag's strap or body for a permanent embellishment.

Finishing
- Shape the Bag: Lightly block the bag to give it a perfect shape.
- Weave in Ends: Use a tapestry needle to tidy up any loose yarn.
Customizations
- Dimensions:
- Adjust the number of starting chains (width) and rows (height) for a smaller or larger bag.
- Strap Options:
- Replace the crocheted strap with leather handles, ribbon, or a detachable strap for a unique finish.
- Additional Embellishments:
- Add multiple floral accents or other appliqués for personalization.
Final Words
Congratulations on completing your Daisy Bag! This easy, customizable pattern allows you to create a fashionable, handmade accessory that's suited to your needs. Whether adorned with a keychain flower or additional embellishments, this bag is versatile, functional, and perfect for everyday use.