
Simple Free Crochet Granny Shorts Pattern That Looks Amazing
Experience the joy of free crochet granny stitch shorts offering comfort elegance and a timeless feel perfect for sunny summer days.
Have you ever thought about combining comfort, style, and creativity into one project? The Free Granny Stitch Shorts pattern offers a practical yet stylish way to enhance your wardrobe. Featuring the timeless granny stitch, the shorts are ideal for a warm summer day, a beach outing, or even as loungewear. With their lightweight texture, they are breathable and allow you to experiment with bold colors or soft pastels to match your personal style.
FREE Crochet Granny Shorts Free Pattern for Chic Look
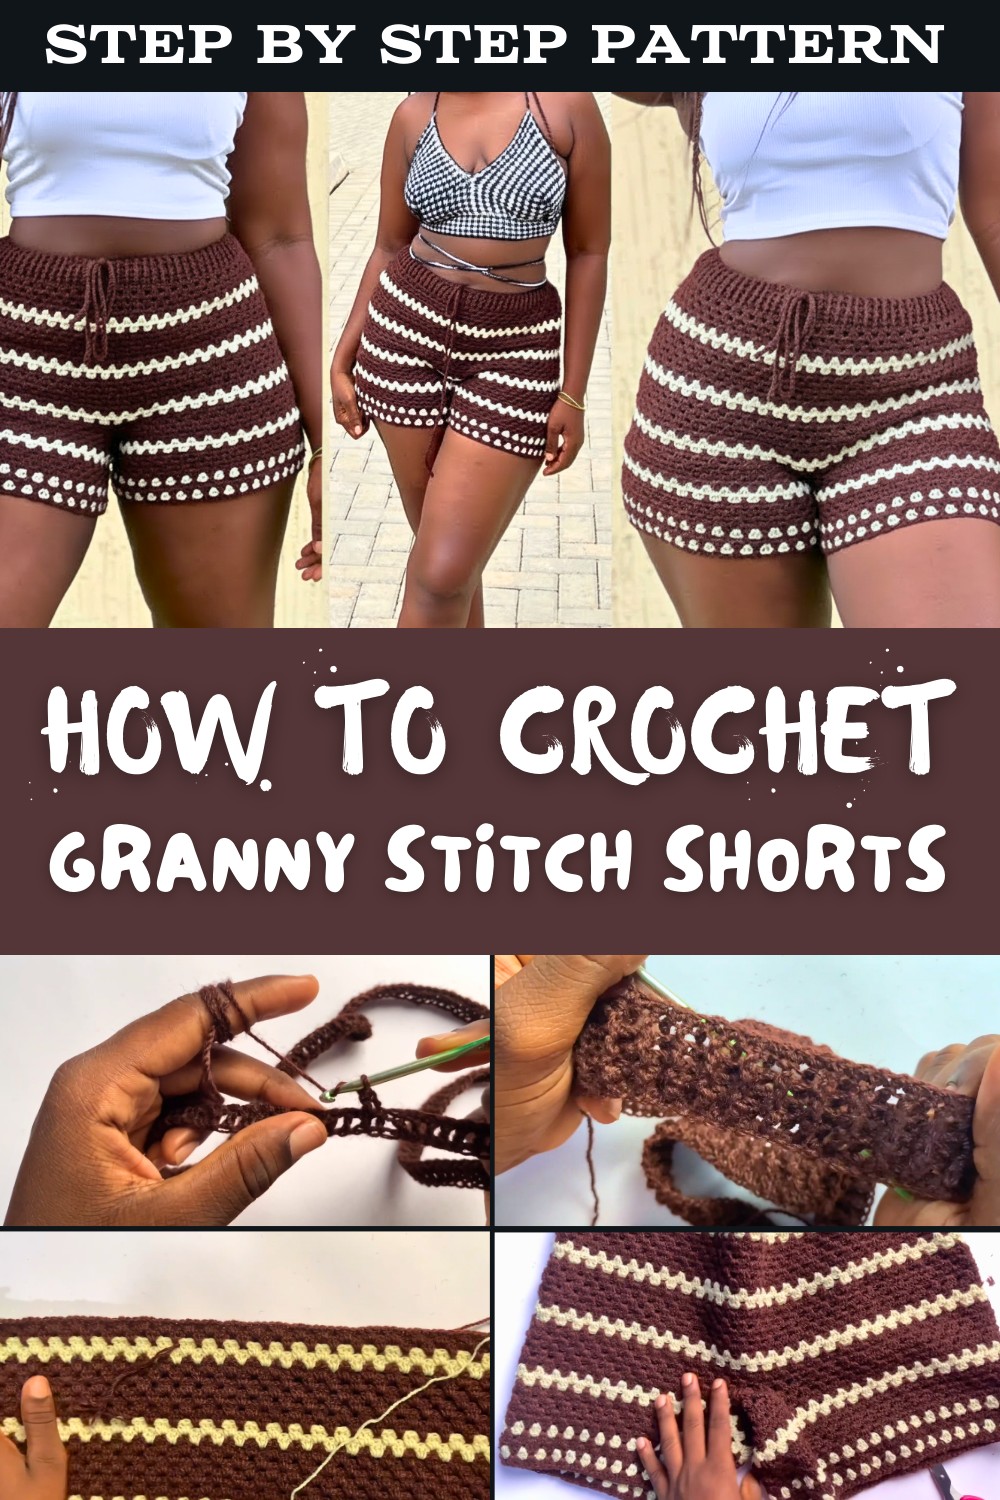
Pair the shorts with a tank top or a breezy tunic, and they can even double as a chic swimwear cover-up. Making these shorts not only elevates your crochet skills but contributes to sustainable fashion by reducing waste. This is an enjoyable option for anyone looking to turn a simple stitch into a standout wardrobe staple full of charm and practicality.
How To Crochet Granny Stitch Shorts Pattern
Finished Measurement
- Size: Fully customizable to fit your hip measurement.
- Length: Adjustable; the example length includes 24 rows in the body and 16 rows per leg hole.
- Waistband Fit: Ribbed for a snug and stretchable fit.
Gauge
- Double Crochet (dc) Rows: 10 stitches x 6 rows = 4 inches using a 4 mm hook.
Materials
- Yarn:
- Weight: Medium/Aran Yarn (Category 4).
- Example used: Two contrast colors.
- Approximate usage: 250-350g (depending on size, length, and yarn type).
- Hook Size:
- 4 mm crochet hook.
- Additional Tools:
- Tape Measure: For measuring hip and desired length.
- Stitch Markers: To mark crucial stitch points, especially division and leg holes.
- Scissors.
- Yarn Needle: For weaving in ends.
- Optional: A drawstring cord (alternatively, you'll crochet one).
Skill Level
Intermediate - Familiarity with the following is needed:
- Working in the round
- Front/back post double crochet
- Shell stitch
- Adding color changes
Key Abbreviations (US Terminology)
- ch: Chain
- st(s): Stitch(es)
- sc: Single Crochet
- dc: Double Crochet
- sl st: Slip Stitch
- yo: Yarn Over
- fpdc: Front Post Double Crochet
- bpdc: Back Post Double Crochet
Special Techniques
- Front/Back Post Double Crochet (fpdc/bpdc):
- Used for ribbing to create a stretchy waistband.
- Shell Stitch:
- Worked as 3 double crochets (dc) in the same stitch or space to form decorative shells.
- Joining in the Round:
- Ensures the waistband and body are worked seamlessly without visible joins.
Pattern Instructions
Step 1: Foundation and Waistband
- Take a Hip Measurement:
- Measure around the widest part of your hips. The foundation chain will stretch to this measurement.
- Foundation Chain:
- Make a slip knot and chain until the foundation measures close to your hip size when slightly stretched. Ensure the chain count is multiples of 2 for ribbing and multiples of 3 for the shell body.
- Example: For a 38-inch hip, chain approximately 120 chains (multiples of 2).
- Join the Chain:
- Ensure the chain isn't twisted, and join the two ends together with a sl st to form a circle.
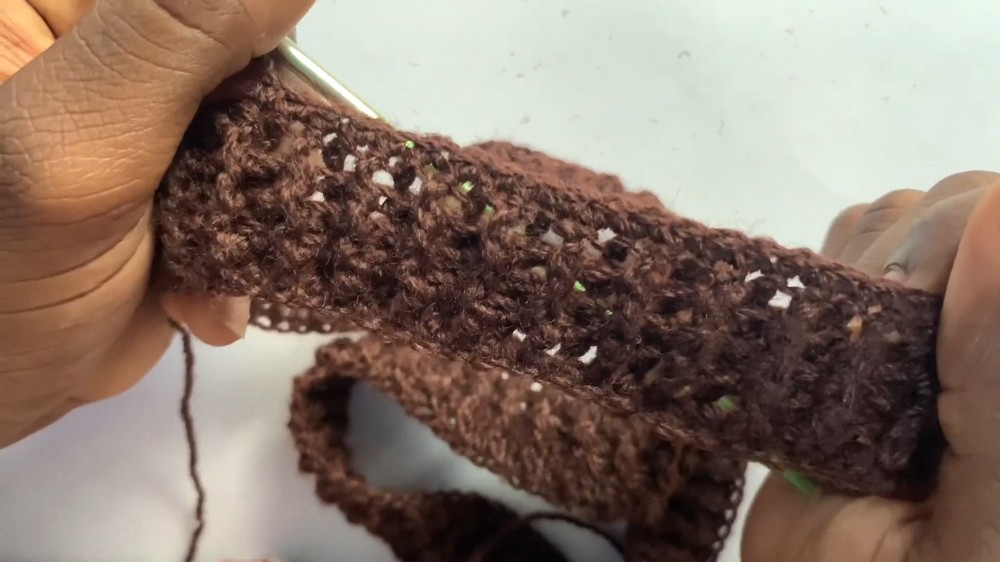
- Ribbed Waistband:
- Row 1: Ch 3 (counts as first dc), work 1 dc in each chain around.
- Row 2: Ch 3, turn. Alternate fpdc and bpdc around each stitch from the previous row.
- For fpdc, insert the hook from the front around the post of the dc below and complete as a dc.
- For bpdc, insert the hook from the back around the post of the dc below and complete as a dc.
- Continue alternating fpdc and bpdc to create the ribbing effect.
- Repeat for 3-5 rows or until desired waistband height is reached.
- Note: Ensure stitches align: front posts go into previous front posts, and back posts into previous back posts.


Step 2: Transition to the Body
- Single Crochet Foundation:
- After completing the waistband, ch 1, and sc evenly around the bottom edge of the waistband to prepare for the shell stitch.
- Sl st to join and ensure the work remains straight.
- Begin Shell Stitch (Row 1):
- Ch 3 (counts as a dc), work 2 dc into the same stitch to form the first shell.
- Skip 2 stitches, work 3 dc into the next stitch.
- Repeat across the row: skip 2 sts, 3 dc in the next.
- At the end of the round, sl st to the top of the first ch-3 to close.
- Subsequent Shell Stitch Rows (Row 2-N):
- Ch 3, turn. Work 3 dc into each space between shells from the previous round.
- Follow this pattern for the number of rows needed to reach just above the crotch.
- Optional Color Changes:
- If adding new colors, introduce them at the start of a new row by pulling the new yarn through in place of the last yarn-over of the final stitch of the previous row.

Step 3: Creating the Crotch Division
- Counting Shells:
- Count the total number of shells in your last row.
- Example: 59 shells. Split shells evenly between the two legs.
- For 59 shells: Divide as 29 on one leg, 29 on the other, and leave 1 shell space in the center.
- Mark the Sections:
- Use stitch markers to mark each section.
- Creating the Gap Between Legs:
- Start at one leg opening with sl st, work shells along the marked stitches for one leg.
- When arriving at the crotch, chain 15-20 or enough to bridge the gap to the other marked section.
- Skip the previously unworked shell space and join with sl st to the next marked section.


Step 4: Creating the Legs
- Work in Rounds for Each Leg:
- For each leg, work shell stitch rows, starting with the newly formed chain gap as the base.
- Work 3 dc into each shell space around the leg opening.
- At the end of each round, sl st into the top of the starting ch-3 and turn your work. Repeat until the desired leg length is achieved.
- Repeat for the Second Leg:
- Attach yarn to the other leg opening and repeat the same process.

Step 5: Finishing Touches
- Drawstring Cord:
- Create a long chain (approximately 150-180 chains) for the drawstring.
- Weave it through the ribbing of the waistband just below the top edge, ensuring it crosses evenly.
- Weaving in Ends:
- Use a yarn needle to weave in and secure all loose ends. Match yarn colors when weaving in ends for a neat finish.

Final Words
Congratulations! You've completed your custom crochet granny stitch shorts. Whether you're relaxing at home or heading out, your shorts are stretchy, stylish, and fitted perfectly for your size.
Tips for Success
- Accurate Measurements: Ensure the foundation chain stretches comfortably around your hips for an ideal fit.
- Customization: Add additional rows to increase length and create high-waisted shorts or leggings.
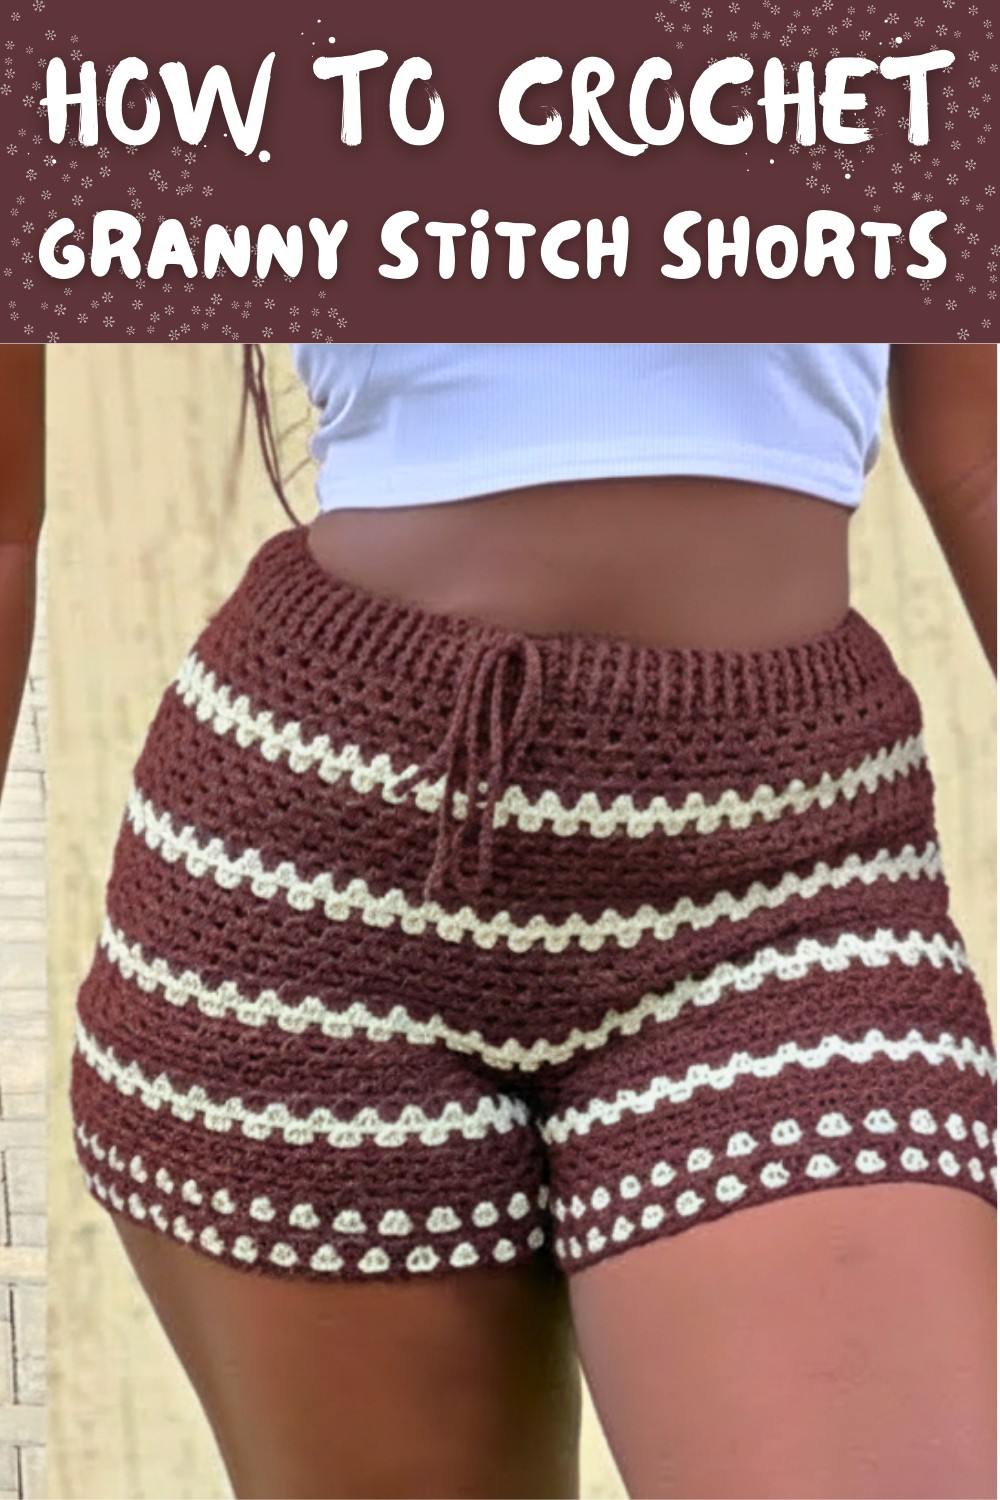
- Color Play: Experiment with color changes for stripes, blocks, or accents.
- Blocking: Lightly block the finished piece to smooth out the stitches and enhance the shape.