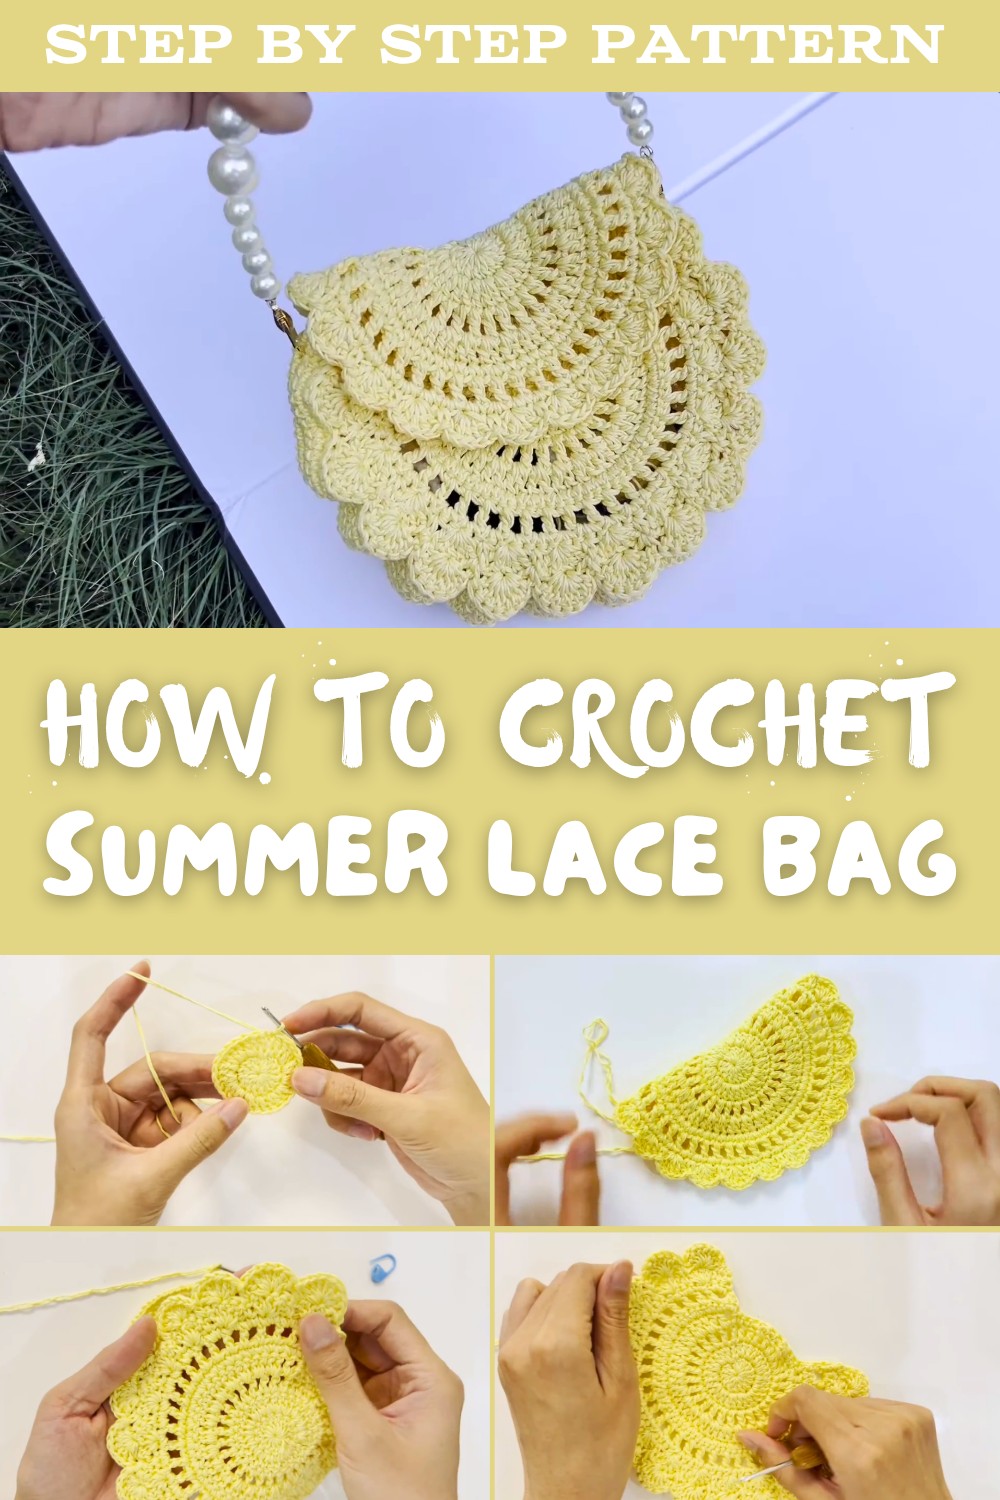
Simple Free Crochet Pattern for lace Bag with Floral Edges
Channel sophistication with this crochet lace bag, designed for summer simplicity, offering functional space and stylish openwork details in every stitch.
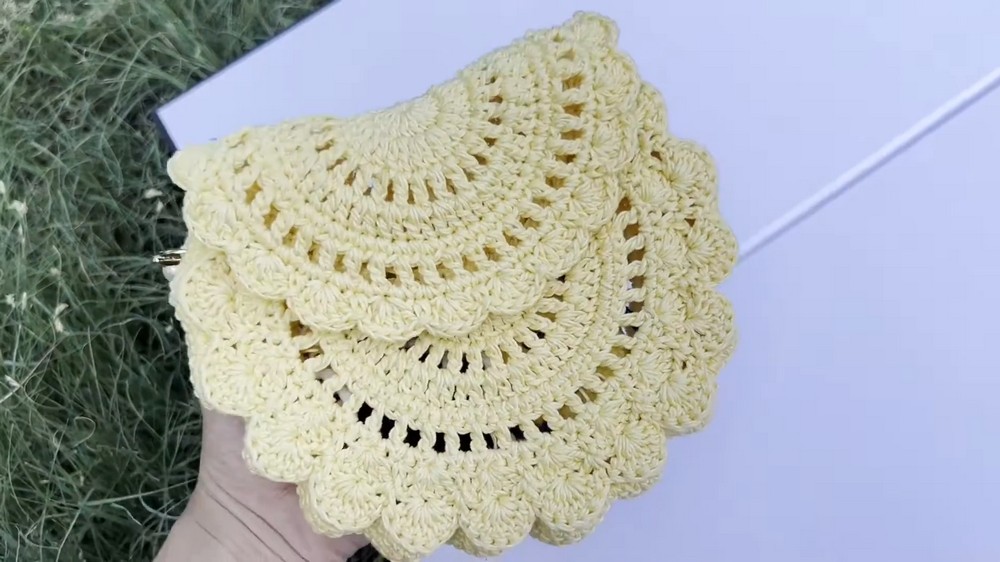
Sunny days become even better with a beautiful lace bag that's perfect for casual outings, shopping trips, or relaxing beach walks. This Free Crochet Summer Lace Bag pattern uses soft lace yarn, often in cheerful yellow or pastel shades, paired with a small hook to achieve a lightweight, airy look. Its open lacework features gentle flower-like shapes and curved designs that not only add a touch of elegance but also give it a breezy feel, ideal for warmer weather.
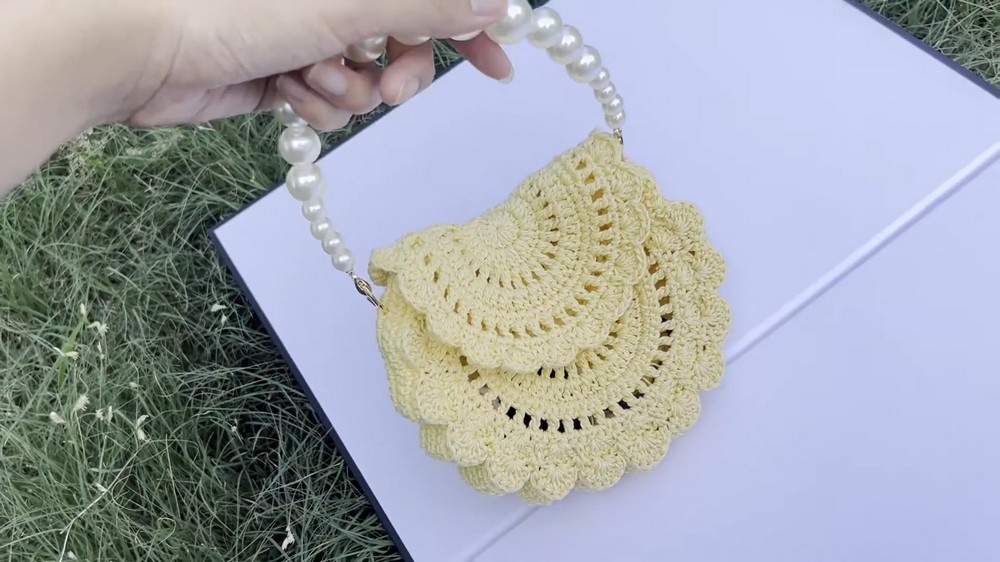
Summer Lace Bag - Free Crochet Pattern with Rope Handle
Each step is explained in simple detail, starting from the sturdy round base to the tall lace body and finishing with neat edges and a comfortable strap. The bag is practical enough to carry daily essentials like a phone, keys, or a lightweight scarf while still feeling light and stylish.
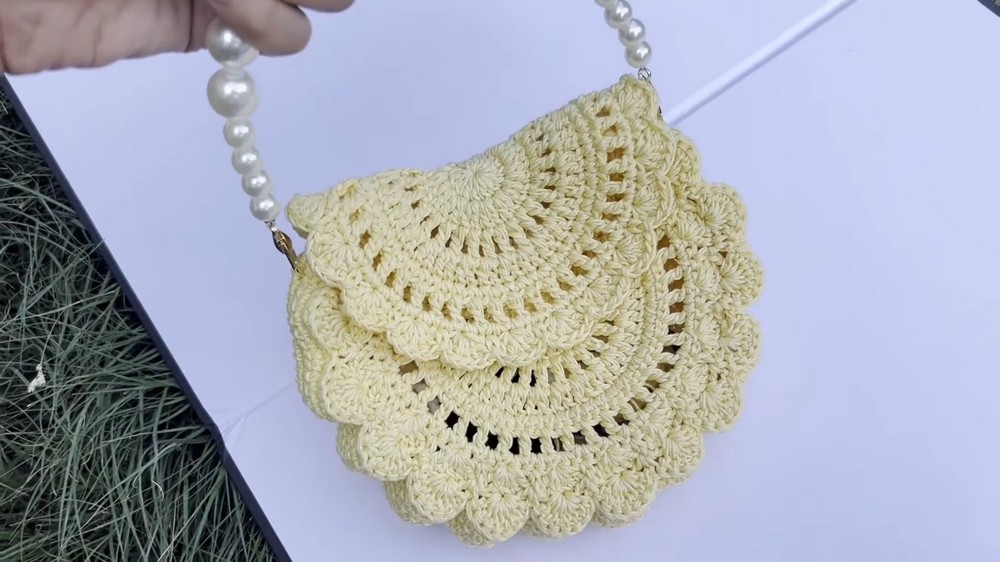
The design is versatile, making it suitable for both casual wear and special outings, turning even simple outfits into something charming. The delicate appearance and thoughtful details of this crocheted bag make it a wonderful summer accessory-easy to carry, practical for everyday use, and effortlessly stylish for any occasion. Its charm lies in its simplicity and the way it can add beauty to every moment.
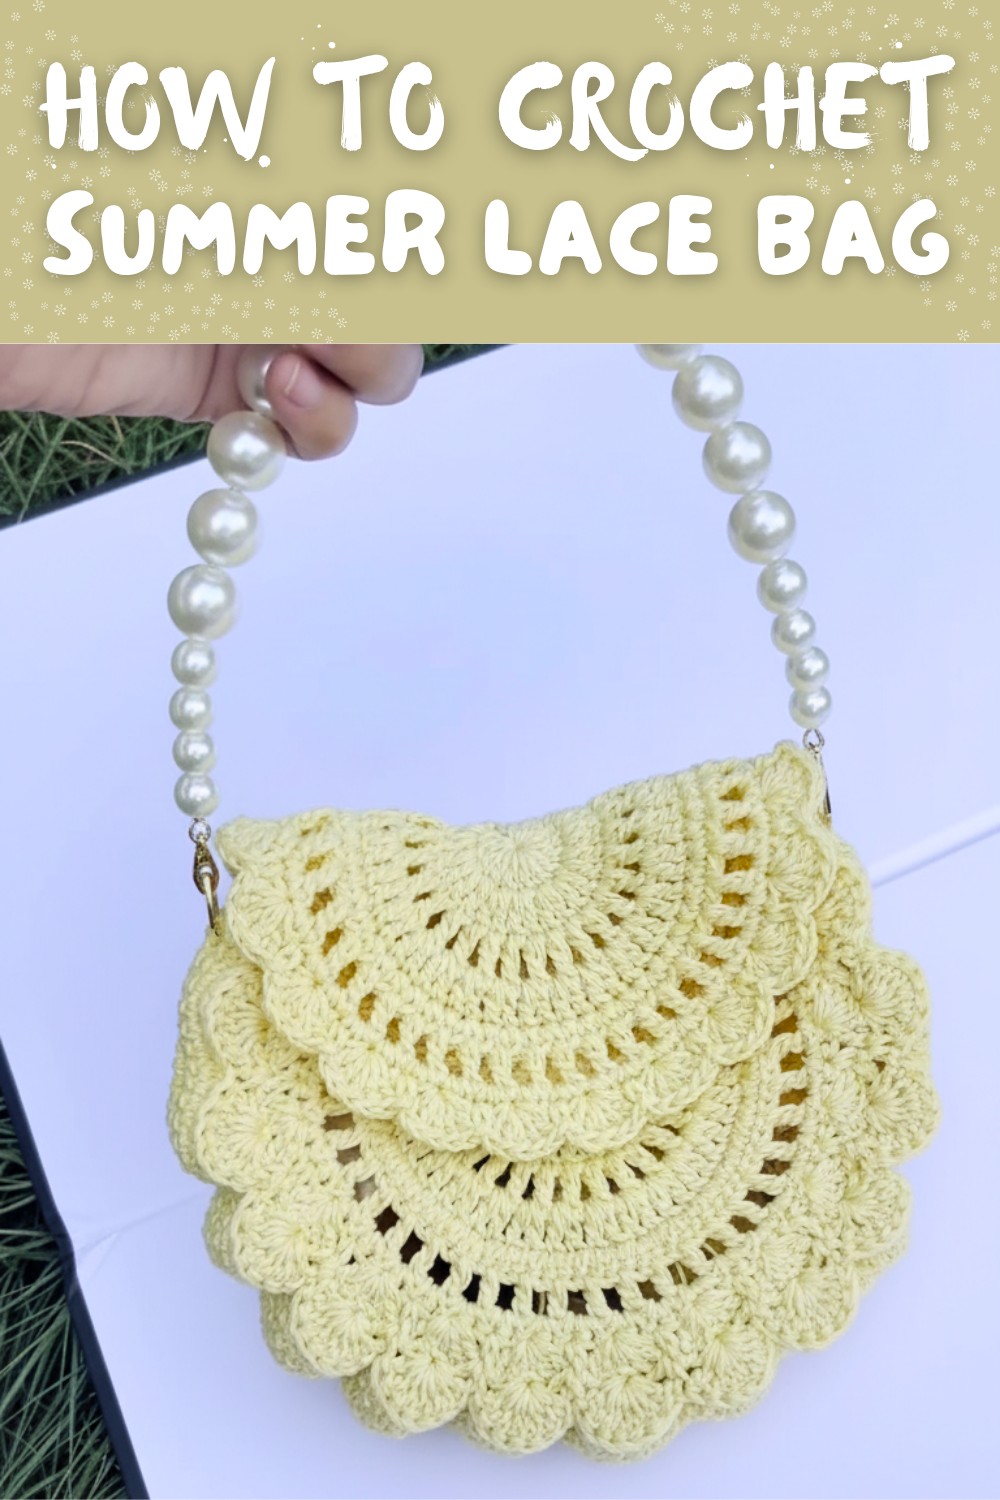
Lace Hollow Bag for Summer Crochet Pattern
Finished Size
The size of the finished hollow bag may vary depending on your tension, yarn, and hook size. In this design:
- Approximate Dimensions: 12 inches (30 cm) wide × 10 inches (25 cm) tall.
If you prefer a different size, adjust the number of initial stitches and rounds as necessary.
Gauge
Gauge is not strictly necessary for this project as size adjustments can be made during the rounds. However, if you wish to match the exact dimensions:
- Gauge: A swatch of 10 double crochets x 5 rows should measure approximately 4 x 4 cm.
Materials
- Yarn: Lace yarn No. 3, used double-stranded for stability. Ensure you have approximately 250-300 g.
- Color: Light Yellow (you may customize the color).
- Crochet Hook: 2.5 mm.
- Other Supplies:
- Stitch markers to mark critical stitches.
- Scissors for cutting yarn.
- Tapestry needle for weaving in ends.
Skill Level
- Intermediate.
This project requires familiarity with core crochet techniques and the ability to keep track of pattern sequences.
Key Abbreviations and Stitches (US Terminology)
| Abbreviation | Meaning |
|---|---|
| CH | Chain |
| SC | Single Crochet |
| DC | Double Crochet |
| ST | Stitch(es) |
| SL ST | Slip Stitch |
| YO | Yarn Over |
| INC | Increase (2 stitches in one stitch) |
Special Notes
- Standing stitches and slip stitches are prominently used for seamless joins in rounds.
- The design alternates single crochet rounds with open lacework, providing a delicate look.
Pattern Instructions
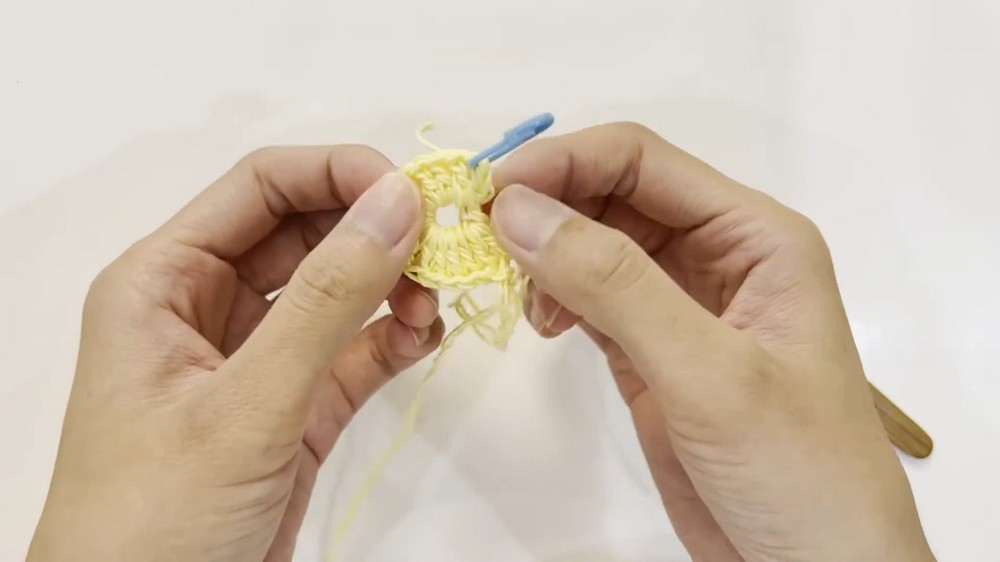
Step 1: Starting the Bag Cover
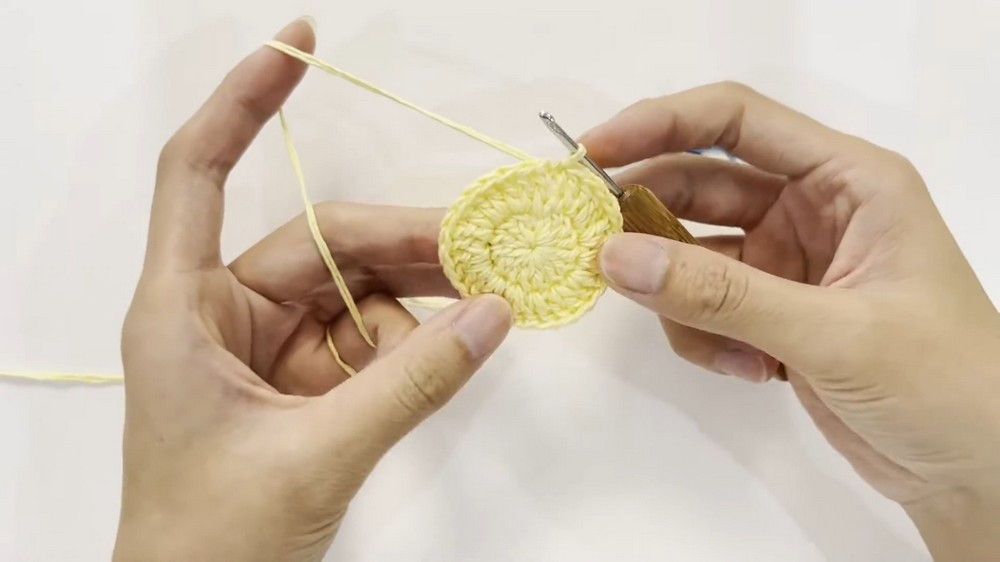
- Magic Ring (Base of Bag Cover)
- Wrap yarn around your fingers twice to form a ring. Remove the ring from your fingers, insert the hook under the loops, and pull up a loop. Secure with a CH stitch.
- Round 1: Double Crochet Foundation
- CH 3 (counts as the first DC). Place a stitch marker on the 3rd CH to mark the start of the round.
- Work 14 DC into the ring. (Total: 15 DC, including the initial CH 3).
- Tighten the magic ring by pulling the loose end.
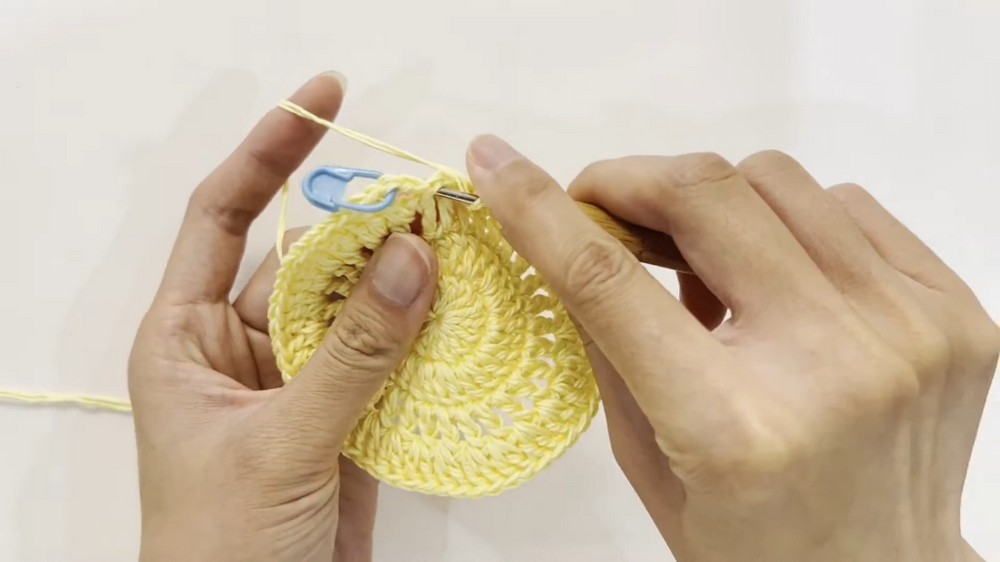
- Round 2: Increasing
- CH 3 (counts as the first DC). Place a stitch marker on the 3rd CH.
- Work 2 DC in each ST across the round. (Total: 30 DC).
- Join with a SL ST to the top of the CH 3.
- Round 3: Beginning Lacework
- CH 3 (counts as the first DC). CH 1 for spacing.
- Alternately: DC in next ST, CH 1. Skip 1 ST before each DC. Continue this sequence across the round.
- Round 4: Expanding the Gaps
- CH 3 (counts as the first DC); DC in the gap between the first DCs of the previous row.
- Work 2 DC in each gap created by CH 1 spaces in the previous round. (This creates larger openings for lacework).
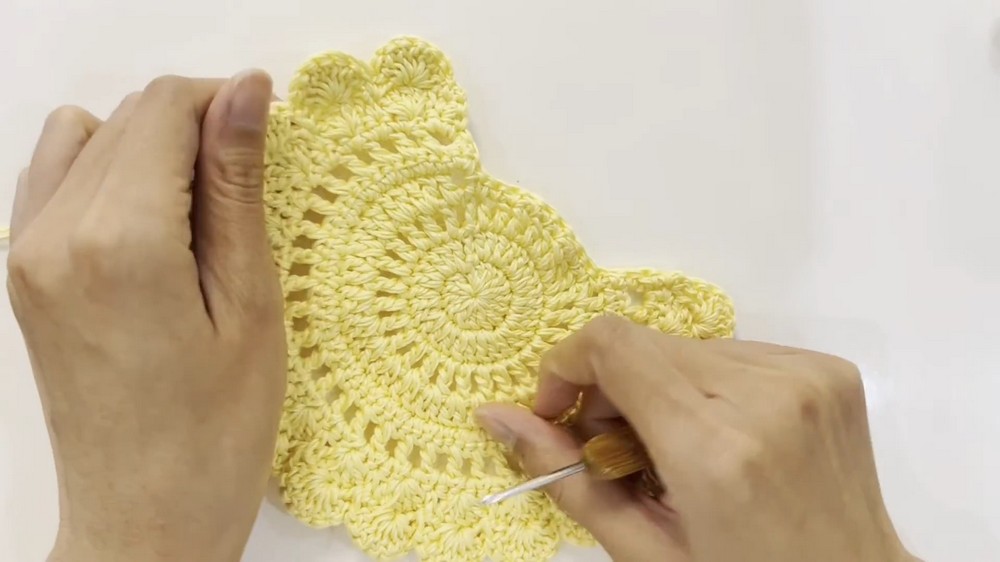
Step 2: Bag Body
- Alternate Single Crochet and Lace Rounds
- Round 1 (SC round): Work 1 SC in each ST across the round.
- Round 2 (Lace round): CH 3, skip 1 stitch, and DC in the next ST. Alternate CH 1 + DC around.
- Repeat the Sequence
- Repeat the two rows (SC and Lace) 5-6 times or until the bag reaches your desired height.
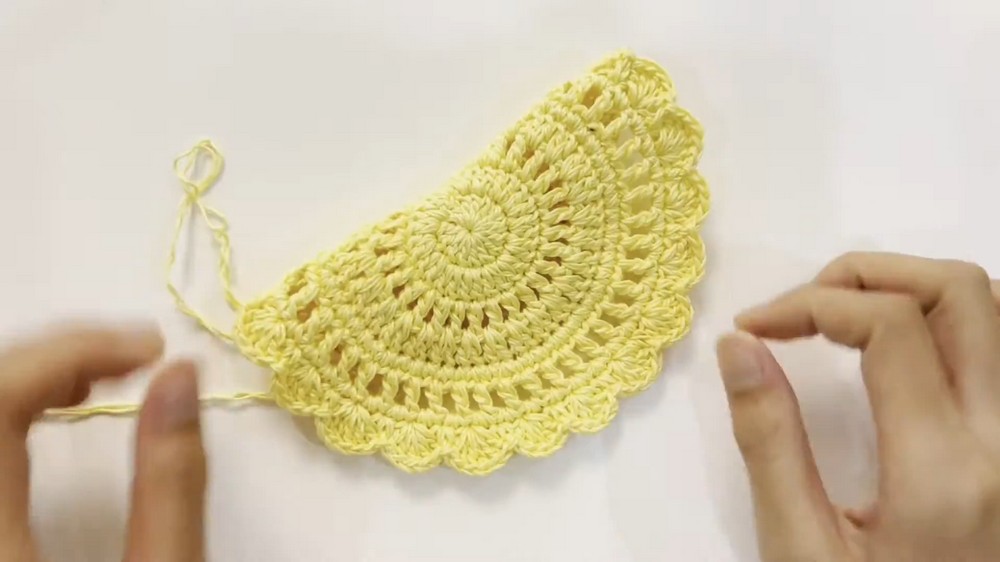
Step 3: Bag Edging
- Adjust the Shape with Fans
- Round 1: CH 1, and work 5 DC in one ST, skip 1-2 ST, SC in the next ST. Continue the fan sequence around.
- Joining
- After completing the fan edging, join your work with a SL ST to the starting SC and weave in loose ends.
Step 4: Crocheting the Bag Handle
- Using the same yarn, crochet two separate straps.
- To begin: Work a base chain of 120-150 CH depending on handle length.
- Work SC rows back and forth 4-6 times to achieve thickness.
- Sew the straps to the top corners of the bag securely.
Finishing the Bag
- Weave in any loose ends using a tapestry needle. Ensure all stitches are uniform.
- For an added structural element, line the bag with fabric or a pre-made lining.
Customization Ideas
- Color: Use gradient or multi-color threads for a unique and colorful summer bag.
- Straps: For a different vibe, consider wooden or leather handles instead of crocheted straps.
- Closure: Add a tassel or button to the bag cover for added flair.
Special Tips
- Blocking: Use blocking to give the lace pattern a more defined look.
- Yarn Consideration: Avoid heavy or stiff yarns as they may not give the airy, light result intended for this design.
Conclusion
Congratulations on completing your lace hollow summer bag! You've created a lovely, lightweight accessory that is both practical and stylish. Perfect for summer outings, your handmade bag is sure to garner admiration. Feel free to personalize the design further or experiment with different textures, so each bag you make is uniquely yours.