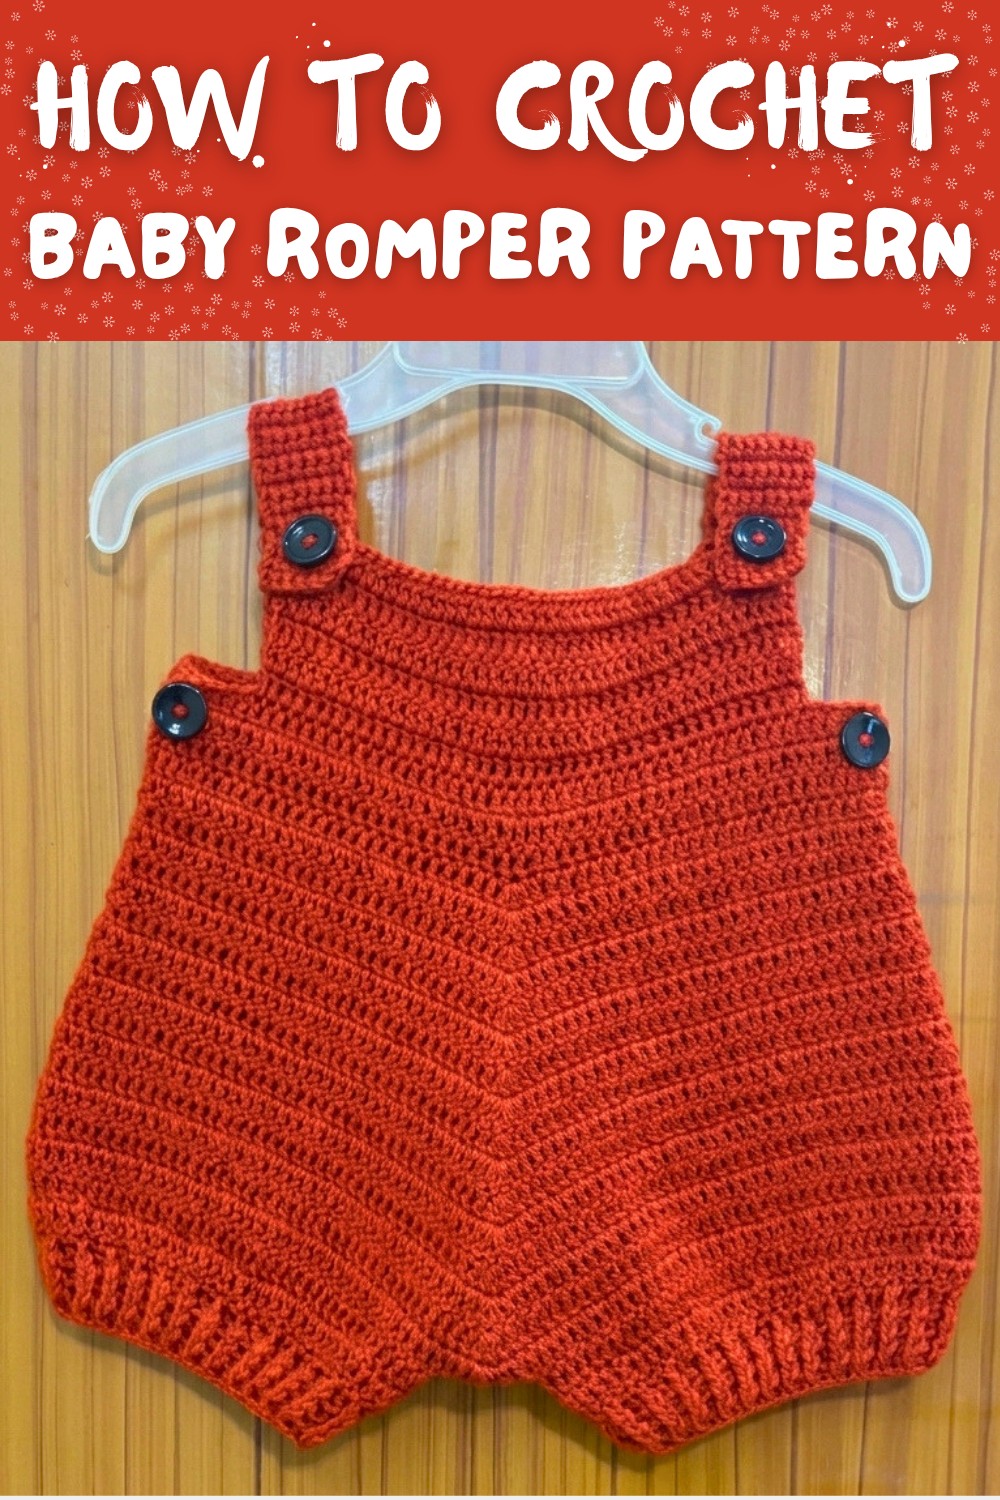
Summer Baby Romper Free Crochet Pattern for Newborns
Dress little ones in comfort with this Free Crochet Baby Romper Pattern perfect for soft everyday outfits full of sweet adorable charm.
Welcoming a new baby or looking for a heartfelt handmade gift? The Free Crochet Baby Romper Pattern offers an adorable and practical project that wraps little ones in cozy comfort. Baby romper are a favorite among crocheters because they combine charm with functionality-easy to wear, cute as can be, and perfect for keeping babies snug. Many enjoy making baby rompers as they result in delightful garments that feel personal and special, adding a touch of handmade love to any newborn's wardrobe.
This sweet romper features a soft, breathable texture that's gentle on delicate skin, making it ideal for all-day wear. Its shape is designed with comfort and ease in mind, often including snaps or buttons at the bottom for quick diaper changes. The simple yet charming silhouette allows for customization in size and color, so you can tailor your creation to suit any baby's style or season. Whether made with cotton for breathability or a cozy blend for warmth, the romper adapts beautifully to different yarn choices.
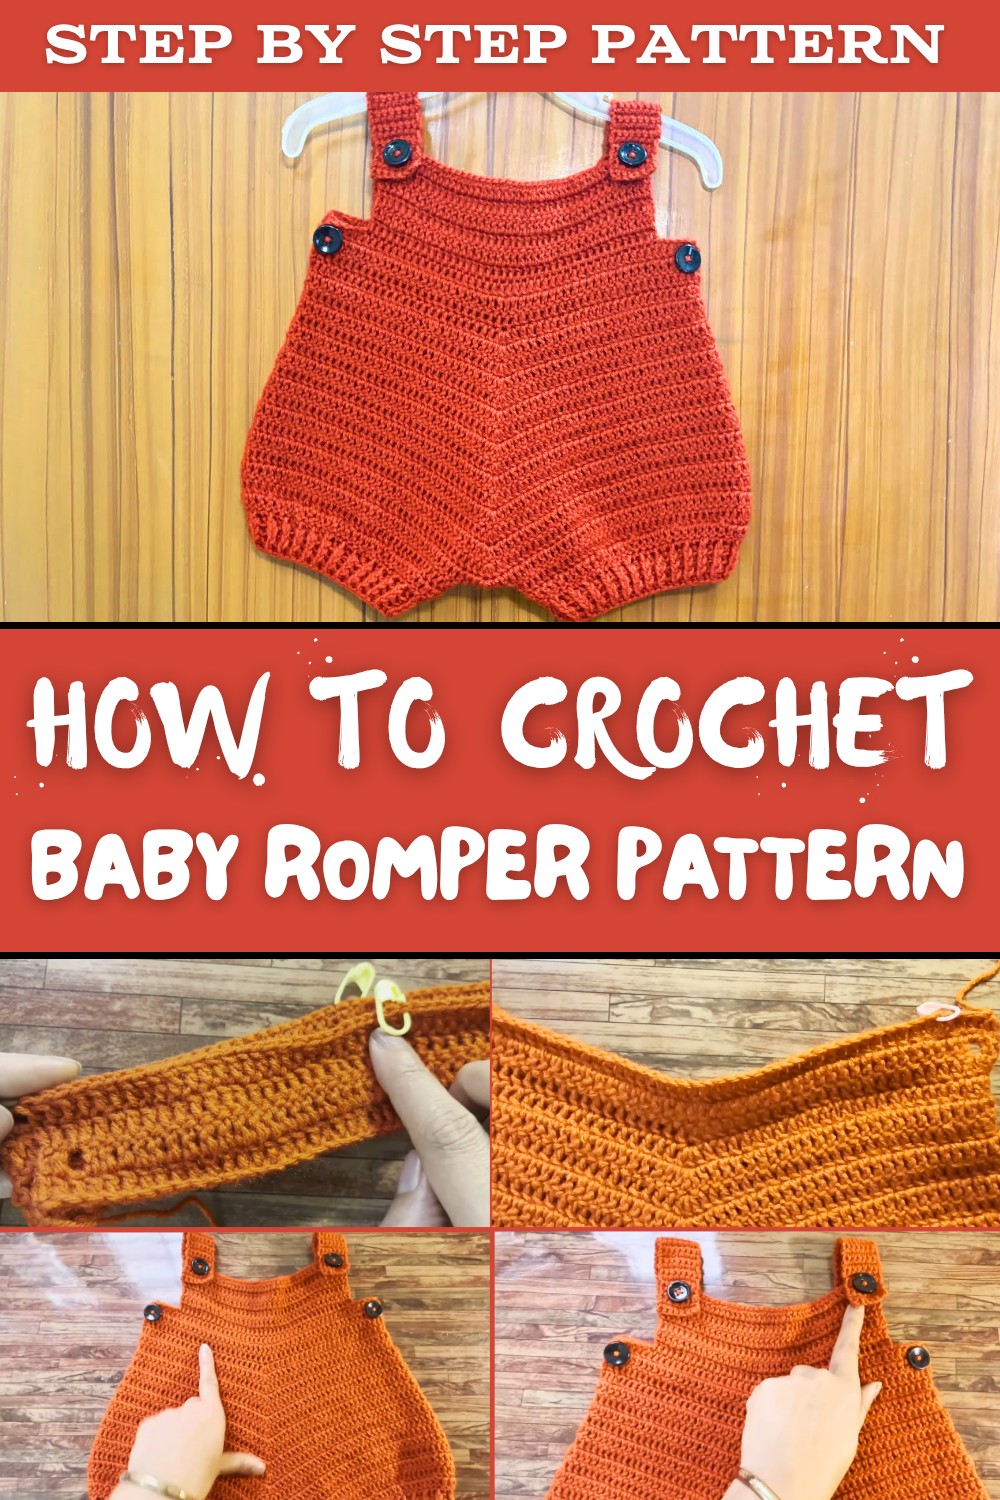
Soft Free Baby Romper Crochet Pattern for Everyday Wear
The Free Crochet Baby Romper Pattern is suitable for those with some basic crochet experience, especially intermediate crocheters eager to practice shaping and working with multiple stitch types. Beginners who are comfortable with foundational stitches might also enjoy the challenge, as this project encourages learning techniques such as increasing and decreasing to shape the romper perfectly.
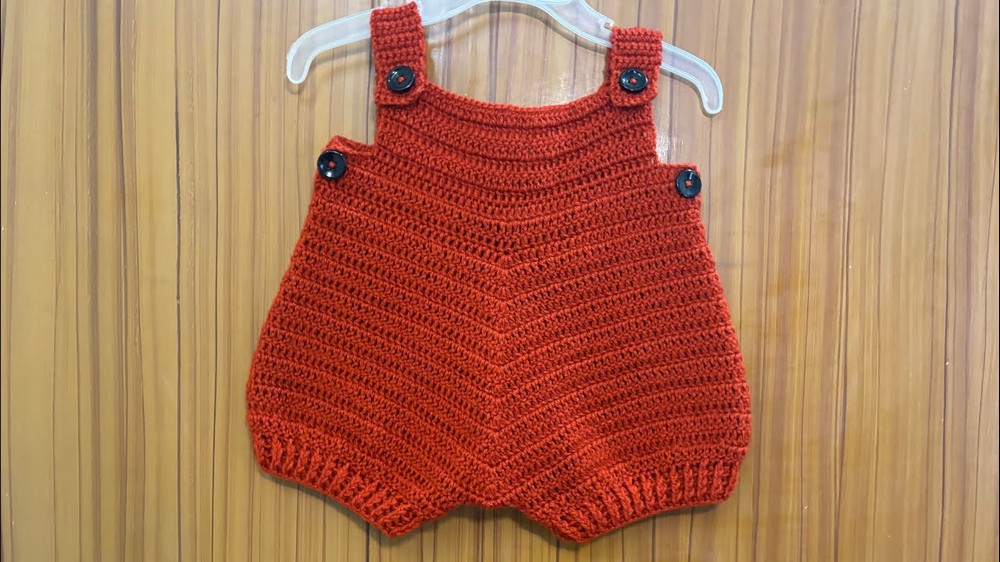
Crocheters tackling this pattern can expect to enhance their skills in garment construction, gaining confidence in creating wearable pieces with functional details. Beyond crocheting a beautiful outfit, you'll develop a deeper understanding of sizing and fit, which is valuable for future clothing projects. Overall, this baby romper is a lovely way to blend creativity and care through every stitch.
Crochet Baby Romper Pattern (12-18 Months)
This timeless crochet baby romper pattern is designed specifically for toddlers aged 12 to 18 months and uses a 3mm crochet hook with approximately 100 grams of yarn. The baby romper is worked in multiple parts - starting with the back and front pieces, joined and crocheted in rounds to form the lower body, followed by shaping the legs and finishing with the upper straps and button closures. This detailed, step-by-step guide mirrors the tutorial and ensures every stitch, row, and detail is covered. The pattern combines basic stitches such as double crochet, chain stitches, and post stitches to craft a comfortable and stylish romper that offers both function and flair for little ones.
Quick Overview of the Pattern
- Construct the back piece using chains and rows of double crochet (dc) stitches.
- Crochet the front piece similarly with an added row forming buttonholes.
- Join front and back pieces and work continuously in rounds, increasing stitches to shape the romper.
- Divide at the thigh to work leg openings separately with additional increases and decreases.
- Add textured borders using front post and back post double crochets (fpdc and bpdc).
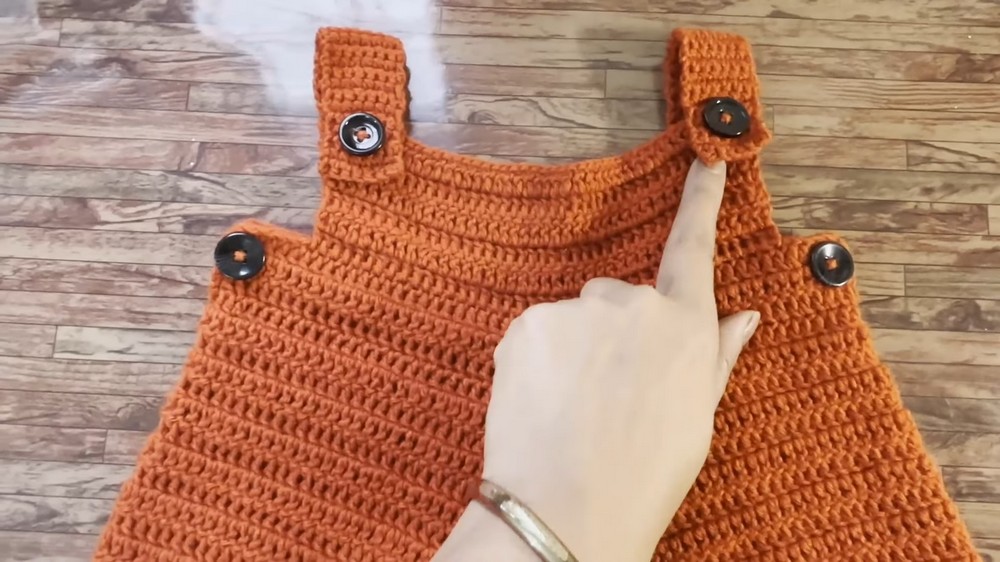
- Create comfortable, decorative upper front and back straps, including a functional buttonhole row.
- Assemble by sewing on buttons and weaving in yarn ends.
Notes
- Precise stitch counts and row numbers are critical for correct sizing.
- Buttonholes are worked by chaining and skipping stitches to form openings without gaps.
- Increases at corners through multiple double crochets into single stitches help shape the romper for fit.
- Decrease rounds taper the leg openings for a snug, comfortable fit on the ankle.
- Textured post stitches add elasticity and a finished look to the edges.
- Weaving in ends securely will prevent unraveling, especially with baby wear.
Skill Level
Intermediate
Skills required:
- Chain stitch (ch), double crochet (dc)
- Working row after row maintaining stitch counts
- Working in rounds
- Increasing stitches by multiple doubles in one stitch
- Working buttonholes by chaining and skipping stitches
- Decreasing stitches (dc2tog style)
- Front post and back post double crochet techniques
- Sewing buttons and finishing edges neatly
Materials
- Approx. 100 grams of baby-friendly yarn (soft, washable)
- 3 mm crochet hook
- Tapestry needle for sewing and weaving ends
- Buttons (small, baby-safe)
- Scissors
Measurements / Sizing (Optional Schematic)
- Designed for 12 to 18 months toddlers.
- Back panel chain foundation: 65 chains (63 dc stitches wide).
- Front panel chain: 55 chains (53 dc stitches wide).
- Romper length and sleeve width adjustable by adding/removing rows.
- Leg openings sized appropriately to fit toddler legs snugly but comfortably.
- Strap width about 7 stitches; length controlled by row count and buttonhole placement.
Gauge
- Gauge: Approximately 18 double crochets and 8 rows = 10 cm (4 inches) with 3 mm hook and yarn used, ensuring correct romper dimensions.
- Gauge may vary with yarn type; adjust hook size as needed before starting the project.
Stitch Abbreviations
- ch - chain
- dc - double crochet
- fpdc - front post double crochet
- bpdc - back post double crochet
- sl st - slip stitch
- st(s) - stitch(es)
- tog - together (decrease)
Special Stitches
Front Post Double Crochet (fpdc)
- Yarn over, insert hook around post of stitch from front to back to front, yarn over, pull yarn around post, yarn over, pull through two loops twice.
Back Post Double Crochet (bpdc)
- Yarn over, insert hook around post of stitch from back to front to back, yarn over, pull yarn around post, yarn over, pull through two loops twice.
Double Crochet Two Together (dc2tog) - Decrease
- Yarn over, insert hook into next stitch, yarn over, pull through loop (3 loops on hook)
- Yarn over, pull through 2 loops
- Yarn over, insert into next stitch, yarn over, pull through (4 loops on hook)
- Yarn over, pull through 2 loops
- Yarn over, pull through remaining 3 loops
Pattern Instructions
Part 1: Back Piece
- Foundation Chain: Make a slip knot and chain 65.
- Row 1: Skip the first 3 chains, then work 1 double crochet (dc) in the 4th chain and in each chain across - total 63 dc. Turn.
- Rows 2-3: Chain 3 (counts as first dc), turn, and work 1 dc in each stitch across maintaining 63 stitches total per row. Fasten off after completing 3 rows.
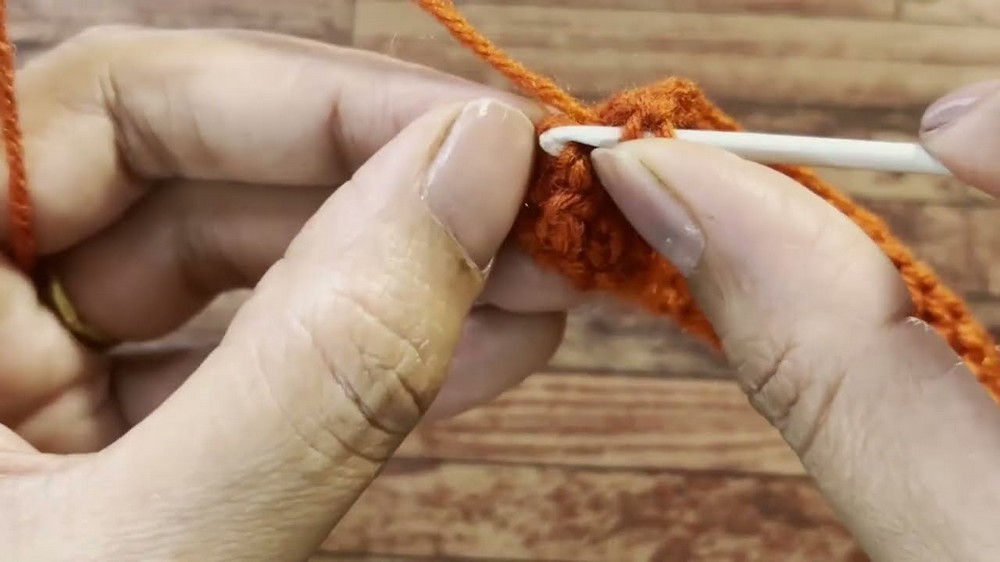
Part 2: Front Piece
- Foundation Chain: Chain 55.
- Row 1: Skip the first 3 chains; work 1 dc in the 4th chain and each across (53 dc total). Turn.
- Row 2 (Buttonhole Row): Chain 3 (counts as dc), turn. Work 1 dc in the next stitch. Chain 1 (skip 1 stitch). Then work dc in each stitch across until 3 stitches remain. Chain 1, skip 1 stitch, and dc in the last two stitches.
- Row 3: Chain 3 (counts as dc), turn. Work 1 dc in every stitch and in each chain-1 space across to maintain 53 stitches. Fasten off.
Part 3: Joining and Lower Body
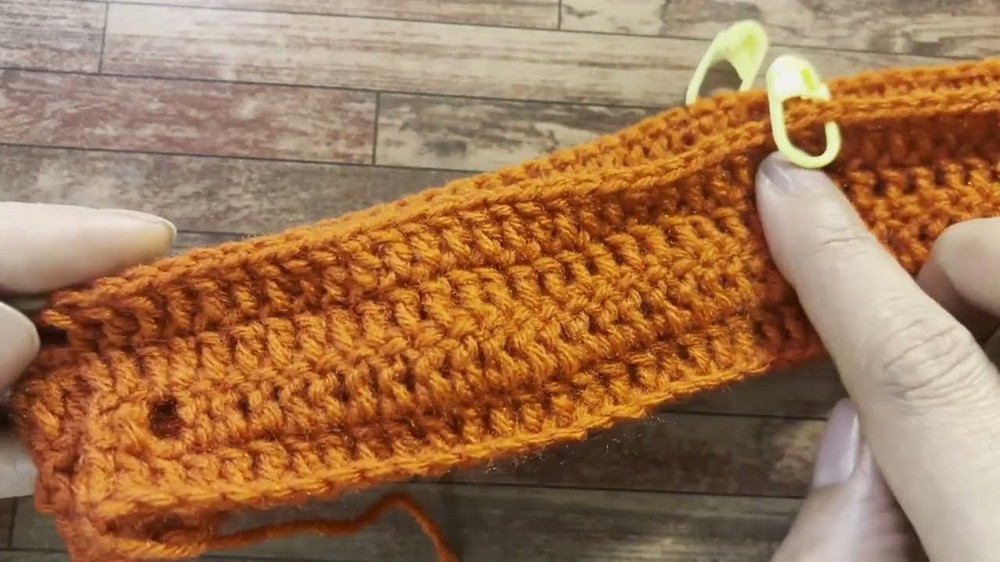
- Joining the Pieces: Place front and back pieces together with right sides facing out. On the shorter front piece, skip the first 5 stitches, join yarn at the 6th stitch aligning it with the longer back piece. Chain 3 to begin working.
- Working in Rounds: Continue crocheting around the joined edges. At corner points, work increases by crocheting 3 dc in the same stitch. Continue rounds and increase at designated corners to grow the romper size evenly.
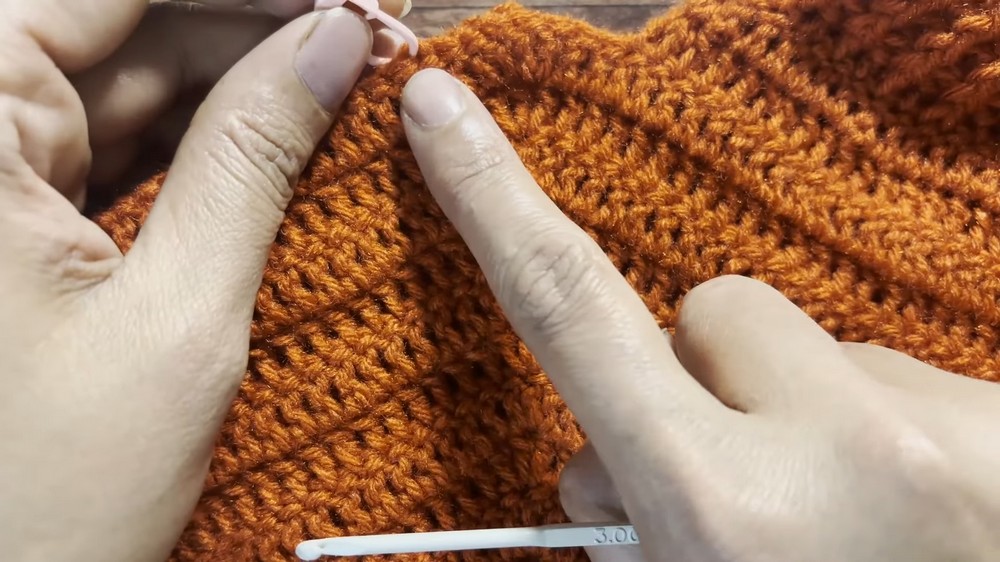
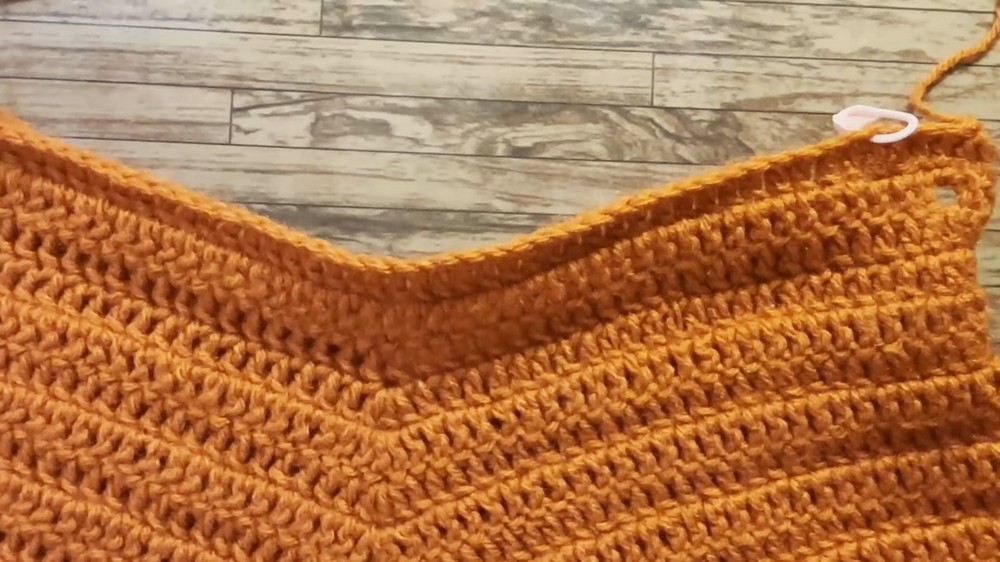
- Leg Separation: After completing 19 rounds total, begin leg openings by marking center stitches to create separation, leaving 3 stitches between markers. Separate the work into two legs by joining at these marked sections and proceeding to work on legs individually.
Part 4: Leg Finishing
- Decreasing:
- Row 21: Begin decreasing by working a dc2tog decrease every 6th and 7th stitch to slim the leg holes.
- Row 22: Continue decreasing by working dc2tog every 5th and 6th stitch to further shape the leg cuff.
- Borders: Work 3 rows of textured border stitches alternating front post double crochet (fpdc) and back post double crochet (bpdc) stitches to create flexible ribbing along the leg cuffs.
- Repeat Process: Follow the same decreasing and border steps for the second leg.
Part 5: Upper Straps and Finishing
- Upper Front: Join yarn to the center front panel, leaving space for buttons. Work 6 rows of double crochet across the central 41 stitches to form the upper band.
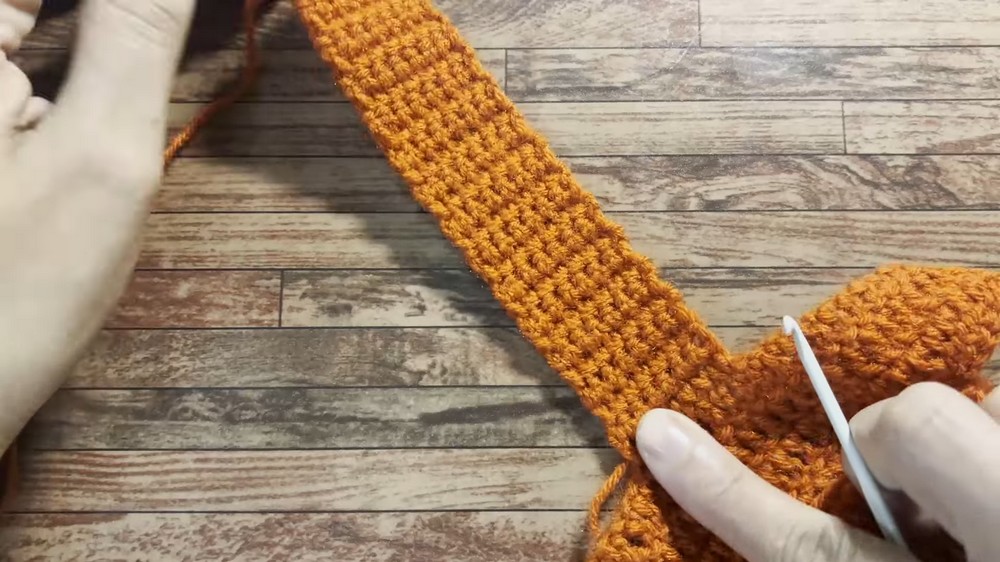
- Back Straps: Work 7 stitches across the back side straps for 29 rows. On row 30, create a buttonhole by chaining 3, skipping 3 stitches, and then single crocheting across the remainder of the row.
- Final Assembly: Attach the other back strap symmetrically. Sew buttons at corresponding buttonhole positions on the front. Weave in all yarn ends securely.
Assembly & Finished Size
- Romper fits toddlers 12-18 months, sized by yarn choice and hook.
- Leg openings tapered with decreases and ribbed borders for comfort and style.
- Straps are functional for easy dressing and closing with buttons.
- The romper is flexible in length and width, enabling adjustment during construction.
Conclusion
This baby romper pattern blends practical construction with delicate crochet technique suitable for experienced crocheters aiming to craft heirloom-quality toddler clothing. Featuring textured borders, tailored leg cuffs, and well-placed buttonholes, the camper-style romper combines style and comfort. Careful stitch count monitoring and proper blocking will enhance the finished garment's fit and drape.
Following this pattern gives crocheters the satisfaction of constructing an adorable, wearable piece with multi-step assembly that highlights traditional stitches working together harmoniously. The romper is an ideal gift or a treasured addition to any baby wardrobe.