
Top Trending Free Crochet Autumn Leaf Winter Hat Pattern
Capture the feeling of autumn with this free crochet autumn leaf winter hat pattern that combines cozy warmth comfort and effortless seasonal style.
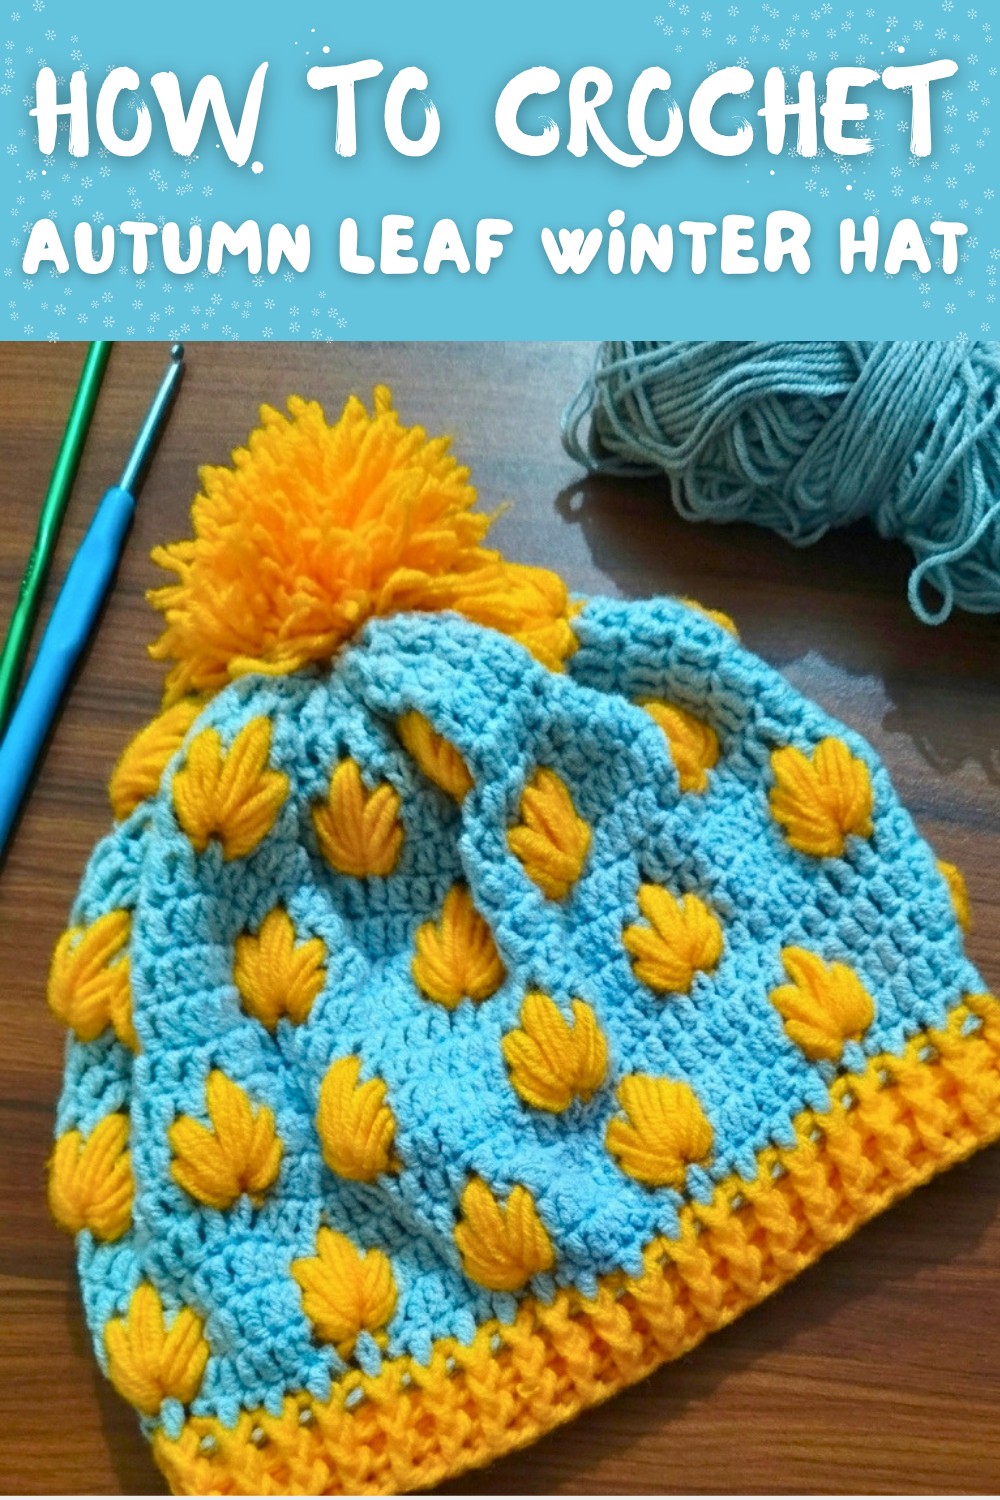
This hat is just what you need to add warmth and style to your winter wardrobe. It showcases a unique autumn leaf design, making it a standout accessory for the colder months. It is designed for children, but with simple adjustments to the size, it can be styled for teens and adults as well, making it versatile and useful for all ages. This winter hat is not just warm but also incredibly stylish. The autumn leaf design, made with rich colors like orange and light blue, gives the hat a bold and stunning look. The leaves are created using special loops and stitches, adding a textured and decorative feel to the hat's surface.
Free Crochet Autumn Leaf Winter Hat for Cold Days Ahead
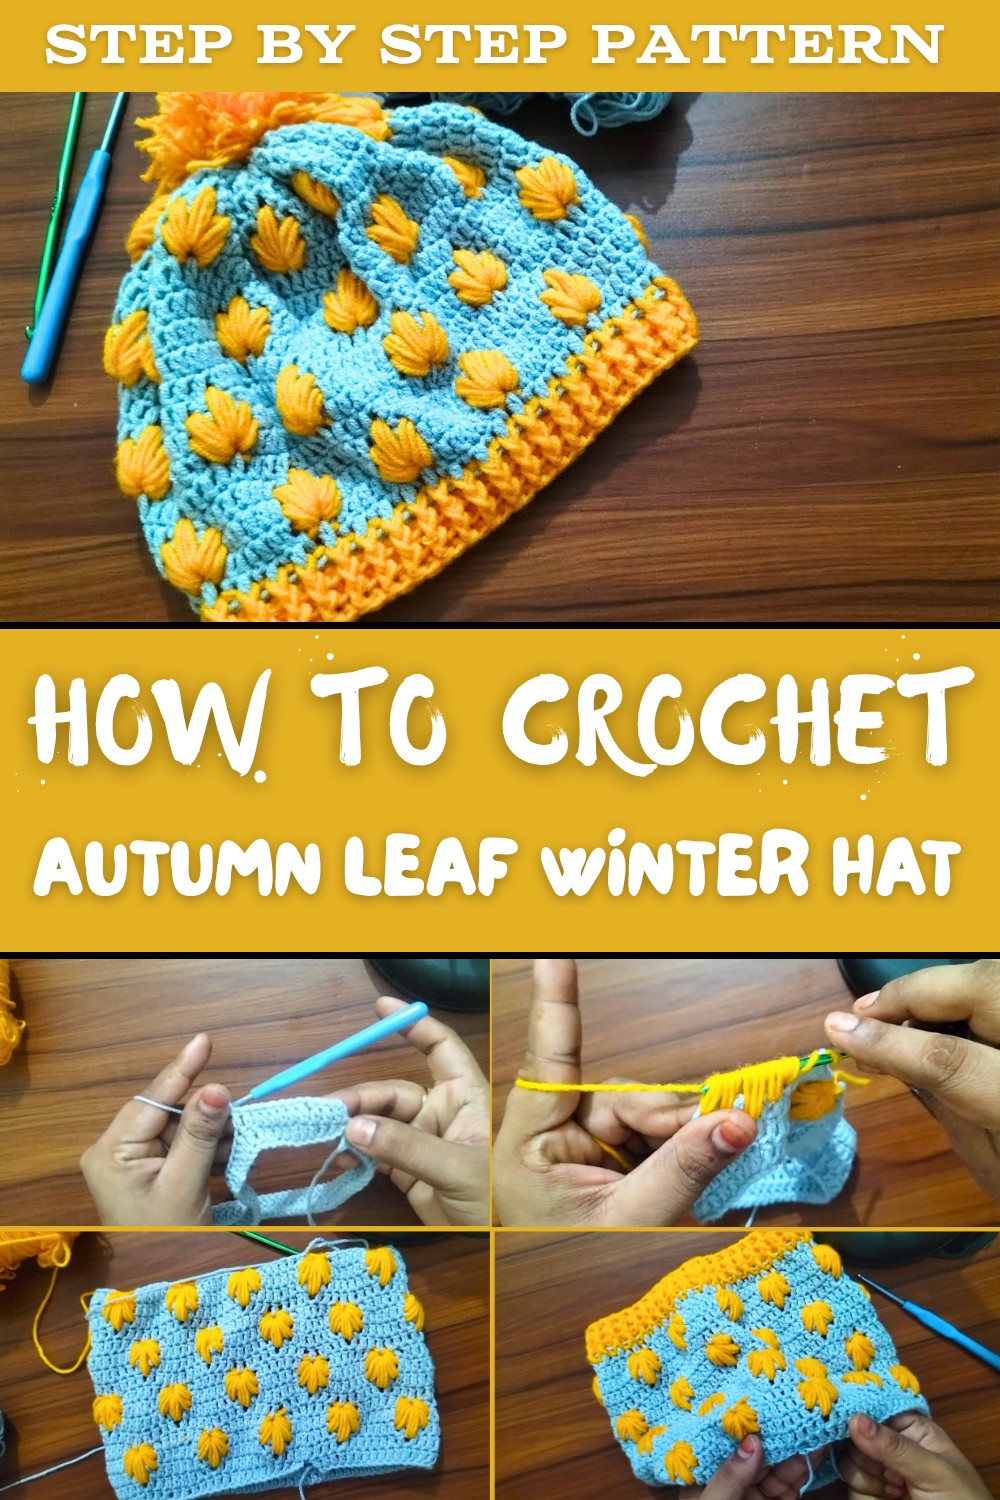
The ribbed border, worked in front-post and back-post crochet stitches, provides structure and durability while ensuring the hat fits snugly. The bright colors make it cheerful and fun, making it an ideal winter accessory for kids who enjoy playful designs. It's great for everyday wear, family outings, or even special occasions during wintertime. The addition of a pom-pom at the top can make it even cuter and personalized for whoever wears it.
This pattern is easy to follow, and the materials are simple, with options to use 3 ply or 4 ply yarn for an adjustable look and feel. It can be finished quickly, making it a rewarding project for crochet lovers. Whether you're crocheting for kids or your loved ones, this design is bound to grab attention and compliments.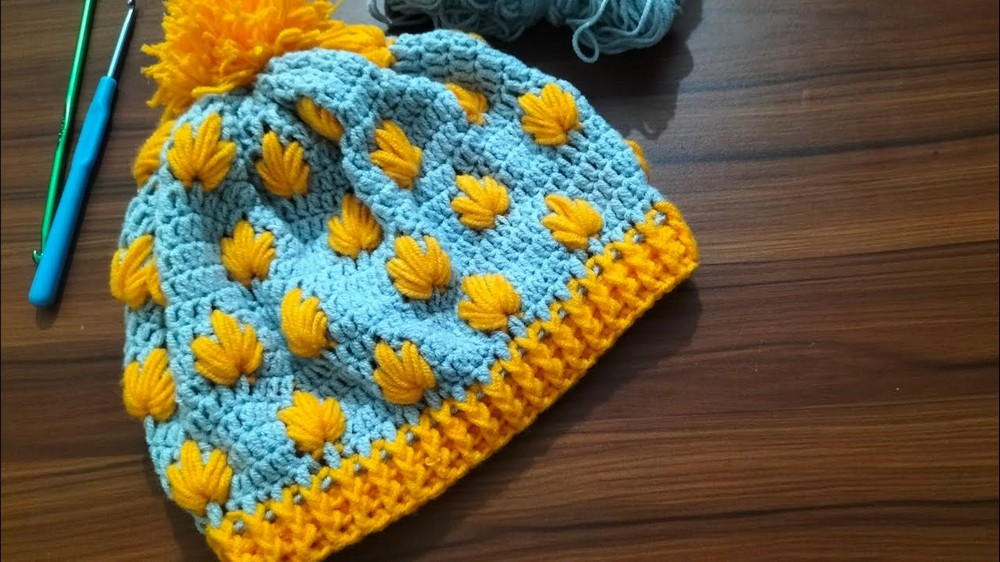
Materials Needed
- Yarn:
- Orange color: 4-ply yarn.
- Light blue color: 3-ply yarn.
- Note: If both yarns are 4-ply, that will simplify the project further. A 3-ply yarn was used because it was available during filming.
- Crochet Hooks:
- Steel hook (recommended for precision).
- 3.5mm hook (used for the light blue yarn).
- 4mm hook (used for the orange yarn).
- Measuring Tape: To check hat circumference.
- Scissors: For cutting yarn.
- Stitch Chart or Diagram: Check the chart provided in the video for guidance on adult or child sizing.
- Pom-pom Maker (Optional): To finish the hat.
Steps for the Crochet Pattern
1.Step 1: Start with a Chain
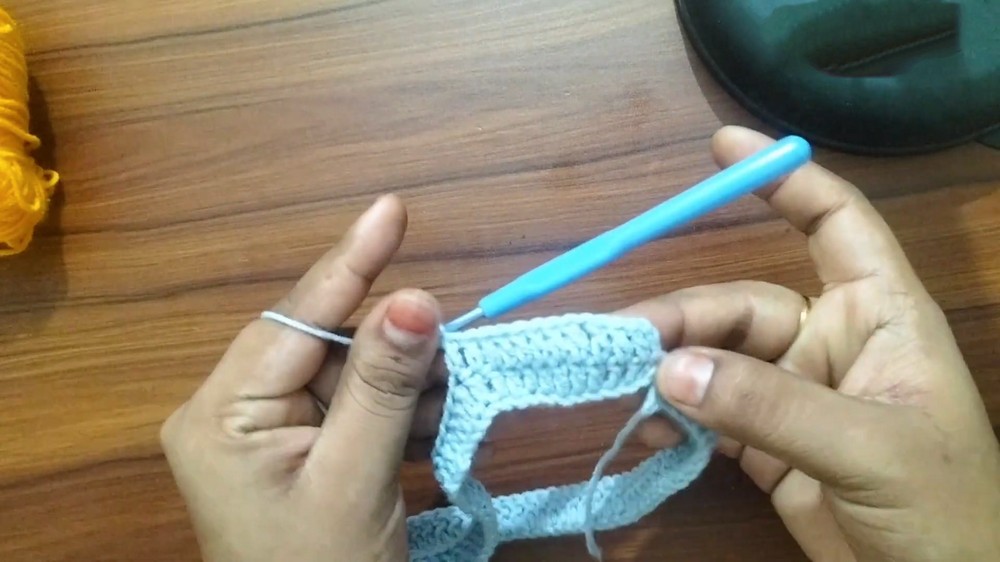
- Begin by determining the circumference of the hat. For this demonstration, the head circumference is 18 inches, suitable for a 2-3-year-old child.
- Create a foundation chain of 80 chains using the blue yarn and a 3.5mm hook. Adjust the number according to the desired size.
- After completing the chain, pull lightly with the measuring tape to confirm it matches the head circumference (18 inches). If you make the chain directly without stretching, the hat might turn out looser.
2.Step 2: Double Crochet Round
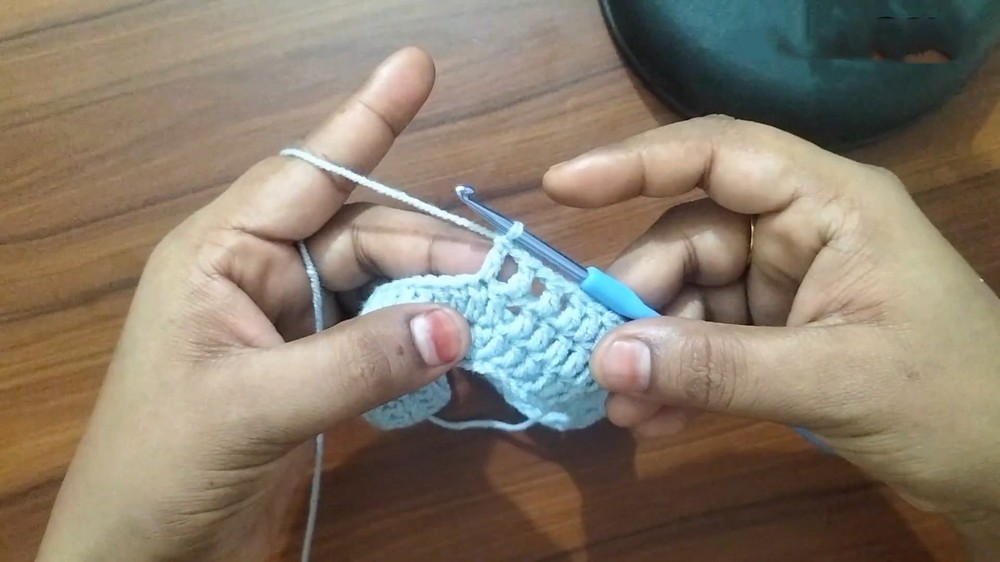
- At the end of the foundation chain, create 2 extra chains (these act as the turning stitches).
- Skip the first 2 chains and double crochet into the third chain.
- Continue making double crochets into each chain until the end of the row.
- Join the last stitch with the first chain to form a circular shape (ensure you join on the correct side for an even circle).
- After completing this round, start the next row with 3 chains, representing the height of the double crochet.
3.Step 3: Stitch Patterns for Following Rows
Row 2:
- Double crochet in the next 4 stitches.
- After completing 4 double crochets, create 1 chain and skip 1 stitch. This chain provides a gap, creating the base for the decorative stitch.
- Follow the same pattern:
- 4 double crochets → 1 chain → skip 1 stitch.
- When you complete the round, join the last stitch with the starting chain.
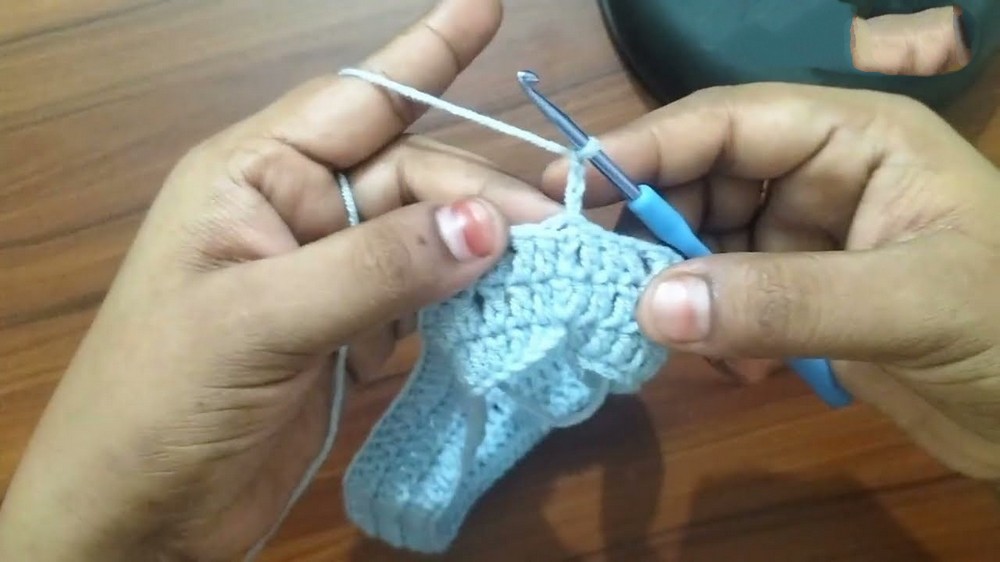
Row 3:
- Begin with 3 chains and proceed to double crochet as usual.
- In this row, increase the chain gaps to 3 chains between sections of double crochets.
- Skip stitches beneath the chain gaps but maintain the alignment of the double crochets from the previous row.
Row 4:
Follow the same pattern as Row 3, ensuring all gaps created by the chains stay consistent in placement.
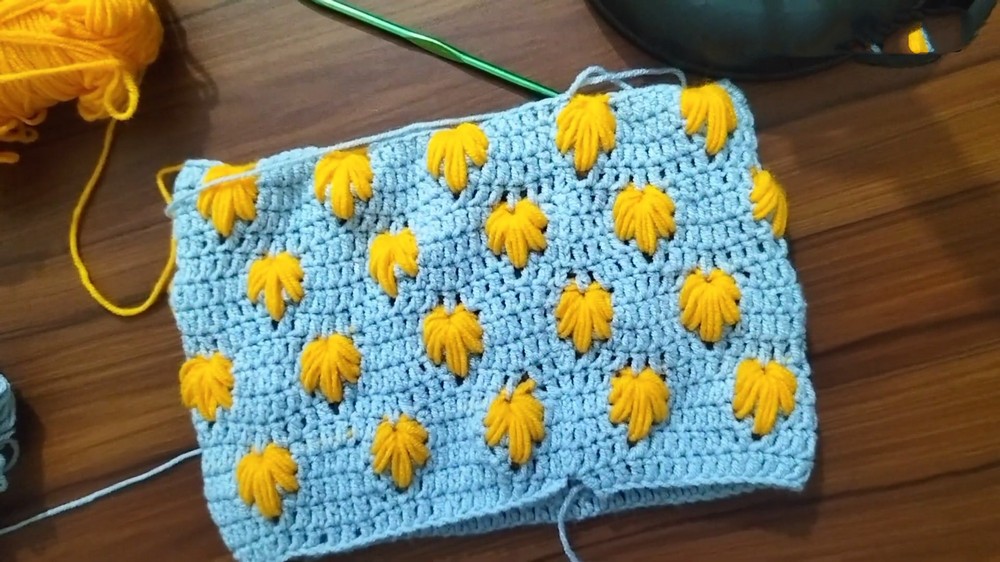
4.Step 4: Adding Decorative Leaf Pattern
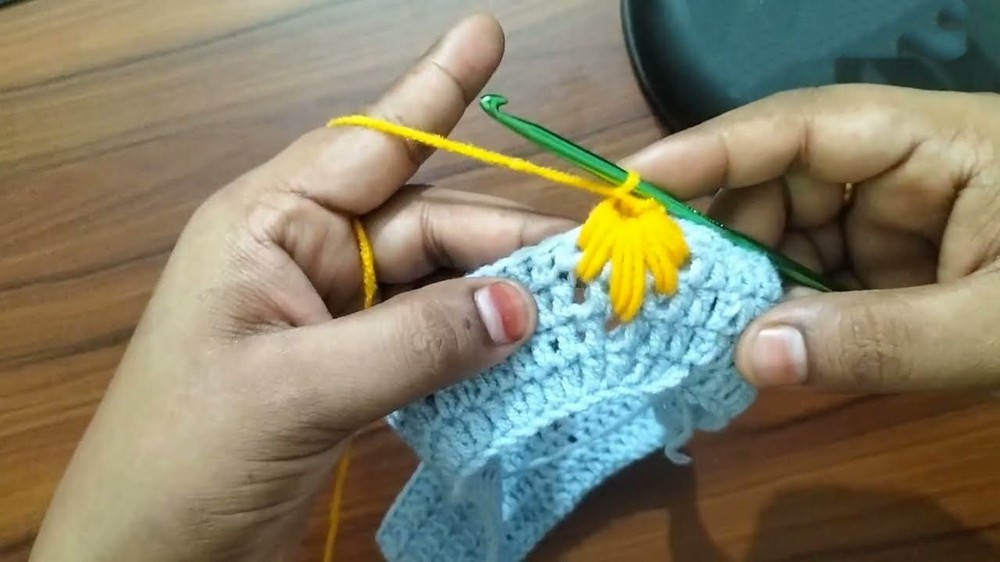
- For the leaf decoration, switch to the orange yarn.
- Change to the 4mm hook, as orange yarn is thicker (4-ply).
- To form the leaf pattern:
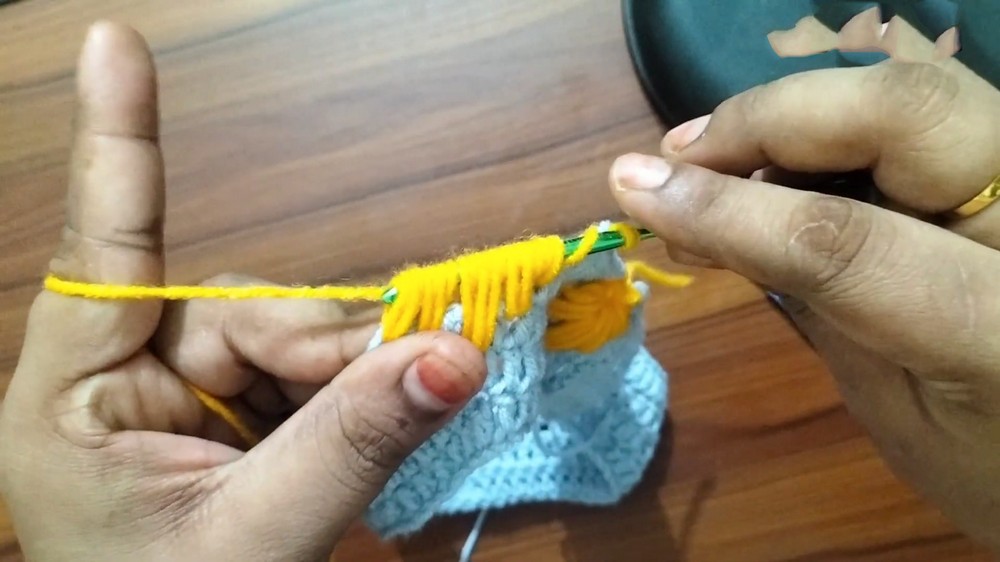
- Insert the hook into the gap spaces created across the rows (spaces where chains are present).
- Pull loops gently as instructed:
- Side gaps: Pull twice as double crochet loops.
- Center gaps: Pull thrice as double crochet loops.
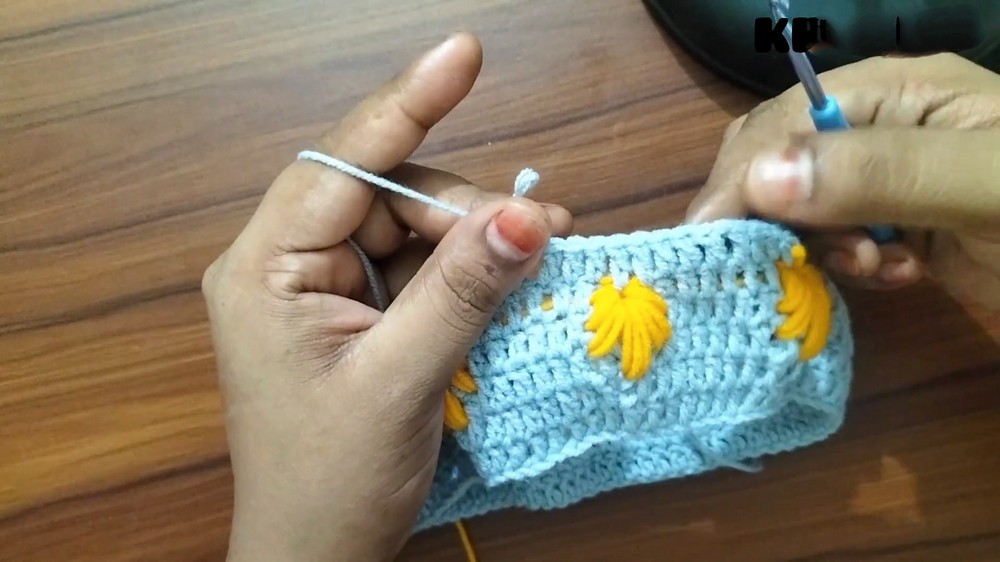
- Focus on maintaining a rounded leaf-like shape when completing loops around the chain gaps.
- Ensure the orange yarn integrates smoothly into the blue base.
5.Step 5: Continue Rows with Leaf Patterns
- Repeat the process for forming leaves in gaps across the fabric.
- Between each leaf motif, continue double crochet stitches with the blue yarn and maintain six double crochets between leaf motifs.
6.Step 6: Border Work (Final Rows)
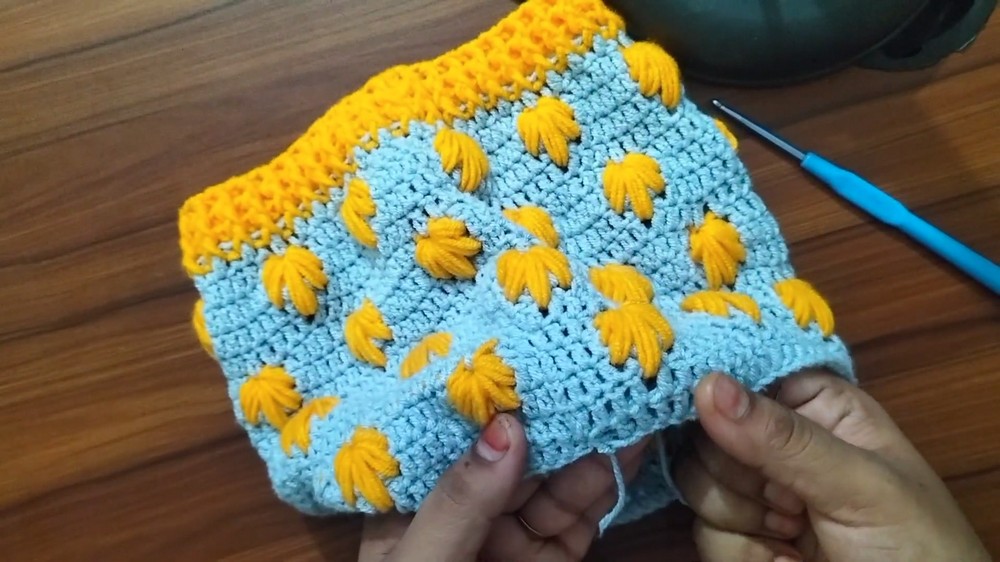
- Switch to the orange yarn to create a border for the hat.
- Use front-post and back-post stitches for a ribbed effect:
- Begin with 3 chains for elevation.
- Alternate between front-post and back-post stitches, wrapping the working yarn around the post of each double crochet from the previous row.
- Repeat for 3 rounds to form a sturdy and decorative border.
- Adjust the number of border rounds if you prefer a wider decorative edge.
7.Step 7: Closing the Top of the Hat
- Once the desired number of rows is complete, close off the top:
- Secure the stitches at the very top by sewing them tightly together.
- Use a needle to invisibly join the stitches, ensuring there are no gaps.
- Ensure the top of the hat is firmly secured to create a flat and neat finish.
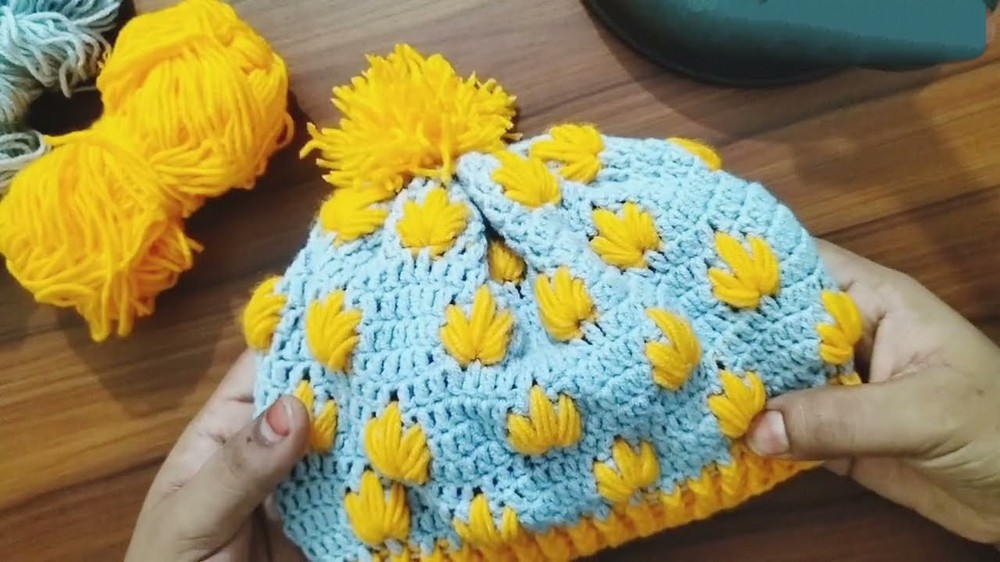
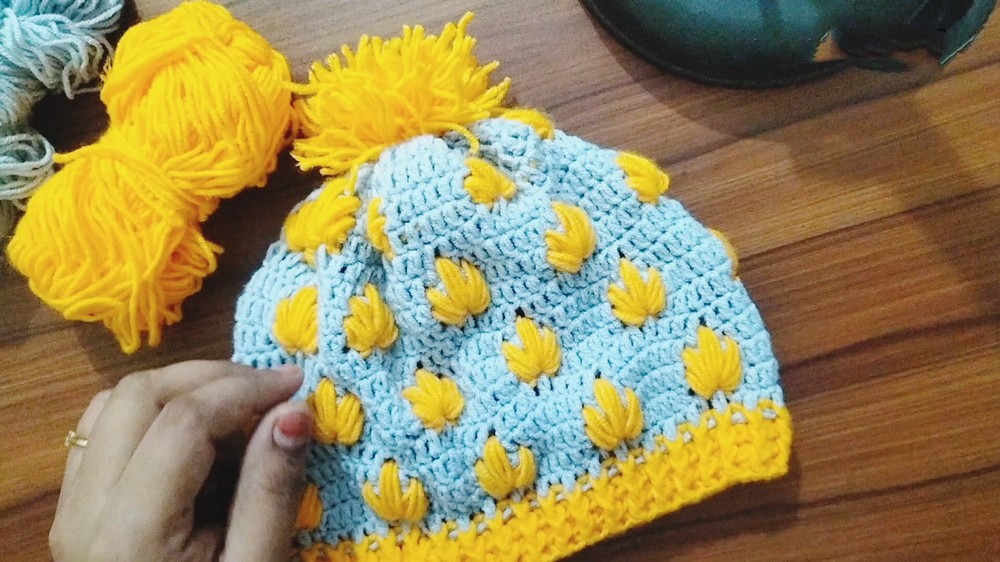
8.Step 8: Add a Pom-Pom (Optional)
- Create or attach a pom-pom to the top of the hat for a playful look.
- Use leftover orange yarn or a contrasting yarn color to make the pom-pom.
Tips for Maintaining the Pattern
- Yarn Choice: Always ensure yarn consistency when making the hat. If you switch yarn types (i.e., from 3-ply to 4-ply), match hook sizes for a smooth outcome.
- Tightness of Stitches: Avoid overly tight stitches, particularly when pulling loops for the decorative leaf pattern. Keep your hands relaxed for a uniform finish.
- Sizing Adjustments: Increase or decrease the number of chains based on the head circumference required. For adult sizes, refer to the chart provided.
- Joining Stitches: Ensure precise joining of chains and rounds to avoid uneven edges and distortion.
Final Words
This winter hat pattern combines simplicity with elegance, making it a versatile choice for children and adults alike. The decorative leaf motif adds charm, while the ribbed border gives a professional finish. Beginners can confidently tackle this project, and even advanced crocheters will enjoy experimenting with colors and yarn textures.
Enjoy the process of creating this unique, cozy hat, and don't forget to share your results. Crochet is not just a project; it's an expression of creativity and love.