
Unique Free Crochet Scarf Pattern That's So Stylish
Create your own warm and cozy scarf with this free and simple crochet pattern, perfect for adding a splash of style to cold weather outfits.
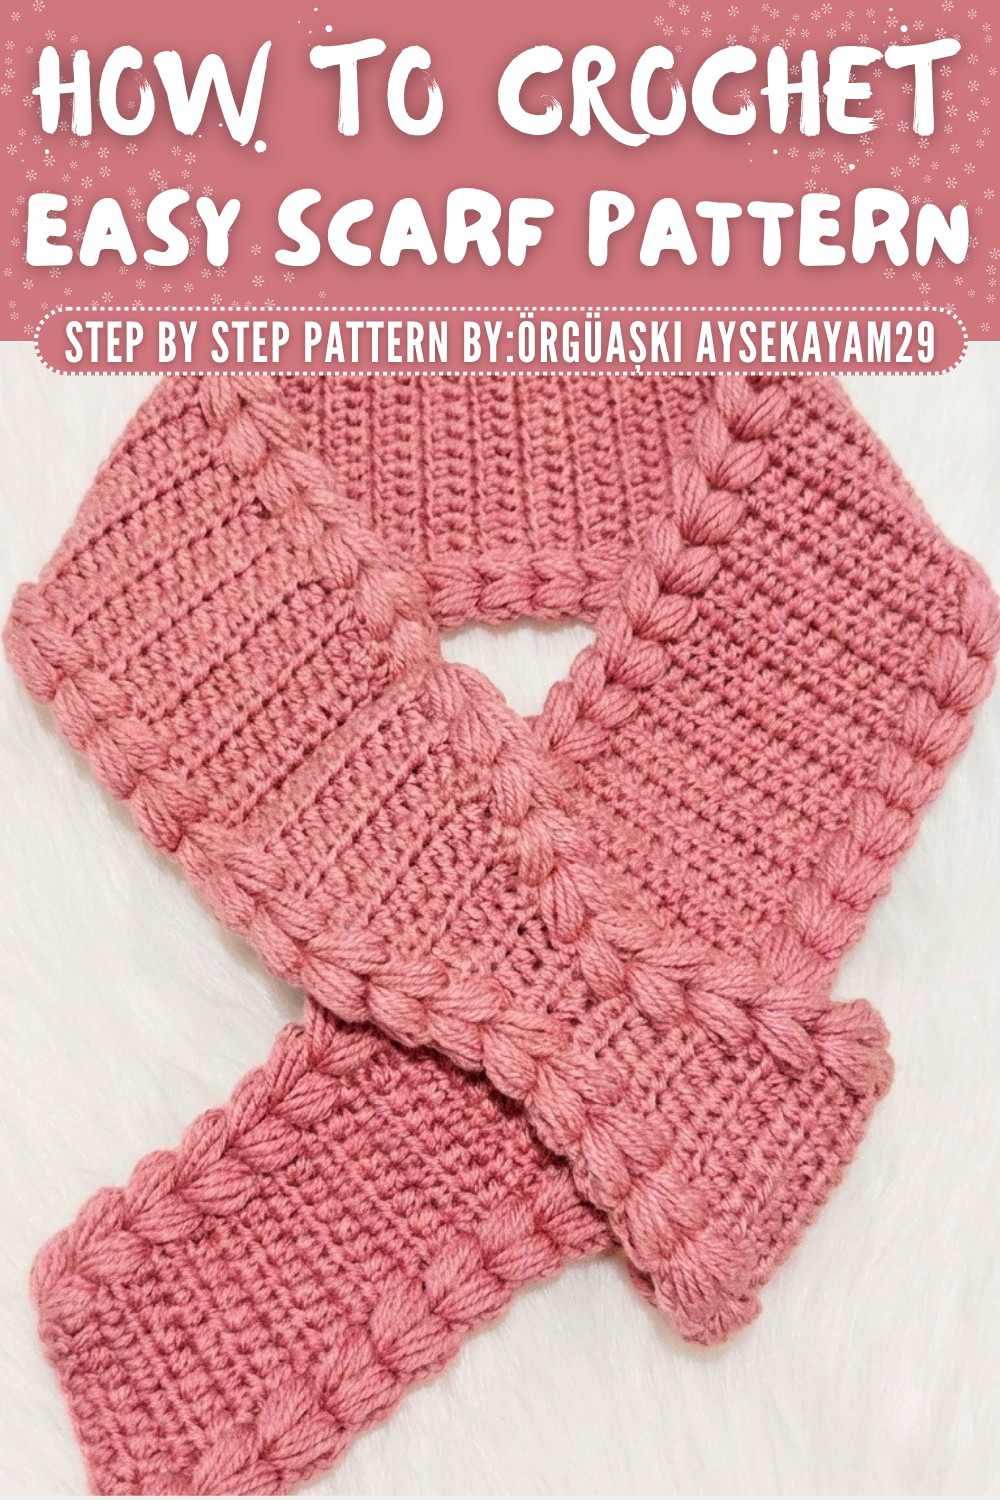
There's nothing like wrapping up in a scarf that feels cozy and looks effortlessly stylish. This free easy crochet scarf pattern is all about texture, versatility, and comfort, making it perfect for chilly mornings, brisk walks, or even as a thoughtful gift. With a simple rectangular design that features eye catching puff stitches alongside smooth half-double crochet rows, it balances softness with a clean, structured look that works beautifully for everyday wear.
Easy Crochet Scarf Pattern to Keep You Warm

The standout feature of this scarf is its geometric, diamond-inspired detailing, which adds visual interest without making the process overly complicated. Puff stitches lend a gentle, dimensional feel, while the half double crochet sections keep the fabric sturdy yet soft. The combination results in a lightweight yet warm accessory that's easy to style, loop it casually over a sweater or wrap it up snug for colder days.
Customization is simple. Add more rows for extra length or keep it shorter for a slim, everyday version. Worried about yarn choices? Wool blends are perfect for warmth and a touch of stretch, while acrylic and cotton can give it a lighter feel for layering in transitional seasons. Stick with solid colors for a classic look or choose variegated yarns for a playful pop of personality.
This scarf isn't just practical, it carries a sense of charm that makes it great for gifting. Whether for a holiday, birthday, or just to show you care, it's the kind of project that feels personal without being overwhelming. Plus, crocheting it offers the simple joy of piecing together a pattern that's engaging yet relaxing. The combination of shape, texture, and adaptability makes this scarf a go to accessory you'll want to use again and again.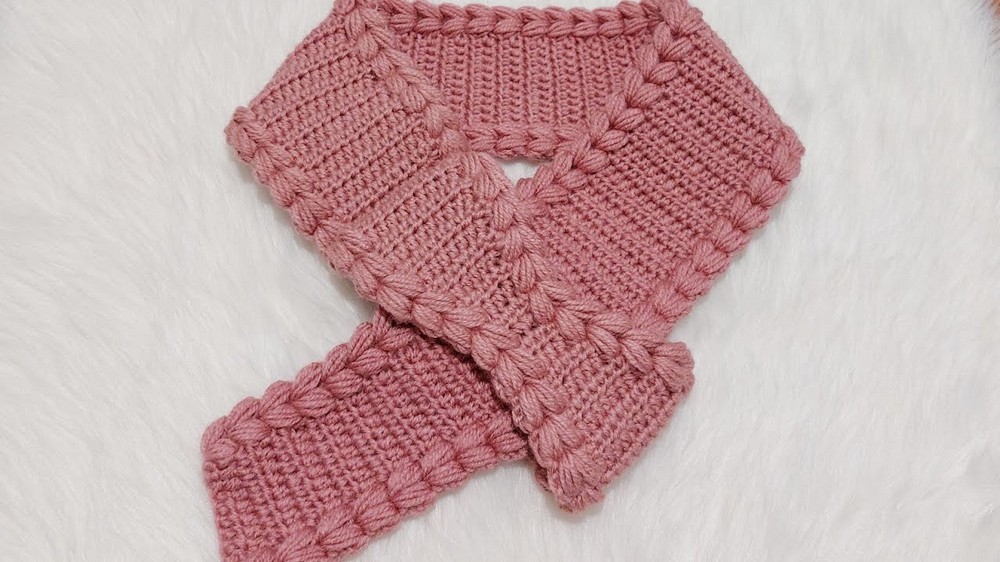
Crochet Scarf Pattern with Puff Stitches and Diamond Effect
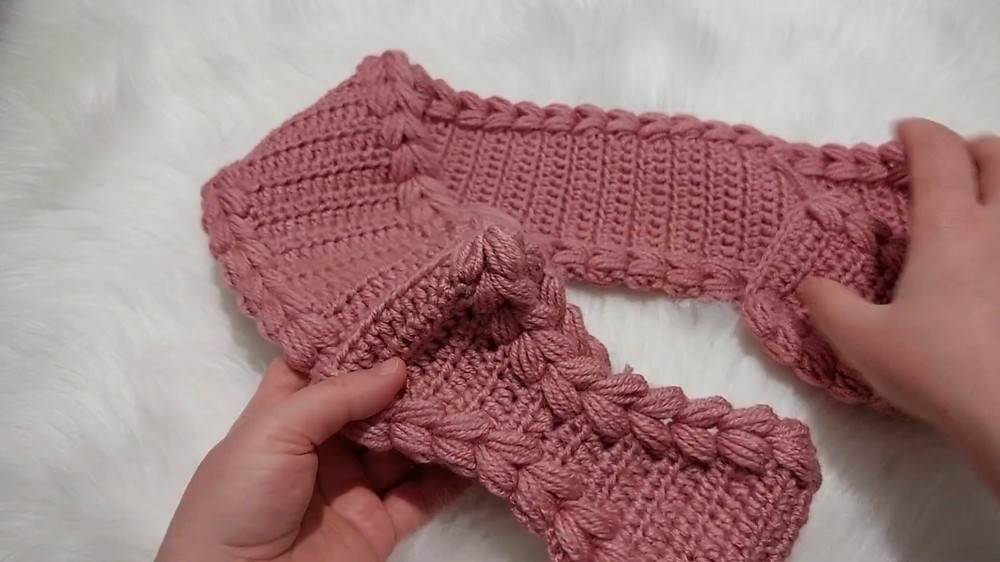
This beautiful scarf features a geometric "baklava" pattern created using alternating puff stitches and half double crochet (HDC) stitches. The design includes sections of gradual increases and decreases, giving it a unique, diamond-like structure. Follow this complete and detailed step by step guide to create this stunning piece.
Quick Overview of Pattern:
- Pattern Style: Rectangular scarf with pistachio-inspired details.
- Main Features: Increases and decreases to create a "diamond slice" motif.
- Key Techniques: Single crochet, double crochet, and creating "peanuts" for texture.
- Skill Level: Intermediate
Notes:
- Follow the instructions carefully for increases and decreases to achieve the desired shape.
- The peanuts form prominent textured patterns, adding elegance to this scarf.
- The design has 2 repeating slices, each made with gradual increases and decreases.
Materials Needed
- Yarn: Wool-blend yarn in your preferred color.
- Hook: 4mm crochet hook.
- Tapestry Needle: For weaving in ends and sewing.
- Scissors: To cut yarn.
Skill Level
Intermediate - Suitable for crocheters who are comfortable with basic stitches, puff stitches, and working increases and decreases.
Stitches and Abbreviations:
- ch: Chain
- sc: Single Crochet
- hdc: Half-Double Crochet
- dc: Double Crochet
- ps: Puff Stitch (four-loop puff stitch)
- dec: Decrease (working two stitches together)
Special Stitch: Four-Loop Puff Stitch (Fıstık)
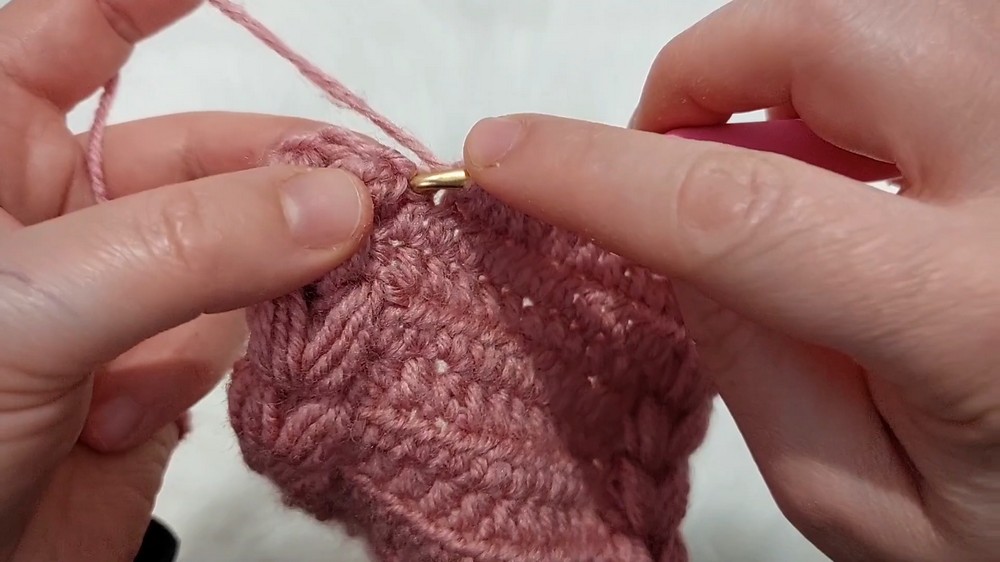
- Yarn over, insert hook into the stitch, and pull up a loop (3 loops on the hook).
- Yarn over, insert hook into the same stitch, and pull up another loop (5 loops on the hook).
- Repeat two more times until there are 9 loops on your hook.
- Yarn over and pull through all 9 loops.
- Chain 1 to secure the stitch.
Step-by-Step Instructions
Foundation Chain
- Chain 12 stitches.
Tip: Keep your chains loose for easier work in the first row.
Base Row
- Into the back loops of the chain, work the following:
- 4 single crochets (sc),
- 4 half-double crochets (hdc),
- 3 double crochets (dc).
- Chain 1 and turn your work.

Puff Stitch Rows
- Begin working four-loop puff stitches (ps) into the designated spaces.
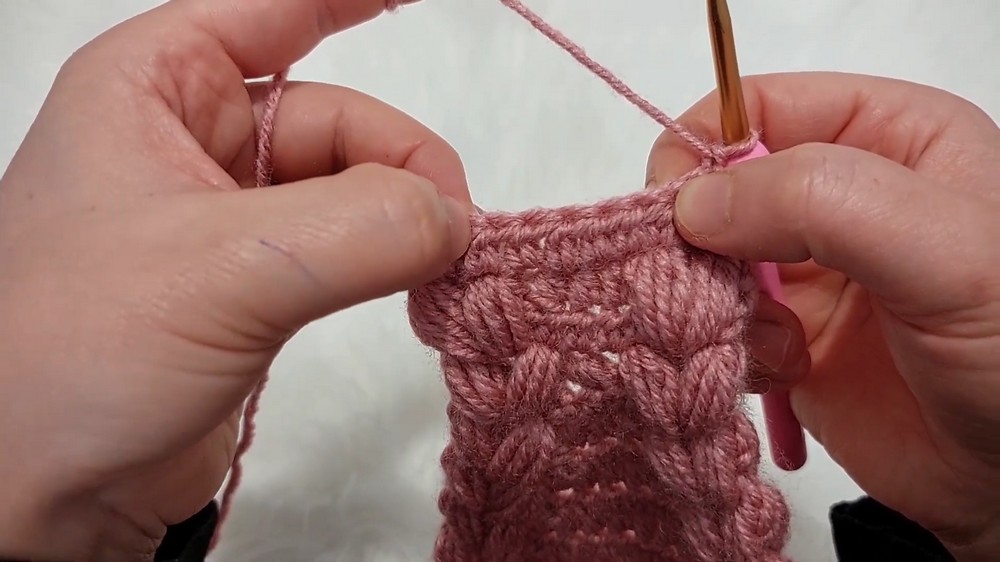
- At the ends of the row, create puff stitches. Between the puff stitches, maintain a consistent number of hdc stitches in the center. Start with 7 hdc in the middle.
- Alternate rows as follows:
- Row 1: Puff stitches on the ends, connected by HDC stitches in the center.
- Row 2: A full row of HDC stitches.
- Ensure puff stitches are loose to avoid pulling the fabric inward.

Increasing Section
- Gradually increase the middle hdc count to expand the scarf.
- Work 7 hdc in the beginning.
- Then increase to 9 hdc, followed by 11 hdc.
- How to increase: Do not skip stitches near the puff stitch sections. Instead, work into every stitch across the row, adding 2 hdc per row as needed.
- Continue alternating puff stitch rows with hdc rows as you increase.
Main Length of Scarf
- Once the center section reaches 11 HDC stitches, maintain this count for the next 86 rows.
- The scarf will now have a long, stable middle section.
- Alternate puff stitch rows and hdc rows consistently.
Decreasing Section
- After completing 86 rows, begin decreasing the middle section:
- First, reduce the middle section from 11 hdc to 9 hdc.
- Continue decreasing to 7 hdc, then 5 hdc, and finally 3 hdc.
- How to decrease: At the start and end of each row, work two stitches together to reduce the count.
- Maintain the order of puff and hdc rows during this process.
Repeat the Diamond Segment
- After completing the first decrease to 3 hdc, repeat the same pattern to create a second diamond segment:
- Increase the center section back to 9 hdc.
- Gradually decrease again to 3 hdc.
- Each diamond segment mirrors the first one, ensuring symmetry in the scarf.
- Alternate between increasing and decreasing to maintain the diamond effect.


Finishing the Scarf
- After finishing the second diamond segment, fasten off your yarn.
- Use a tapestry needle to fold and sew the scarf for the final shape:
- Fold the scarf so the 9 hdc increase points align.
- Sew along the edges to secure the folded sections in place.
- Make sure the scarf lays flat and neat.
- Weave in all loose ends with a tapestry needle for a polished look.

Assembly and Final Dimensions
- Finished Length: Approximately 100-120 cm.
- Finished Width: Approximately 15-20 cm.
- The completed scarf features stunning geometric diamond details, highlighted by the puff stitches and increases/decreases.

Final Words & Tips
- Customization: Add fringes or tassels to the scarf edges for a unique flair. You can make these out of leftover yarn strands.
- Yarn Selection: Opt for soft, lightweight yarn to achieve a flowing and cozy effect suitable for daily wear.
- Stitch Consistency: Keep your tension consistent to ensure a smooth and even texture throughout the scarf. Tight stitches might make working subsequent rows challenging.
- Blocking: For a polished look, block the scarf after completing the assembly. This will help the diamonds lay flat and accentuate their shape.
By following this pattern step by step, you'll have a charming and stylish scarf that can be worn alone or paired with a matching beret. This detailed guide ensures your creation will turn out perfect every time whether you are crocheting it as a gift or keeping it for yourself.
If you enjoyed this pattern, share your finished project or leave feedback. Happy crocheting!