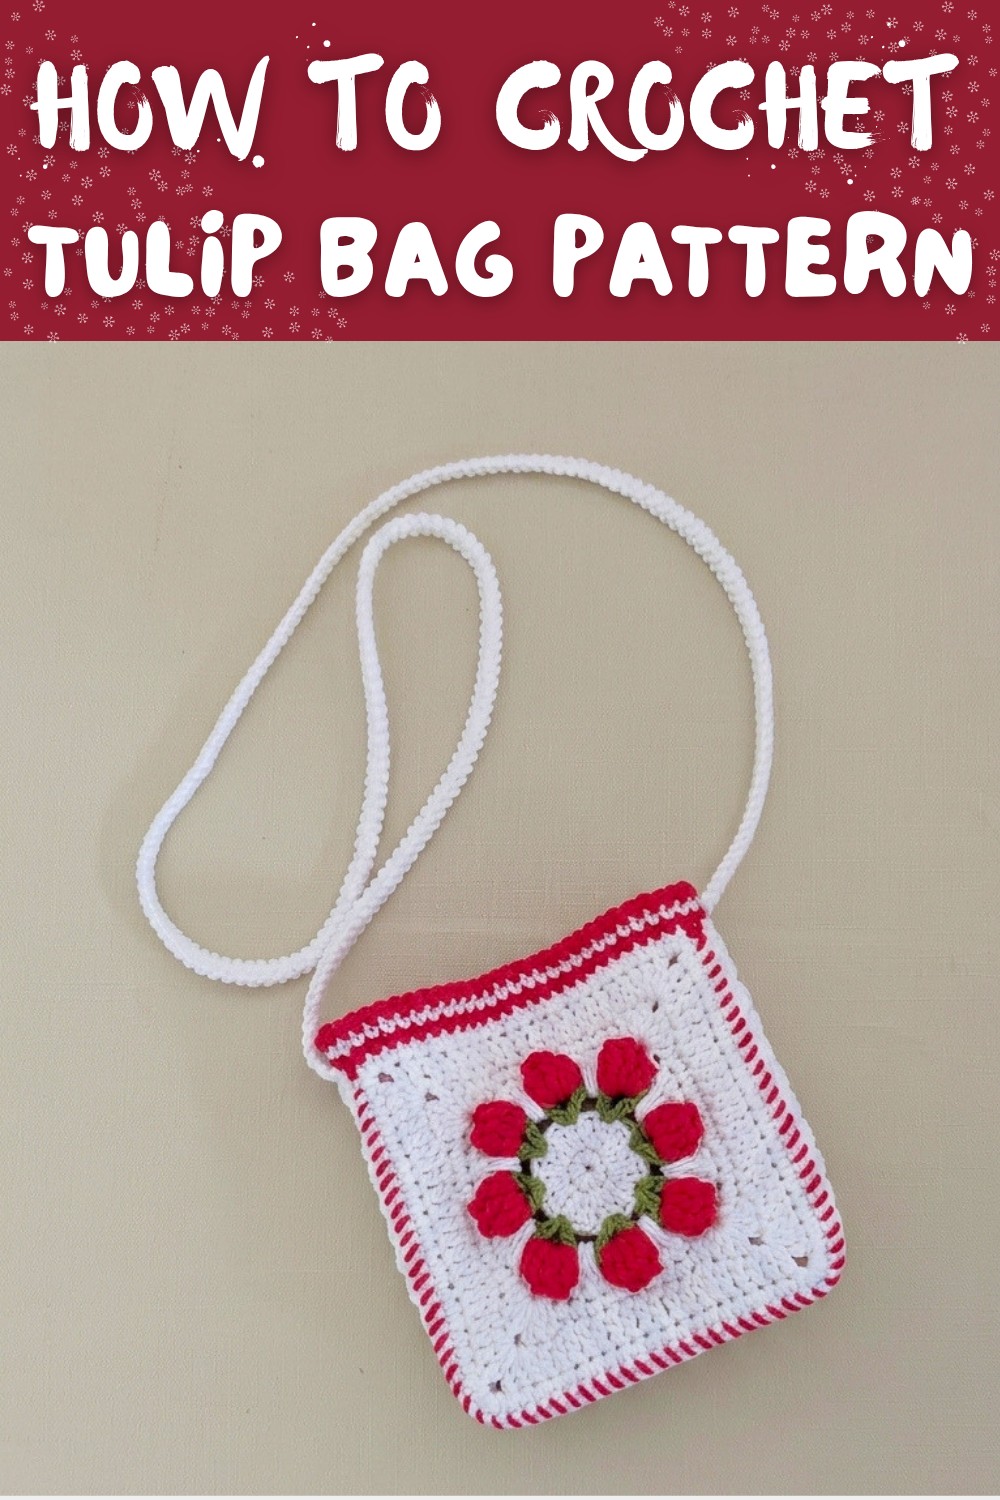
Easy to Make Free Crochet Tulip Bag Pattern to Try
Learn how to make a cute and colorful tulip bag with this free crochet pattern, Ideal for carrying small items and adding a touch of beauty to your outfits.
Fresh blooms are always a source of inspiration in crochet, and this tulip bag captures their beauty in every stitch. Featuring textured tulip motifs nestled on leafy stems, this cross body accessory boasts both elegance and practicality. The structured, rectangular shape is compact yet functional, perfect for holding everyday essentials like wallets, keys, and phones. Its vibrant color palette and dimensional design make it a delightful addition to any wardrobe.
Have Fun with This Free Crochet Tulip Bag Pattern

This project is well suited for anyone who enjoys a playful yet graceful touch in their accessories. Whether you're making it for yourself or as a gift, you'll find plenty of opportunities to customize. Adjustments to size are simple, expand the floral motif panels or increase the gusset's width for a larger bag. Assembly involves sewing two floral panels together using a side and bottom gusset, all topped off with a decorative border that adds a touch of charm.
To keep everything aligned, stitch markers can be helpful during the joining process. The project was inspired by the joy of spring gardens, filled with rows of vibrant tulips swaying in the breeze, and aims to bring a similar sense of brightness and cheer to your everyday look. Consider experimenting with color combinations or embellishments like buttons for a personal touch. With its timeless floral charm, it's sure to become a favorite for years to come.

Vibrant Crochet Tulip Bag Pattern
This pattern will guide you through creating a charming cross body bag featuring tulip filled floral motifs. Using a 2mm yarn and a 3.0mm hook, this project is perfect for intermediate crochet enthusiasts.
Project Overview
- Bag Design: Two floral motif panels transition from circle to square form, joined by a rectangular base/side panel.
- Yarn Colors: White (background and body), Green (stems/leaves), and Red (tulip flowers, seams, and accents).
- Finished Size: Approximately 15 cm × 15 cm (square motif panels) with a strap length of your choice.
- Skill Level: Intermediate (requires familiarity with popcorn stitches, working in the round, and seaming).

Materials Needed
- Yarn:
- 2mm Polyester/PP Woven Cord Yarn in White, Green, and Red.
- Crochet Hook: 3.0mm.
- Accessories: Stitch markers, tapestry needle (for assembly and weaving ends), scissors, and a lighter (to melt cord ends for synthetic fiber).
Abbreviations
| Abbreviation | Stitch |
|---|---|
| ch | Chain |
| sl st | Slip Stitch |
| sc | Single Crochet |
| dc | Double Crochet |
| st(s) | Stitch(es) |
| rep | Repeat |
Special Stitches
6-DC Tulip Popcorn Stitch:
- Work 6 double crochets (dc) into a designated space.
- Remove the hook from the loop, insert the hook into the top of the 1st double crochet, pick up the dropped loop, and pull tight to close.
- Chain 5 (ch 5) to complete the stitch.
Crochet Pattern
Step 1: Center Floral Panel (Make 2)
Round 1: Center Circle (White Yarn)
- Start with a slip knot.
- Create a magic ring (or ch 2).
- Work 8 sc into the first chain (center of the ring).
- Join with sl st to the first sc to close the round. (8 sc total)

Round 2: Expand the Circle (White Yarn)
- Ch 2 (counts as first stitch).
- Work 2 dc into each stitch around the circle:
- Stitch 1: 2 dc.
- Stitch 2: 2 dc.
- Continue for all 8 stitches.
- Join with sl st to the 1st dc to complete the round. (16 dc total)
Step 2: Tulip Stems
Round 3: Green Yarn (Tulip Stem)
- Attach Green yarn to any stitch and ch 2.
- In the same stitch, work: 1 dc, ch 3, 1 dc (forms a V shape "leaf").
- Skip 1 stitch and repeat: 1 dc, ch 3, 1 dc.
- Continue until you have 8 V stitches surrounding the circle.
- Join with sl st, fasten off, and cut the yarn.
Step 3: Tulip Flowers
Round 4: Red Yarn (Tulip Petals)
- Attach Red yarn into any ch 3 space of a V stitch.
- Create the Tulip Flower:
- Work 6 dc into the ch 3 space.
- Remove the hook from the loop, insert it into the top of the 1st dc, grab the loop of the 6th dc, and pull through to form the popcorn tulip.
- Work ch 5 to secure the flower shape.
- Move to the next ch-3 space and repeat the above step to create the next tulip.
- Continue until you have 8 tulip flowers.
- Join with sl st to the starting point. Fasten off and cut yarn.

Step 4: Fill the Background
Round 5: White Yarn
- Attach White yarn into the space behind a Tulip Flower and ch 1.
- Work the following sequence around each tulip:
- 1 sc behind the Tulip, 1 sc at the center of the Tulip, 1 sc behind the other side of the Tulip (3 sc across).
- Into the chain space between V-stitches on Round 3 (Green), work 3 dc to fill the gap.
- Repeat [3 sc over Tulip, 3 dc into Round 3 chain space] around.
- Join with sl st to the starting stitch.

Step 5: Shape the Square
Round 6: Mark Corners
- Mark 4 equidistant corners around the circle for shaping.
- Starting from any stitch: Ch 1, work 1 sc into each stitch.
- At each corner, work 3 dc, ch 2, 3 dc into the marked corner.
- Continue around, working 1 sc in each st and [3 dc, ch 2, 3 dc at corners].
- Join with sl st.

Round 7: Strengthen the Square
- Ch 2. Work 1 dc into each stitch across the sides.
- At each corner ch-2 space, work 2 dc, ch 2, 2 dc.
- Join with sl st.

Round 8: Outer Border
- Work 1 sc into every stitch along the sides.
- At each corner ch-2 space, work 3 sc to form a neat edge.
- Join with sl st at the beginning. Fasten off and cut yarn.

(Repeat Steps 1-5 to create a second identical panel for the bag's back.)
Part 2: Create the Bottom/Side Gusset Panel
- With White yarn, ch 6.
- Row 1: Starting in the 5th chain from the hook, work 1 sc into each chain across. (5 sc total)
- Row 2: Ch 1, turn, and work 1 sc in each stitch across.
- Continue as above for 72 rows, or until your desired length is reached.
- Work a border round: Work 1 sc into each stitch and row-end along the entire edge. Fasten off and leave a long tail for joining.
Part 3: Assemble the Bag
- Secure the gusset strip around one square panel using stitch markers.
- Using Red yarn and a tapestry needle, sew the gusset to the front panel using a simple whipstitch through the edge loops.
- Repeat the process to attach the back panel to the other edge of the gusset.
Part 4: Finish the Bag Opening
Top Border
- Attach Red yarn to any stitch along the opening.
- Ch 1 and work 1 sc into every stitch around.
- Join with sl st and switch to White yarn.
- With White yarn, repeat the same process to work another row of sc stitches.
- Decorative Edging (Red Yarn):
- Ch 1, skip 1 st, sl st into the next stitch, ch 1 and repeat.
- Continue around for a wavy decorative top trim.

Part 4: Shoulder Strap
- Create the shoulder strap using your desired method (e.g., a chain strap, cord strap, or single crochet rows).
- Attach the strap ends to the top corners of the bag using Red yarn and a tapestry needle.
Final Touches
- Check and reinforce all seams.
- Weave in loose ends neatly with a tapestry needle, and use a lighter to melt synthetic cord ends if applicable.
- Block the bag gently, if necessary, to improve shape.

Final Words
Congratulations on completing your Tulip Motif Bag, Personalize it with colors, tassels, or buttons for a unique touch.