
Crochet No-sew Goldfish Keychain Pattern That’s Cute and Entirely Free
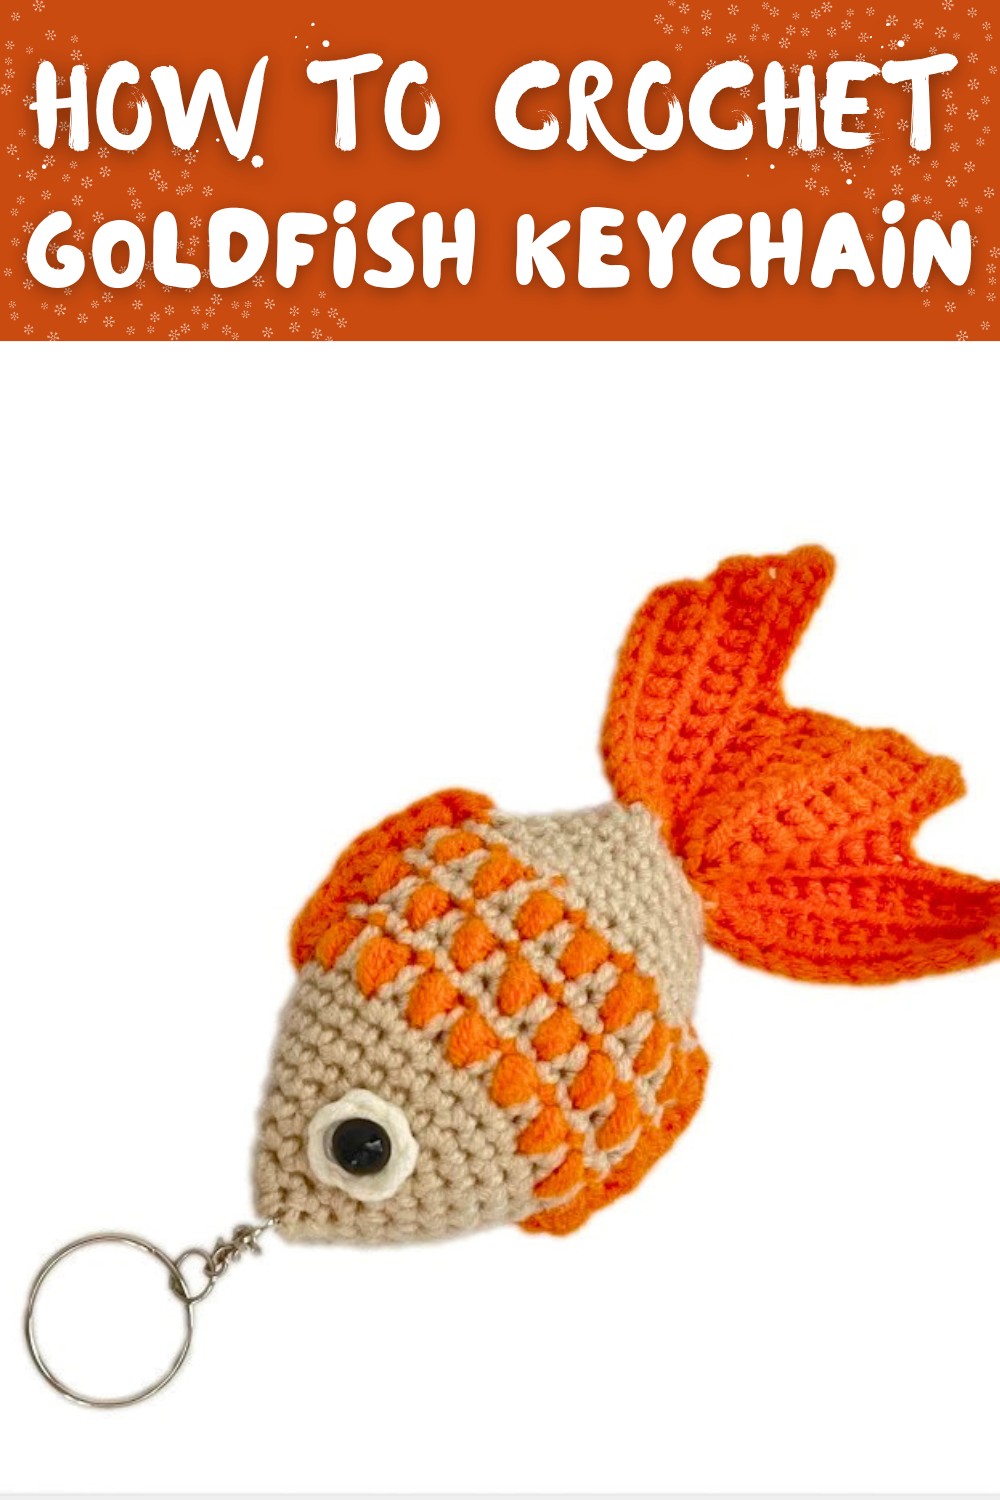
Hook up some fun with this free crochet goldfish keychain pattern- quick, quirky, and perfect for adding a splash of personality anywhere.
Looking for something fun and funky to brighten up your keys or bags? The No sew Goldfish Keychain is a super cute and easy project you'll love. This adorable goldfish stands out with its cheerful colors and simple crochet technique that doesn't need any sewing at all. Its bright and playful look makes it the star of any keychain, backpack, or pencil case. The soft and lightweight feel means it's easy to carry wherever you go. You can use bold colors like orange for a classic goldfish vibe or go creative with colorful yarns to match your style.
No-Sew Goldfish Keychain Free Crochet Pattern for Your Decor

The goldfish is made without putting separate parts together-it's all done as one piece, so it's quicker to finish and stress free. Besides keeping your keys safe, it's also a great decoration for bags, or even a nice little handmade gift for friends and family. Its cozy size makes it perfect to carry around, while its unique look adds a cool touch to anything you attach it to.
With simple steps and minimal materials, this crochet goldfish brings a smile and a splash of creativity into everyday life. Try making one and enjoy showing off this bright little fish full of charm and fun wherever you go.
Crochet No-Sew Goldfish Keychain Pattern
Finished Size
- Approximate Size: 2-3 inches in length when worked with recommended materials.
- Keychain Size: Varies depending on the keyring or chain used.
You can adjust the size of your goldfish by using different yarn weights or hook sizes. For a bigger goldfish, use a thicker yarn (e.g., worsted weight) with a 4 mm hook. For a smaller version, use embroidery thread with a smaller hook.
Materials
- Yarn
- 4 ply cotton yarn or amigurumi yarn.
- Suggested colors: Classic orange and white (or colors of your choice).
- Hook Size
- 2.5 mm crochet hook.
- Stuffing & Accessories
- Fiberfill: For stuffing the body.
- Keychain ring or clasp.
- Tapestry needle: For finishing details.
- Scissors.
- Stitch markers (optional, for marking rounds).
Gauge
While gauge is not critical for this project, ensure your stitches are tight to prevent the stuffing from showing through. Tight tension is key for clean results in amigurumi projects.
- Gauge estimate: 8 sc = 1 inch.
Abbreviations (US Terminology)
- ch: Chain stitch
- sc: Single crochet
- sl st: Slip stitch
- inc: Increase (2 single crochets in one stitch)
- dec: Decrease (sc2tog, single crochet two stitches together)
- BLO: Back loop only
- Rnd: Round
Pattern Instructions
Part 1: The Body
The goldfish body is worked in continuous rounds, so you will not join at the end of each round. Use a stitch marker to keep track of the beginning of each round if needed.
Rnd 1: Start with Magic Ring
- Create a magic ring.
- Crochet 6 single crochet (sc) into the ring.
- Pull the yarn tail to close the ring tightly.
- (6 sc total)
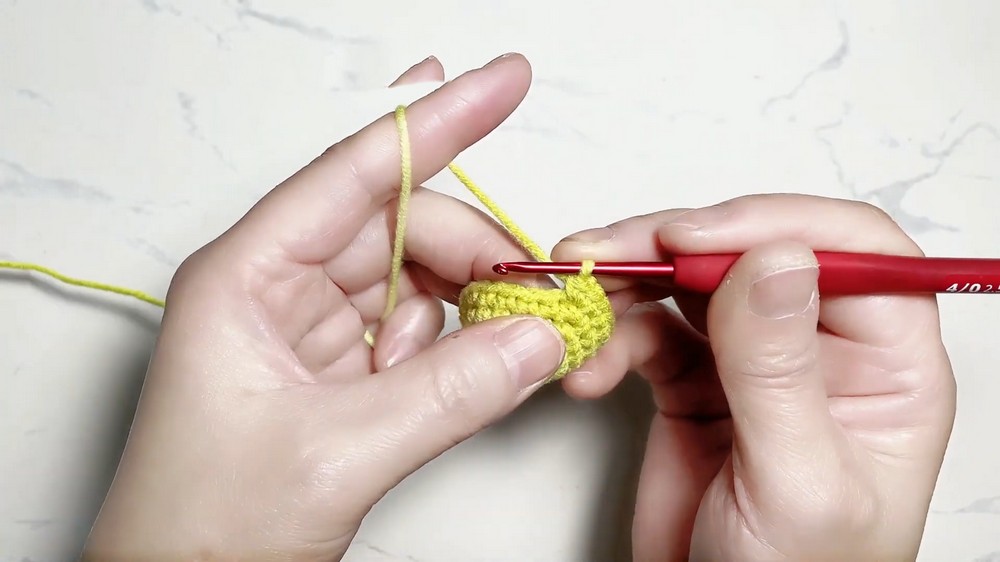
Rnd 2: Increase
- Work 2 sc in each stitch around.
- (12 sc total)
Rnd 3: Increase
- Work (1 sc, 1 inc) around.
- (18 sc total)
Rnd 4: Increase
- Work (2 sc, 1 inc) around.
- (24 sc total)

Rnd 5-8: Straight Rounds
- Work 1 sc into each stitch around for 4 rounds.
- (24 sc per round)

Rnd 9: Decrease
- Work (2 sc, 1 dec) around.
- (18 sc total)

Rnd 10: Decrease
- Work (1 sc, 1 dec) around.
- (12 sc total)
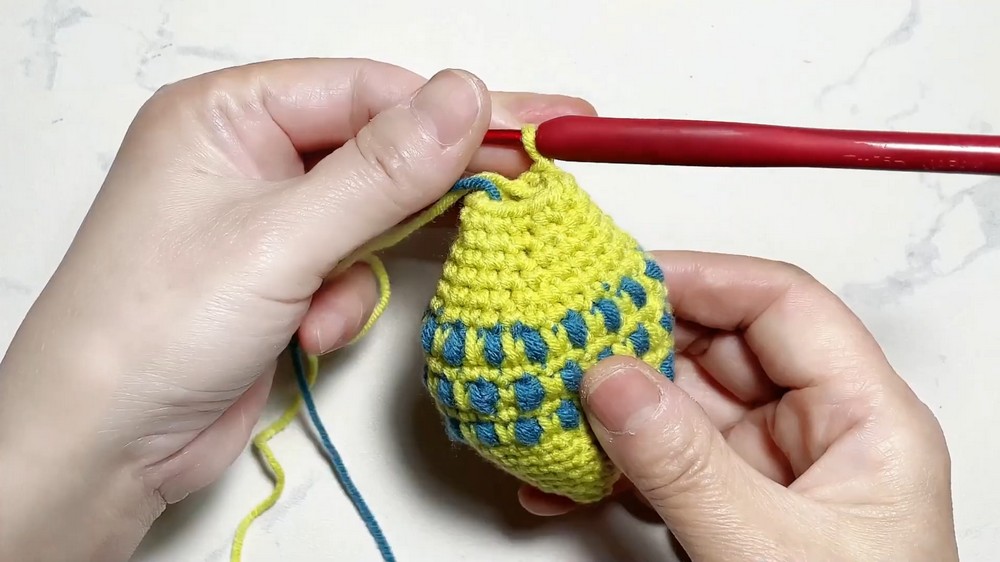
At this point, stuff the body with fiberfill. Push the stuffing firmly into the body, maintaining a round shape. Adjust the fiberfill as you work through the next rounds.
Rnd 11: Closing
- Work 6 dec (sc2tog) around.
- (6 sc total)
Pull the yarn taut, close the hole securely, and weave in the end.
Part 2: The Tail Fin
The goldfish tail fin is worked directly onto the back of the body for a no sew finish. Position the tail at the narrow end of your goldfish body.
Making the First Tail Side
- Attach yarn to the edge of the body where you want to begin the tail.
- Chain 6.
- Starting in the second chain from the hook:
- Work 1 sc, 1 hdc, 1 dc, 1 hdc, 1 sc back along the chain.
- Slip stitch into the next stitch on the body to secure the tail fin.

Making the Second Tail Side
- Chain 6 again.
- Repeat the same pattern as the first tail side: 1 sc, 1 hdc, 1 dc, 1 hdc, 1 sc.
- Slip stitch into the base of the tail to fasten.
Your tail should now resemble a flowing, double sided fin.

Part 3: The Side Fins
The goldfish has two side fins, worked directly onto the body.
First Side Fin
- Attach yarn to the side of the goldfish's body (approximately 6 stitches away from the tail fin).
- Chain 5.
- Starting in the second chain from the hook:
- Work 1 sc, 1 hdc, 1 dc, 1 sc.
- Slip stitch back into the goldfish body to secure the fin.
Second Side Fin
- Attach yarn to the other side of the body, mirroring the placement of the first side fin.
- Repeat the same steps:
- Chain 5, then work 1 sc, 1 hdc, 1 dc, 1 sc along the chain.
- Slip stitch into the body to secure.

Part 4: Top Fin
This small, triangular fin is worked directly onto the top of the goldfish body.
- Attach yarn to the top middle of the body.
- Chain 4.
- Starting in the second chain from the hook:
- Work 1 sc, 1 hdc, 1 sc.
- Slip stitch into the body to attach the fin.

The small top fin adds an extra adorable detail.
Part 5: Keychain Attachment
- At the top of the body (near the top fin), create a small chain loop for attaching the keychain.
- Attach yarn to the top of the goldfish's head.
- Chain 6 and slip stitch into the same spot to form a loop.
- Secure the keychain ring by threading it through the loop.
- Alternatively, you can attach your yarn tail directly to the keychain ring and secure the connection with a few tight knots.
Finishing Touches
- Embroider Details (Optional):
- Using black thread, embroider small eyes or use safety eyes. Place them symmetrically on either side of the body near the top fin.
- Weaving Ends:
- Use the tapestry needle to weave in any leftover yarn ends securely into the body.

Tips for Success
- Tension Matters:
- Use tight, even stitches to ensure a firm shape and avoid any gaps in the body.
- Stuffing:
- When stuffing, do so gradually, carefully shaping the piece to avoid any lumpy areas or asymmetry.
- Symmetry:
- Use stitch markers to precisely align the fins for a symmetrical, polished look.
- Customization:
- Experiment with yarn colors for a variety of goldfish styles, such as stripes or contrasting fins and body.
Customization Ideas
- Goldfish Variants: Make a "school" of goldfish in different colors or sizes to showcase creativity.
- Gift Sets: Combine multiple goldfish as part of a themed gift box, along with crochet sea plants or starfish.
- Accessories: Turn the goldfish into a brooch, small ornament, or bag charm by forgoing the keychain attachment.
Conclusion
Congratulations on completing your no sew crochet goldfish keychain! This charming, beginner friendly project is quick, simple, and perfect for showcasing your crochet skills. The no sew design minimizes assembly, making this little project both fast and rewarding.
Whether you use it as a keychain, bag adornment, or decoration, your goldfish is sure to bring a smile to anyone who sees it. Don't hesitate to experiment with colors, textures, or sizes for even more creative designs.
Happy crocheting, and enjoy showing off your adorable handmade goldfish.