How to Make a Crochet Book Keychain -Free Pattern in Easy Steps
Add charm to your everyday accessories with this free crochet book keychain pattern, a quick and fun project perfect for gifting or customizing your favorite bag.
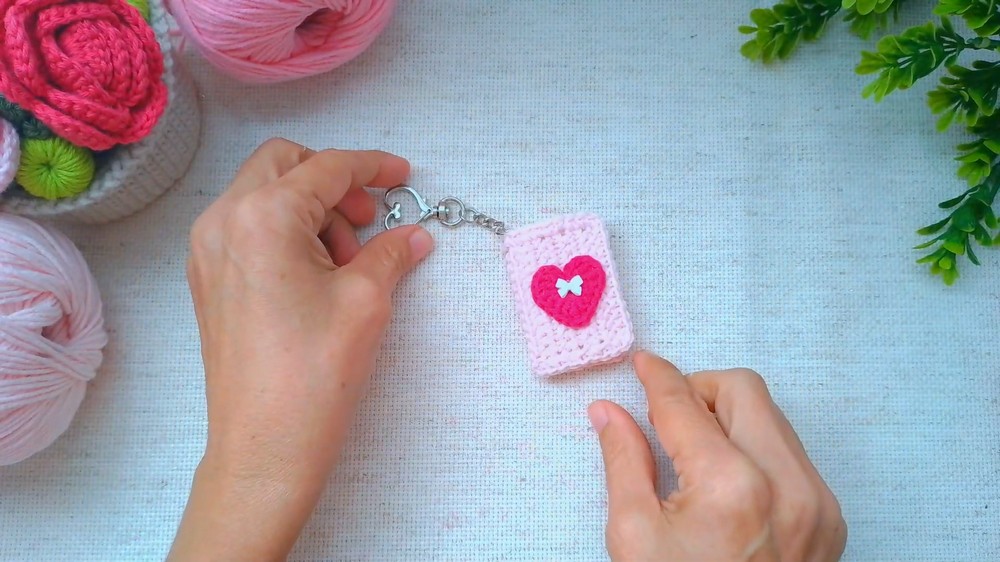
Tiny yet eye-catching, this adorable crochet book keychain is the perfect combination of creativity and practicality. In just a few steps, you can make a miniature crochet book that's not only appealing but also highly functional. This free crochet book keychain pattern offers a unique way to showcase your love for books and crochet in everyday life. Handmade with soft yarn and delicate stitches, this little book comes to life with pages, a vibrant cover, and a delightful charm that makes it stand out.
Adorable Crochet Book Keychain Tutorial You'll Love

Whether you carry your keys, attach it to your bag, or gift it to a loved one, this crochet book keychain brings both style and sentiment. Its compact size makes it easy to customize in various colors and designs, while the finished product is both durable and lightweight.
Crochet Mini Book Keychain Pattern
From decorating your backpack to being a thoughtful gift, this crochet keychain is full of personality. Perfect for beginners and experts alike, this simple project demonstrates the joy of making something small, beautiful, and meaningful. Elevate your everyday accessories with this creative crochet keychain idea that's sure to attract compliments.
Skill Level
Beginner to Intermediate
Finished Size
- Mini Book Keychain: Approximately 2 × 2.5 inches (5 × 6.5 cm) when folded.
Materials Needed
- Yarn:
- Acrylic yarn in two colors:
- Color A: For the book cover.
- Color B: For the pages.
- Small amounts of yarn (perfect for scraps).
- Acrylic yarn in two colors:
- Crochet Hook: 2.5 mm or any size recommended for your yarn.
- Keyring: Any standard keychain ring.
- Glue: Cold fabric glue or hot glue for assembling the book.
- Optional Decoration:
- A crocheted heart (instructions included) or bow.
- Any decorative charm for the book cover.
- Scissors: For cutting yarn.
- Tapestry Needle: For sewing and hiding loose ends.
Special Techniques
- Front Loop Only (flo): Crochet into the front loop of the stitch only.
- Back Loop Only (blo): Crochet into the back loop of the stitch only.
- Slip Knot: Creating a secure adjustable knot to begin.
- Folded Fabric Assembly: Using glue to attach pages and cover for the "book" effect.
Pattern Instructions
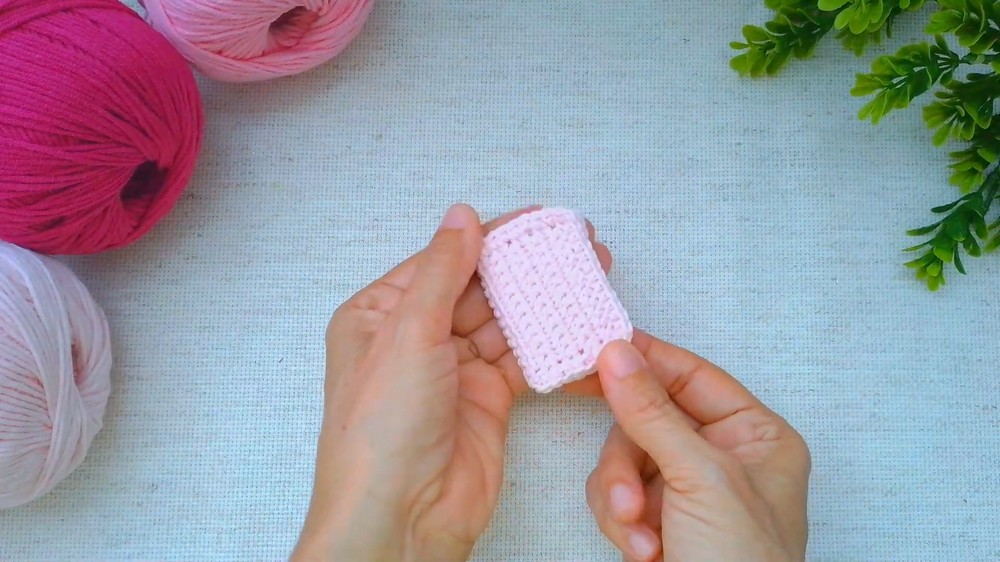
1. Book Cover
Step 1: Foundation Chain
- Start with Color A (yarn for the cover).
- Create a slip knot and chain 13 stitches.

Step 2: Single Crochet Rows
- Row 1:
- Work 1 sc in the 2nd chain from the hook (leave the 1st chain unworked).
- Continue crocheting 1 sc in each chain across.
- You will have 12 sc total for Row 1.
- Row 2-8:
- Chain 1, turn the work.
- Work 1 sc in each stitch across (12 sc per row).
- Repeat until you complete 8 rows of 12 sc each.

2. Book Spine
Step 1: Prepare Flo and Blo Rows
- Row 9:
- Chain 1, turn the work.
- Work 1 sc in the front loop only (flo) across the entire row (12 sc).
- Row 10:
- Chain 1, turn the work.
- Work 1 sc in the back loop only (blo) across the entire row (12 sc).
Special Note: The combination of one flo row and one blo row creates a natural "bend" in the fabric for the spine of the book.
3. Book Back Cover
Step 1: Single Crochet Rows
- Row 11-18:
- Chain 1, turn.
- Work 1 sc in each stitch across (12 sc per row).
- Repeat until you complete 8 rows.
At this point, the book cover has 8 rows for the front cover, 2 rows for the spine, and 8 rows for the back cover.
4. Edging (Optional for Neat Finish)
Step 1: Creating the Border
- Attach Color A to any edge of the book cover.
- Work 1 sc into each stitch along the edges of the book cover, making sure to work evenly.
Step 2: Adding Extra Stitches at Corners
- At each corner, crochet 2 sc in the same stitch to allow the fabric to turn neatly.
5. Book Pages
Step 1: Foundation Chain
- Begin with Color B (yarn for the pages).
- Create a slip knot and chain 15 stitches.
Step 2: Single Crochet Rows
- Row 1:
- Work 1 sc in the 2nd chain from the hook.
- Continue working 1 sc in each chain across (14 sc total for Row 1).
- Row 2-10:
- Chain 1, turn.
- Work 1 sc in each stitch across (14 sc per row).

Step 3: Border for Pages (Optional)
- Work 1 sc around all 4 edges of the rectangular pages, similar to the cover process.
- Work 2 sc in each corner for a cleaner finish.
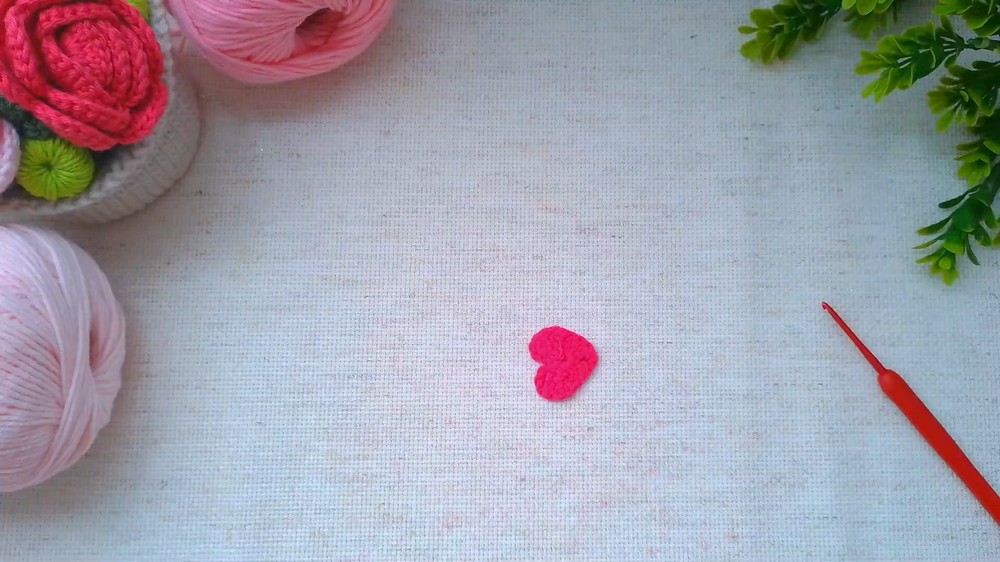
6. Decorative Heart
Step 1: Magic Ring Foundation
- Create a magic ring. Work the following into the ring:
- Chain 3.
- Work 3 double crochet (dc), followed by 3 single crochet (sc).
- Chain 1, make 1 dc in the center (this forms the tip of the heart).
- Chain 1, and repeat in reverse: 3 sc, 3 dc.
- Chain 3 and finish with 1 slip stitch in the ring.

Step 2: Tighten and Finish
- Pull the starting strand to tighten the magic ring, shaping the heart.
- Tie off and hide loose ends.
7. Assembly
Step 1: Attach the Keyring
- Use a needle and a small strand of Color A to sew the keyring to the top corner of the back cover.
- Secure tightly with 3-4 passes of the yarn to ensure durability.
Step 2: Attach Pages to Cover
- Fold the pages in half and place glue along the edges of the center fold.
- Position the glued center of the folded pages onto the "spine" of the book cover.
- Add a small amount of glue to the edges of the pages and attach them to the inner sides of the cover.
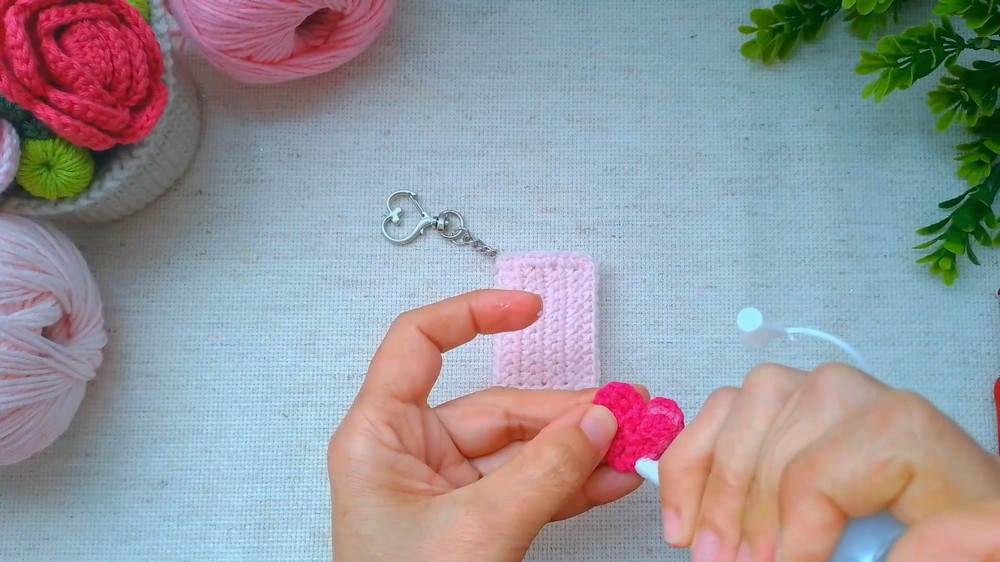
Step 3: Add Decorative Heart
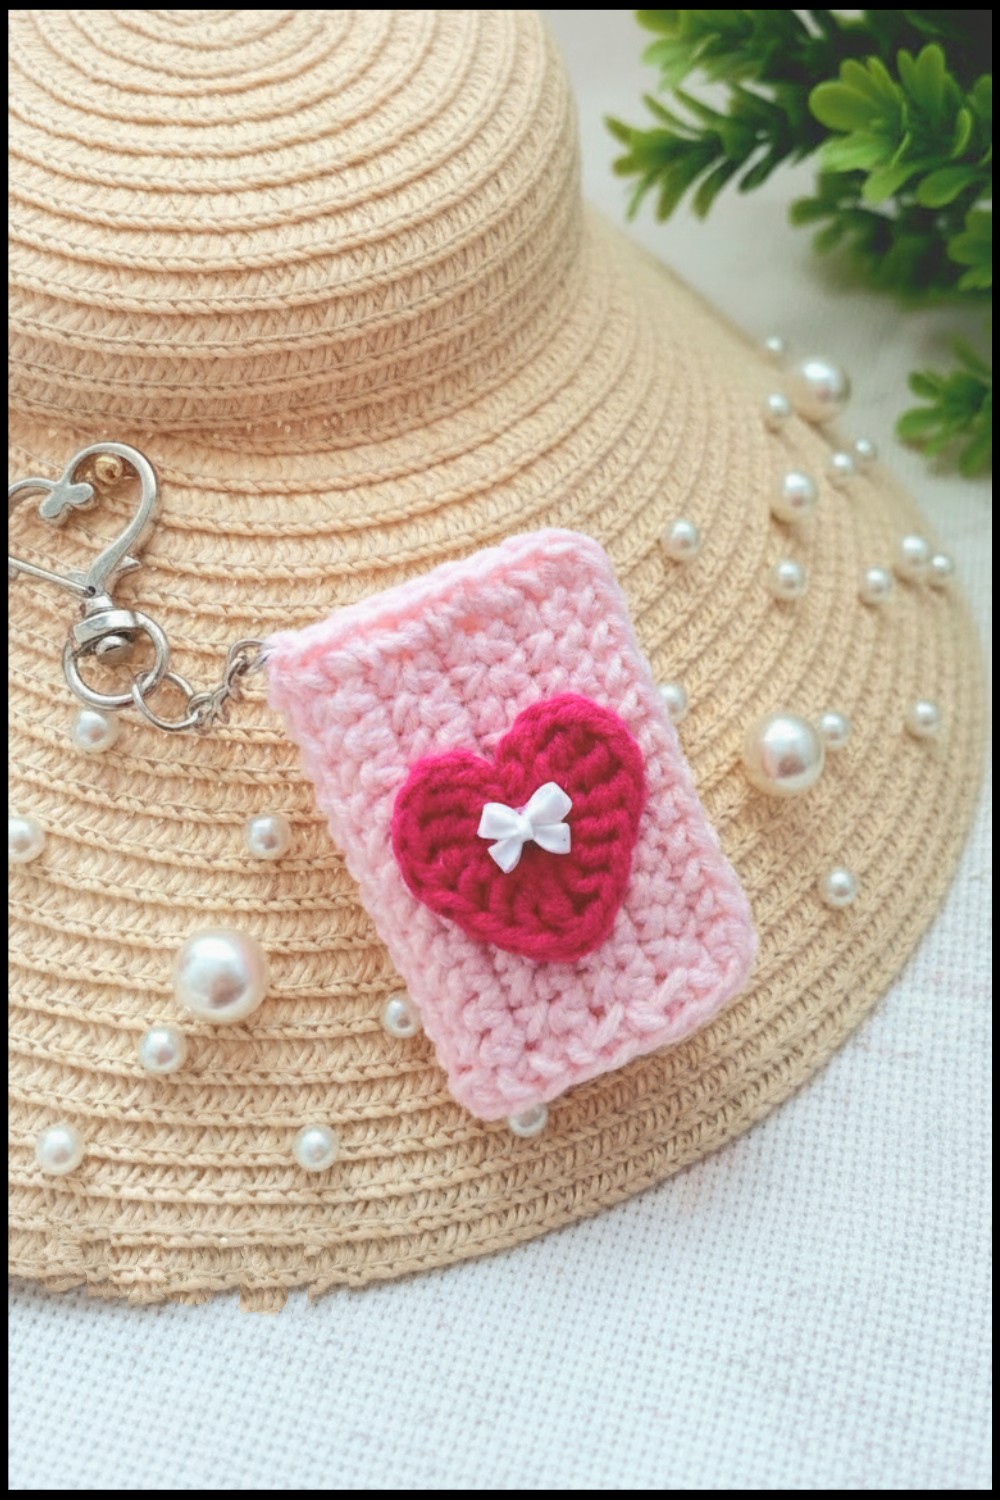
- Place the crocheted heart on the top-center of the book cover.
- Use glue or a few stitches to secure it.
Finishing
- Trim any loose strands of yarn.
- Lightly press the book to ensure all glued sections adhere properly.

Tips for Success
- Tension: Maintain an even tension to ensure the book looks neat and folds symmetrically.
- Spacing for Edging: Pay extra attention to evenly spaced sc along uneven edges.
- Use High-Quality Glue: If using fabric glue, ensure it is strong enough to hold the pages and embellishment in place.
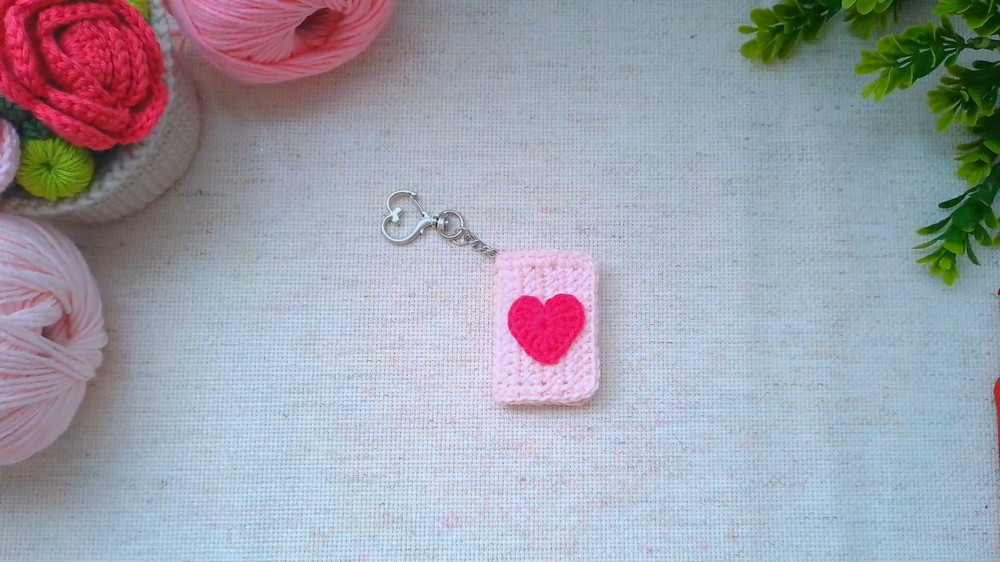
Conclusion
Congratulations! You've completed your mini book keychain. This charming little accessory is a quick and creative crochet project that combines practicality with a decorative appeal. Use it as a keychain, backpack charm, or even a thoughtful handmade gift.