
Free Crochet 3D Heart Pattern to Add Love to Your Creations
Shape a sweet symbol of love through this free crochet 3D heart pattern, a charming handmade creation perfect for heartfelt gifts and beautiful decorations.
Do you want to create something cute and special with yarn? The 3D Heart Pattern is a fun and simple way to make a soft and puffy heart with your own hands. It is perfect for all ages, including beginners, and it does not require any difficult techniques or tools. This heart is a small, soft decoration that you can make in your favorite color. Its beautiful 3D design and puffy texture make it stand out. The heart looks like a tiny pillow and has a pretty, round shape that you can make to be either firm or soft depending on how much stuffing you use. You can make one or create a collection in different sizes or colors. This is what makes this pattern fun and creative.
Perfect Handmade Gift - Free Crochet 3D Heart Pattern

You can use the 3D heart for many things. It can be a gift for someone special to show how much you care. You can hang it as a decoration in your room, add it to keychains, gift wraps, or bags, or even use it as a wedding or Valentine's Day ornament. Add some dried flowers or essential oils to make it a cute scented décor piece.
The pattern uses a magic circle to start, which gives it a nice, smooth shape. Another unique feature is the invisible decreases that make the heart look neat and polished. With just yarn, a 3.5 mm crochet hook, stuffing, and a needle, you will have everything you need to begin.
Making this heart is creative and relaxing. When it's done, you have a wonderful handmade item that you can proudly show off. So pick your hook, a little bit of yarn, and start crocheting your own 3D heart. It is not just a project-it is a symbol of love.
Crochet 3D Heart Pattern
Materials Required
- Yarn: Medium (size 4) yarn. The video uses Red Heart Super Saver in the color "Pet Pink," but you can choose any color of your choice.
- Hook: 3.5 mm crochet hook.
- Stuffing: Polyester fiberfill or any soft stuffing material.
- Scissors: For cutting the yarn.
- Needle: Any sewing needle for weaving in and sewing.
- Stitch Marker: Use a regular stitch marker or a safety pin to keep track of your rows.
Gauge
Gauge is not crucial for this project. Ensure that your stitches are tight enough to hold the stuffing without gaps.

Finished Size
Approximately 3 inches wide and 3 inches tall, depending on your tension and yarn weight.
Special Techniques
- Magic Circle (Magic Ring): Used to start the heart, forming a tight and adjustable center.
- Invisible Decrease: A technique to create smooth and seamless decreases in the stitches for a polished look.
Pattern Instructions
Step 1: Start with the First Heart Half
- Magic Circle:
- Wrap the yarn around your fingers to form an X shape.
- Insert your hook under the first strand and hook the second one to create a loop.
- Yarn over and pull through the loop to form your magic circle.
- Round 1:
- Into the magic circle, make 6 single crochets (sc).
- Pull the loose end of the magic circle to close the ring.
- Slip stitch (sl st) into the first single crochet to close the round.
- Round 2:
- Work an increase in each stitch around (2 sc in each stitch).
- You should now have 12 stitches by the end of this round.
- Place a stitch marker in the last stitch to indicate the end of the round.
- Round 3:
- Work 1 sc in each stitch around (12 sc).
- Remove the stitch marker, replace it as you go, and ensure you have 12 sc at the end.
- Finishing the First Half:
- Cut your yarn, leaving a tail, and weave in the loose end.
- Set this piece aside.

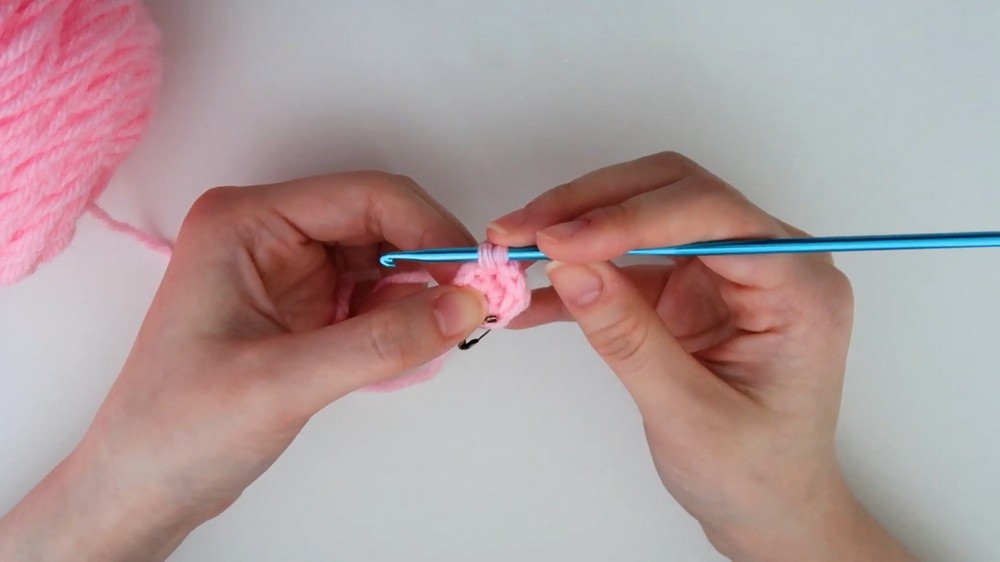
Step 2: Make the Second Heart Half
Repeat Rounds 1 to 3 as you did for the first half. Do not cut the yarn after completing the second half, as we'll use it to join the two heart halves together.

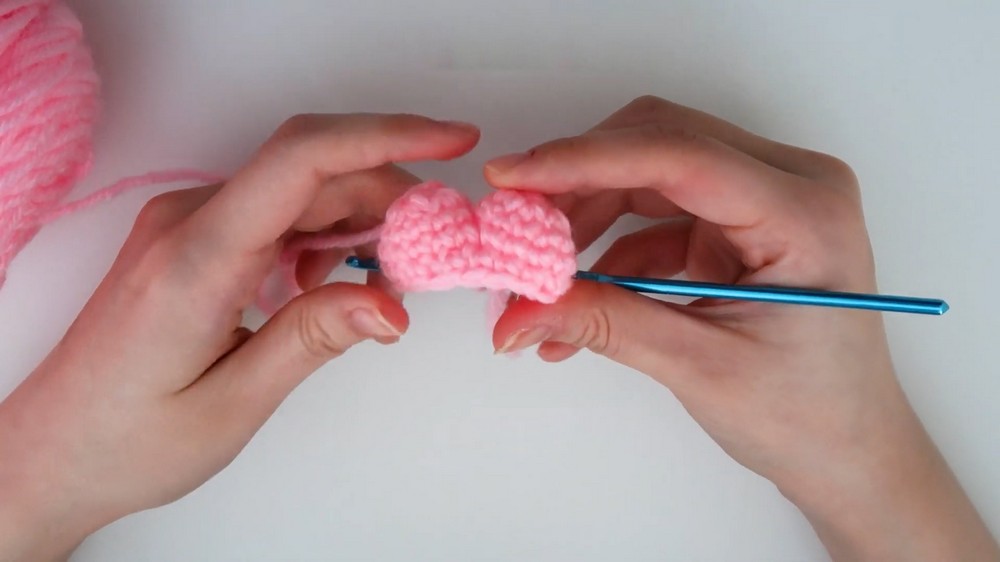
Step 3: Joining the Two Halves
- Position both halves together, ensuring that the right side faces outward.
- Insert your hook into the first stitch of the finished half and the first stitch of the half still attached to the yarn.
- Make a single crochet (sc) to join the two halves.
- Work 10 sc around the first half, skipping the last 2 stitches.
- Move to the second half and skip the first 2 stitches. Start in the third stitch and work 10 sc around.
- Complete the round by ensuring both halves are attached securely and the top gap is aligned.
Step 4: Shaping the Heart
For the next rounds, you'll start shaping the heart by decreasing stitches.
- Round 5:
- [Work 3 sc, then 1 decrease] x 4 around.
- Use the invisible decrease technique by inserting your hook through the front loops of the next two stitches, yarning over, pulling through, and completing the decrease.
- By the end of this round, you'll have 16 stitches.
- Round 6:
- [Work 2 sc, then 1 decrease] x 4 around.
- Reduce your total stitch count to 12 stitches.
Tip: The heart might start curving inward at this point, which is normal. Ensure the side with the tail from Round 1 is tucked inside, and continue crocheting from the outside.
- Round 7:
- [Work 1 sc, then 1 decrease] x 4 around.
- By the end of this round, you'll have 8 stitches.
- Round 8 (Final Round):
- Work decreases only until the top of the heart is completely shut. Typically, 3 decreases are sufficient to close the gap, but you may do a 4th decrease if the hole isn't small enough.

Step 5: Stuffing the Heart
- Before fully closing the heart, take small bits of stuffing and gently insert them into the heart.
- Adjust the amount of stuffing based on how firm or soft you'd like the heart to feel.
Step 6: Sewing the Top Shut
- Once the heart is stuffed, thread the yarn tail onto your needle.
- Sew the top gap closed using a zigzag or whip stitch motion. Ensure it's securely sealed so the stuffing doesn't show.
- To secure the end, insert the needle near the closing stitches, push it through the heart, and pull it out at a different spot. Repeat two to three times for extra reinforcement. Cut the yarn close to the surface.

Tips for Success
- Tight Tension: To avoid gaps between stitches that show the stuffing, maintain tight and consistent tension throughout your work.
- Experiment with Colors: Use multicolored yarn or create different halves for a whimsical design.
- Add Embellishments: Once the heart is complete, sew on beads, embroider initials, or attach a keychain loop for a personal touch.
- Custom Sizes: To make a larger heart, use thicker yarn and a larger hook. For smaller hearts, use thinner yarn and a smaller hook.
- Blocking: If the heart appears uneven or lopsided, gently shape it by stretching or pressing lightly between your palms.
Customization Ideas
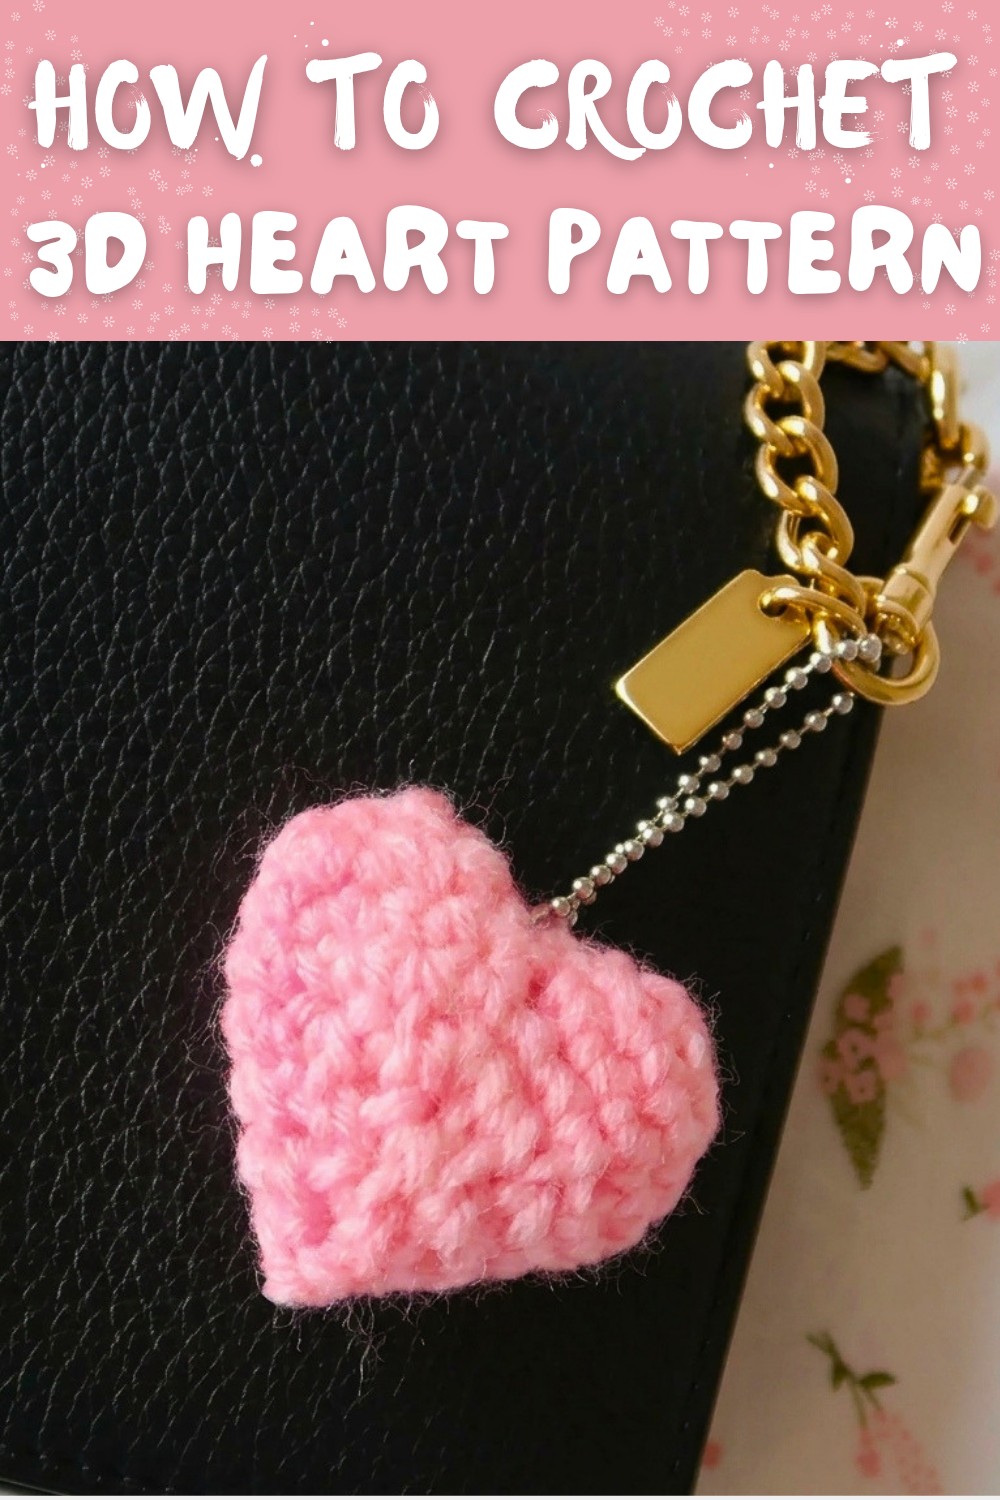
- Keychain Charm: Add a keychain ring to create a portable charm.
- Garlands and Banners: Make multiple hearts in various colors and string them together for a festive decoration.
- Use for Gifting: Gift as a standalone item or attach it to a wrapped gift for a cute addition.
- Add Lavender or Essential Oils: Insert some dried lavender or a few drops of essential oil into the stuffing to create a scented heart.
Conclusion
This puffed heart pattern is an enjoyable, beginner friendly project with versatile uses. Whether you're making it to gift to a loved one, add to your home décor, or use as a personal accessory, the end result is adorable and rewarding. The smooth edges and soft puffiness create a sense of warmth and care in every stitch.
Final Remarks
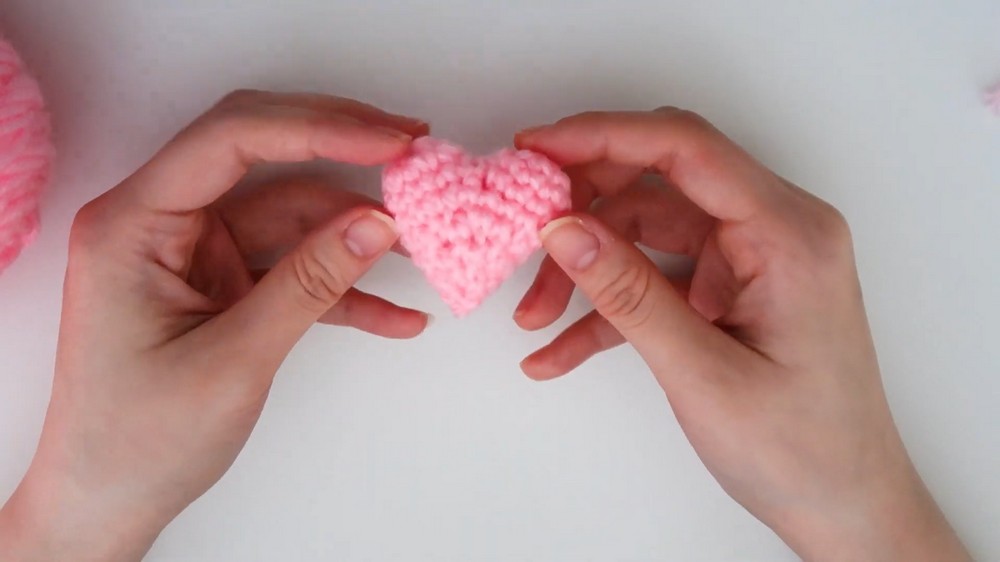
- Finished Look: Your heart will have a beautifully rounded shape, puffed texture, and a compact finish, thanks to the invisible decreases and strategic stitching.
- Crocheting Memories: Use this pattern as a start to explore more crochet projects or to create heartfelt gifts for special occasions like Valentine's Day, birthdays, and anniversaries.