
Step-by-Step Crochet Coaster Pattern for Cozy Home Vibe
Protect surfaces and add handmade charm with this free crochet coaster pattern, perfect for brightening up every room in your cozy home.
A small homemade item can make a big difference in everyday life. One simple and practical project that fits perfectly into this idea is a crochet coaster pattern. A coaster protects surfaces from heat and moisture damage caused by a cup or mug. Using this pattern offers a quick and easy way to make something useful without needing much experience. Plus, a reusable coaster helps keep your furniture safe while reducing waste from disposable options.
Handmade Crochet Coasters: Perfect Accessories for Every Room
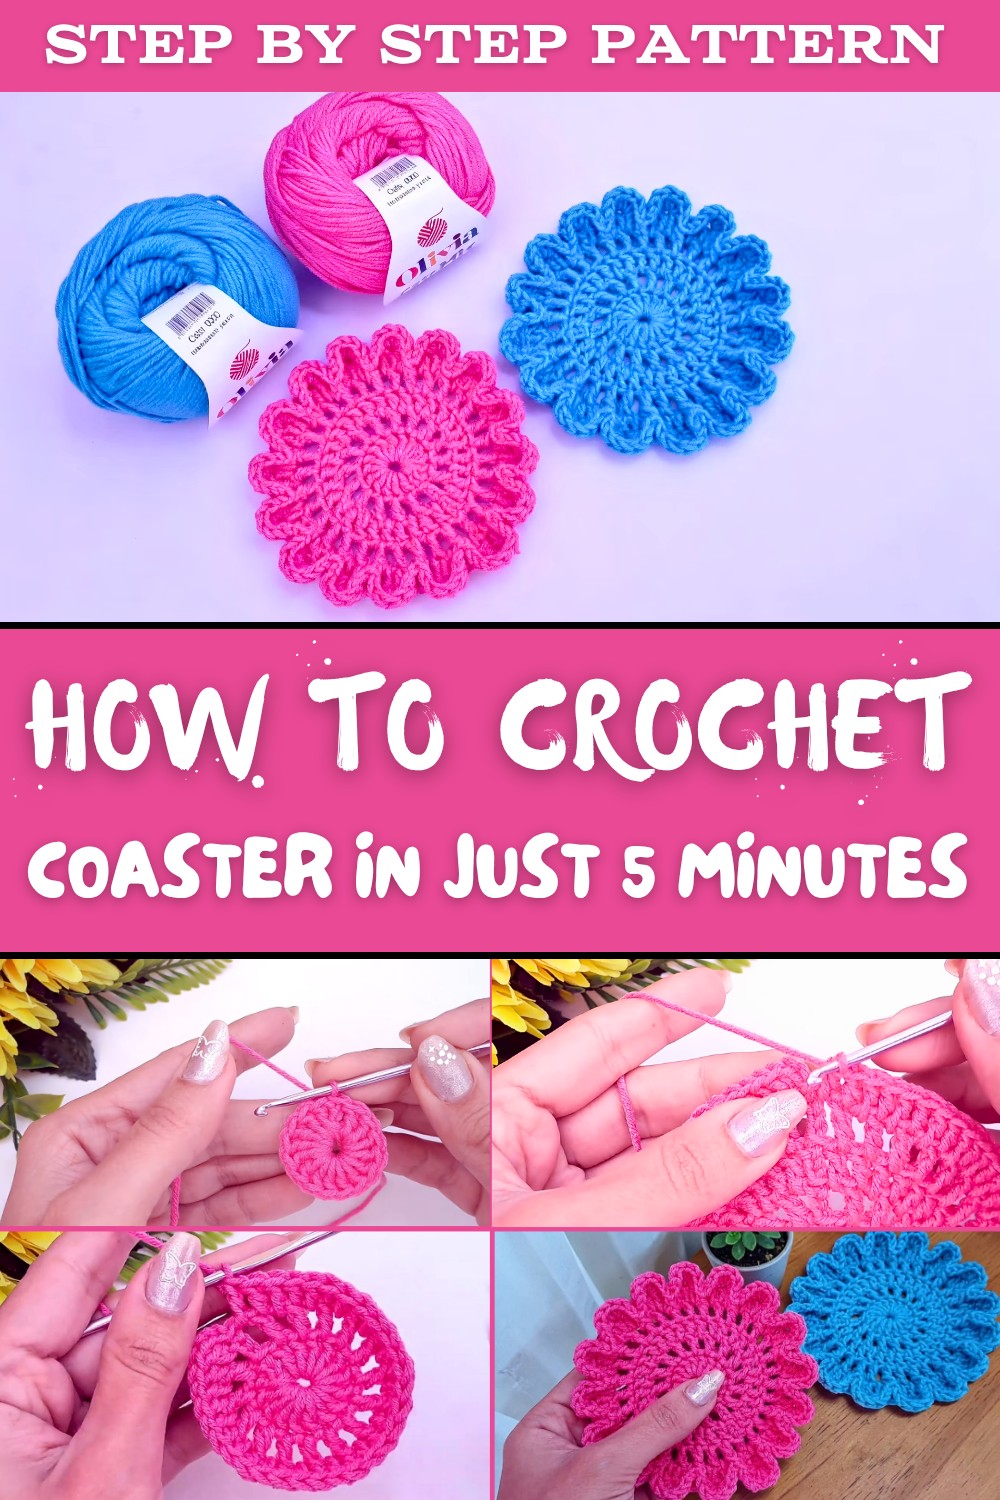
A crochet coaster can come in many shapes, colors, and styles. This variety lets you match it to any room's design or mood. Bright colors can bring a cheerful feel to your kitchen, while neutral tones offer a calm and inviting touch for a living room. A handmade coaster adds charm and personality that store-bought ones simply can't match. It also makes a thoughtful gift that shows care and attention without much effort.

Working with a crochet coaster pattern is a relaxing activity that helps build focus and fine motor skills. The simple stitches allow beginners to feel confident while producing beautiful results. As skills improve, more intricate patterns become an enjoyable challenge. The coaster also pairs well with other table accessories, such as placemats and runners, for a polished look. Overall, this little piece serves a big purpose, combining style and function in an easy, enjoyable project that anyone can try.
Elegant and Easy Crochet Coaster Pattern
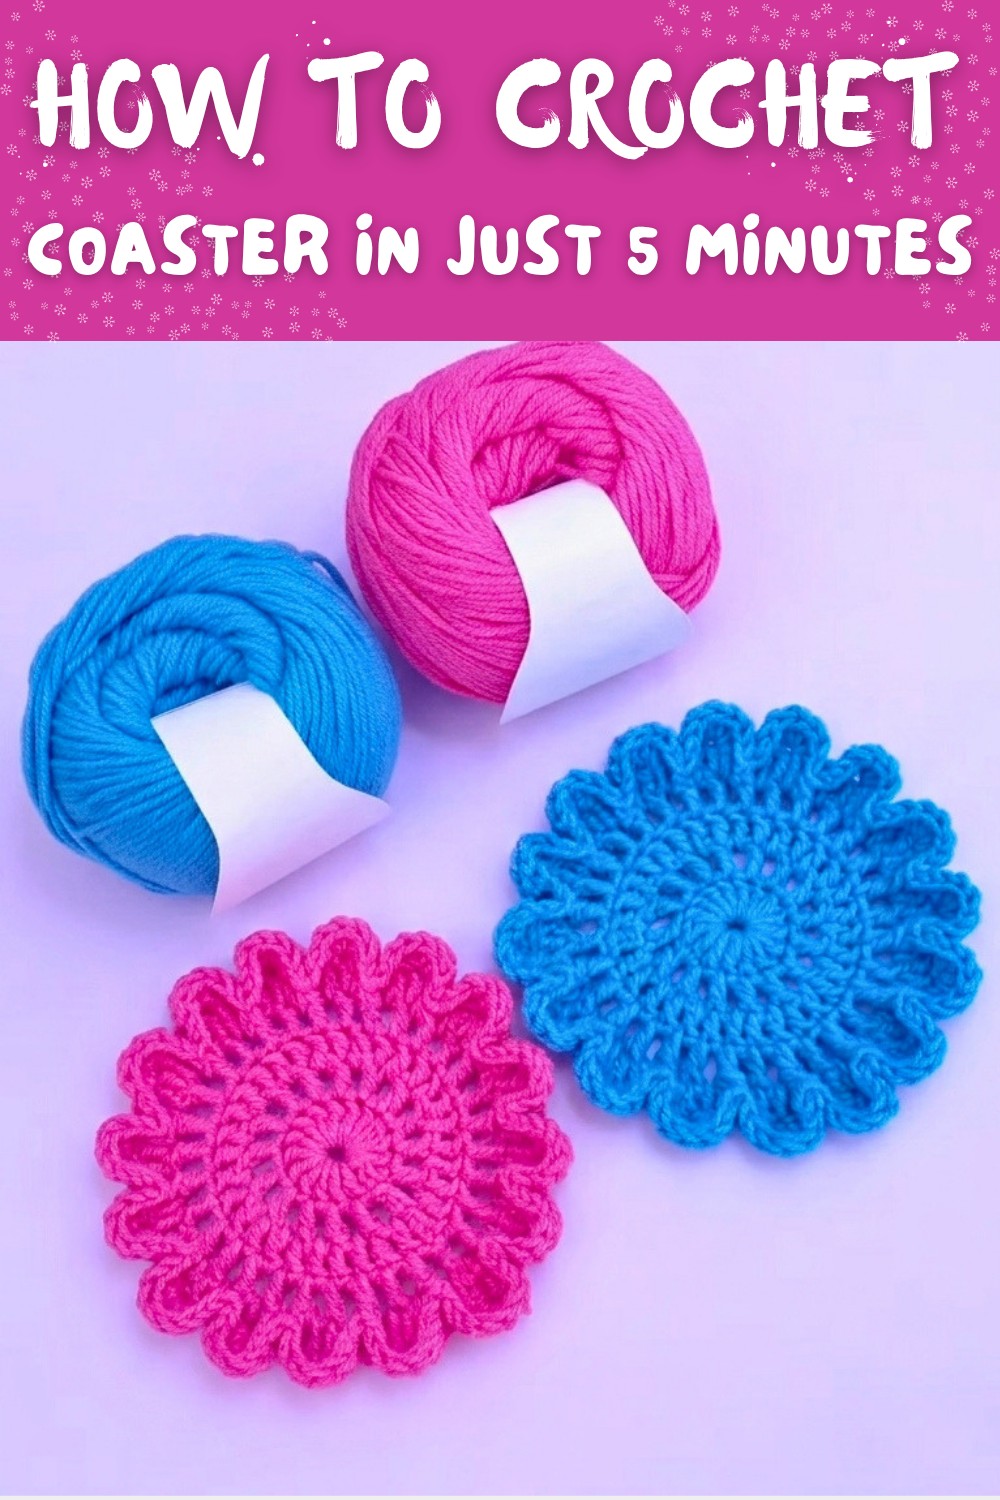
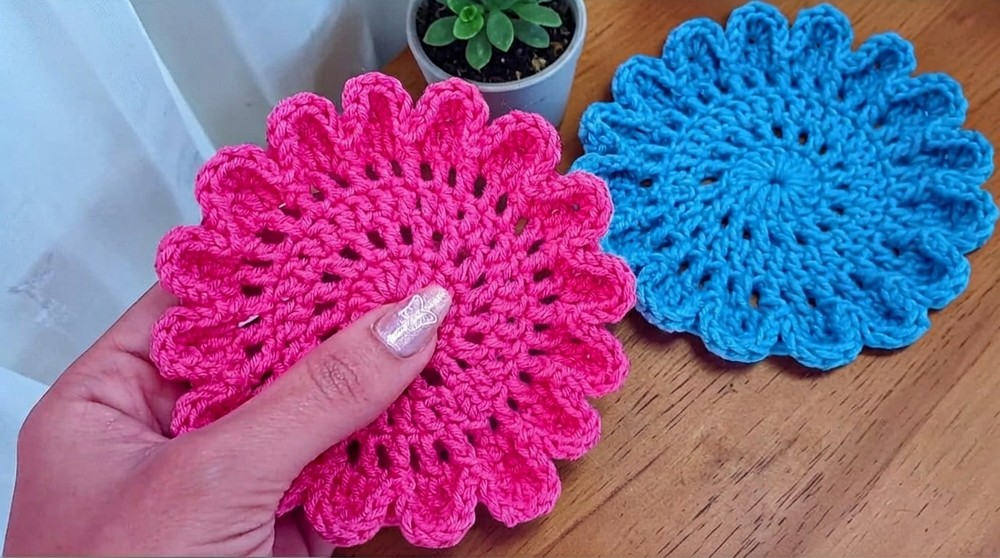
Create beautiful, quick, and functional crochet coasters perfect for your home or to increase your sales from leftover yarn! This pattern is designed to be completed in about five minutes, making it a perfect beginner-friendly project. Each coaster weighs approximately 10 grams, meaning one 100-gram skein can produce 10 coasters.
Before You Start: Preparation & Tips
- Use medium-weight yarn similar to "Olivia yarn" or any worsted/light worsted weight yarn.
- Recommended hook size: 3 mm. Adjust hook size if needed to achieve desired tension.
- Familiarize yourself with basic crochet stitches: chain (ch), slip stitch (sl st), single crochet (sc), double crochet (dc).
- Keep consistent tension to ensure coasters are flat and even.
- Use stitch markers if desired to mark rounds or important stitches.
- Prepare scissors and a tapestry needle for finishing.
- Scrap yarn is perfect for practicing this coaster, benefiting both beginners and experienced crocheters.
Important Pattern Insights
- Coasters are worked in the round starting from a small loop, expanding through rounds.
- The pattern uses double crochet stitches primarily, with chain spaces to create beautiful, lacy holes.
- Edges are finished with decorative fan-like scalloped stitching made of multiple single crochets.
- Slip stitches are used to join rounds, maintaining neatness.
- The stitch count is maintained carefully to create flat circles without curling or ruffling.
- Design features evenly spaced chain spaces between double crochets to balance width and texture.
Overview of Construction Method
- Begin with a small loop of chains joined in a ring.
- Work the first round of double crochets around the ring.
- Create alternating double crochet and chain space rows to increase diameter.
- Add chain spaces on alternating rounds for lace effect and flexibility.
- Finish with a scalloped edging formed by multiple single crochets worked in the same stitch with chain spaces between.
- Weave in ends to complete the coaster.
Skill Level
This pattern is suitable for confident beginners comfortable with basic crochet stitches and working in the round. Intermediate crocheters will enjoy its speed and elegance.
Final Dimensions
- Diameter: Approximately 10 cm (4 inches) across, suitable for standard cups and mugs.
- Thickness: Thin and firm but flexible for effective coaster use.
- Weight: About 10 grams per coaster depending on yarn.
Materials Required
- Medium-weight yarn (worsted or light worsted), approx. 10 grams for each coaster.
- Crochet hook: 3 mm (US size D/3).
- Scissors.
- Tapestry needle for weaving in ends.
Size and Fit
- Diameter can be adjusted by adding or reducing rounds proportionally.
- For larger coasters, increase the final round stitch count appropriately.
- Smaller coasters can be made by stopping after fewer rounds.
Gauge Details
- The gauge varies due to open lace structure; approximate gauge: 14 dc and chain spaces per 10 cm.
- Consistent tension ensures the coaster lies flat and does not ripple.
Common Stitch Abbreviations (US Terms)
- ch = chain
- sc = single crochet
- dc = double crochet
- sl st = slip stitch
- st(s) = stitch(es)
Special Techniques Highlighted
- Joining chains in a loop: Starting the round by joining chains into a closed circle.
- Slip stitch joining: Used to join the end of rounds to the start stitch for seamless rounds.
- Fan stitch edging: Multiple single crochet stitches (here five sc) worked into the same stitch, separated by chain spaces to create scalloped borders.
Complete Crochet Pattern Instructions
Round 1: Foundation Ring and First Round of Double Crochets
- Make a slip knot.
- Ch 5.
- Insert hook into first ch to form a ring by pulling yarn through the chain and loop on hook (also called a chain loop).
- Ch 3 (counts as the first dc).
- Work 15 dc evenly into the ring (for a total of 16 dc including starting ch-3).
- Join with a sl st to the top of the starting ch-3.
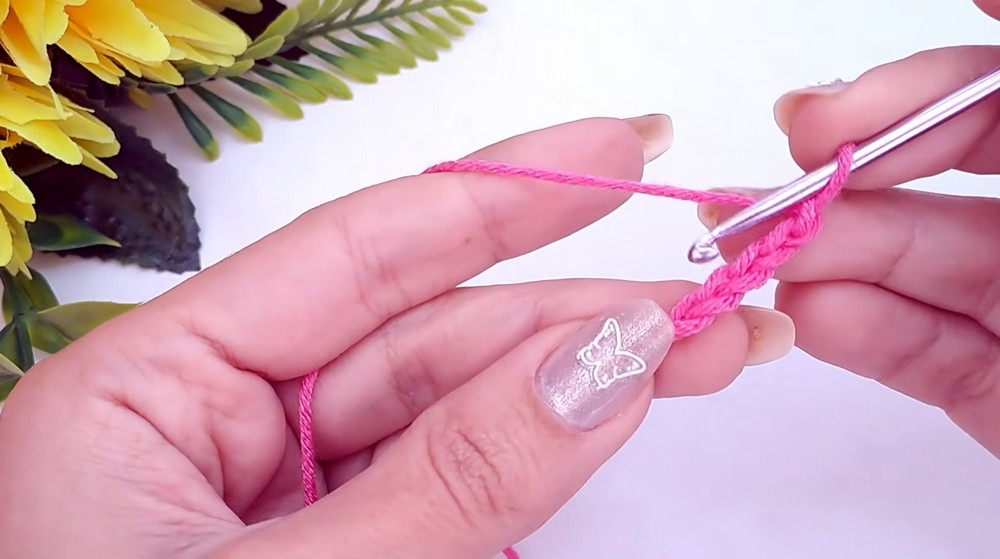

Explanation: You begin with a small ring to form the base of your coaster and work a round of double crochets into it to create the initial circle.
Round 2: Double Crochet and Chain Spaces
- Ch 3 (counts as first dc).
- Dc in next dc, ch 1; repeat from * to * around, ending with dc in last dc (total: 16 dc and 16 chain spaces).
- Join with sl st to the top of the starting ch-3.

Round 3: Increasing Round
- Ch 3 (counts as first dc), ch 1 (creates space).
- Slip stitch into the chain space, dc into the following dc, ch 1; repeat from * to * around until end of round.
- Join with sl st to top of starting ch-3.
Note: This round introduces slip stitches into chain spaces, preparing for the next expansion round.
Round 4: Alternating dc and chain space pattern
- Ch 4 (counts as first dc and ch 1).
- Dc in next dc, ch 1; repeat around, join with sl st to 3rd chain of beginning ch-4.

Round 5: Prepare for Edging
- Ch 1.
- Sc in same stitch and next 4 stitches (five sc total), ch 2.
- Skip 2 stitches on previous round.
- Repeat the 5 sc, ch 2, skip 2 stitches pattern around.
- Join with sl st to first sc.

Final Edge: Scalloped Fan Border
- Ch 3, work 4 more dc in the same stitch (5 dc total).
- Ch 2, slip stitch to the first of the next group of 5 sc (space between fans).
- Repeat around the coaster until you reach the beginning.
- Join with sl st to top of first dc.
- Fasten off and weave in all ends.
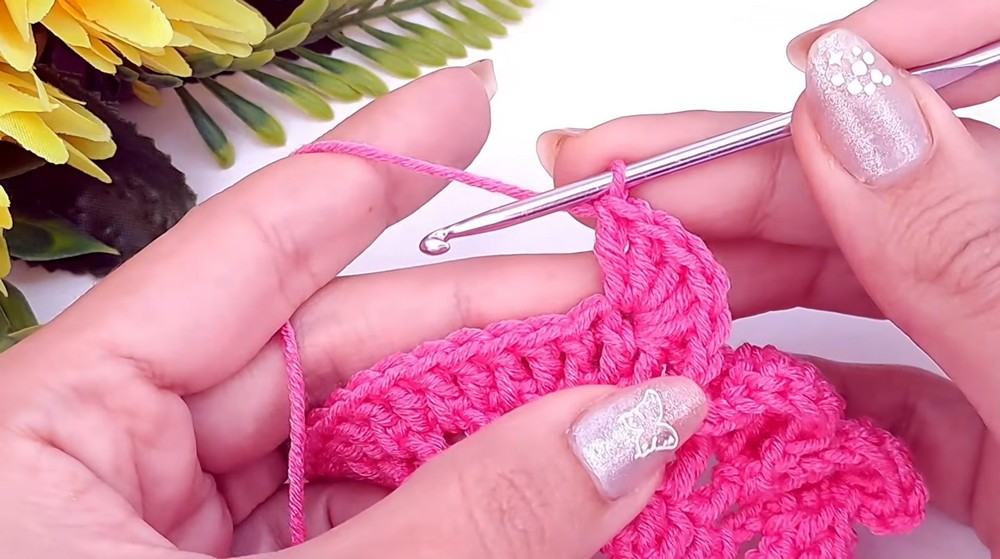
Explanation: The border adds a pretty scalloped edge that also helps the coaster lie flat.
Beginner-Friendly Explanation of Pattern Terms
- Double crochet (dc): Yarn over, insert hook, pull through, yarn over, pull through 2 loops, yarn over pull through last 2 loops.
- Slip stitch (sl st): Insert hook, yarn over, pull through yarn and loop on hook with one motion to join rounds.
- Chain (ch): Yarn over, pull through loop on hook: foundation stitch used to create spaces or starts of rounds.
- Fan Stitch: Multiple stitches worked into one stitch to create a decorative flair, here made with 5 dc.
Finishing and Assembly Directions
- Remove excess yarn by cutting close to fabric after weaving ends inside with tapestry needle.
- Use yarn needle to weave in all loose ends securely on the back side.
- Optionally block coaster by lightly dampening and shaping flat on a surface to ensure perfect flatness.
- Allow to dry thoroughly before use.
Troubleshooting Advice for Beginners
- Coaster curling or ruffling: Ensure you maintain the correct stitch count and tension. Blocking helps but adjusting tension is key.
- Uneven edges: Count stitches carefully and place chain spaces evenly for balanced expansion.
- Tight stitches hamper working stitches: Use a slightly bigger hook size for greater ease unless stiff fabric desired.
- Stitches not joining properly: Ensure slip stitches are worked into correct starting stitch top to avoid gaps.
Bonus Ideas & Creative Applications
- Make matching sets with different colored yarns for tea parties or gifts.
- Use the pattern as a base to create larger doilies or placemats by adding rounds.
- Convert the motif into coasters, jar covers, or decorative pot holders.
- Apply scalloped edging to other crochet projects such as blankets or scarves.
- Re-purpose leftover yarns into beautiful and practical small items.