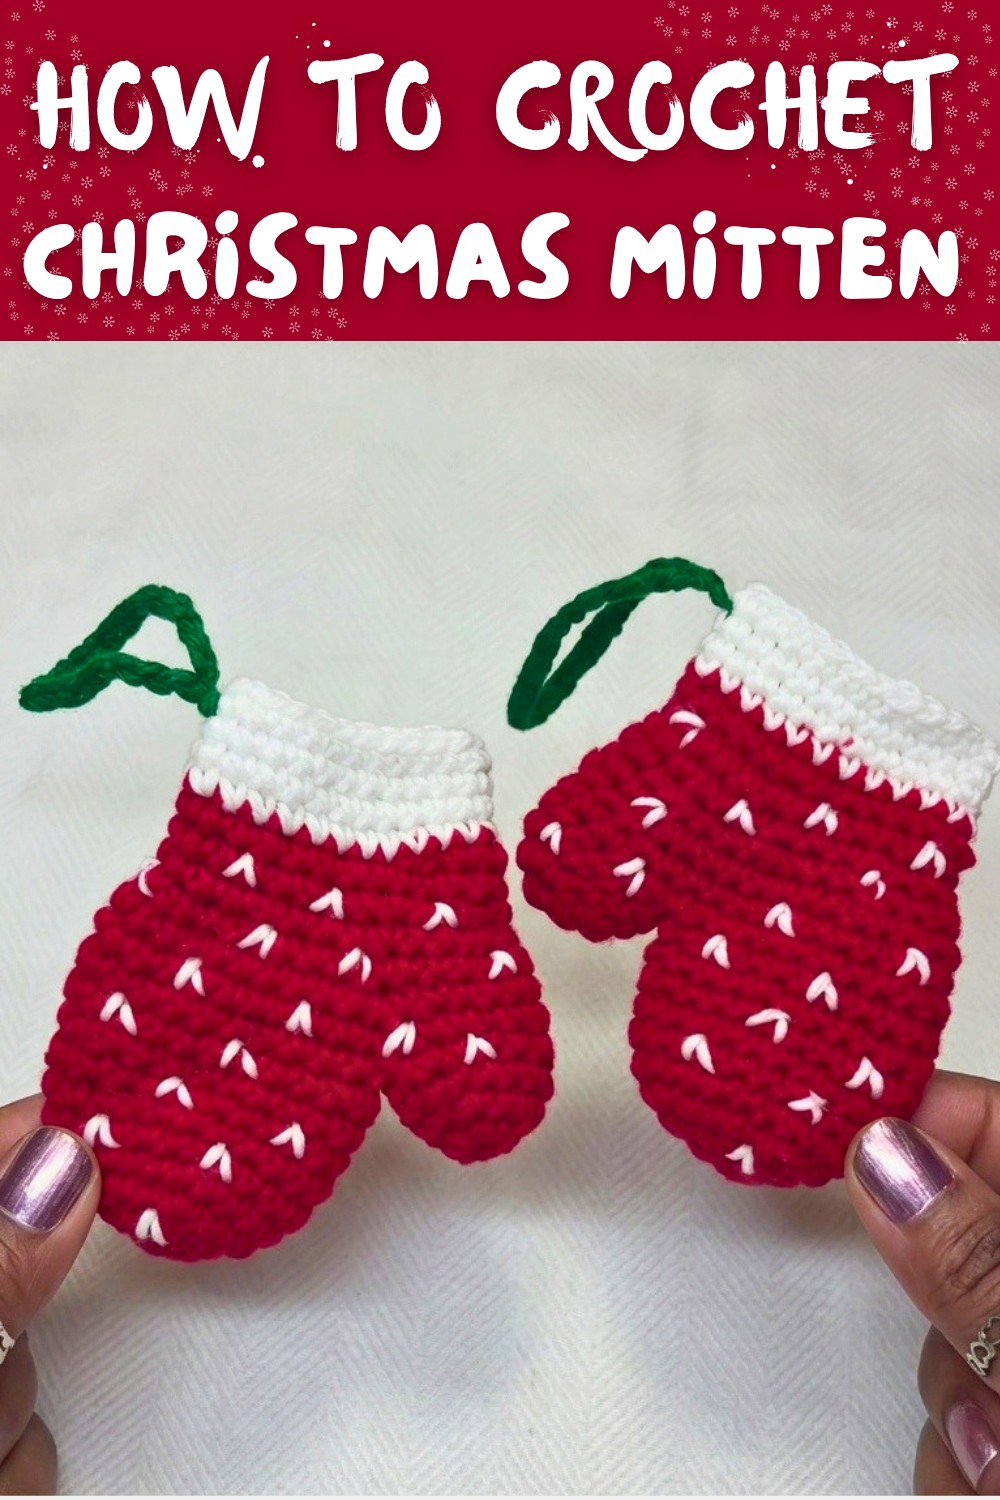
Free Crochet Christmas Mitten Pattern To Cheer Little Ones
Catch the cozy spirit of winter with this Free Crochet Christmas Mitten Pattern and stitch a warm festive piece perfect for holiday decorating or gifting.
The first snowfall always feels magical, bringing a cozy excitement for the holiday season. It's that time of year when we gather with loved ones, sip on warm drinks, and decorate our homes with festive cheer. One of my favorite ways to spread the holiday spirit is with a sweet handmade project like a little mitten ornament. It's the perfect addition to a Christmas tree or a creative way to hold small gifts like chocolates or special trinkets.
Fun Crochet Mitten Pattern for Hanging Decorations
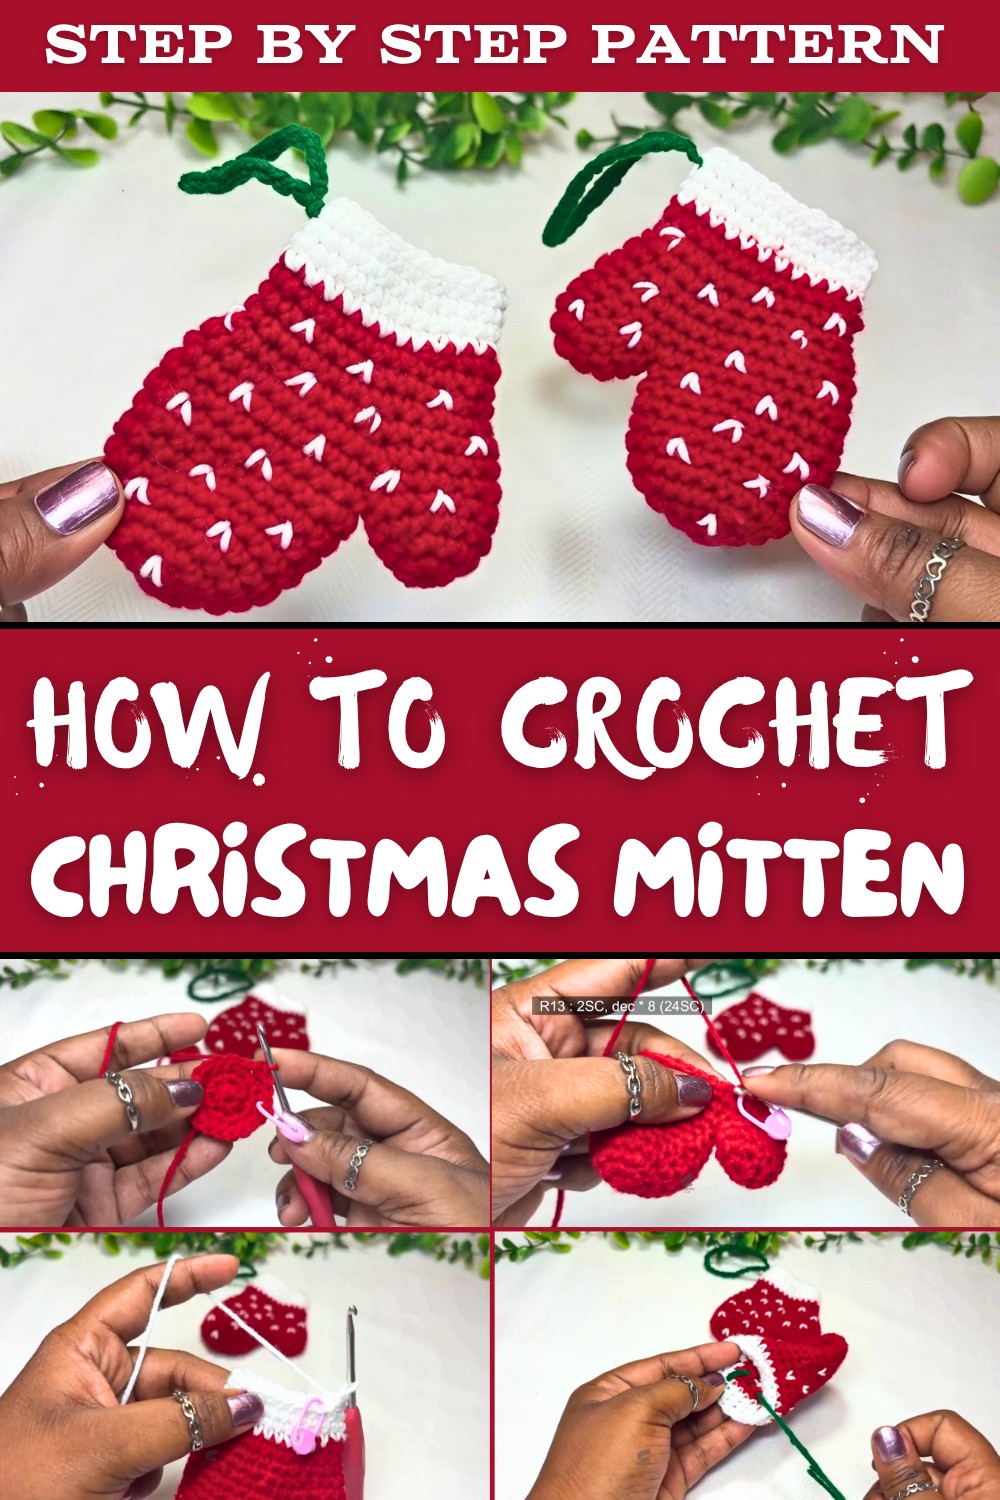
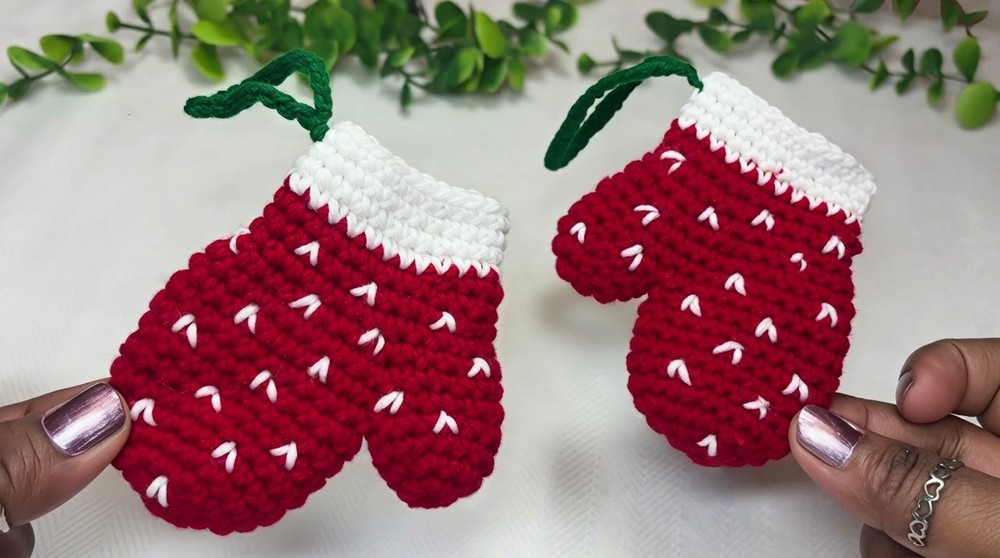
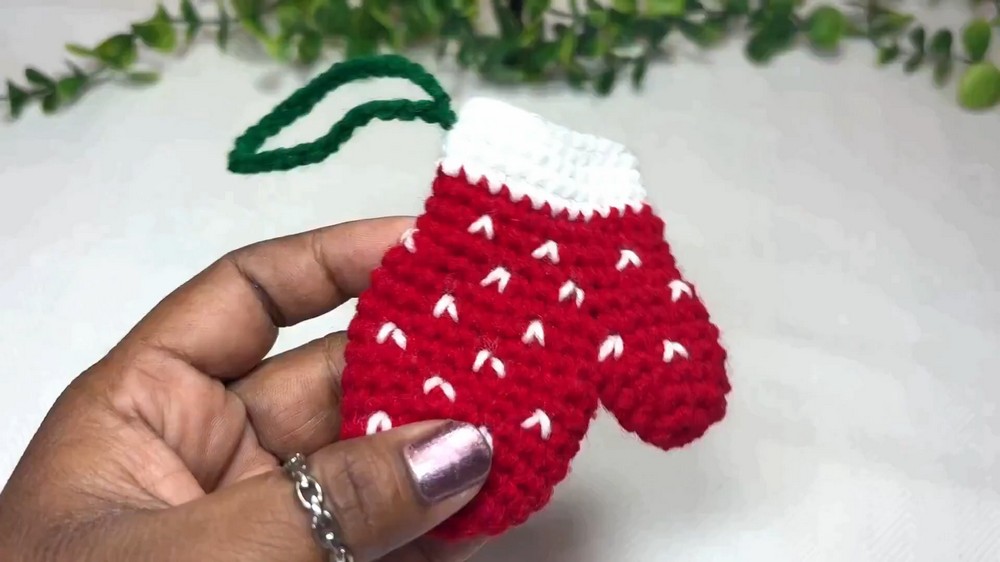
This charming mitten is beautifully simple, with soft, rounded edges and a classic shape that can be customized in endless ways. The smooth texture gives it a timeless feel, and the playful details such as a contrasting border on the cuff or delicate embroidered accents really make it stand out. Sized to fit small surprises, the dimensions are easily adjustable by adding or subtracting rounds to make it suit your needs and style.
The mitten is worked in continuous spiral rounds with basic single crochet stitches, making it approachable for both beginners and seasoned crocheters. Adding the thumb as a separate piece is a fun little twist that gives the mitten its character without making the process complicated. A helpful tip is to keep your tension tight as you crochet to create a sturdy piece, ensuring that whatever you fill it with stays secure. Using acrylic 4 ply yarn complements the texture wonderfully and provides a wide range of color choices.
This project came from a love of creating decorations that feel warm, meaningful, and personal. Whether you choose classic red and white for a traditional Christmas look or get playful with modern colors, this mitten makes a wonderful holiday decoration or heartfelt gift that you can personalize with love. Have fun experimenting and spreading the joy this holiday season.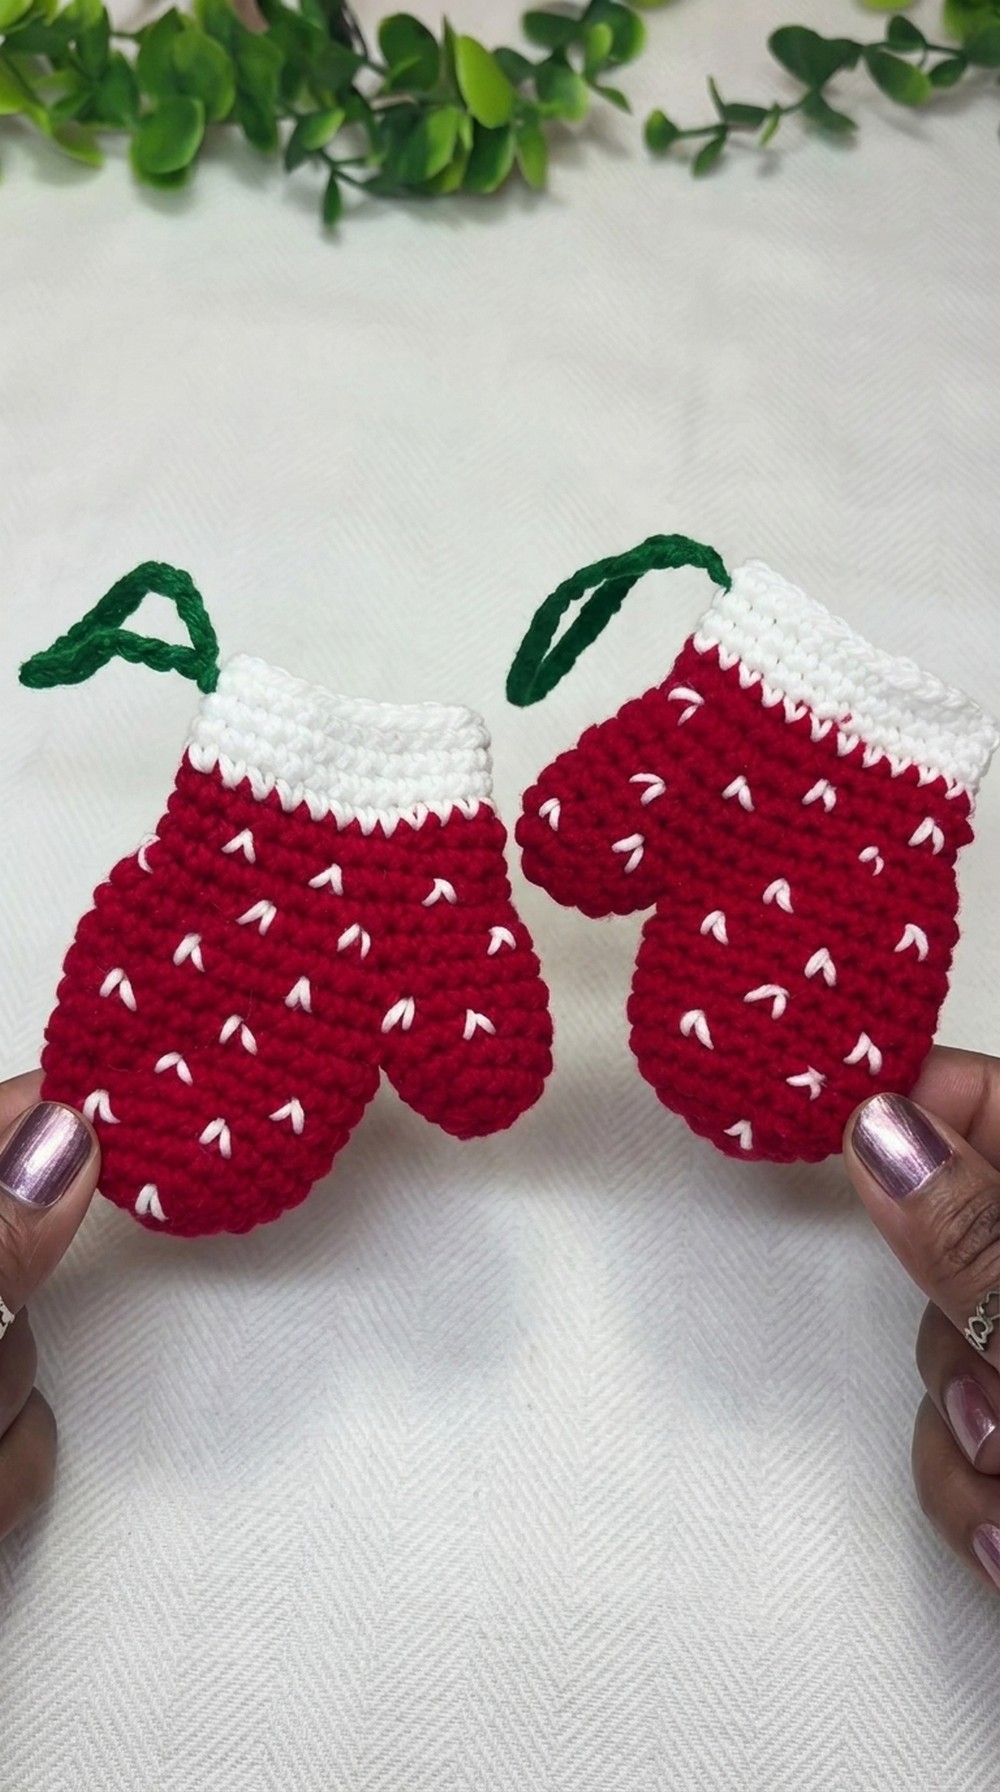
Crochet Christmas Mitten Pattern
Today we will create a Christmas special cute mitten that can hold chocolates or a small gift to present to someone. It looks lovely and comes together very quickly. Let's dive right in and follow along step by step.
Quick Overview of Pattern
Structure: Worked from the bottom up in seamless continuous spiral rounds.
Components: Separate thumb and main mitten body, joined together and worked as a single unit.
Technique: Simple single crochet stitches with basic increases and decreases.
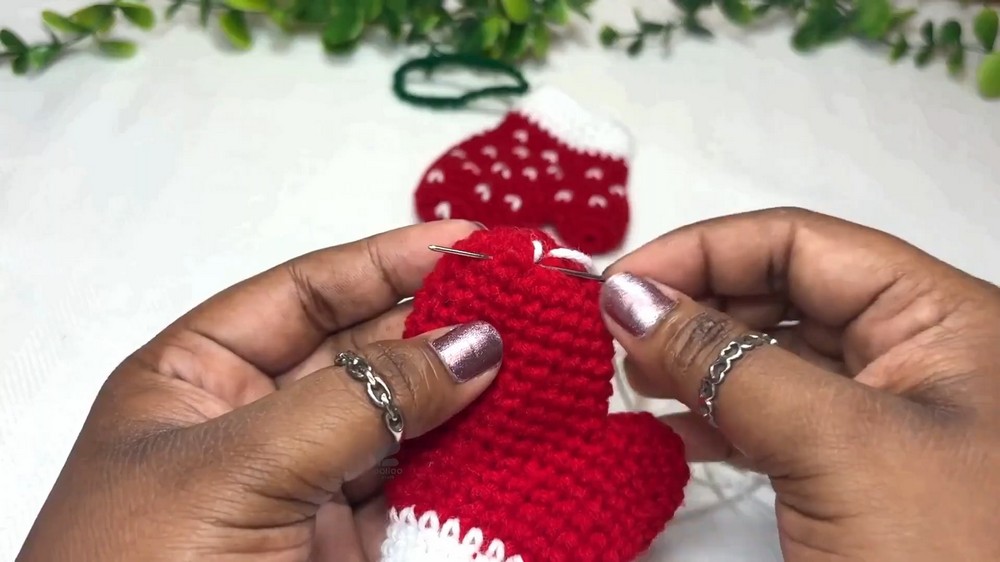
Embellishments: Surface heart embroidery stitch added at the end using yarn and tapestry needle.
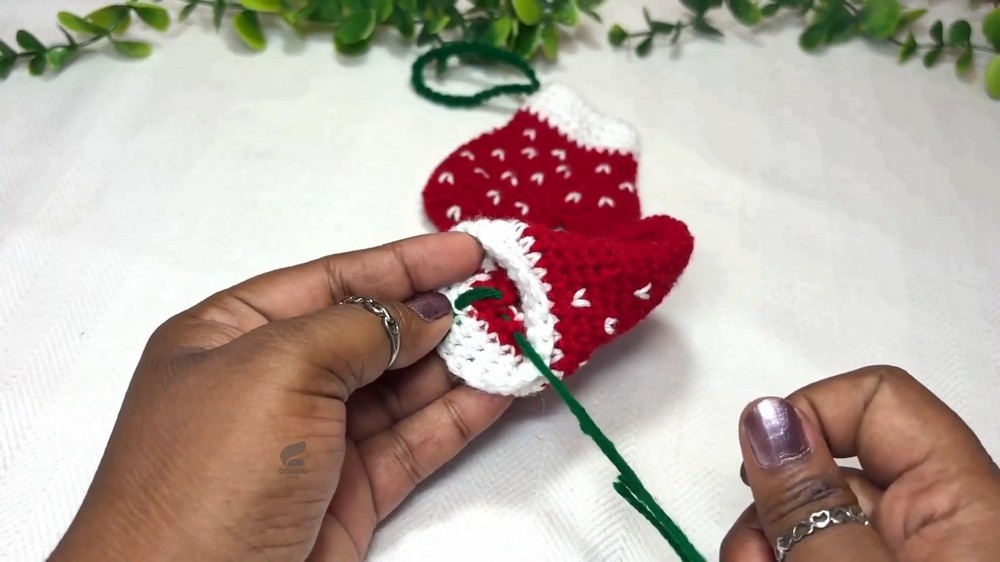
Hanging Loop: Chain cord attached to the top edge for hanging or display.
Notes
- Work in continuous spiral rounds (unless specified). Use a stitch marker to track the first stitch of each round, moving it up as you progress.
- When changing yarn colors, switch colors seamlessly by pulling the new yarn through on the final loop.
- Avoid tightening embroidery threads to prevent fabric puckering.
Skill Level
Easy / Beginner Friendly
Basic skills needed:
- Magic Ring
- Single Crochet
- Increasing & Decreasing
- Changing Colors
Materials
- Yarn: 4 ply acrylic yarn in 3 colors (Main color, White for cuff/embroidery, and optional Accent color).
- Hook: 3.0 mm crochet hook
- Notions: Stitch marker, scissors, tapestry/yarn needle
Measurements and Sizing
- Size: Small Christmas Ornament / Gift Pocket Mitten
- Dimensions: Approx. 3.5" tall by 2" wide (varies with tension)
Gauge (Optional)
Tight stitches recommended so chocolates or gifts don't poke through.
Approximate gauge: 6 sc × 6 rounds = 1 inch
Stitch Abbreviations
| Abbreviation | Definition |
|---|---|
| MR | Magic Ring |
| sc | Single Crochet |
| inc | Increase (2 sc in the same stitch) |
| dec | Decrease (Invisible or regular) |
| sl st | Slip Stitch |
| st(s) | Stitch(es) |
| rnd(s) | Round(s) |
Special Stitches
Single Crochet Decrease (sc dec)
- Insert hook into the front loop of the next stitch, pull up a loop.
- Insert hook into the front loop of the next stitch, pull up a loop (3 loops on hook).
- Yarn over and pull through all 3 loops.
Heart Embroidery Stitch
- Make two parallel vertical stitches anchored together at the bottom center to form a "V" or heart shape.
The Crochet Pattern
Part 1: The Thumb
Using the main color and 3.0 mm hook:
Thumb Rounds
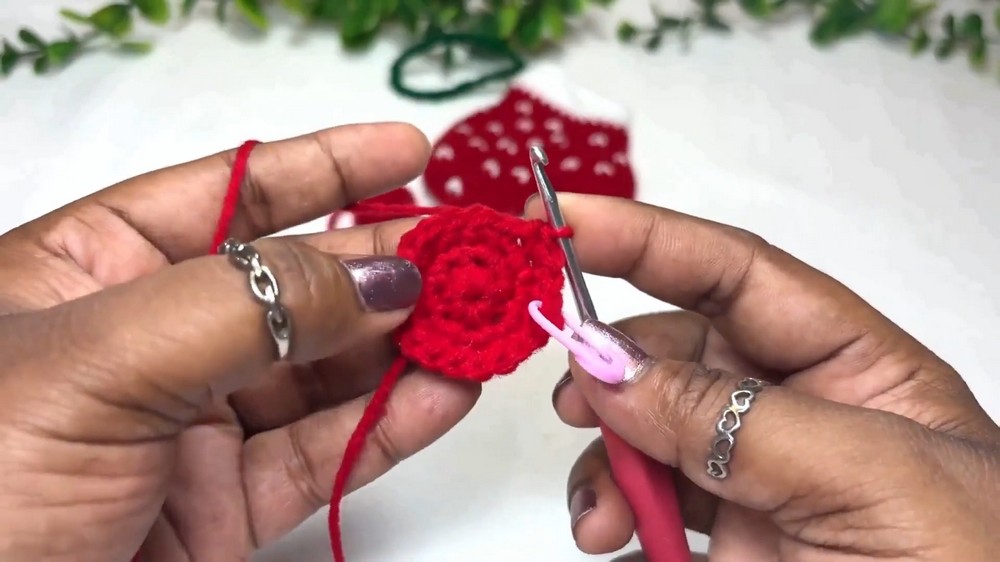
- Round 1: Create a MR, work 6 sc into the ring. Pull tight. (6 sts)
- Round 2: Work 1 inc in every stitch around [2 sc in each st]. (12 sts)
- Round 3 to 4: Work 1 sc in each stitch around without increases. (12 sts per round)
Finishing the Thumb:
Slip stitch into the next stitch. Fasten off, leaving a short tail. Set aside.
Part 2: The Main Mitten Body
Using the main color and 3.0 mm hook:
Body Rounds
- Round 1: Create a MR, work 7 sc into the ring. Pull tight. (7 sts)
- Round 2: Work 1 inc in every stitch around. (14 sts)
- Round 3: Repeat [1 sc, 1 inc] around. (21 sts)
- Rounds 4-9: Work 1 sc in each stitch around. (21 sts per round)
Part 3: Joining the Thumb to the Body
- Round 10:
- Align the thumb next to the mitten body.
- Insert hook into a body stitch and into a thumb stitch. Slip Stitch to join.
- Begin working sc stitches around the thumb and body, seamlessly combining both pieces. (32 sc total)
- Rounds 11-12: Work 1 sc in each stitch around. (32 sts per round)
Part 4: The Hand & Wrist Decreases
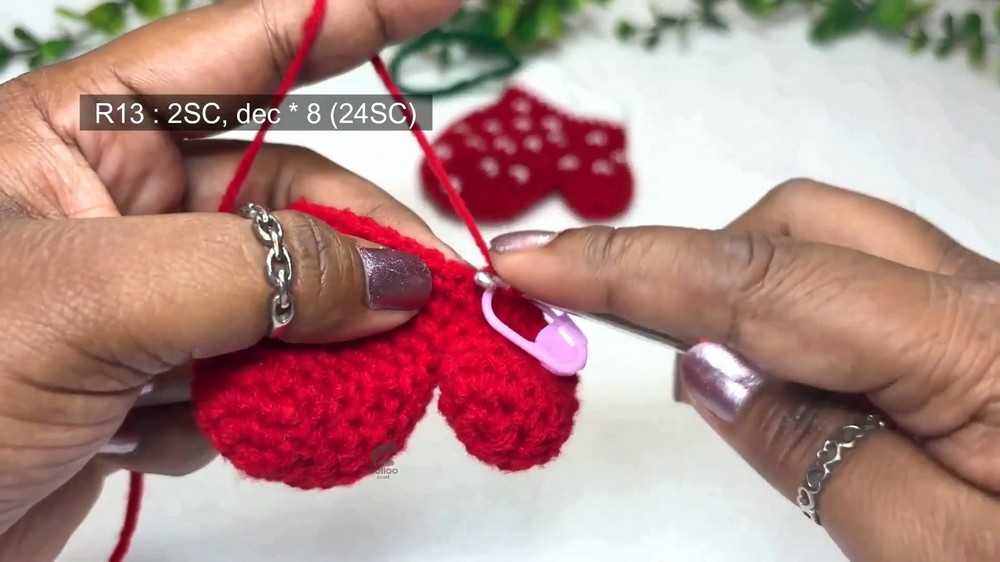
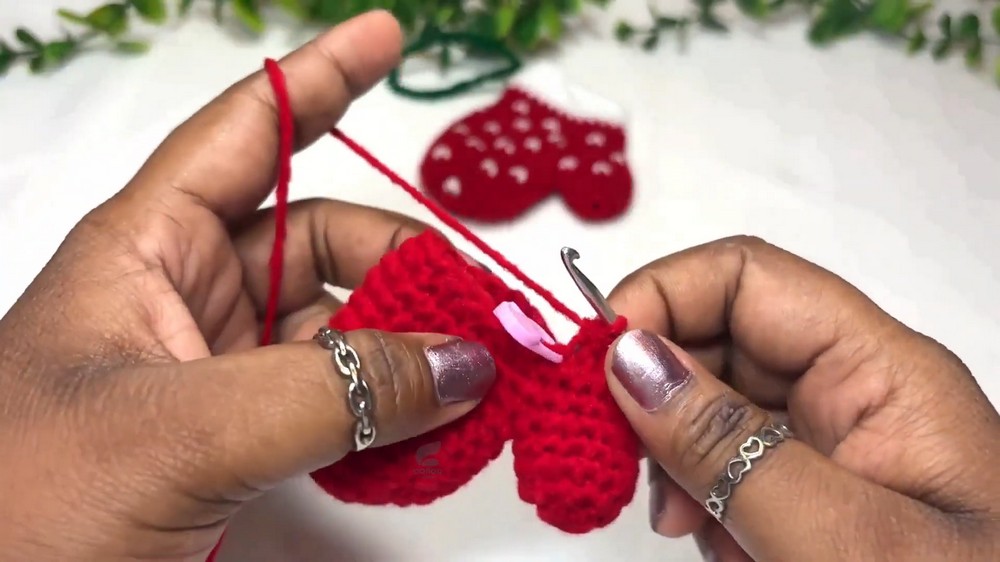
- Round 13:
- Follow the pattern: [1 sc, 1 sc, 1 sc dec].
- Repeat sequence all around. (24 sts)
- Rounds 14-16: Work 1 sc in each stitch around. (24 sts per round)
Part 5: Adding the Cuff
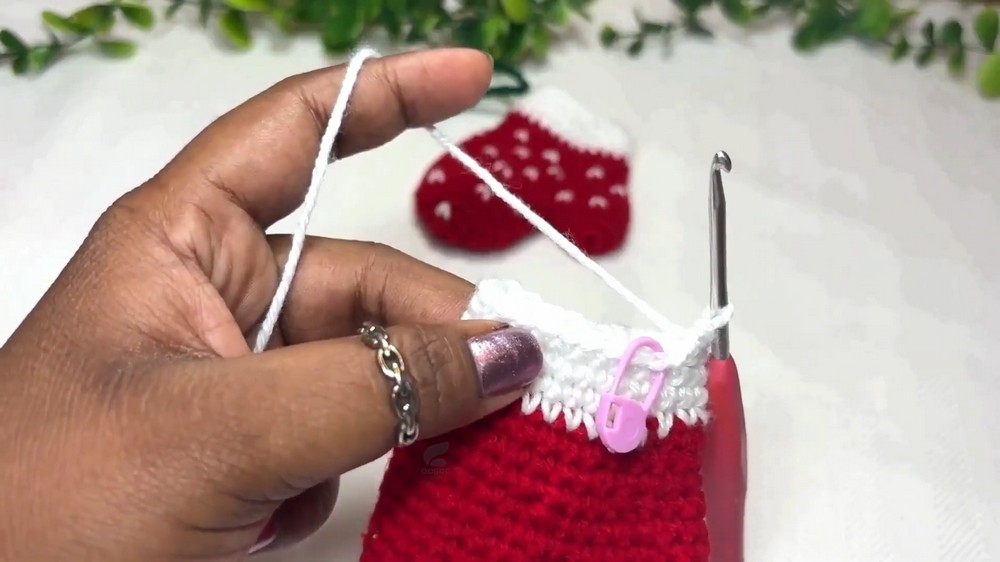
Switch to White Yarn: On the last sc of Round 16, complete the stitch using White Yarn.
- Rounds 17-20: Work 1 sc in each stitch around using White Yarn. (24 sts per round)
Finishing the Cuff:
- Cut the yarn and use a tapestry needle to weave in ends invisibly.
Part 6: Embellishments
Heart Embroidery
- Thread White Yarn onto the tapestry needle with a secure knot.
- Form mini heart shapes by stitching small parallel "V" shapes evenly spaced across the mitten's body.
Hanging Loop:
- Using yarn, make a chain of 28 stitches.
- Attach the loop securely to the mitten cuff's inner edge using tapestry needle stitching.
Assembly and Finishing
- Use White Yarn and tapestry needle to seamlessly finish edges.
- Trim internal ends and ensure all threads are woven neatly.
Customization Ideas
- Colors: Experiment with different color combinations for a unique look.
- Personalization: Embroider initials or festive patterns instead of hearts.
- Size Alteration: Add or reduce rounds to create a larger or smaller mitten for various uses.
- Details: Add beads, small buttons, or felt decorations for extra charm.
Conclusion
Your Christmas mitten ornament is ready. Fill it with chocolates or small gifts, or hang it as a festive decoration.
How did your project turn out? Let me know in the comments. Stay creative, and see you in the next project.