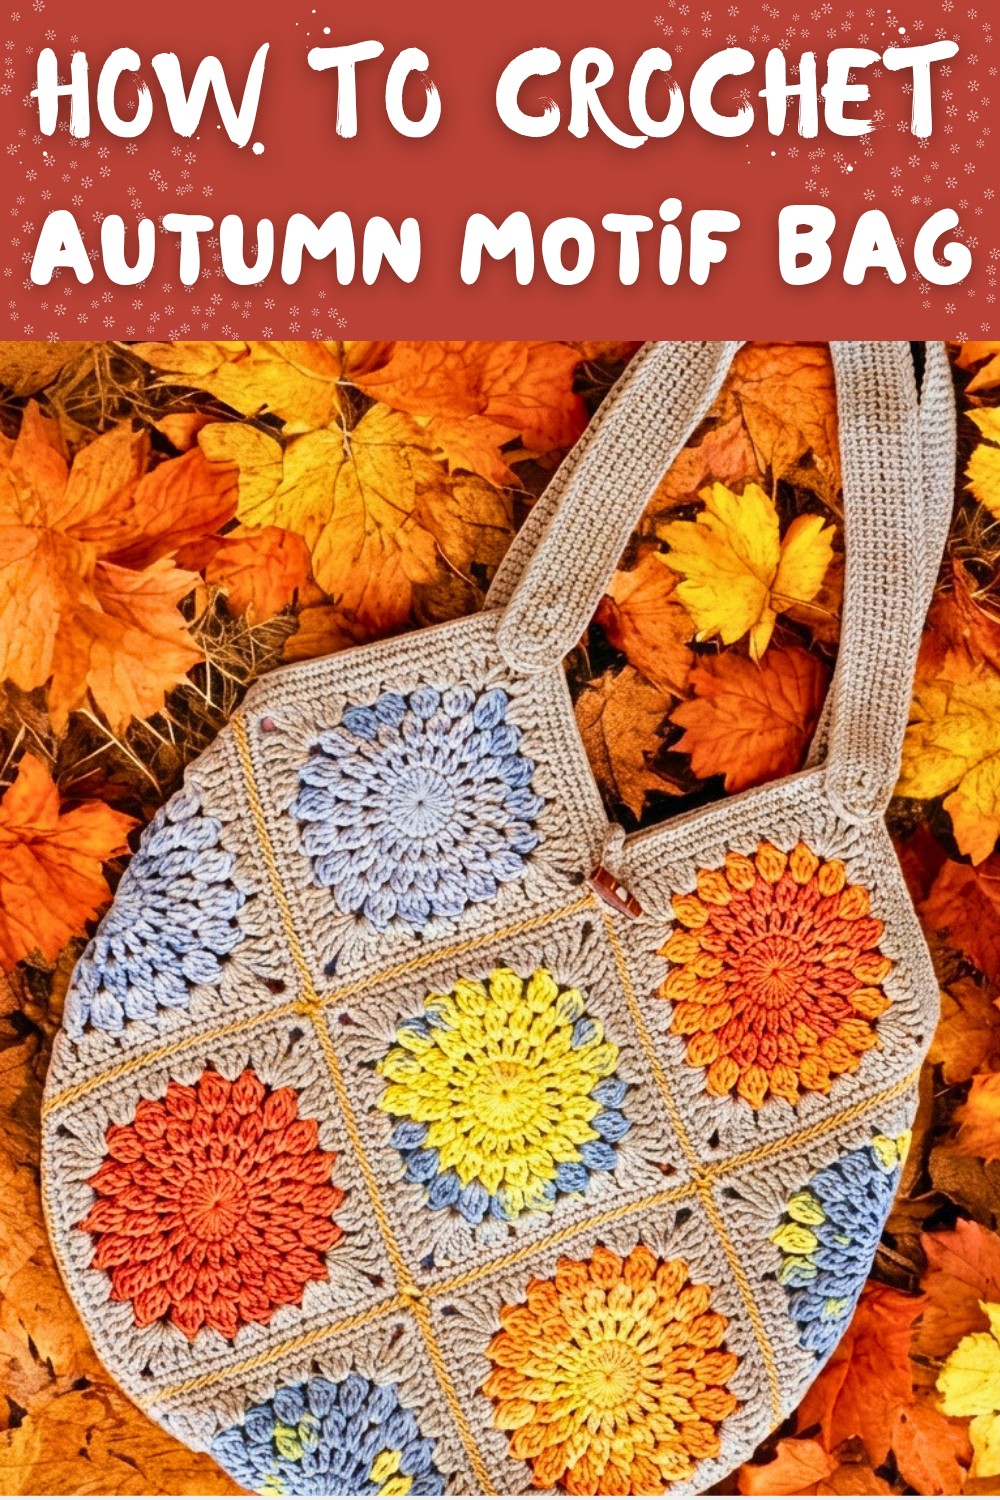
Charming Free Crochet Autumn Motif Bag Pattern For Fall
Make a cute autumn bag with easy crochet stitches and colorful motifs, a fun and simple project to show off your creativity and enjoy the fall vibes.
The air is cooler, leaves crunch beneath your feet, and the warm colors of autumn are everywhere. This brings the perfect time to make something reflective of the season, a cheerful and practical autumn themed crochet bag. With soft yarn and cozy fall colors, this project lets you stitch together adorable motifs inspired by the beauty of the season. Made using simple stitches like single crochet, slip stitch, and chain stitch, this bag is not just functional for carrying books or small treasures but also adds a pop of autumn charm to any outfit. These stitches can also be used to make matching items like coasters, bookmarks, or even mini gift pouches, making it both fun and versatile.
Free Easy Crochet Autumn Bag Pattern to Try This Season
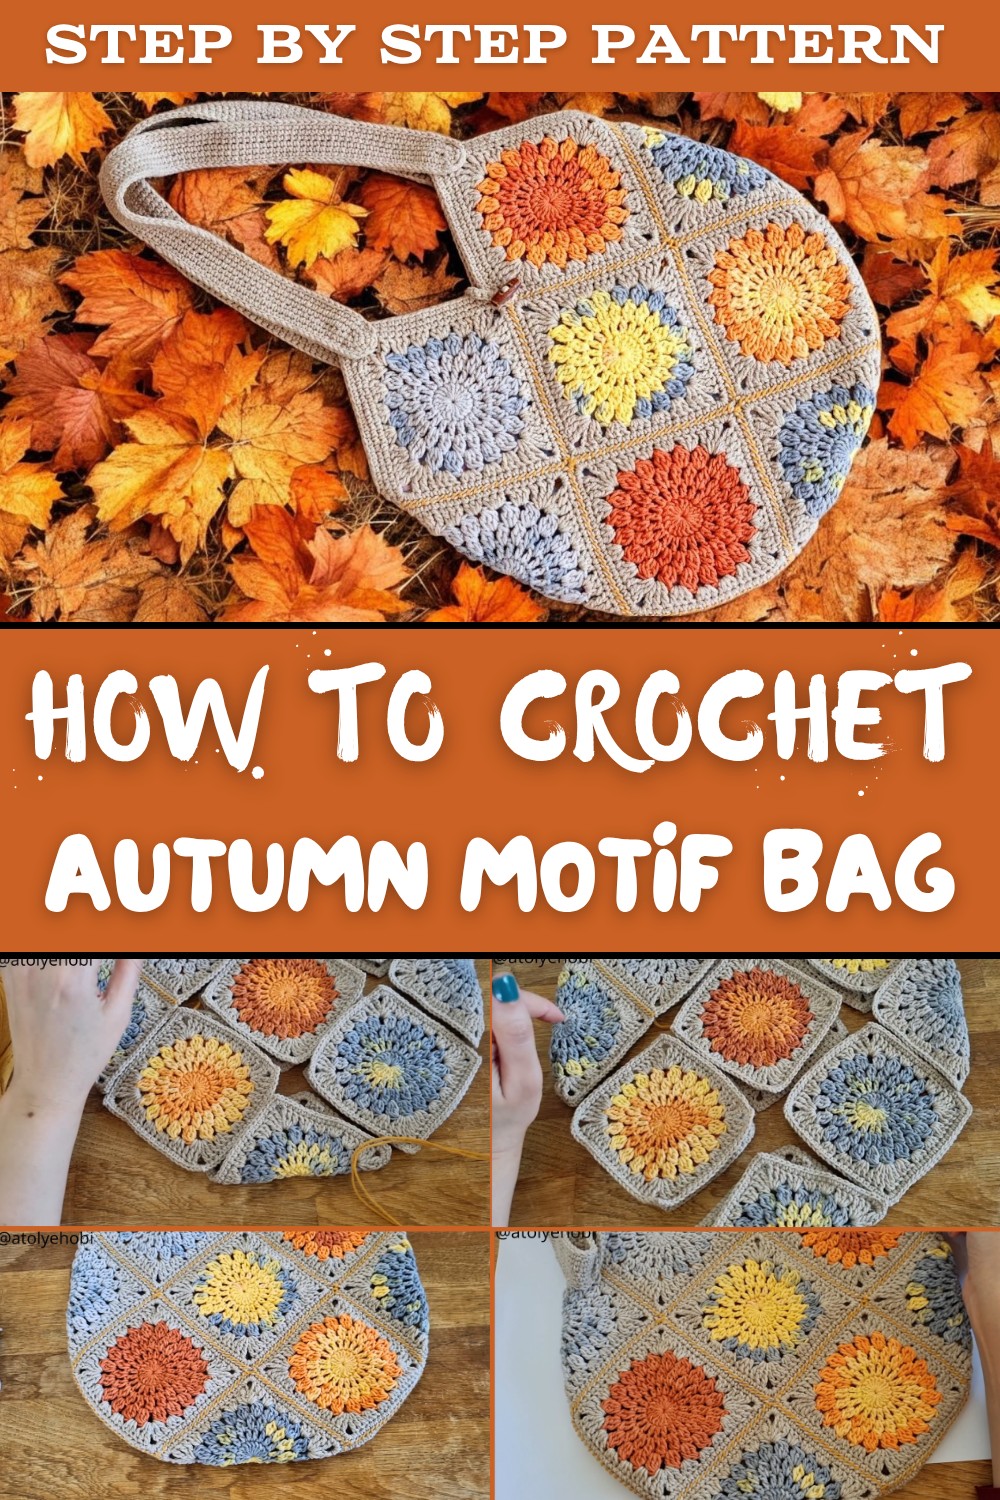
By following this pattern, you will learn how to connect squares seamlessly, shape edges with structured single crochet borders, and add decorative seams to highlight the bag's details. The steps are straightforward and easy to follow, and there's something satisfying about combining simple techniques in new ways. You'll also get a chance to practice adding linings for durability or optional buttons to give the bag extra personality. It's a great way to pick up new skills even if you're new to crochet.
Some moments in the process might catch you off guard, especially when joining your motifs. If your squares don't align perfectly, you can lightly block them by steaming or pinning them into shape on a flat surface before sewing. Crocheting is all about patience-and with the right adjustments, your project will look beautiful. This easy to follow guide is perfect for anyone wanting to bring a little autumn warmth to their crochet.
Comprehensive Crochet Pattern: Granny Square Motif Bag
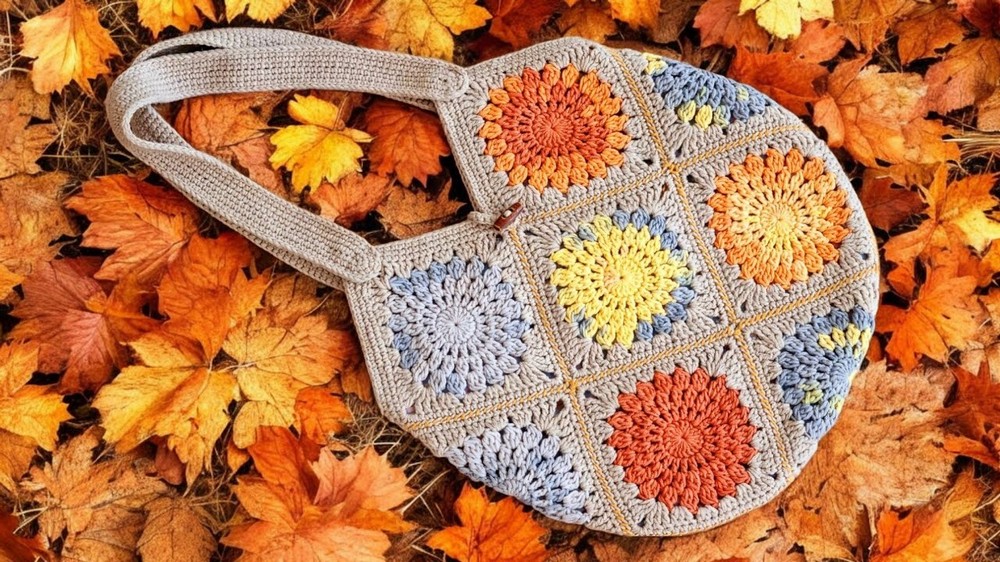
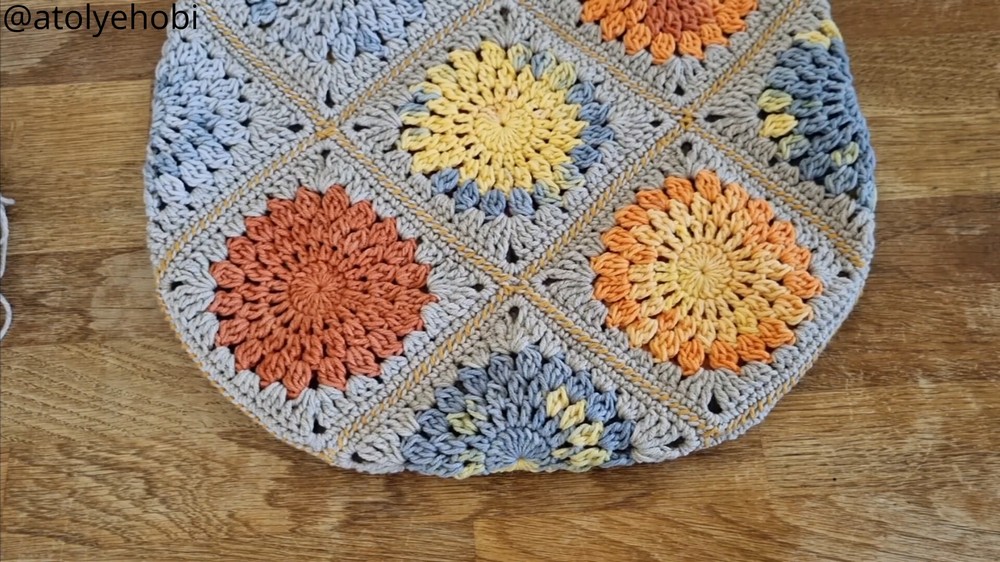
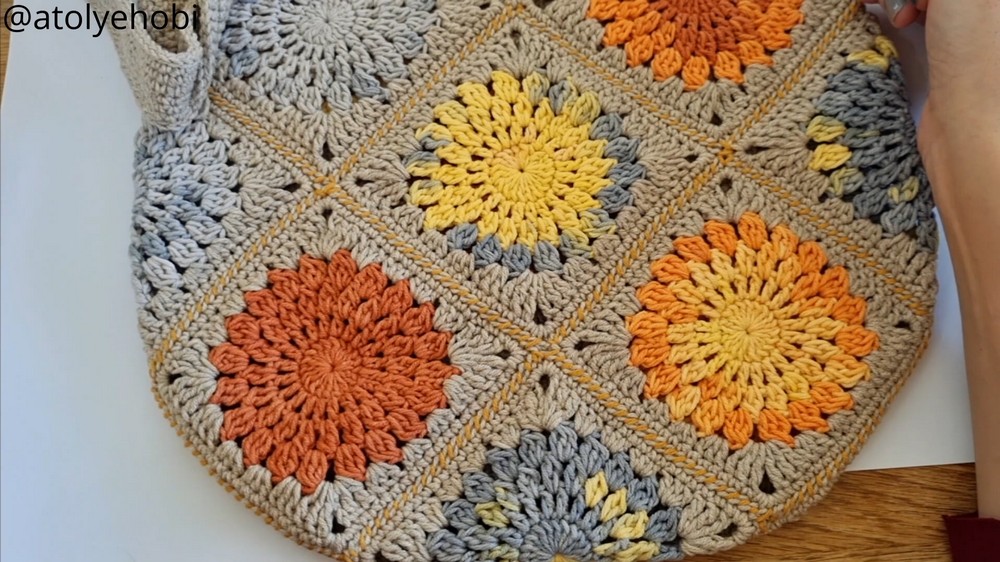
In this project, you'll learn how to create a fun and functional granny square bag using pre made motifs. We'll focus on assembling the motifs with a flat surface tapestry needle technique, where the visible seam adds a unique, decorative line between squares. Once the motifs are joined, we'll finish with a single crochet border around the bag's rim and construct a custom oval ended strap for added durability and flair. This bag is perfect for showcasing your crochet skills while making a stylish and practical accessory.
Quick Overview of the Pattern
Motif Assembly
- 13 Square Motifs:
- Use 10 motifs for the front and back panels (5 each).
- Use the remaining 3 motifs for the sides and bottom gussets.
Joining Technique
- Use whip stitch or mattress stitch with a contrast yarn and a tapestry needle.
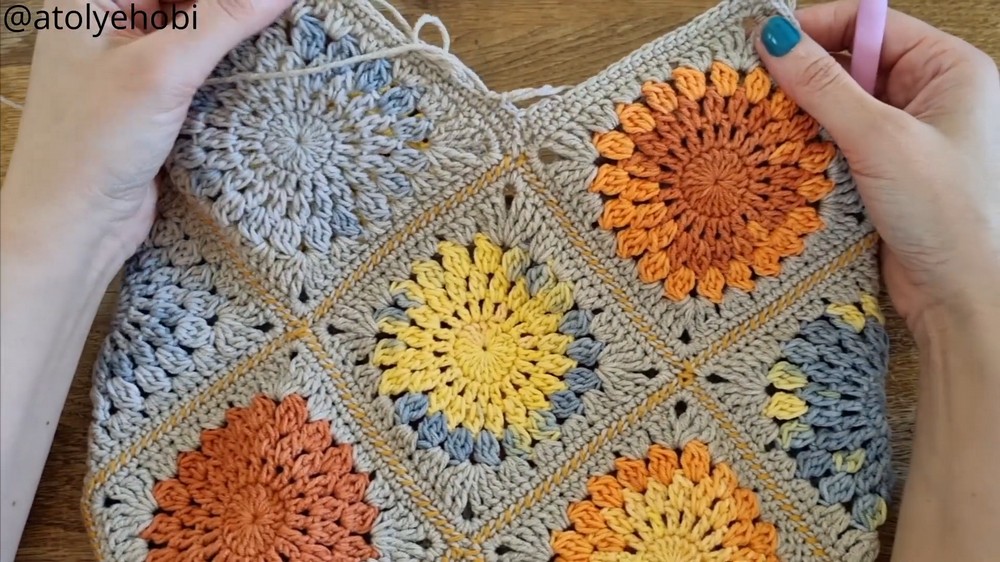
- The visible seaming creates a decorative effect, giving the bag a unique and playful look.
Top Edging
- Work 3 rounds of single crochet around the bag's open rim.
- Add increases in peak corners and decreases in valley corners to maintain a clean and symmetrical shape.
Strap Construction
- The strap is worked in lengthwise oval rounds, starting from a 100 stitch chain foundation.
- It is completed with a stabilizing slip stitch border to prevent stretching and add strength.
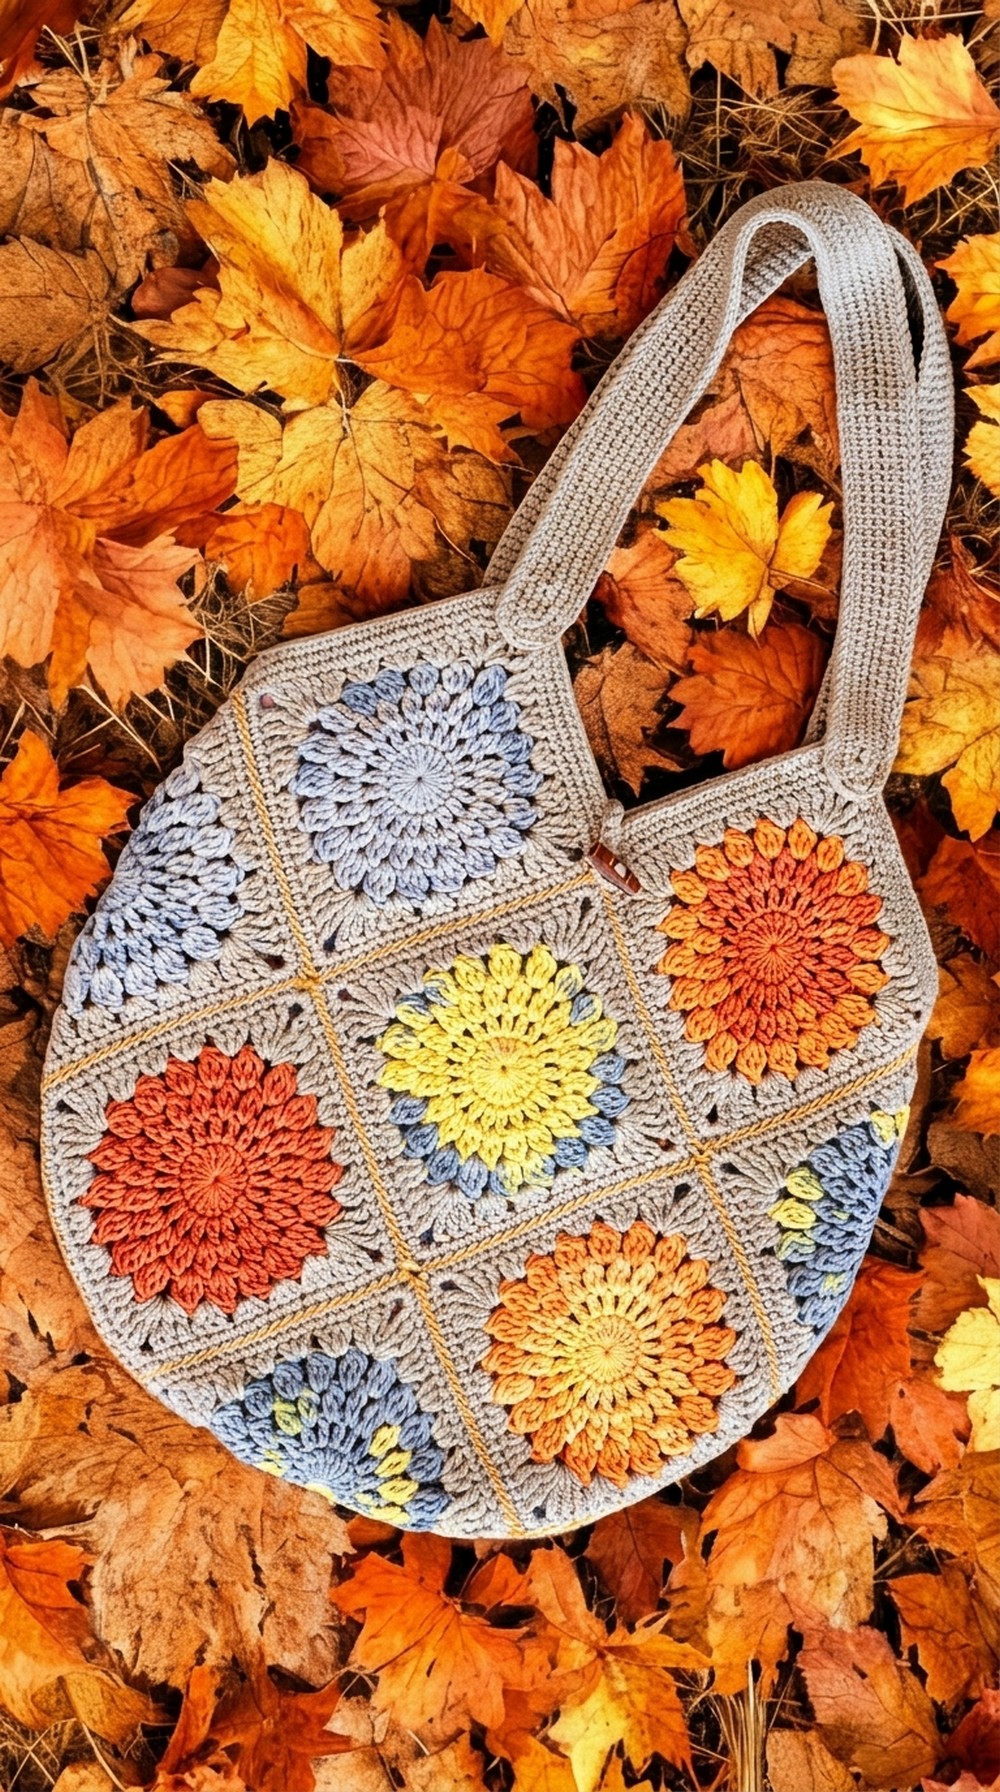
Recommended Finishing
- Add an internal fabric lining for structural support and to prevent stretching over time.
- Optional snap closures or decorative buttons can be added for additional functionality and personalization.
Important Notes
- Read through all instructions before starting the project to understand the full process.
- Ensure that all 13 square motifs are blocked and ready for assembly before joining them.
- Contrast yarn is used in the assembly process to highlight the decorative seams, but you may choose a matching yarn for a more seamless appearance.
- Wool and cotton yarns can stretch under weight. To maintain the bag's shape and dimensions, lining it with a woven fabric is highly recommended.
Skill Level
- Intermediate: This project involves techniques such as single crochet, slip stitches, increasing and decreasing, sewing flat seams, and assembling geometric patterns.
Materials Needed
- Yarn:
- Main Color Yarn (Cotton or Wool): Approx. ⅔ skein for borders and handles.
- Contrast Yarn: A small amount for joining the seams.
- Motif Yarn: Approx. ½ skein per motif section.
- Hook Size:
- Use a crochet hook between 3.5 mm and 4.5 mm, depending on your yarn's gauge and recommended hook size.
- Other Tools:
- Tapestry Needle: For sewing seams and weaving in ends.
- Scissors: For cutting yarn.
- Measuring Tape: To check dimensions.
- Optional: Fabric for lining, sewing thread, sewing needle, and snap buttons or magnetic closures.
Measurements & Sizing
Small Bag Version:
- Motif Size: 11 cm x 11 cm.
- Overall Bag Size (After Assembly): Approximately 32 cm x 32 cm.
Large Bag Version:
- Motif Size: 13 cm x 13 cm.
- Overall Bag Size (After Assembly): Approximately 38 cm x 38 cm.
Strap Dimensions:
- Length: Approximately 45 cm (un stretched).
- Width: Approximately 3 cm.
Gauge
- Gauge varies based on motif size and yarn choice.
- Standard Motif Target Size:
- 1 Square = 11 cm x 11 cm (small bag) or 13 cm x 13 cm (large bag) without distortion.
Stitch Abbreviations
- ch: Chain
- sc: Single Crochet
- sl st: Slip Stitch
- st(s): Stitch(es)
- inc: Increase (work multiple stitches in the same stitch)
- dec/sc3tog: Single Crochet 3 Together (decrease over 3 stitches)
Special Stitches
- 3 sc Corner Increase:
- Work 3 single crochet stitches into the same target stitch or corner space to smoothly navigate convex points.
- Valley Sc3tog (Valley Decrease):
- Insert hook into the final stitch of the first motif, the junction center stitch, and the first stitch of the next motif. Yarn over and pull up a loop through each stitch (4 loops on hook). Yarn over and pull through all 4 loops to complete the decrease.
Step by Step Crochet Pattern
Step 1: Geometric Layout & Motif Placement
- Arrange all 13 motifs on a flat surface in the following layout:
- Front and Back Panels:
- Lay down 5 motifs for each panel (3 across the lower row and 2 centered on the upper row).
- Gusset Motifs:
- Place the remaining 3 motifs along the sides and bottom.
- 1 motif folded diagonally along the bottom right side.
- 1 motif folded diagonally along the bottom left side.
- 1 motif folded along the lower center seam line.
- Front and Back Panels:
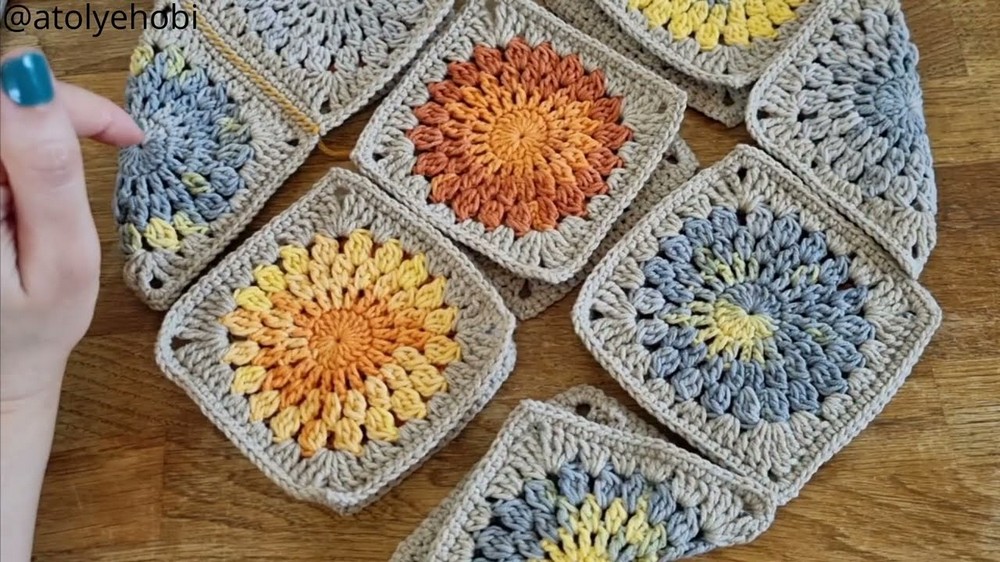
TIP: Use pins or arrange based on numbers so the colors and patterns don't get misplaced during assembly.
Step 2: Joining the Motifs
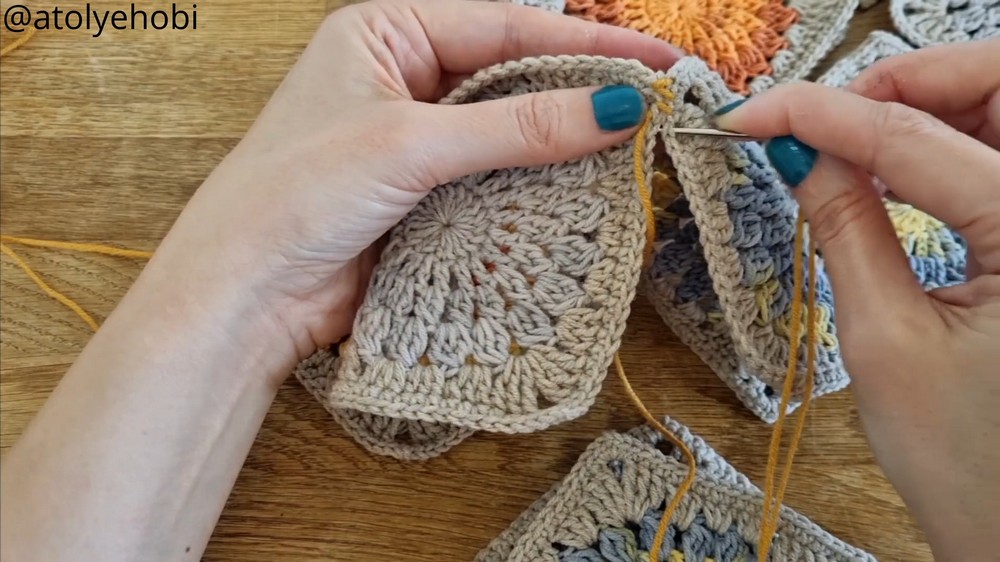
- Thread Contrast Yarn:
- Use enough yarn to join without knots.
- Align Motifs:
- Place two adjacent motifs right side up.
- Pass the needle under both loops of corresponding edge stitches. Match stitch-for-stitch.
- Sew Straight Seams:
- Work along straight seam lines continuously.
- Handle Gusset Corners:
- Fold the gusset motifs along diagonal lines and join securely.
- Weave Ends:
- Secure all yarn tails on the wrong side of the bag.
Step 3: Top Rim Edging
- Round 1:
- Attach the main color yarn in any peak corner space.
- Single crochet into each stitch, working:
- 3 sc in corner peaks (convex points).
- Valley Sc3tog in valleys (concave points).
- Slip stitch to the first single crochet to join.
- Rounds 2 and 3:
- Work single crochets around, keeping the same corner increases and valley decreases.
- Finish off by weaving the tail or with an invisible join.
Step 4: Strap Construction
- Base Chain:
- Chain 100 (or desired length for strap).
- Round 1:
- Single crochet along one side of the chain.
- Work 3 sc into the last chain to form the rounded end.
- Rotate and sc along the remaining chains.
- Slip stitch to the first sc.
- Subsequent Rounds:
- Continue sc rounds, increasing at the curved ends to maintain the oval shape.
- Final Round (Stabilizing Edge):
- Slip stitch around the strap to reinforce its structure.
Assembly & Finishing
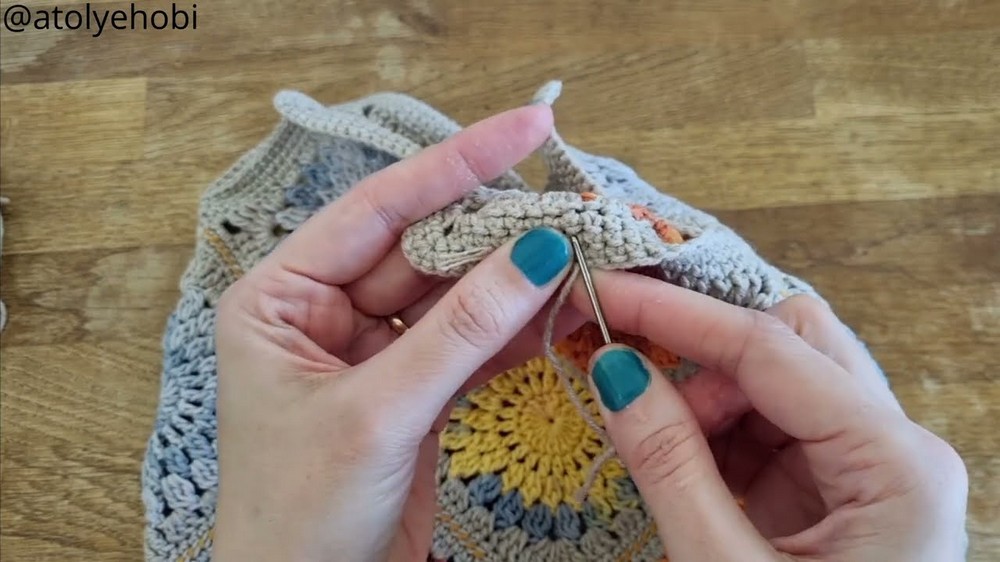
- Attach the Strap:
- Secure strap ends to the bag interior using strong stitches (e.g., box-and-cross stitch).
- Add Lining (Optional):
- Cut fabric pieces to the dimensions of the bag, adding 1 cm seam allowance.
- Sew together and press top edges.
- Blind stitch the lining to the bag's inner rim.
- Optional Closures:
- Sew magnetic closures or buttons to the lining before attaching it to the bag.
Conclusion
Your crochet granny square bag is now complete. The decorative seams, continuous strap, and sturdy lining create a timeless and functional design. Feel free to experiment with new colors, motifs, or straps for a personal touch.