Free Crochet Top With Flower Pattern For Summer Fun
Learn how to make a pretty crochet top with a flower detail that is stylish, comfy, and perfect for any size with this simple and fun free pattern.
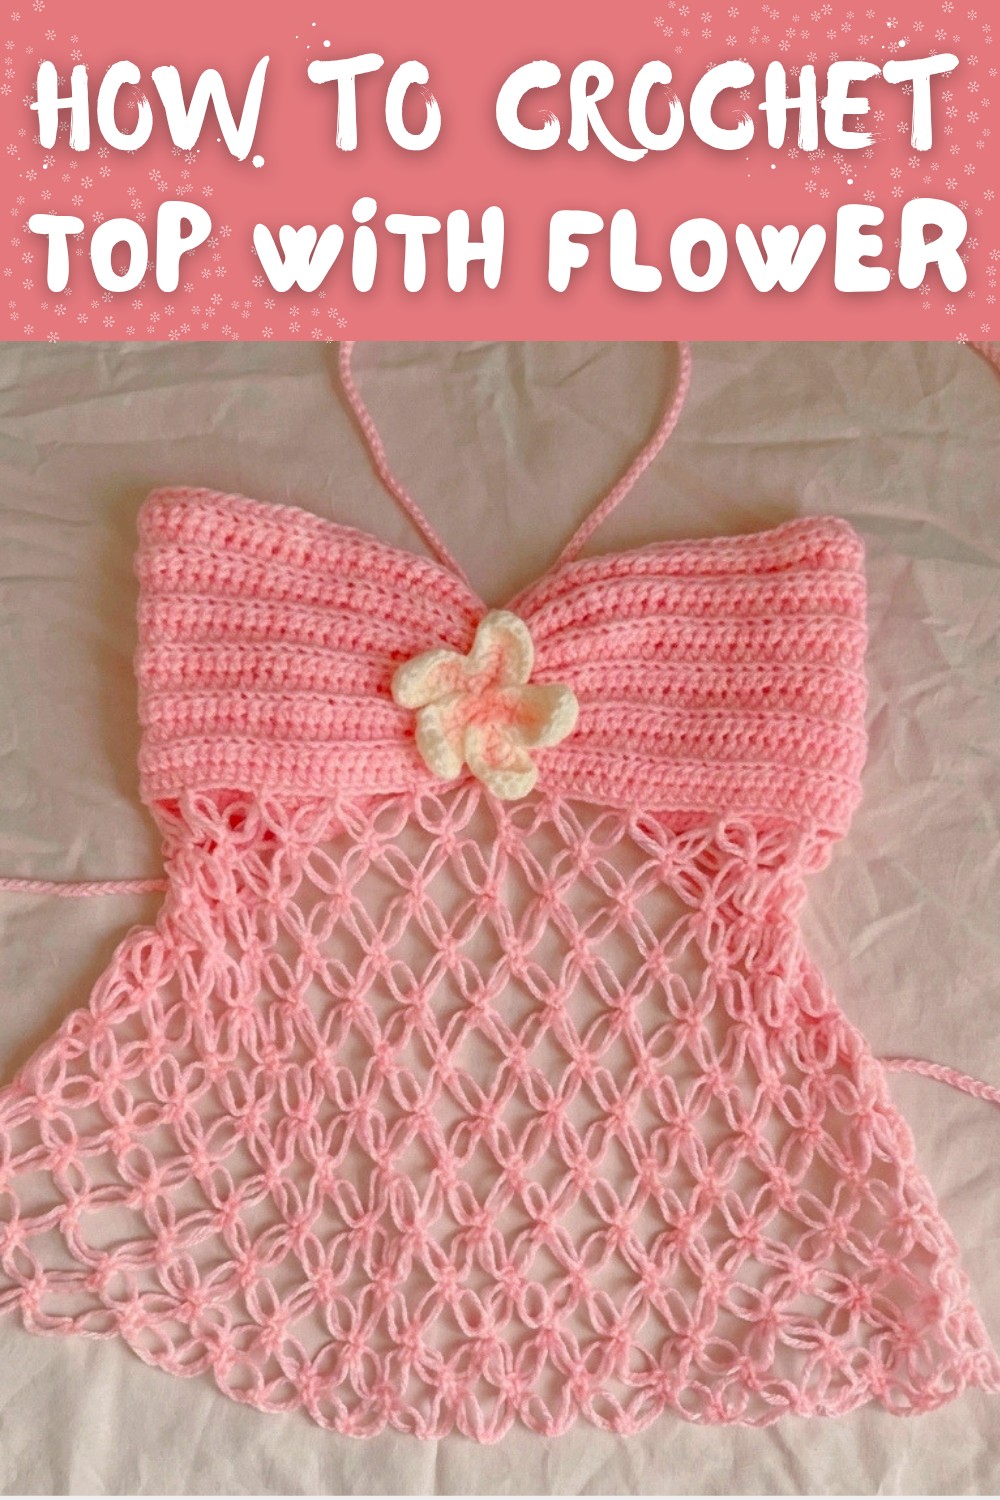
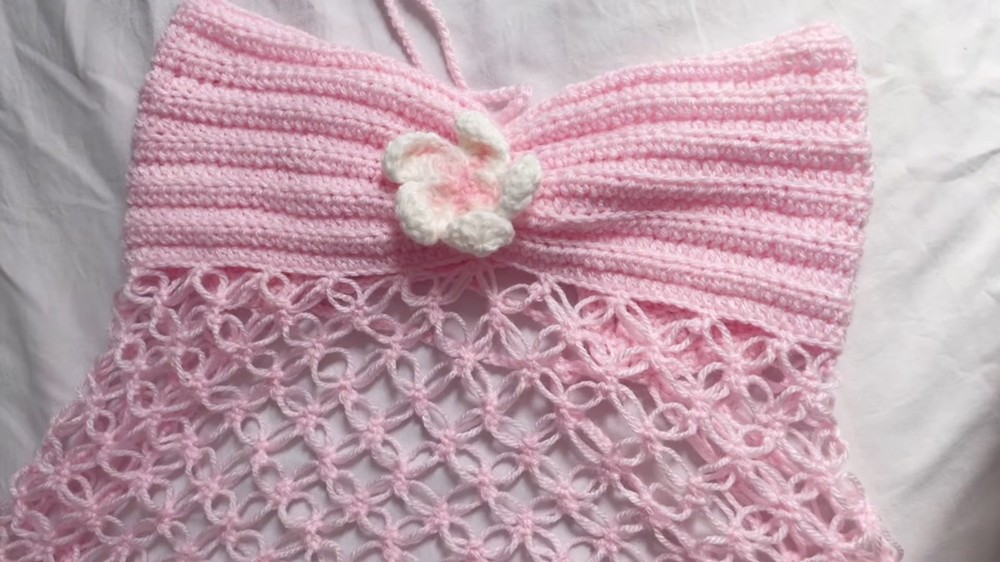
This lightweight crochet project features a stylish, textured top adorned with a delicate flower accent at the center. Its flattering shape and airy lace detailing make it an elegant addition to any wardrobe, perfect for warm weather outings, casual dates, or special occasions. The combination of a sturdy back loop only band and soft Solomon's Knot stitching results in a beautiful mix of texture that suits all body types and can be easily customized for a perfect fit.
Try This graceful Crochet Top with Flower Pattern that is Free and Easy
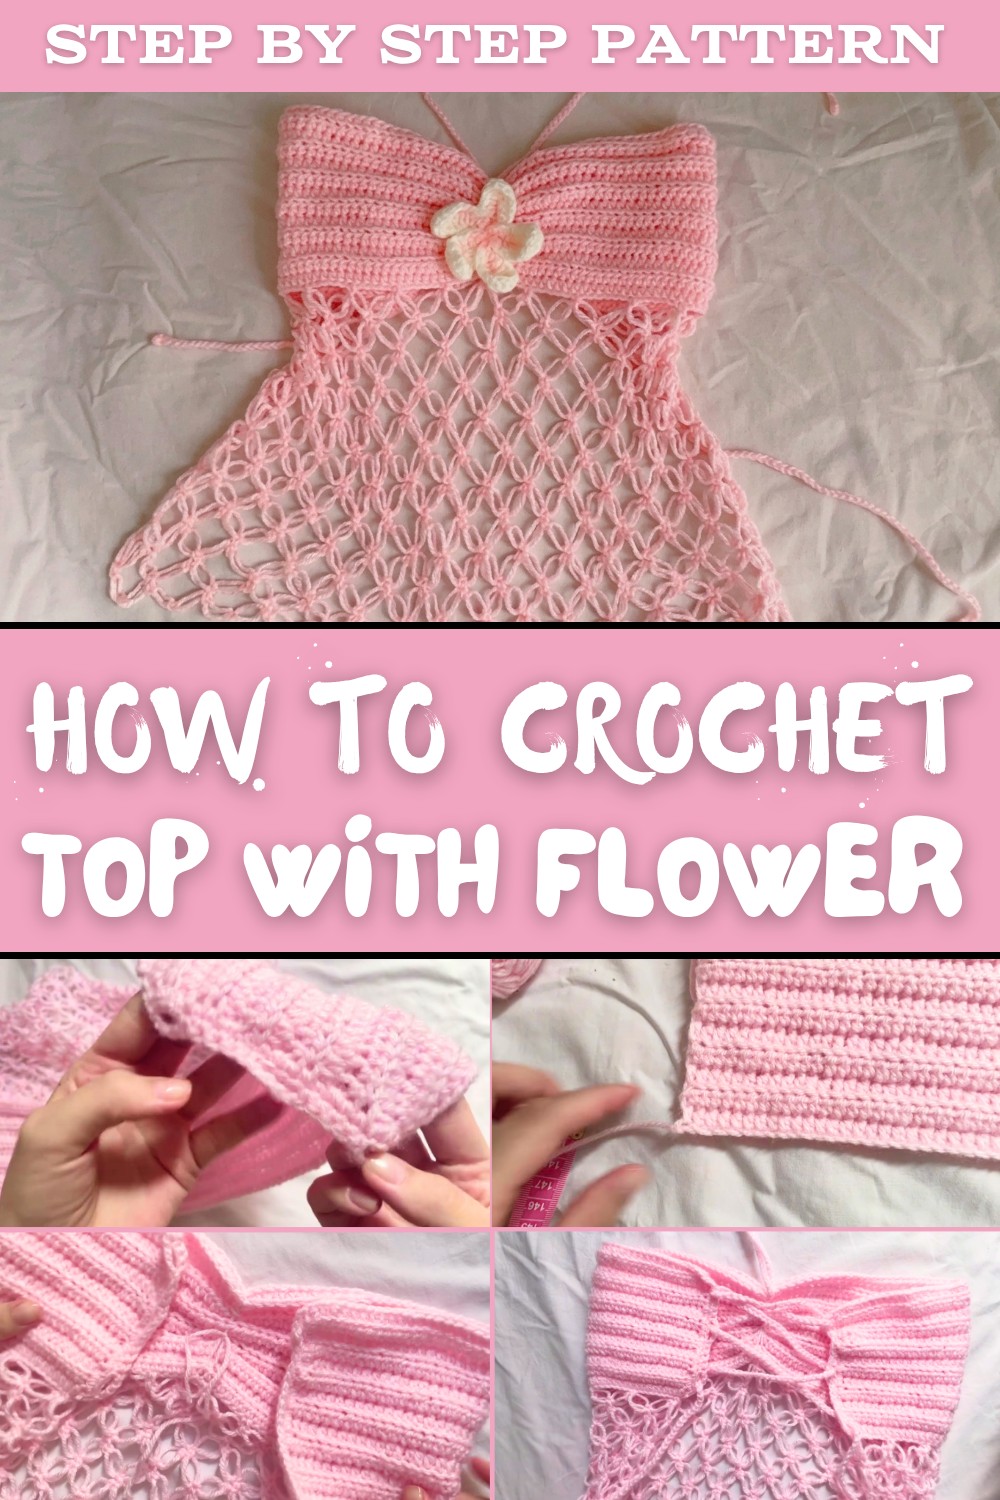
Adjustable lace up detailing at the back ensures flexibility in sizing, while removable neck straps allow for styling options. Soft, lightweight yarns work wonderfully with this pattern, highlighting the lace's intricate texture while ensuring a comfortable feel against the skin. A solid colored yarn gives a classic look, while ombre or variegated shades add dimension and interest to the piece.
The construction is simple, built in separate sections for ease. The base band provides a sturdy foundation for the delicate lace work, which drapes gracefully. The gathered center adds flattering shape, while the flower accent serves as the focal point, offering a touch of whimsy and charm. It's a timeless design that's both lightweight and versatile.
This project is perfect for sharing as a thoughtful handmade gift or wearing for occasions where something truly special is needed. Choose your favorite colors, play with flower styles, and try adding small beads or charms for a unique touch. Whether dressed up or down, this crochet top is a flattering and beautiful choice for any season.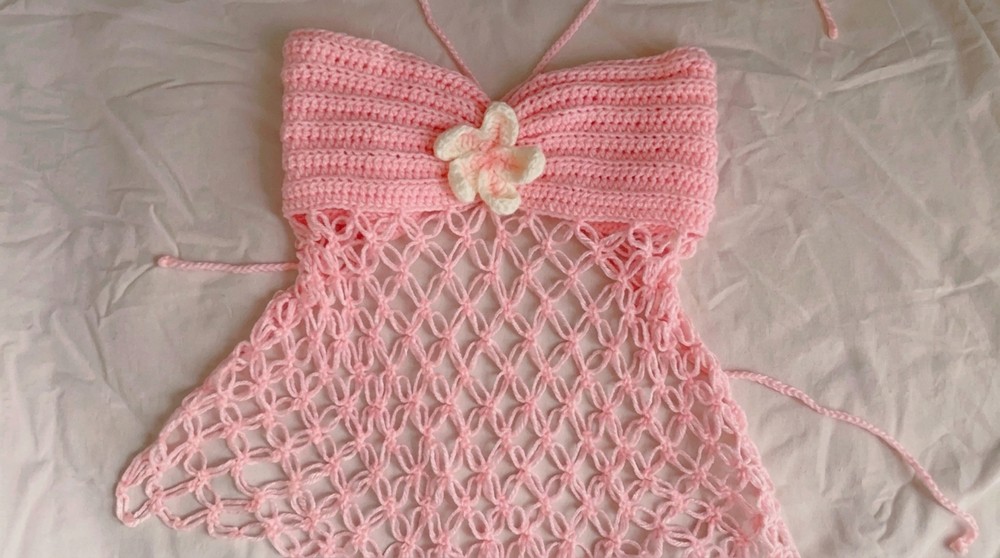
Crochet Top With Flower Pattern
In this guide, you'll learn how to make a stunning corset style crochet top featuring several gorgeous design elements:
- Textured half double crochet band for the base.
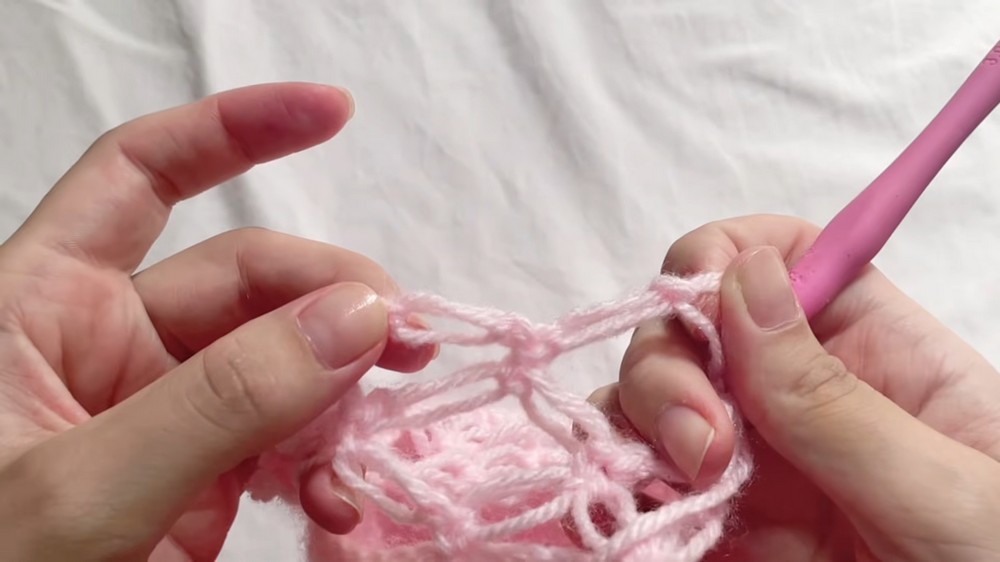
- Delicate Solomon's Knot (ponto segredo) lace for a light, mesh like texture.
- Gathered front detail with a flower embellishment.
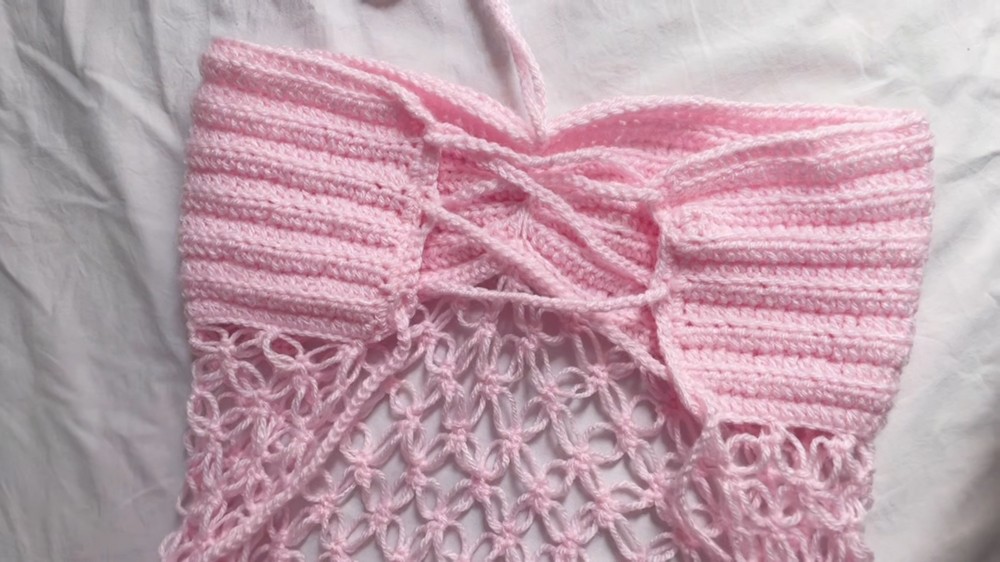
- Adjustable lace up back, perfect for a comfortable and custom fit.
Quick Overview of the Pattern
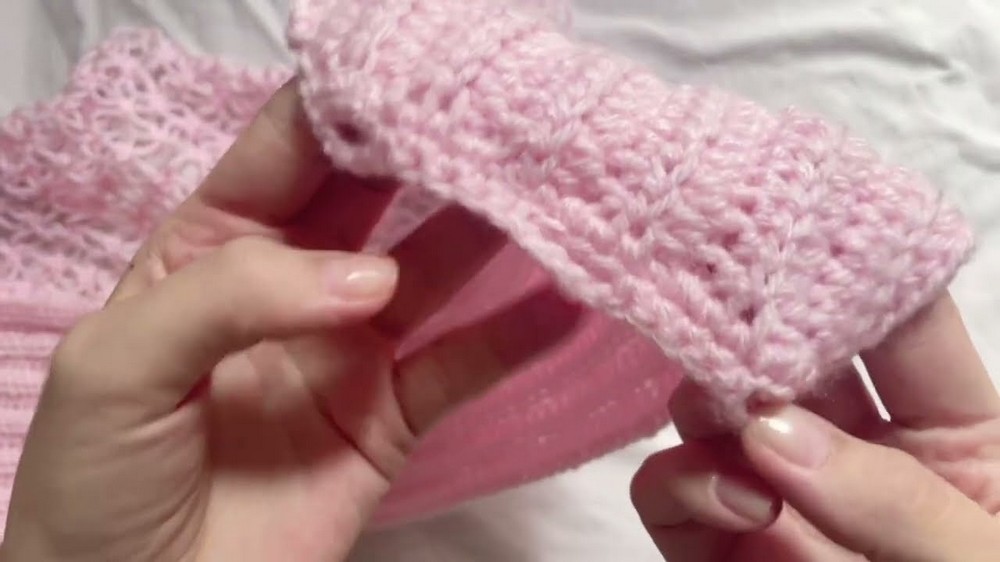
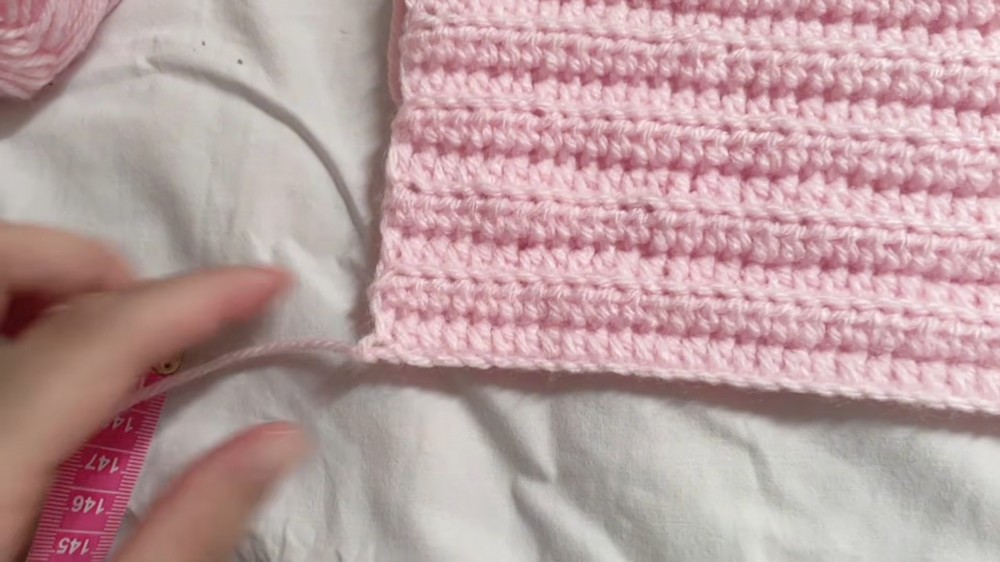
Base Band: Worked in back loop only half double crochet rows for a wide stretch band.
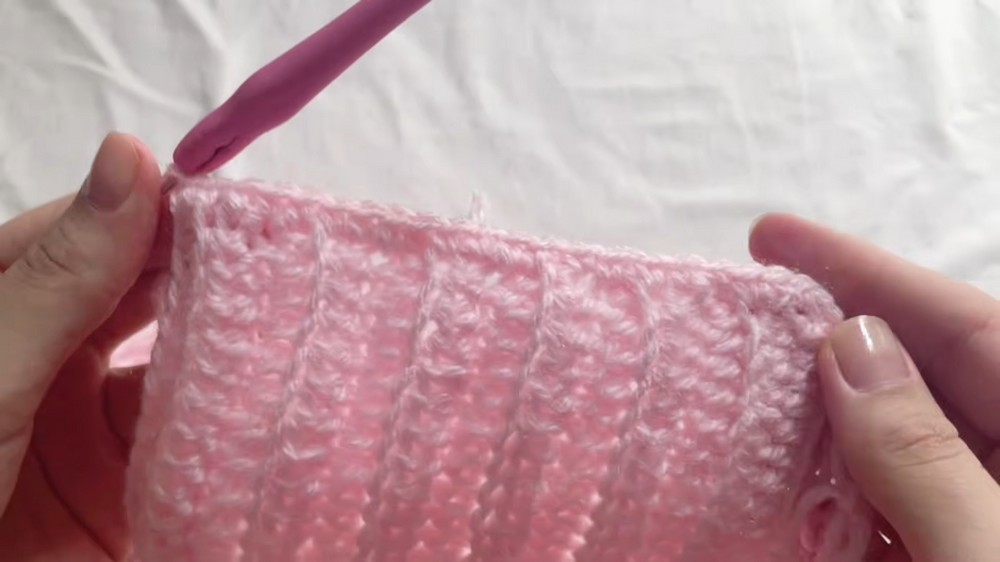
Edge Finishing: Single crochet along the sides for clean edges.
Lace Section: Worked using the Solomon's Knot stitch to create a mesh texture.
Corset Eyelets: Loops made with chains at the sides for threading the lacing cord.
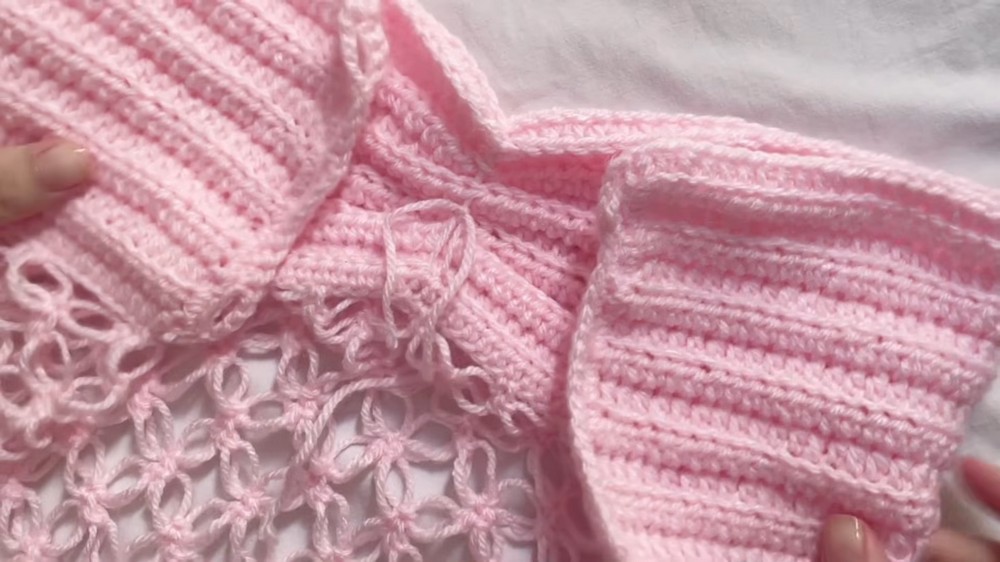
Front Cinched Detail: Center gathered with a tapestry needle for a ruched look.
Straps & Accessories: Removable neck strap, long lace up cord, and decorative flower.
Notes
- Keep the foundation chain loose for elasticity.
- Pay attention to the last stitch in each row to maintain straight edges.
- When working with Solomon's Knot stitches, ensure consistent loop lengths throughout.
- Always make 3 Solomon's Knots at the end of lace rows for uniform side edges.
Skill Level
Intermediate: Familiarity with basic stitches, back loop techniques, Solomon's Knot, and light assembly/sewing is required.
Materials
- Yarn
- Crochet hook (appropriate size for yarn).
- Tapestry needle.
- Scissors.
- Measuring tape.
- Optional decorative beads or charms for cords.
Measurements / Sizing
Base Chain Length: Approximately 60 cm (97 initial chains).
Band Height: Approximately 15 cm.
Lace Height (12 Rows): Approximately 25 cm.
Back Corset Lacing Cord: Approximately 134 cm.
Neck Strap Cord: Approximately 77 cm.
Gauge
- 97 chains = 60 cm in foundation chain length.
- 12 rows of Solomon's Knot lace = 25 cm of height.
Stitch Abbreviations
| Abbreviation | Stitch Name |
|---|---|
| ch | Chain |
| sc | Single Crochet |
| hdc | Half Double Crochet |
| blo | Back Loop Only |
| st(s) | Stitch(es) |
| SK | Solomon’s Knot (Ponto Segredo) |
Special Stitches
Solomon's Knot (SK / Ponto Segredo):
- Pull up a loop to the desired length (ensure consistent height for all loops).
- Pinch the loop at the center with your fingers.
- Yarn over and pull through the loop.
- Insert the hook under the single back strand of the elongated loop (separating one strand on the left and two on the right).
- Yarn over, pull up a loop, yarn over, and pull through both loops to complete a single crochet.
The Crochet Pattern
Part 1: The Base Band
- Foundation:
- Tie a slip knot on your hook.
- Work a total of 97 chains - this should measure approximately 60 cm.
- Row 1:
- Yarn over and insert the hook into the 2nd chain from the hook.
- Pull up a loop (3 loops on the hook), yarn over, and pull through all 3 loops (hdc stitch).
- Continue working 1 hdc into each chain across to the end.
- Row 2:
- Ch 1 (or ch 2 based on tension), turn your work.
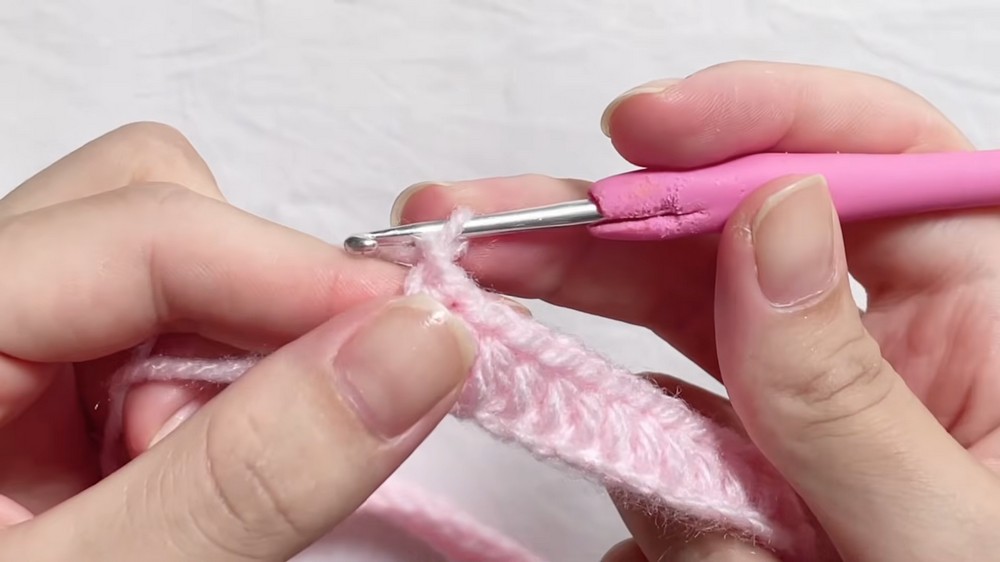
- Yarn over, insert into the back loop only (blo) of the stitch, and complete the hdc.
- Work 1 hdc blo across the row, ensuring you don't skip the hidden last stitch.
- Repeat Rows:
- Continue working hdc blo rows until the band measures 15 cm in height.
Part 2: Edge Preparation
- Identify the Right Side: The side with the starting tail is the "front."
- Side Edges:
- Ch 1 to turn the corner.
- Work single crochet (sc) evenly along the short edge - insert sc into each row end and chain space.
Part 3: The Solomon's Knot Lace Section
- Row 1 (Lace Pattern):
- Slip stitch 2 spaces forward, ch 1, and slip forward 2 more stitches to prepare.
- Create a SK: Pull up a loop, yarn over, and insert under the center strand to make the knot.
- Work 2 SKs as a set, skip 4 stitches on the base, and insert the hook into the 5th stitch for 1 sc.
- Repeat: [Make 2 SK, skip 4 st, work 1 sc] across the row. End with 1 sc at the final edge.
- Row 2:
- At row end, make 3 SKs before turning to keep edges uniform.
- Insert the hook into the center sc between the next pair of knots and work 1 sc.
- Repeat: [Make 2 SK, work 1 sc into the center space] across.
- Rows 3 to 12: Repeat the lace pattern for a total of 12 rows, reaching 25 cm in height.
- Fasten Off: Ch 1, cut the yarn, and pull tight.
Part 4: Corset Eyelets & Back Edging
- Create Eyelets:
- Rejoin yarn to the band lace edge.
- Work sc evenly along the raw edge.
- Eyelet Row: Ch 4, skip 5 stitches, and work 5 sc. Repeat this pattern twice more.
- Repeat on Opposite Edge: Match both sides.
Part 5: Assembly & Finishing
- Center Gather (Cinch Detail):
- Thread a tapestry needle with matching yarn.
- Mark the center line of the top and weave the needle up and down through the stitches.
- Gently pull to gather the fabric, tie securely, and save the tail for attaching the flower.
- Corset Lacing Cord:
- Crochet a chain string of 134 cm.
- Thread the cord in a criss cross pattern through the eyelet loops. Add charms/beads if desired.
- Neck Strap:
- Crochet a chain of 77 cm and attach securely at the top center lace edge.
- Attach Flower:
- Position the crochet flower at the gathered center.
- Stitch securely through the back, tie off, and weave in all loose ends.
Conclusion:
Your beautiful crochet corset top is complete. Wear it with or without the neck strap, and adjust the back lacing for a perfect fit. Enjoy showcasing your handmade creation.