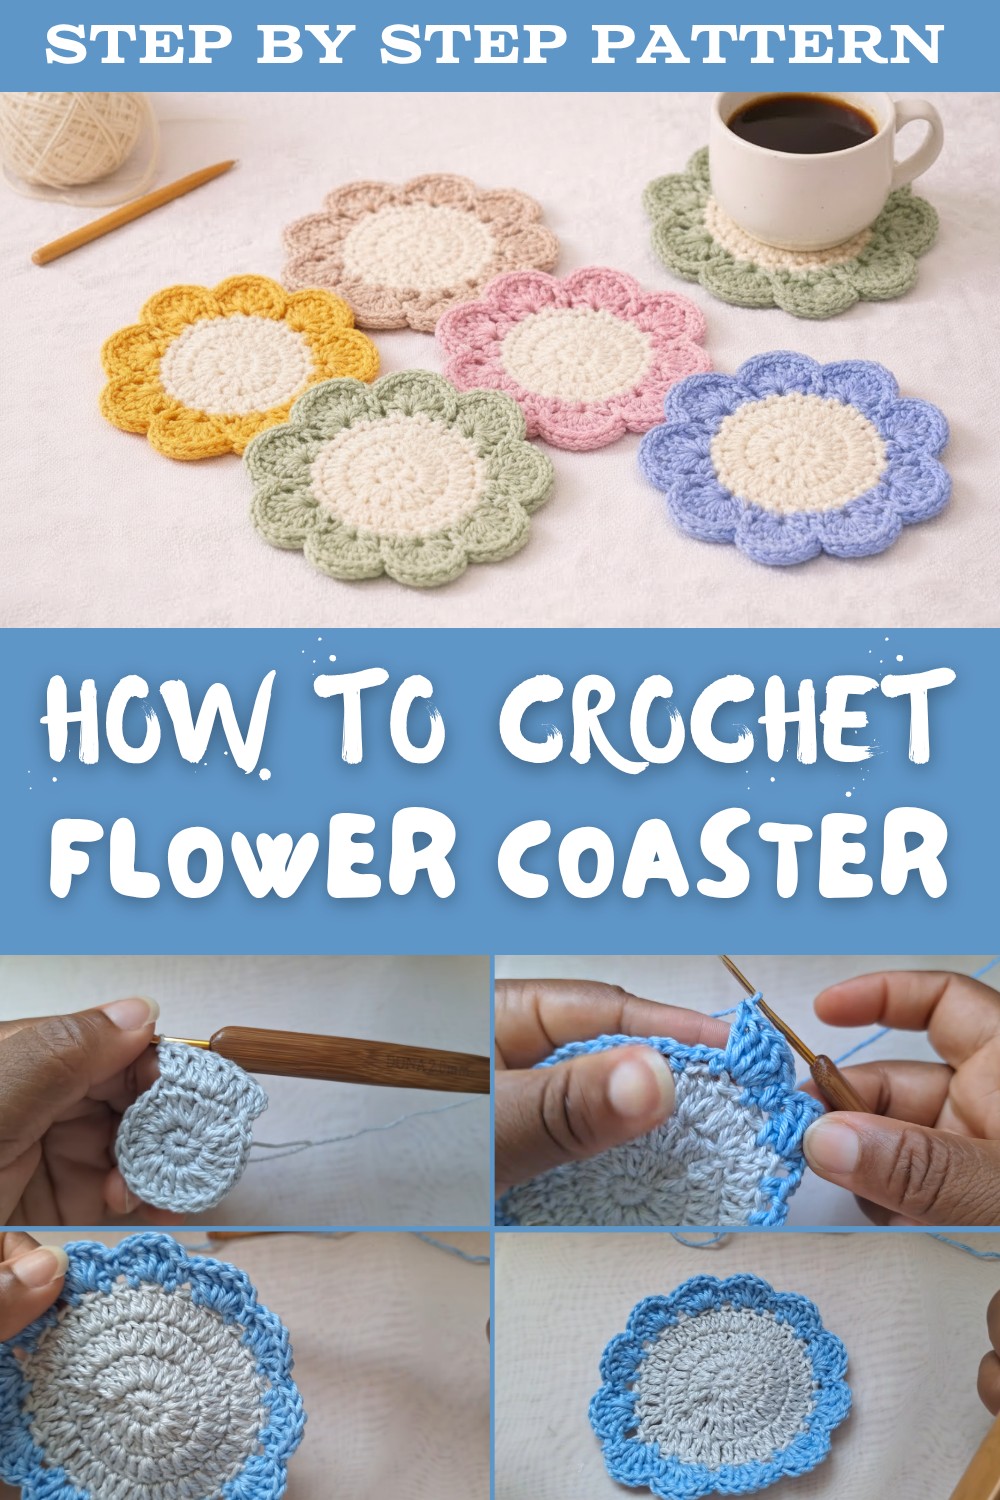
Adorable Crochet Flower Coaster Free Pattern
Enhance your table décor with this free crochet flower coaster pattern, offering a charming way to protect surfaces while showcasing your crochet skills.
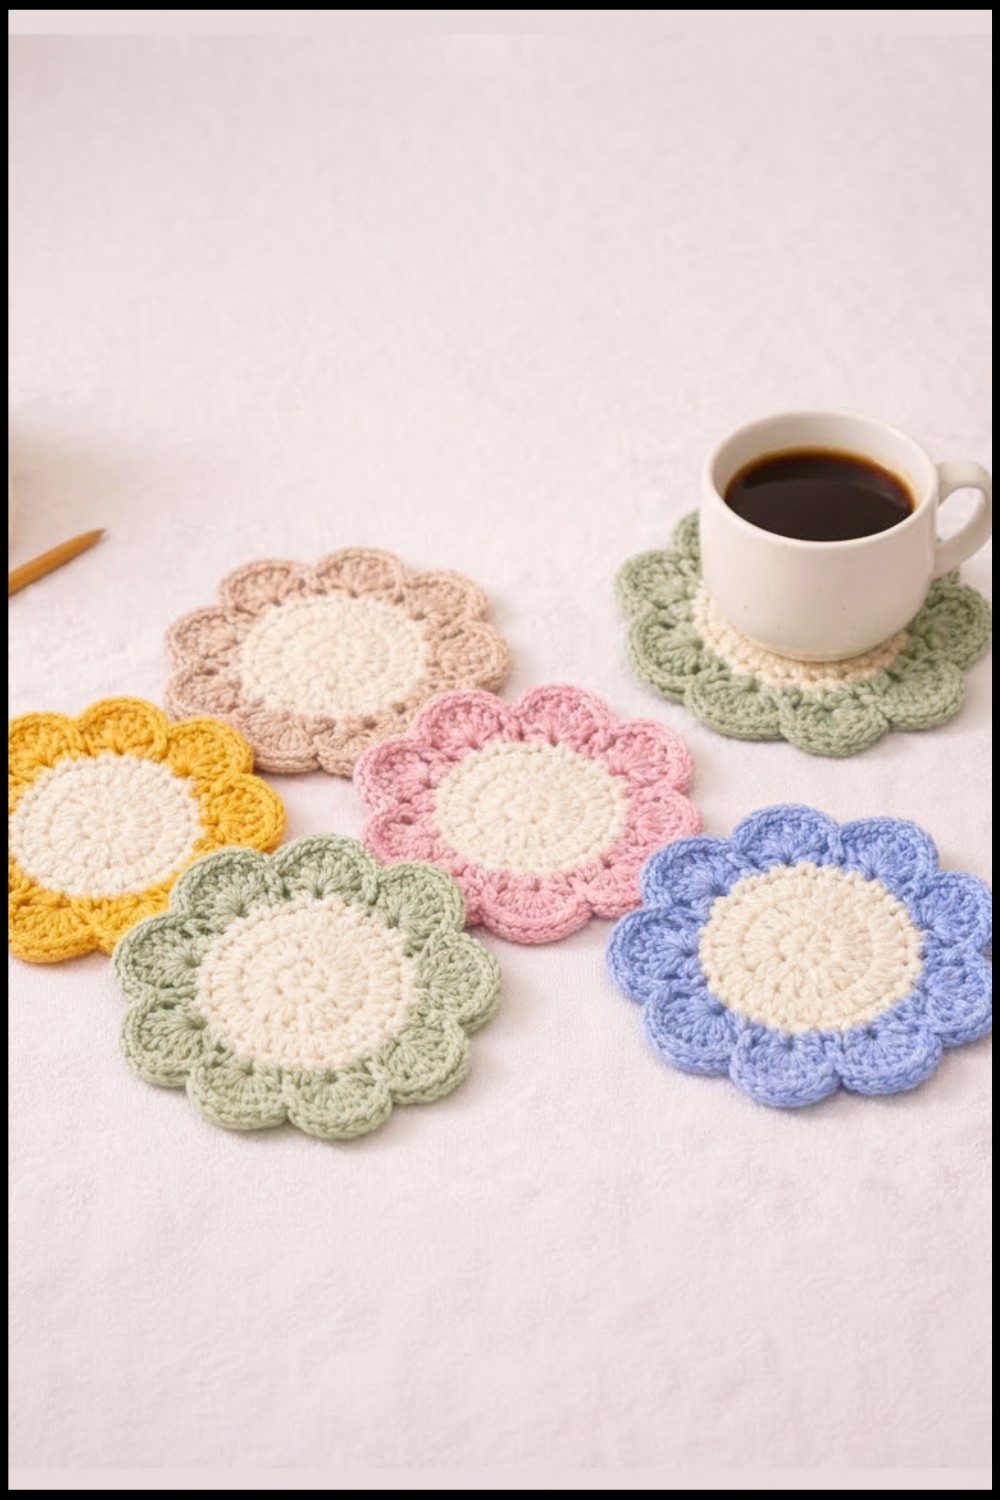
You’re hosting a cozy get-together at home, and your coffee table is adorned with vibrant, handmade accents that catch every guest's eye. Enter the free crochet flower coaster pattern, a versatile project that blends functionality with beauty. These flower-shaped coasters not only protect your surfaces from water rings but also infuse your decor with charm and individuality.
Free Crochet Flower Coaster Pattern You’ll Want to Try
Whether used under coffee mugs during brunch or styled beneath vases for added texture, they’re a creative way to elevate everyday moments. Customizing them with seasonal colors or matching them to your interior palette makes them a delightful addition to any space. Plus, crocheting these coasters allows you to practice essential crochet stitches while creating thoughtful gifts for loved ones. Step into this fun project, and watch your creativity bloom, literally.
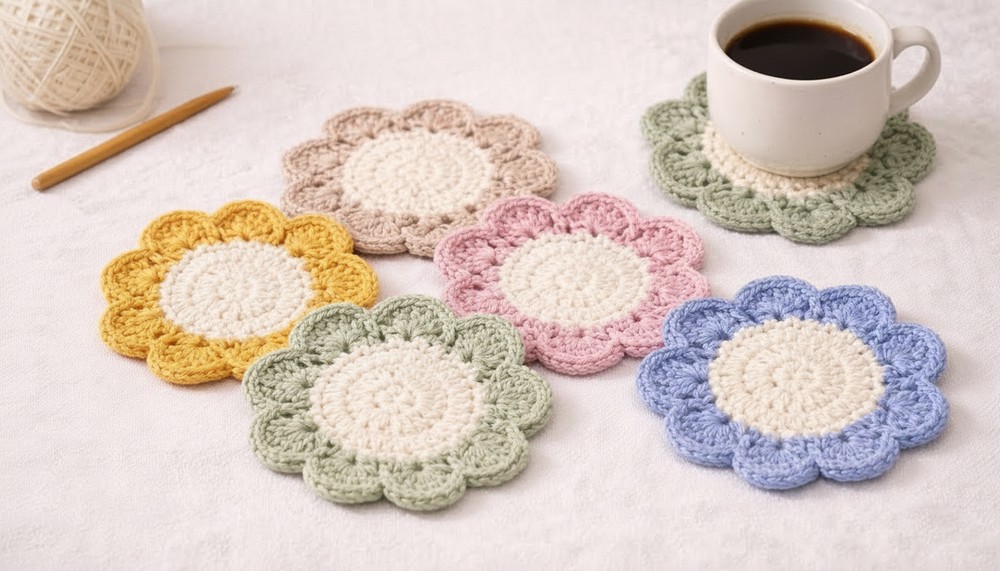
Flower Coaster Crochet Pattern
Materials Needed
- Yarn: Use Amigurumi yarn for the base (center of the cup holder) and a thicker yarn like Baroque 4 or Baroque 6 for the outer layers. Choose colors according to your preference.
- Crochet Hook: Select a hook size appropriate for the yarn. Suggested hook size:
- Amigurumi yarn: 2.5 mm - 3.0 mm
- Baroque 4/6 yarn: 3.5 mm - 4.0 mm
- Scissors: For cutting yarn ends.
- Tapestry Needle: For weaving in ends.
Gauge
Gauge isn’t critical for this project because the finished size can vary depending on personal preferences or the base of the glass/cup. However, ensure that your stitches are consistent.
Finished Size
When using Amigurumi yarn for the center and Baroque 4/6 yarn for the outer decorative section, the finished size should be approximately:
- Diameter: 8-12 cm (adjustable depending on cup size).
Tips for Customization
- Experiment with color combinations, especially for events (e.g., national colors for festivities or team colors for sports events).
- You can transform this into larger items like charger plates simply by increasing the number of rounds at the base.
- Add embellishments like buttons, beads, or embroidery to personalize.
Pattern Instructions
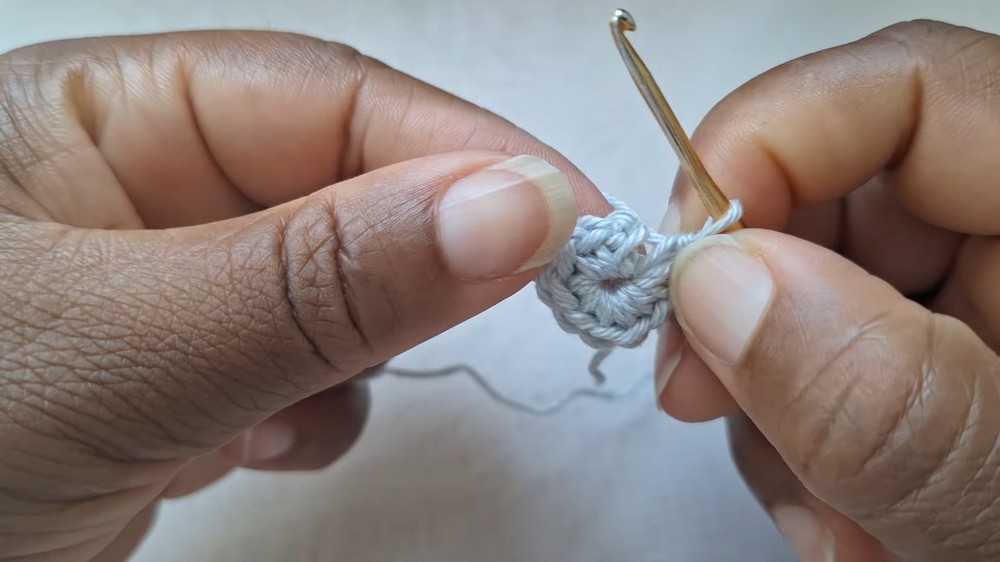
Step 1: Create the Center with a Magic Ring
- Magic Ring: Start by creating a magic ring. (If you’re unfamiliar with this technique, simply chain 4 and slip stitch into the first chain to form a ring.)
- Crochet 2 Chains: Count these chains as the first stitch.
- Single Crochet Into the Magic Ring: Crochet 9 single crochets (sc) into the ring.🔺 Tip: Include the starting chains as part of the total stitch count. This will give you a total of 10 stitches.
- Join with a Slip Stitch: Close the round with a slip stitch into the first single crochet.
Step 2: First Round of Increases
- Start with 3 Chains: Chain 3 (counts as the first double crochet).
- Work Increases:
- For each stitch in the base, crochet 2 double crochets (dc) into the same stitch.
- Continue this increase pattern across the round.
- Finish the Round: There will be a total of 20 stitches. Join with a slip stitch to the top of the initial chain-3.
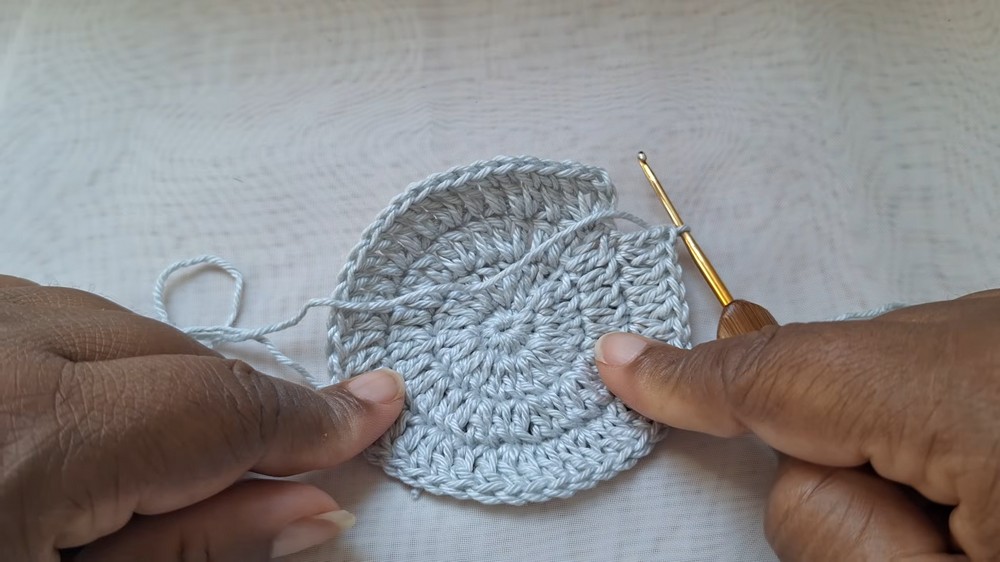
Step 3: Second Round with Spread-Out Increases
- Chain 3: This begins the round.
- Spread the Increases:
- In the first stitch, crochet 2 double crochets (increase).
- In the next stitch, crochet 1 double crochet (normal stitch).
- In the third stitch, crochet 2 double crochets (increase).
- Repeat this pattern (increase-normal-increase) across the round.
- Adjust Based on Yarn Thickness: If working with thinner yarn like Amigurumi, you may need to complete an extra round with similar spread-out increases.
- Join with a Slip Stitch.

Step 4: Change Color
- Cut off the previous yarn and attach the desired new color.
- Chain 3: Start the first round with the new color.

Step 5: Decorative Chain Loops
- Foundation Chain and Loops:
- Chain 1, skip one base stitch, and work a single crochet (sc) into the next stitch.
- Continue this across the round (chain-1, skip-1, sc).
- Adjust as Needed: If the base starts curling too much, substitute chain-1 with chain-2 between stitches.

Step 6: Decorative Outer Shell
- Start with 3 Chains: Chain 3 into the first loop.
- Work 5 Double Crochets: Into each subsequent chain-space created in the previous round, crochet 5 double crochets (dc).
- Secure with a Single Crochet: Fasten the cluster with a single crochet into the next loop.
- Repeat this pattern of 5 double crochets per loop across the round.
- Join and Finish: Finish with a slip stitch and weave all ends neatly using the tapestry needle.

Special Techniques
- Magic Ring: Ensures a neat, flexible beginning without large gaps in the center.
- Spread-out Increases: Prevents the base from curling or distorting and creates smooth edges.
- Color Changes: Adds visual interest and can make this project suitable for themed purposes (festivals, holidays, etc.).
Conclusion
Your completed cup holder is a practical yet decorative addition to your home setup, or a thoughtful handmade gift for loved ones. It’s perfect for selling at craft fairs or online marketplaces like Shopee and MercadoLibre.

Important Remarks
- Final Look: The cup holder should lie flat without curling around the edges, and the shell border should appear neat and uniform.
- Selling Tip: Create sets of six or more coasters in matching or contrasting colors for market appeal.
- Additional Notes: By altering the number of rounds at the base or shell, you can make coasters, charger plates, or trivets for pans.