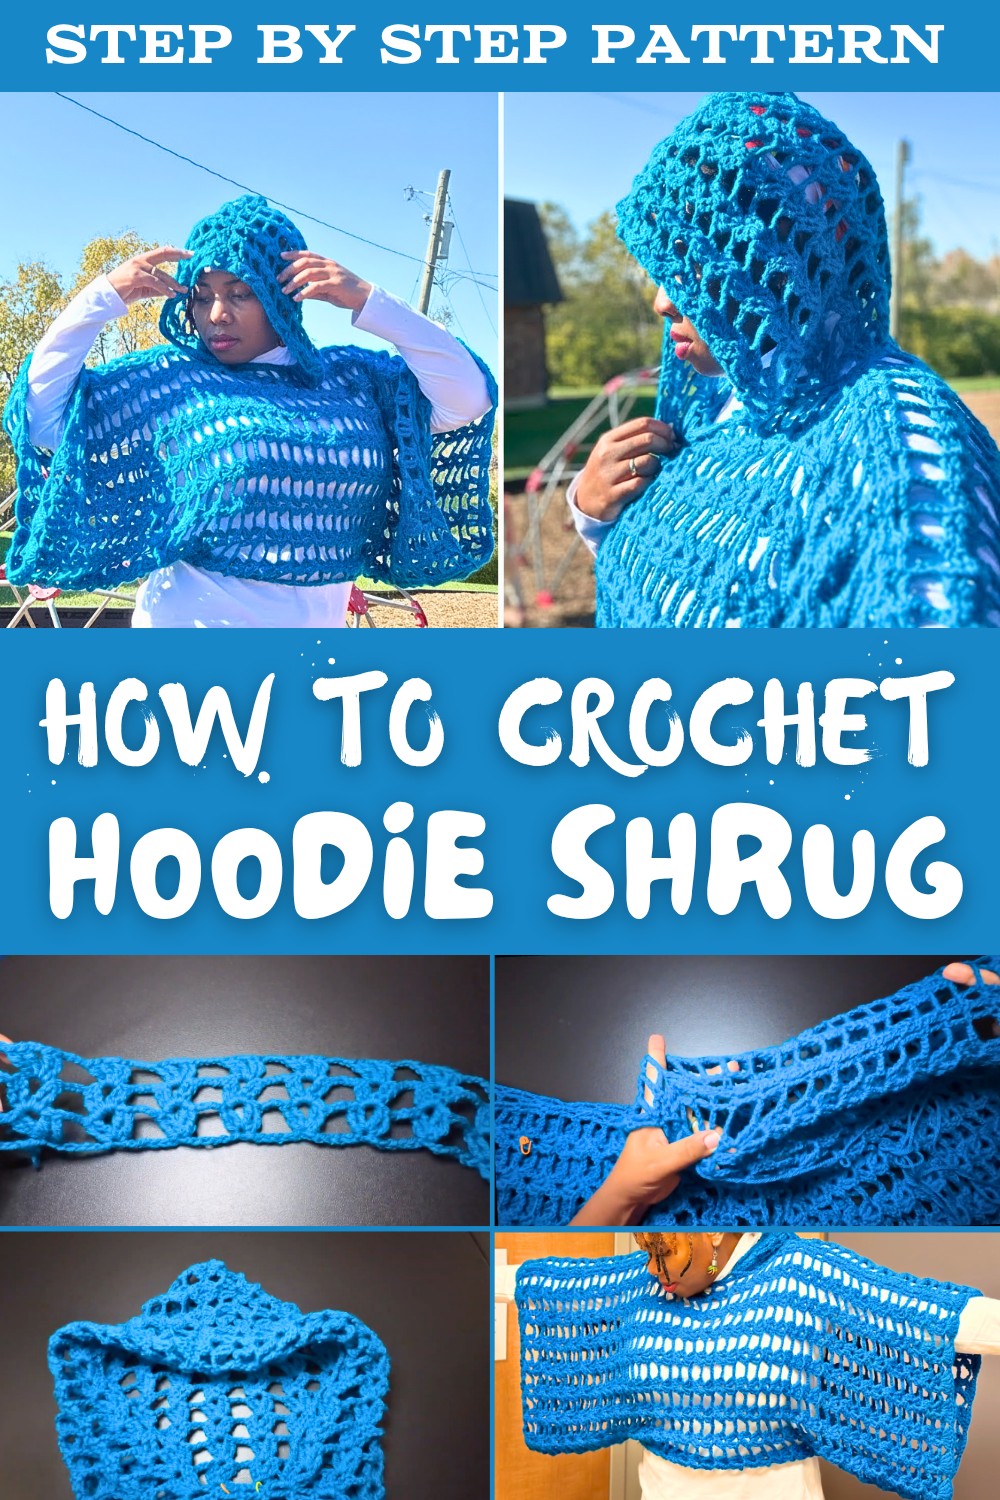
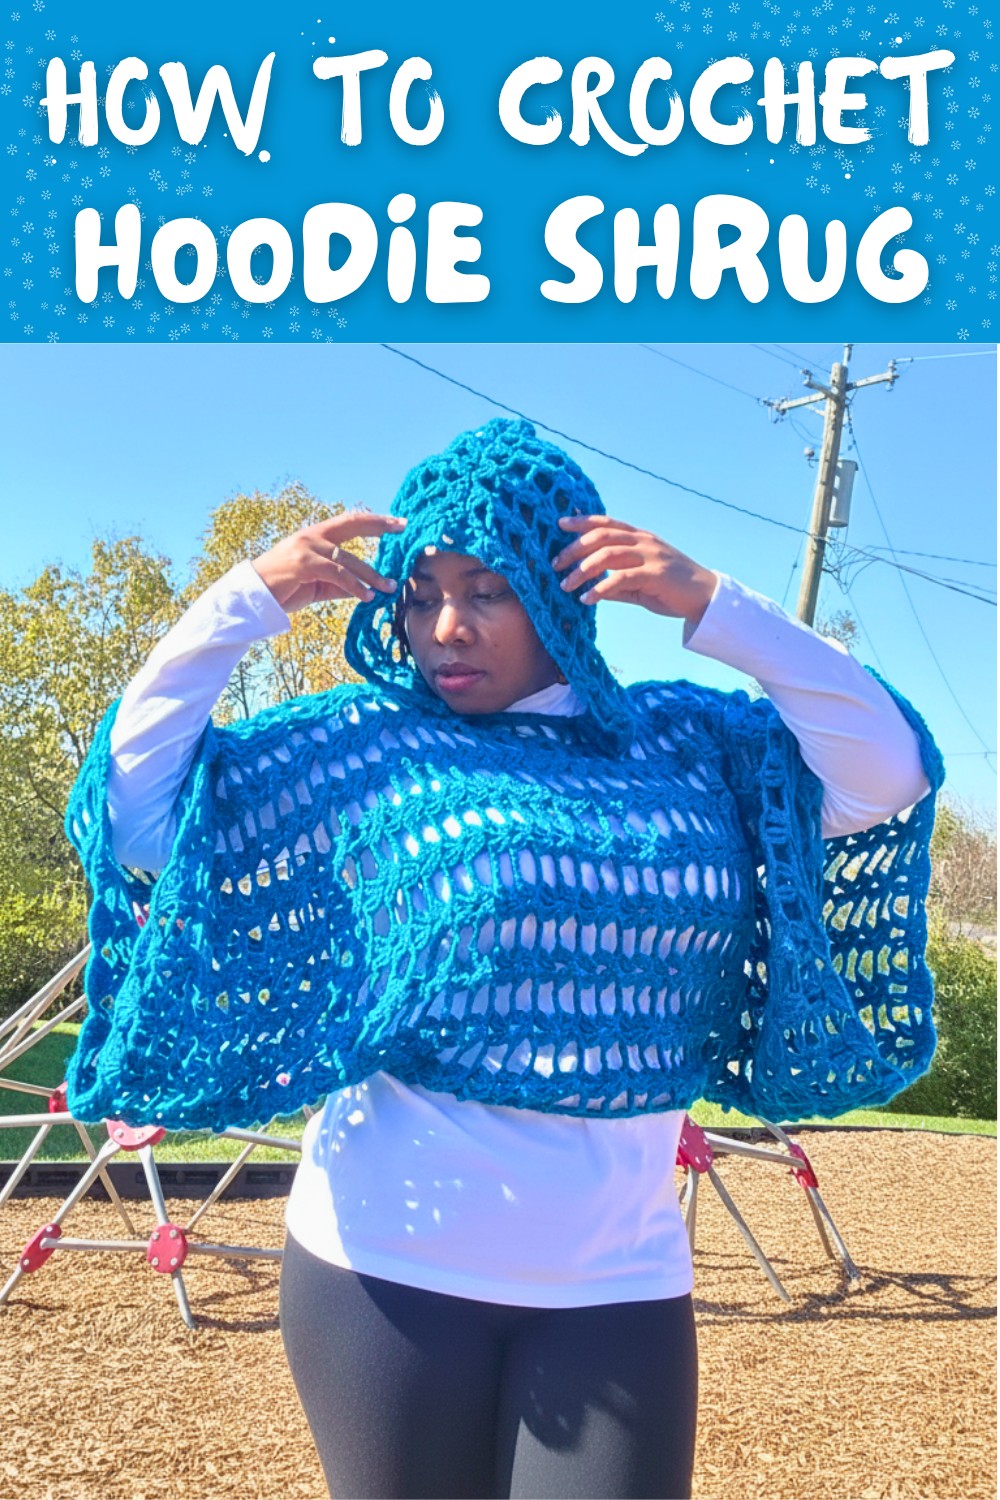
Easy Free Crochet Hoodie Shrug Pattern to Complete Your Look
Enjoy stitching a cozy and stylish FREE crochet hoodie shrug that's for offering comfort and charm to enhance your wardrobe with ease.
There's something uniquely rewarding about working on a cozy project that's both stylish and functional. A free crochet hoodie shrug pattern offers you the chance to stitch together a lightweight yet warm piece, perfect for layering during cooler months or breezy evenings.
Free Crochet Hoodie Shrug Pattern You'll Love to Make
This hoodie shrug pairs comfort with versatility, allowing it to complement casual outfits like leggings and a t-shirt or even dressier jeans and boots. It effortlessly combines practicality with modern fashion, making it suitable for both lounging at home and heading out for casual gatherings.
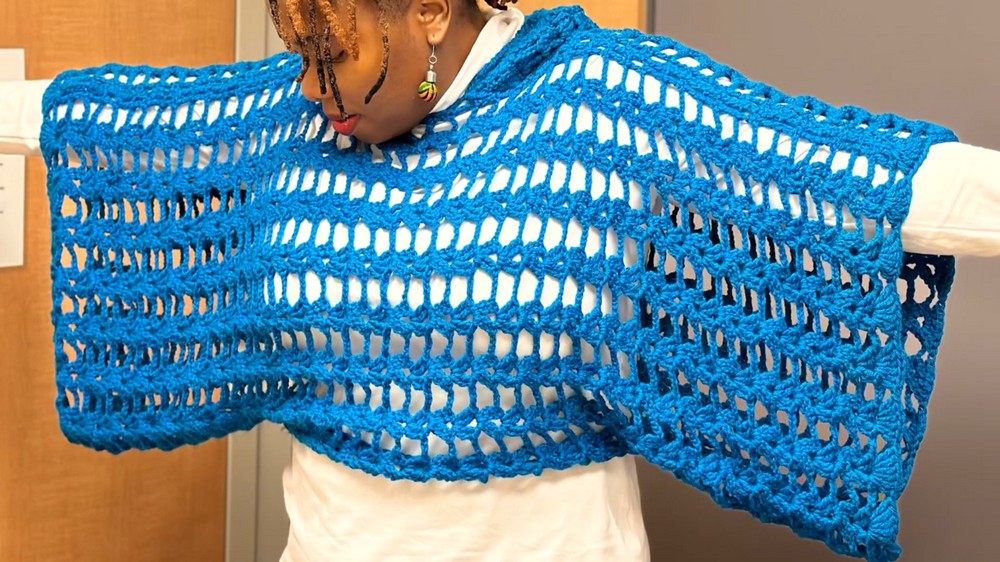
The hoodie adds an extra layer of warmth and a trendy touch, perfect for keeping the chill off. Whether as a thoughtful gift or a personal wardrobe upgrade, this shrug delivers on all fronts-comfort, style, and the joy of wearing something handcrafted and functional.
Crochet Hooded Shrug Pattern Step-by-Step
Finished Size
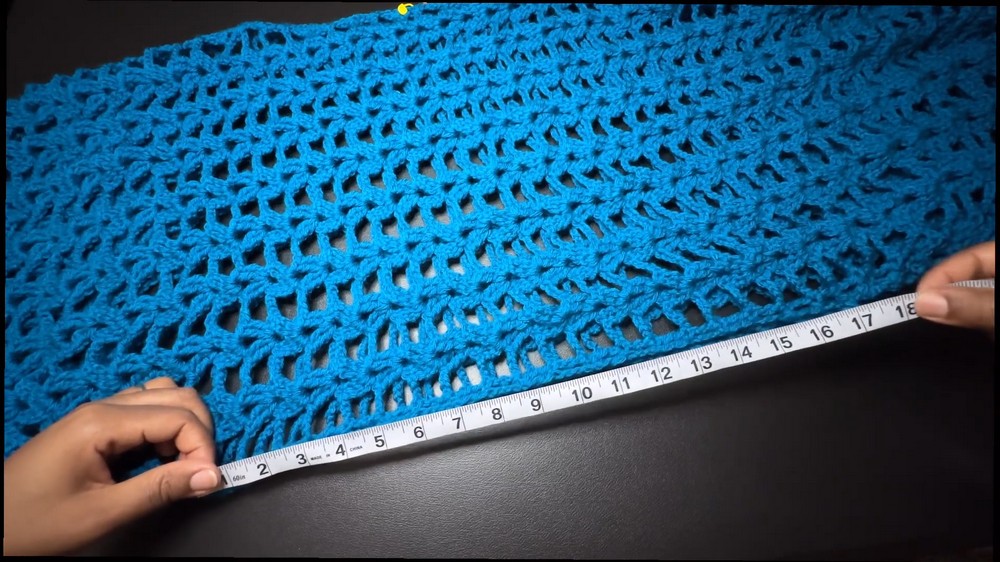
- Width (foundation chain): approximately 43.5 inches.
- Length: approximately 17 inches.
- Hood: approximately 13.5 inches long and 22 inches wide.
- Waist opening: 18 inches.
Materials Needed
- Yarn: 2-2.5 skeins of Big Twist Acrylic Yarn (or similar worsted-weight yarn).
- Crochet Hook: 6 mm hook.
- Notions:
- Stitch markers.
- Darning needle for weaving in ends and joining panels.
- Tape measure for accurate measurements.
- Scissors.
Gauge
- Gauge is not explicitly provided for this pattern; however, aim for relaxed tension to match the dimensions mentioned. Adjust hook size if your work is too tight or loose to achieve optimal stretch for wearable comfort.
Tips & Customization
- This pattern uses chains, treble crochets, slip stitches, and skip stitches. Beginners can practice these stitches beforehand.
- Consider adjusting the size by altering the foundation chain length for wider/shorter panels or adding more rows for length customization.
- Choose contrasting yarn colors for sections like the hood or edges to create unique looks.
- Make sure to block the finished garment if necessary for even shaping.
Pattern Instructions
Foundation Panel
We will make two identical panels for the front and back body.
- Start:
- Create a slip knot.
- Chain 63 (base chain width) + additional 6 chains (to serve as turning chains).
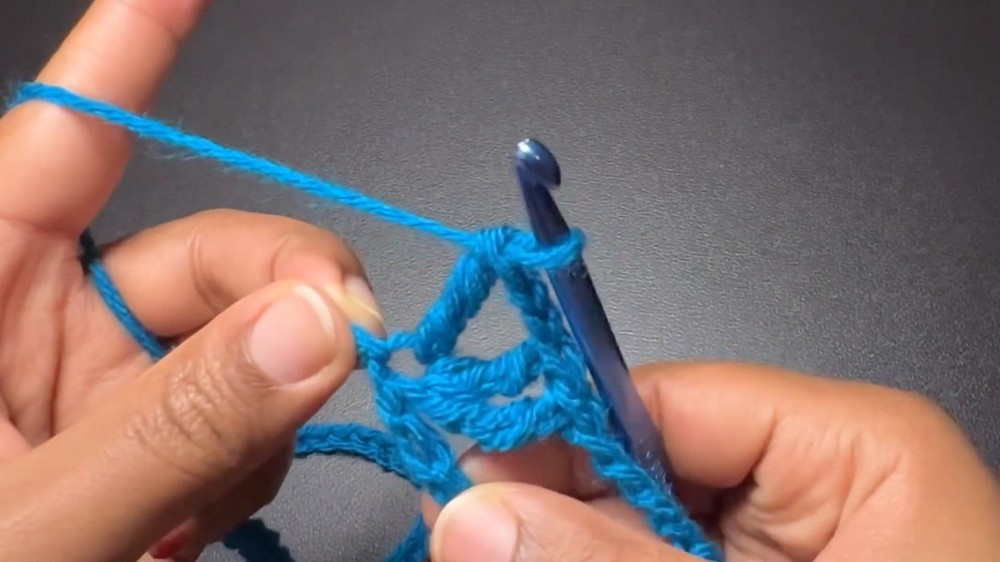
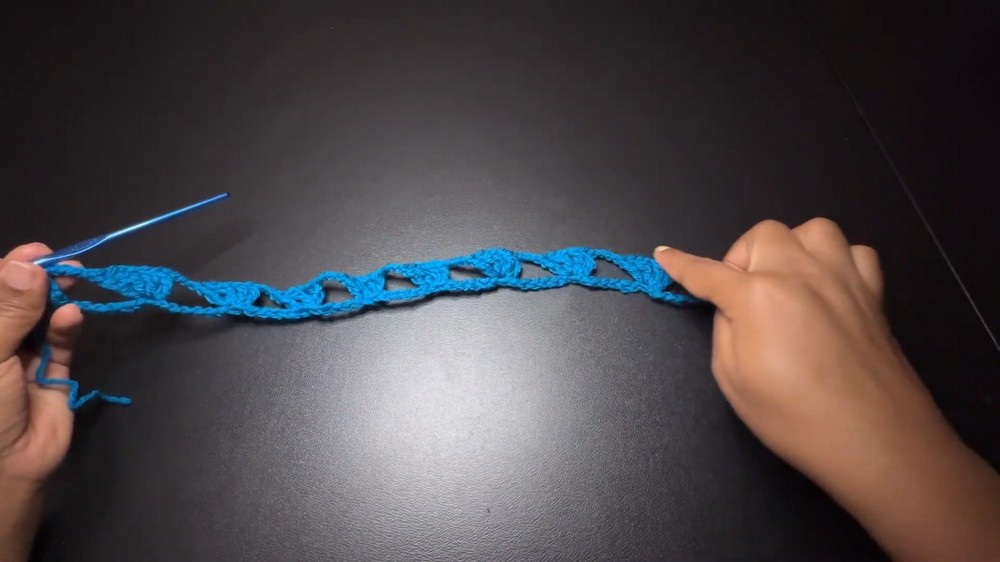
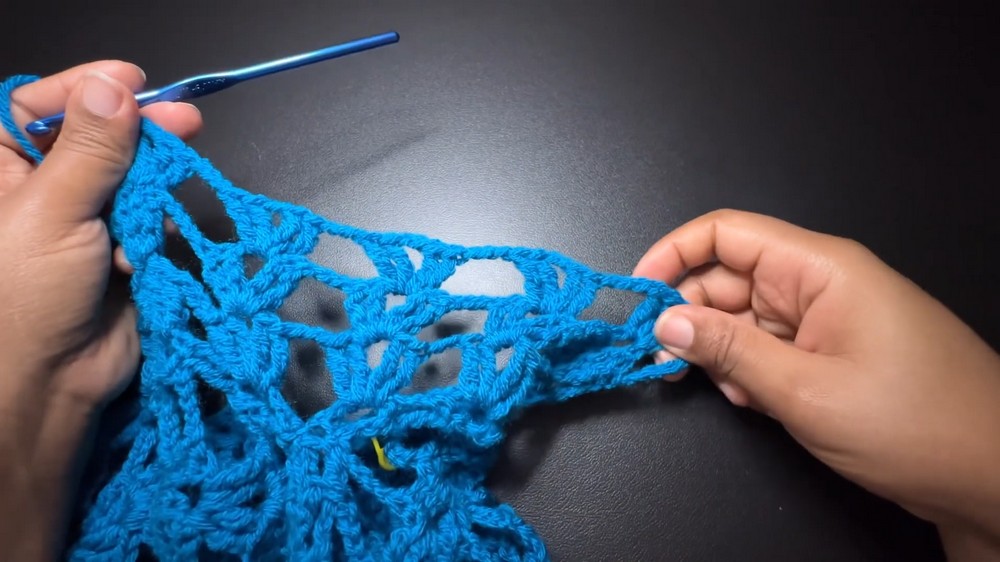
- Row 1:
- Yarn over twice and count 5 chains from the hook.
- In the 6th chain, make a treble crochet. (Tip: Insert the hook into the back loop of the chain for neater edges.)
- Chain 4.
- Skip 6 chains, then in the 7th chain, make a shell:
- 2 treble crochets, chain 2, then another 2 treble crochets in the same stitch.
- Chain 4, skip 6 chains, and repeat the shell pattern until you reach the end of the row.
- End of Row:
- In the last stitch, make 2 treble crochets to complete the edge. You should have 8 shell sets in Row 1.
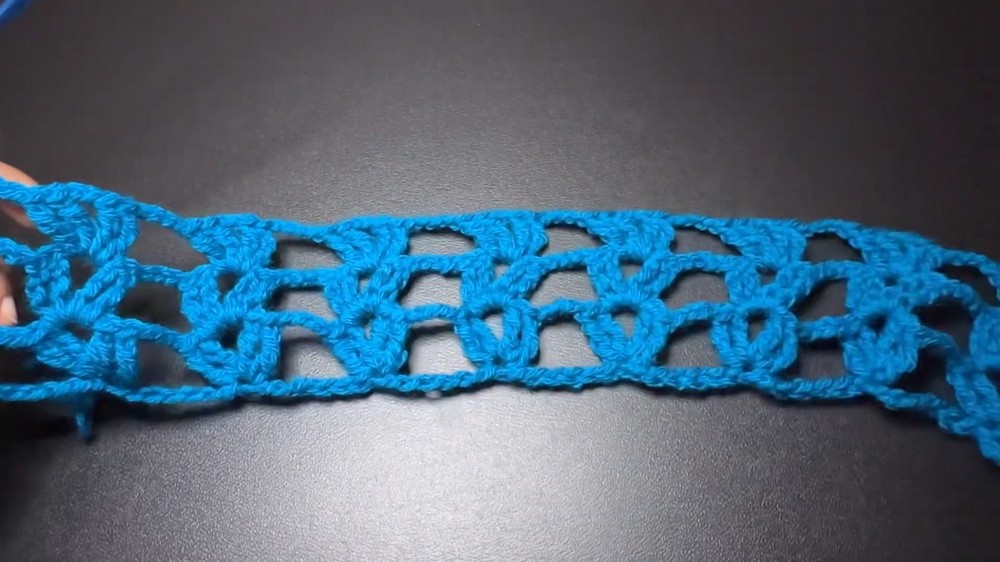
- Row 2:
- Chain 5 (acts as the first treble crochet).
- Turn your work. Make 1 treble crochet on top of the following stitch to create a straight edge.
- Chain 4.
- In the chain-2 space of the first shell, make a new shell:
- 2 treble crochets, chain 2, 2 treble crochets in the same space.
- Repeat the shell pattern across.
- End of Row 2: Conclude with 2 treble crochets at the edge.
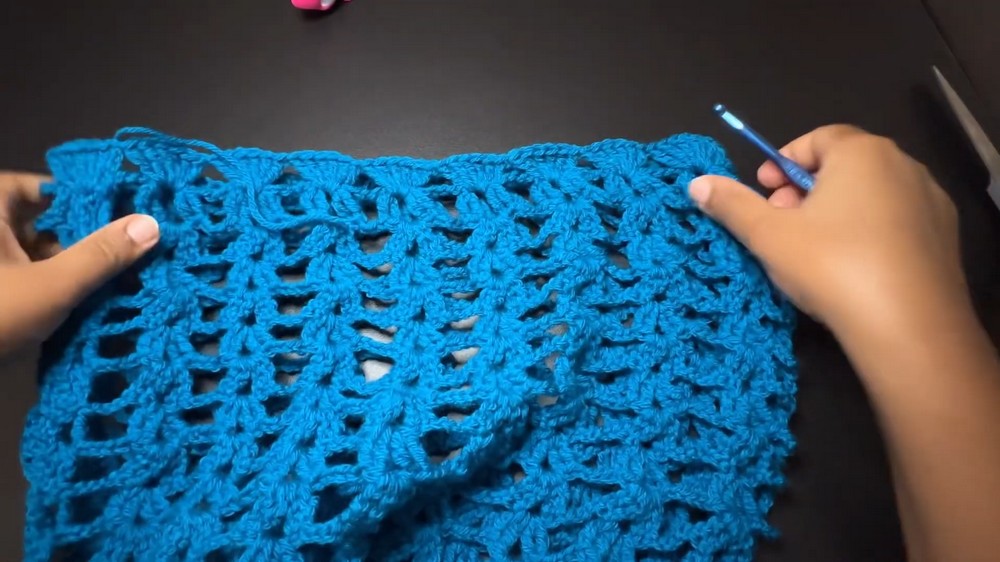
- Rows 3-48:
- Repeat Row 2, maintaining the shell and chain-4 pattern throughout the panel.
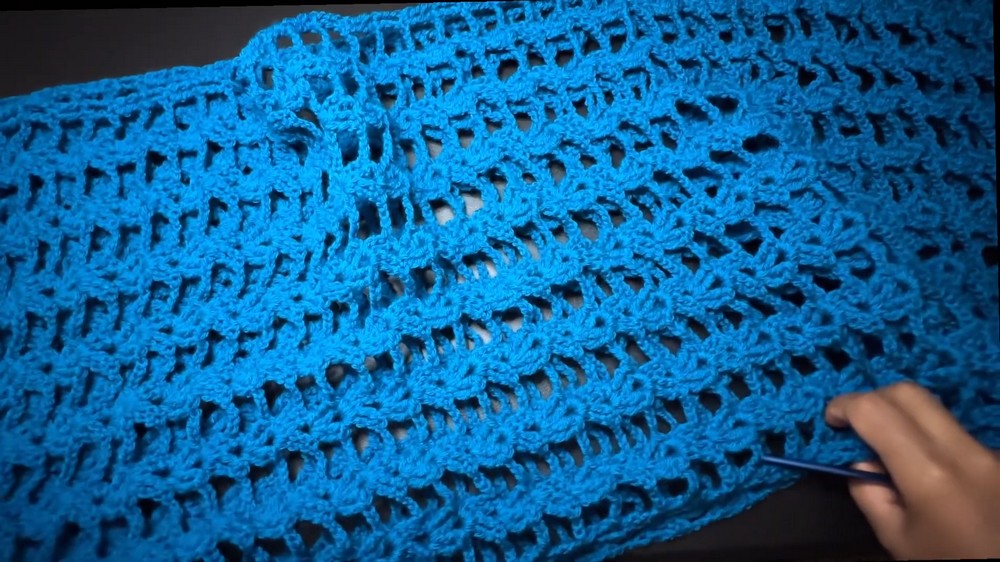
- Panel Completion:
- Create a second identical panel following the above instructions. The finished panels will measure 43.5 inches wide by 17 inches long.
Joining the Panels
- Shoulder Seams:
- Place the panels on a flat surface, aligning them precisely. Ensure you are working on the chosen wrong side.
- Mark the midpoint for the neckline using stitch markers. Divide the total number of rows (48) into two, marking 24 rows down from each side.
- Use a darning needle to sew from the outside edges of the shoulders inward, stopping at the marked neckline bounds.
- Ensure secure stitches while keeping the seam neat.
- Waist Adjustment & Seams:
- At the bottom edge, mark the midpoint and calculate a waist gap measuring 18 inches.
- Sew the edges below this gap securely.
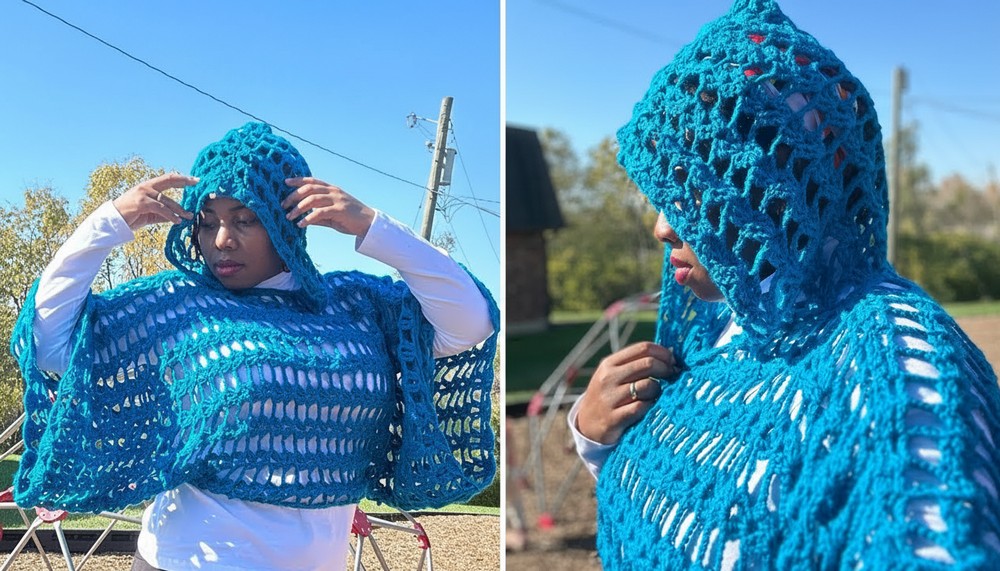
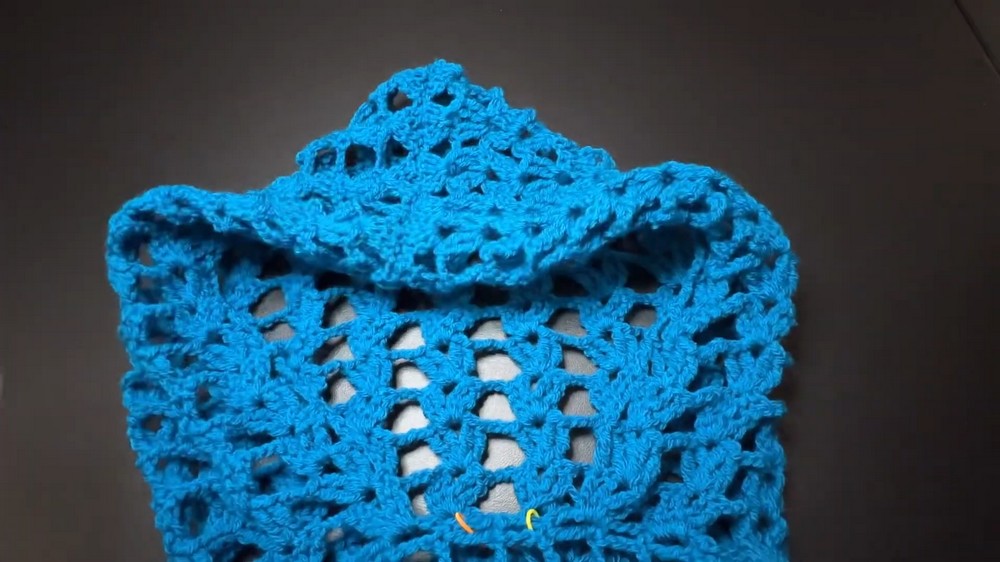
Adding the Hood
The hood is where your shrug gains its versatile wearability.
- Setup:
- Start with a slip knot. Attach the yarn at the neckline edge (near stitch markers).
- Row 1:
- Chain 5 (counts as treble crochet).
- Make a shell into the chain-2 space:
- 2 treble crochets, chain 2, 2 treble crochets. Chain 3 and repeat shells along the neckline edge.
- Skip spaces marked by stitch markers at both ends.
- Row 2:
- Chain 5, turn your work. Repeat the shell pattern.
- Rows 3-15:
- Keep repeating Row 2, ensuring consistent shell placement. On the final row (Row 15), omit chain-3 spaces between shells for a tighter hood edge.
- Finishing the Hood:
- Fold the hood in half. Using slip stitches (or a darning needle), join the top edge of the hood along the folded seam.
Sleeve Edging
To finish the shrug design elegantly:
- Attach the yarn to the shoulder seam closest to the sleeve opening.
- Row 1:
- Chain 5 (counts as treble crochet). Make 6 treble crochets into the same space.
- Skip 4 chains, then repeat shell clusters (6 treble crochets per cluster) along the sleeve edge.
- End of Row:
- Slip stitch into the starting chain, chain 1, and fasten off. Repeat for the second sleeve.
Special Techniques
- Slip Stitch Seam:
Ensures an invisible join, perfect for keeping the hood or panels neat and seamless. - Working in Back Bumps of Foundation Chains:
Maintain a smooth and visually clean bottom edge for your shrug.
Conclusion
Congratulations-you've completed your hooded shrug! This versatile garment works wonderfully as cozy lounge-wear, a light jacket on chilly days, or a stylish throw-over for layering.
Important Remarks
- Always weave in loose ends securely to prevent unraveling.
- Blocking (light steam or wet blocking) is recommended for shaping the final piece.
- Experiment with different yarn textures or colors for personalized touches.