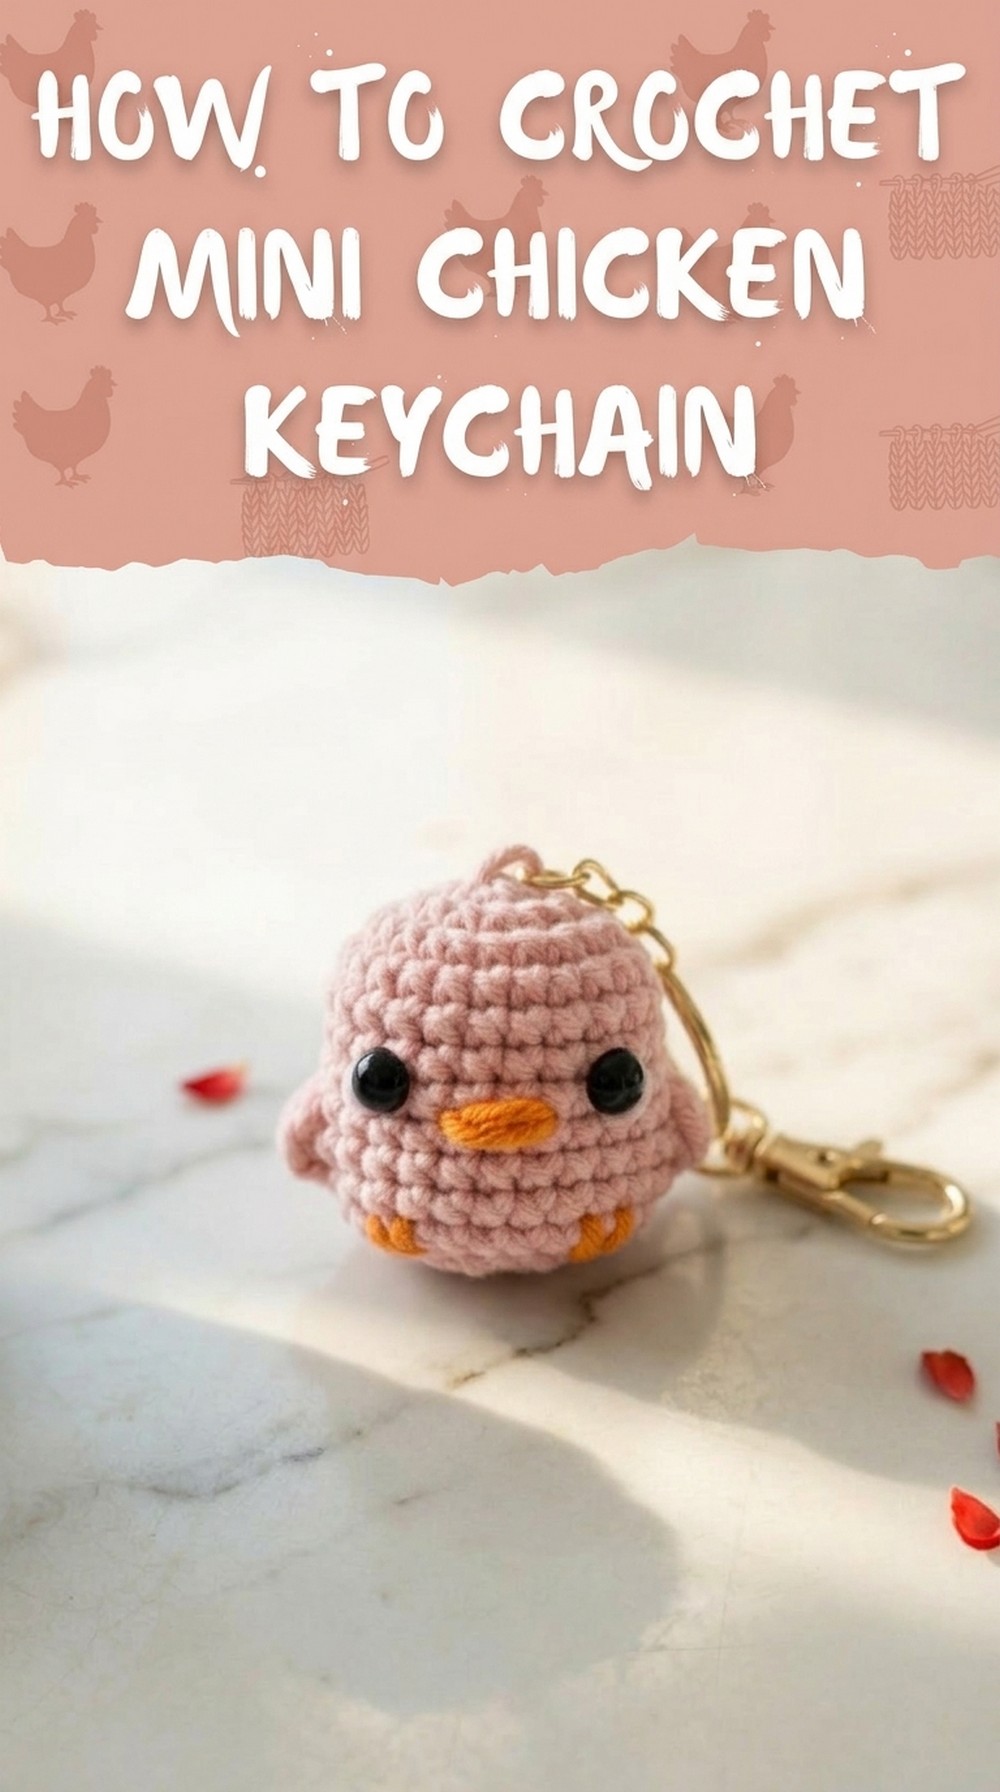
Quick Free Crochet Chicken Keychain Pattern You’ll Love
Design your own quirky charm with this Free Crochet Chicken Keychain Pattern, for accessorizing keys, bags, or gifting handmade treasures to loved ones.
Small handmade accessories have a way of making everyday life feel more personalized. The Free Crochet Chicken Keychain Pattern offers you a charming way to infuse personality into practical places like your keys, backpacks, or even as thoughtful gifts for others. This adorable crochet chicken can be customized with vibrant or neutral colors to match your preferences, holiday themes, or seasonal décor.
Free Crochet Chicken Keychain Pattern for Unique Accessories

With its lightweight design and playful look, it’s perfect for kids and adults alike, making it a versatile accessory to showcase your talent. Additionally, projects like these are a great opportunity to practice crochet techniques while resulting in something useful. Whether used as a unique keepsake or a fun little gift, this keychain stands out as both decorative and practical, making it a favorite for anyone who loves small, meaningful touches in their everyday essentials.

Crochet Chicken Keychain Pattern
Materials Needed
- Yarn:
- Yellow yarn (main body) – 5-ply.
- Orange yarn (beak and legs) – 5-ply.
- Pink yarn (blush) – optional for decoration.
- Hook: 3mm crochet hook.
- Stuffing: Fiberfill or any soft stuffing material to give the chicken its shape.
- Safety Eyes: Small black safety eyes. (Alternatively, use black felt or black yarn to sew on eyes.)
- Tapestry/Darning Needle: For sewing and weaving in yarn tails.
- Scissors: For trimming yarn.
- Keychain and Pliers: If you want to turn this chicken into a keychain.
- Stitch Marker: (Optional) A safety pin or bobby pin to mark the start of each round.
Gauge
Exact gauge is not critical for this project, as the size is adjustable based on your choice of yarn and hook. Ensure your stitches are tight to prevent stuffing from leaking through.
Finished Size
Approximately 6–8 cm tall depending on yarn thickness and stuffing.

Special Techniques Used
- Magic Ring: Creates a seamless base for working in the round.
- Yarn Under Single Crochet: Ensures tighter stitches, suitable for amigurumi.
- Increase: Two single crochet stitches in the same stitch.
- Decrease: Combine two stitches into one to shape the piece.
- Bubble Stitch (or Popcorn Stitch): Used to create the hands of the chicken.
Pattern Instructions
Body of the Chicken (Yellow Yarn)
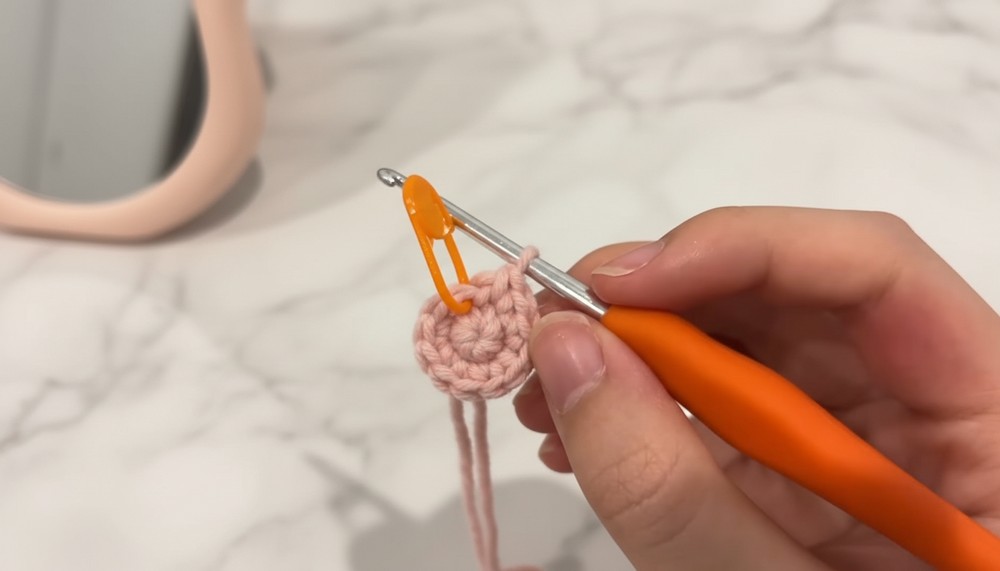
Round 1: Magic Ring
- Create a magic ring with the yellow yarn.
- Work 6 single crochet (sc) into the magic ring.
- Pull the tail tight to close the ring.
- Place a stitch marker in the first stitch to mark the beginning of the round.
- (6 stitches total)
Round 2: Increase in Each Stitch
- Work 2 sc into each stitch around.
- (12 stitches total)
Round 3: 1 Single Crochet, 1 Increase
- Repeat the sequence: 1 sc, 1 increase (2 sc in the same stitch) around.
- (18 stitches total)
Round 4: 2 Single Crochet, 1 Increase
- Repeat the sequence: 2 sc, 1 increase around to maintain a circular shape.
- (24 stitches total)
Tip: Start the round with an increase instead of single crochets to prevent visible corners and create a smoother circle.
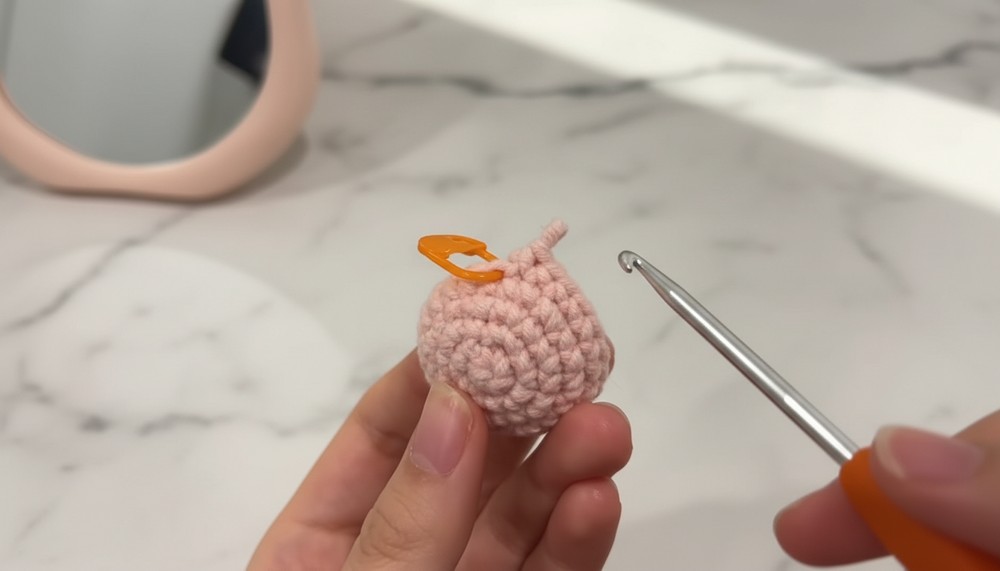
Round 5 – Round 9: Single Crochet Without Increasing
- Work 1 sc in each stitch around, maintaining your stitch count.
- (24 stitches per round)
This creates the depth of the chicken’s body.
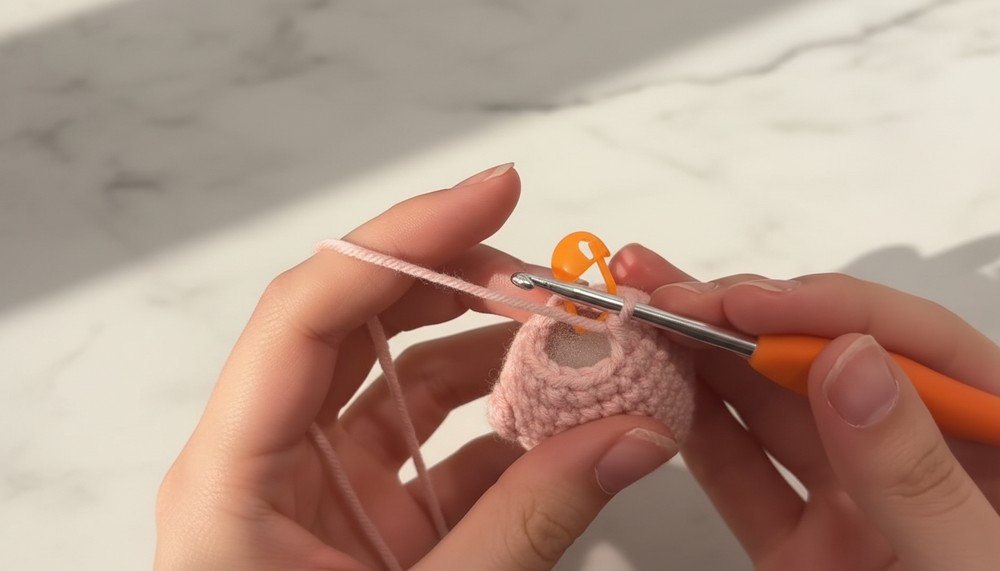
Round 10: Add the Hands (Bubble Stitch)
- Start with 5 sc.
- Create the bubble stitch for the first hand:
- Yarn over, insert the hook into the next stitch, yarn over, and pull through.
- Yarn over and pull through the first 2 loops only (half double crochet).
- Repeat 3 times in the same stitch, leaving 4 loops on the hook.
- Yarn over and pull through all 4 loops.
- This creates the bubble stitch (or hand).
- Work 11 sc after the first hand.
- Repeat the bubble stitch for the second hand.
- Finish the round with 6 sc.
- (24 stitches total)
Round 11 and Round 12: Single Crochet Without Increasing
- Work 1 sc in each stitch around, but crochet into the top of each bubble stitch as a single normal stitch.
- (24 stitches per round)
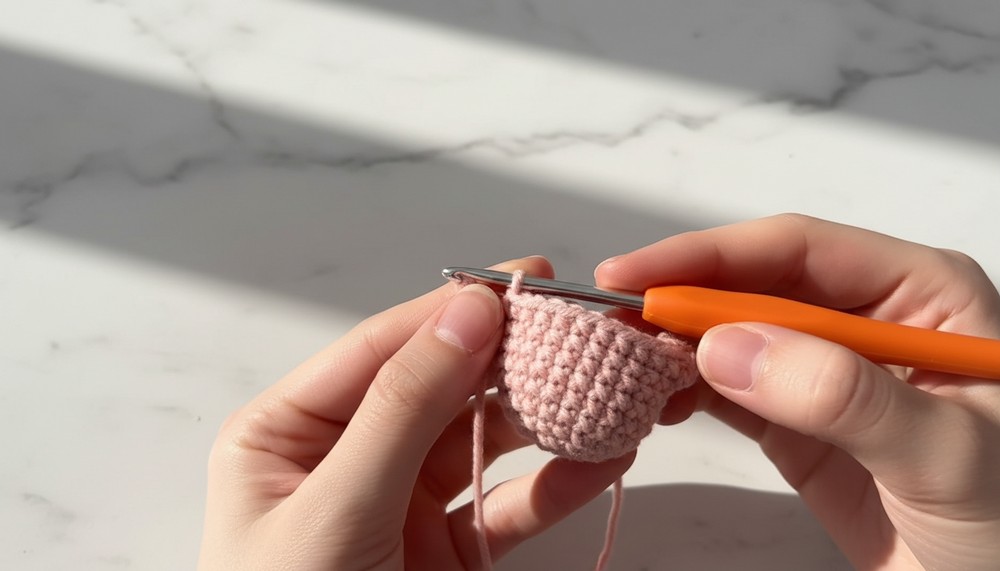
Decrease Rounds: Shaping the Chicken
Round 13: 2 Single Crochet, 1 Decrease
- Repeat the sequence: 2 sc, 1 decrease (combine 2 stitches into 1) around.
- (18 stitches total)
Round 14: 1 Single Crochet, 1 Decrease
- Repeat the sequence: 1 sc, 1 decrease around. Start stuffing the chicken with fiberfill as the gap gets smaller.
- (12 stitches total)
Round 15 (Final Round): Decrease Around
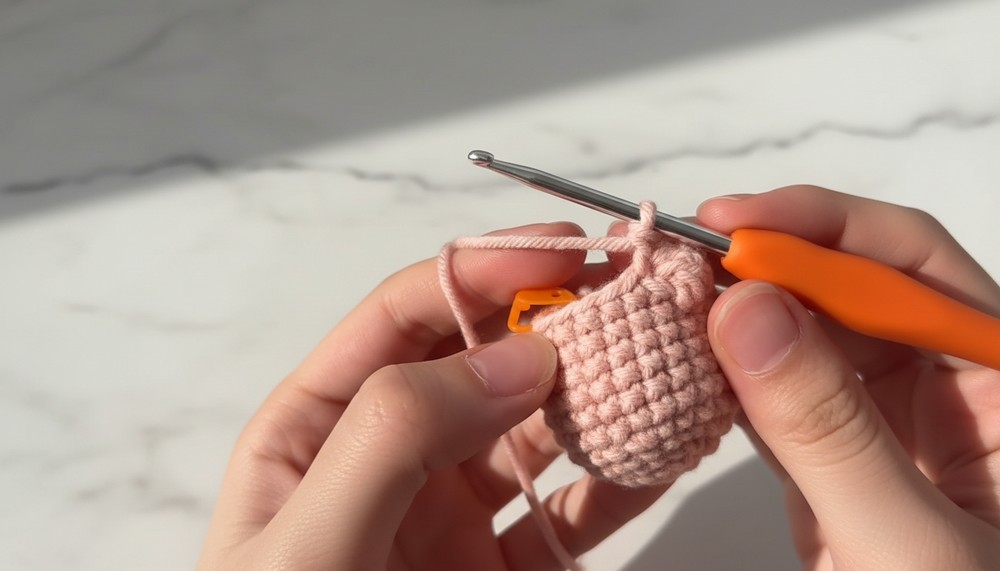
- Work a decrease on each pair of stitches.
- (6 stitches total)
- Add any additional stuffing if needed.
Closing the Body
- Cut a long yarn tail, leaving enough to sew the remaining gap.
- Thread the tail through a tapestry/darning needle and weave it through the front loops of the last round’s stitches.
- Pull the yarn tail tight to close the gap.
- Secure the yarn with a knot, hide it inside the chicken by weaving it through a few stitches, and trim any excess.
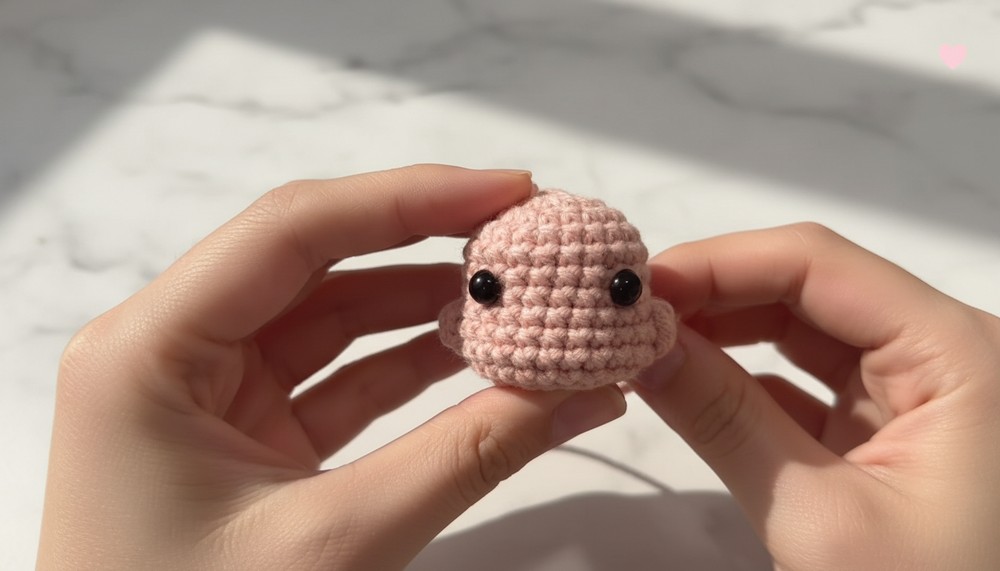
Adding Features
Eyes:
- Place safety eyes between rounds 7 and 8, about 5 stitches apart.
- Alternatively, sew black yarn or glue black felt pieces for eyes.
Beak (Orange Yarn):
- Use a small length of orange yarn.
- Sew the beak between rounds 8 and 9.
- Sew a small “line” horizontally to represent the top lip, secure the yarn, then add a diagonal stitch for the bottom lip.
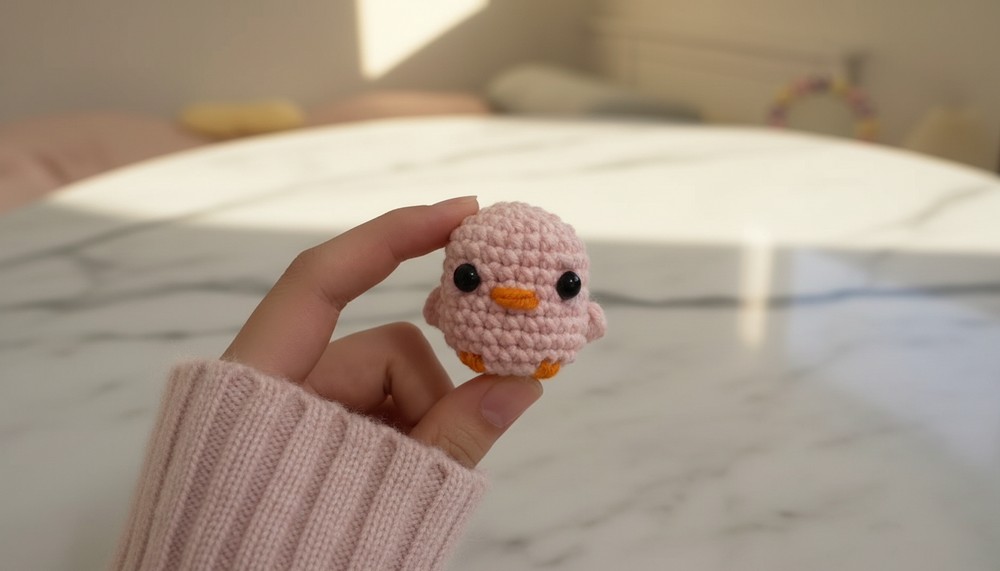
Legs (Orange Yarn):
- Thread orange yarn through the bottom of the chicken (below the eyes).
- Sew two small V-shaped legs close together. Secure and trim excess yarn.
Optional Blush (Pink Yarn):
- Sew tiny horizontal stitches with pink yarn near the eyes to add blush.
Finishing as a Keychain
- Use a keychain ring and pliers.
- Open the bottom loop of the keychain with pliers and insert it into Round 1 (center top of the chicken).
- Turn the chain to ensure the open loop is facing inside the chicken for a neat finish.
Final Words
Congratulations! Your chicken keychain amigurumi is now complete. This beginner-friendly project is an excellent way to practice crocheting in the round, increasing, decreasing, making bubble stitches, and attaching small details. It’s also a versatile item—you can turn it into a keychain, a desk buddy, or a thoughtful handmade gift.
Tips to Maintain the Pattern
- Consistency in Tension: Keep your stitches tight and even to prevent stuffing from showing.
- Use a Stitch Marker: This helps you track the first stitch in each round while working in a spiral.
- Customize Colors: Experiment with playful combinations (e.g., pink body, yellow beak).
- Safety Eyes: Always ensure safety eyes are secure, especially if the chicken is gifted to young children.
- Stuffing: Pack the stuffing lightly to avoid stretching the stitches.