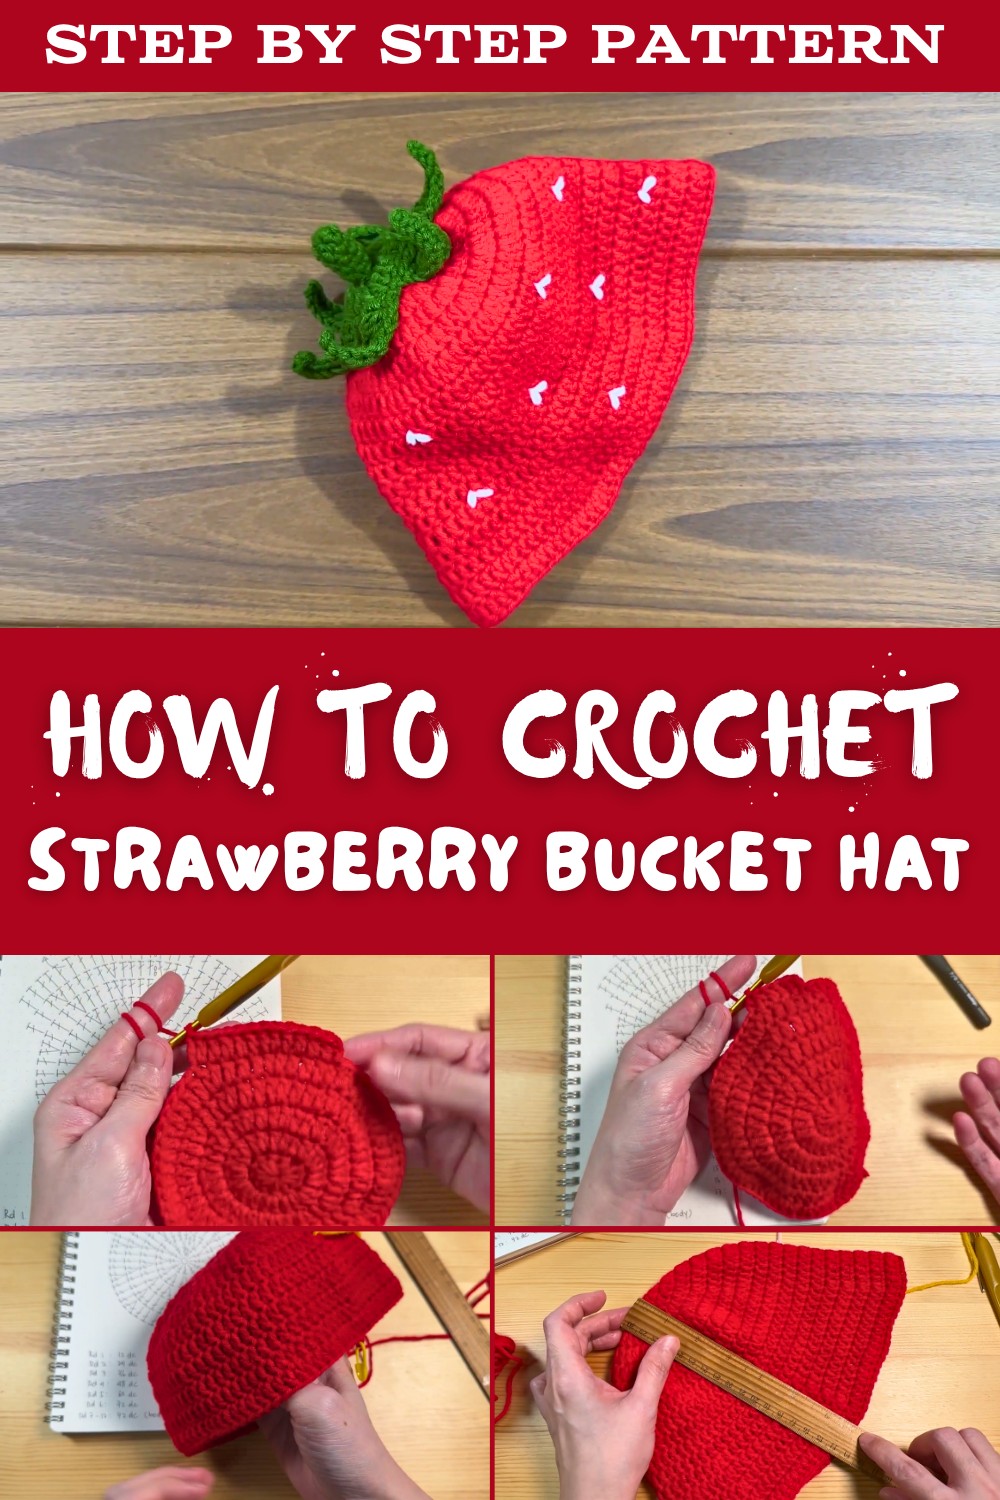
Strawberry Bucket Hat You Can Easily Crochet With Free Pattern
Crochet a cute strawberry bucket hat that is simple to stitch, full of charm, and perfect for sunny days or gifting something uniquely handmade and fun.
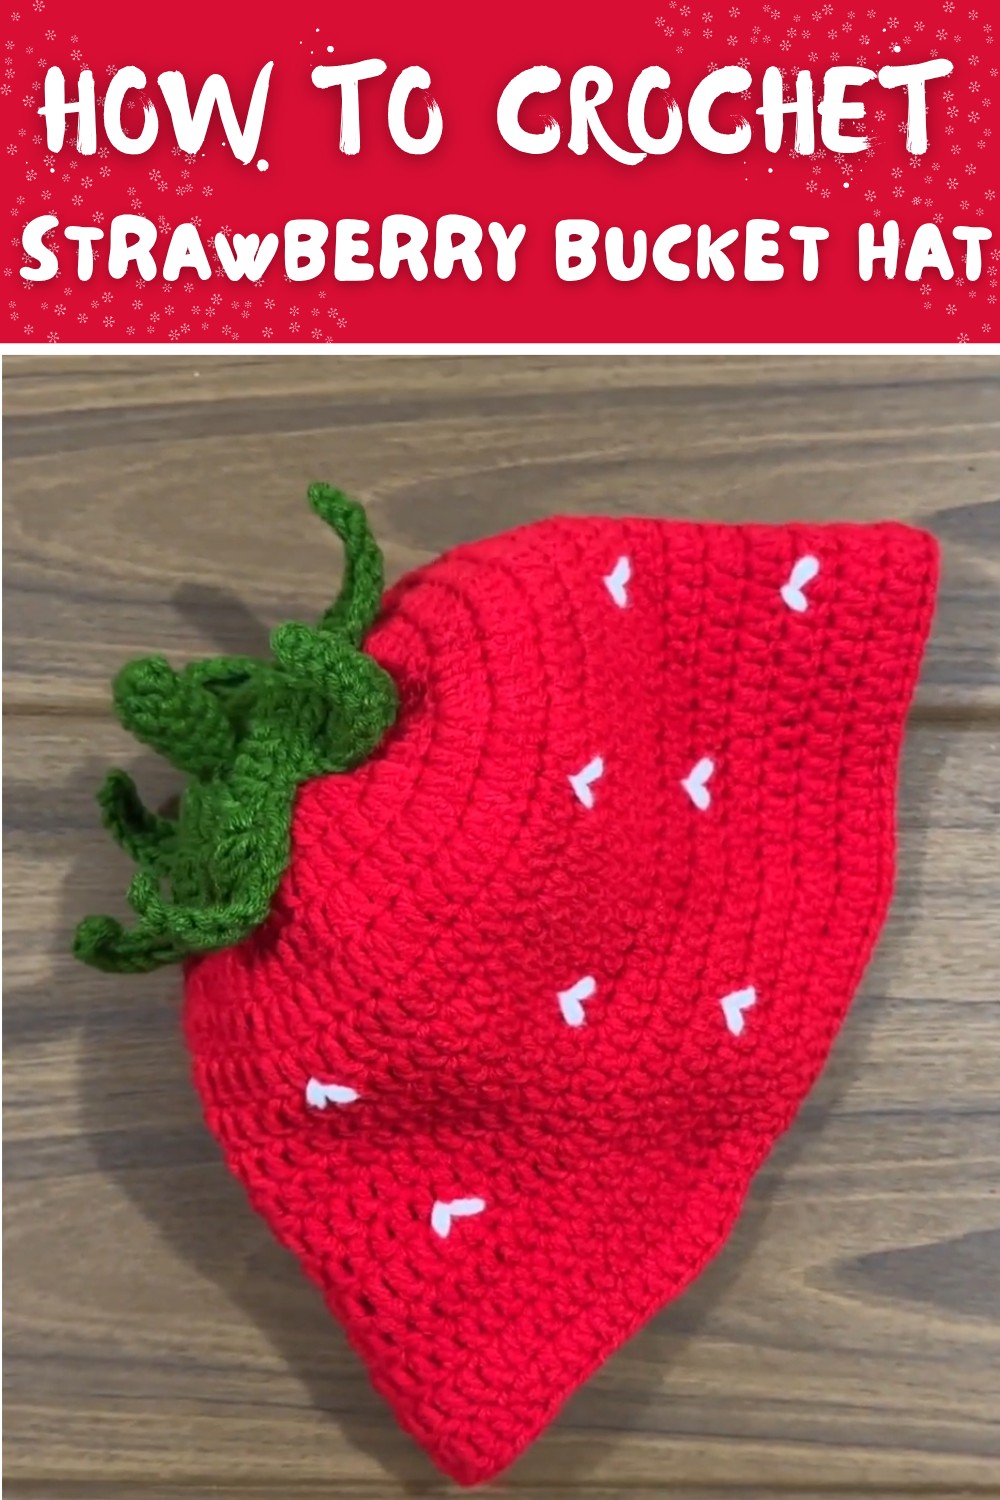
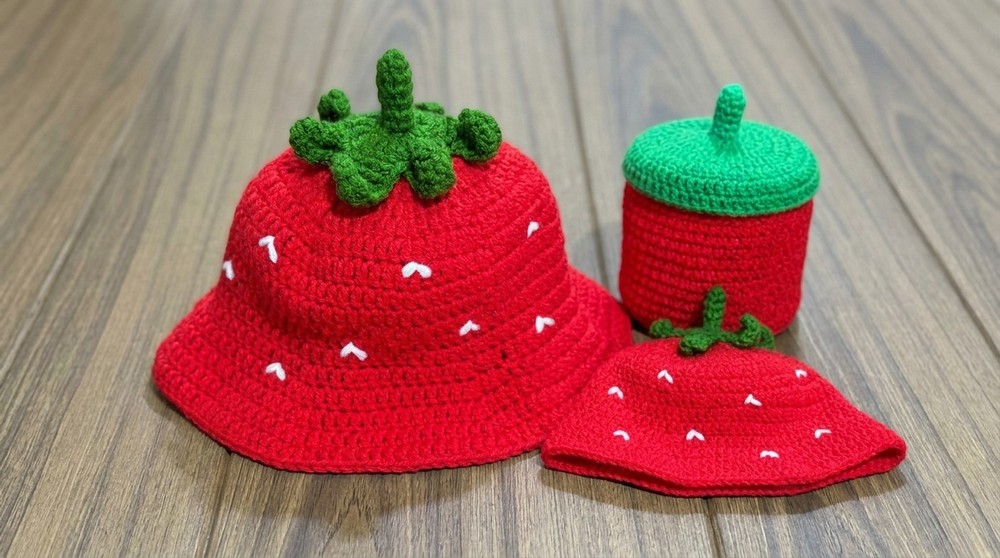
Wearing a hat that looks just like a sweet and juicy strawberry, perfect for adding a touch of fun to your outfit. This crochet bucket hat, inspired by the shape and colors of a strawberry, is simple to make yet so eye-catching. Its vibrant red body, dotted with tiny seeds, and a cute green leafy top make it a playful and cheerful accessory for any season. Soft and lightweight, it provides just the right amount of shade on sunny days while keeping you comfy and stylish.
Crochet Strawberry Bucket Hat for Free - Step-by-Step Plan
This cute hat is a wonderful way to express your love for nature and creativity, standing out as both practical and trendy. It's perfect for picnics, walks, or just adding some charm to your everyday look. Whether you want to keep cool in summer or gift someone a handmade item they'll adore, this unique strawberry-inspired hat is a great choice. The best part is it's fun, easy to make, and perfect for anyone who loves colorful, quirky designs.
Kid's-Size Strawberry Bucket Hat - Crochet Pattern
Materials
Yarn
- Milk Cotton Yarn (5-ply):
- Red: 2 skeins (Main color for the bucket hat)
- Green: For the stem and leaves
- White: For the seeds (small amount)
Tools
- 4.0 mm crochet hook
- Yarn needle (for sewing and weaving in ends)
- Scissors
Optional
- Stitch markers (to mark rounds or important spaces).
Gauge
- 4" (10 cm) x 4" (10 cm) = 16 double crochet stitches x 10 rows.
Finished Size
- Crown Diameter: ~5.25" (13.5 cm)
- Height (crown to brim): ~6 cm (2.5") for body; adjustable for brim.
- Brim Width: Varies based on increases; instructions provided for a kid's size.
Adjustments for adult sizes will be described.
Skill Level
Beginner to Intermediate.
Abbreviations (US Terminology)
- ch = Chain
- sl st = Slip Stitch
- sc = Single Crochet
- dc = Double Crochet
- hdc = Half Double Crochet
- inc = Increase (2 stitches in the same stitch).
Special Notes
- No Starting Chain-Stitch Count: The ch-2 at the beginning of the rounds does not count as a stitch. Always join to the top of the first dc, not the starting chain.
- Sizing: Instructions for a child's bucket hat include size adjustments at key steps for adults.
- Stem and Leaves: Finish the brim before attaching the decorative stem, leaves, and optional seeds.
Pattern Instructions
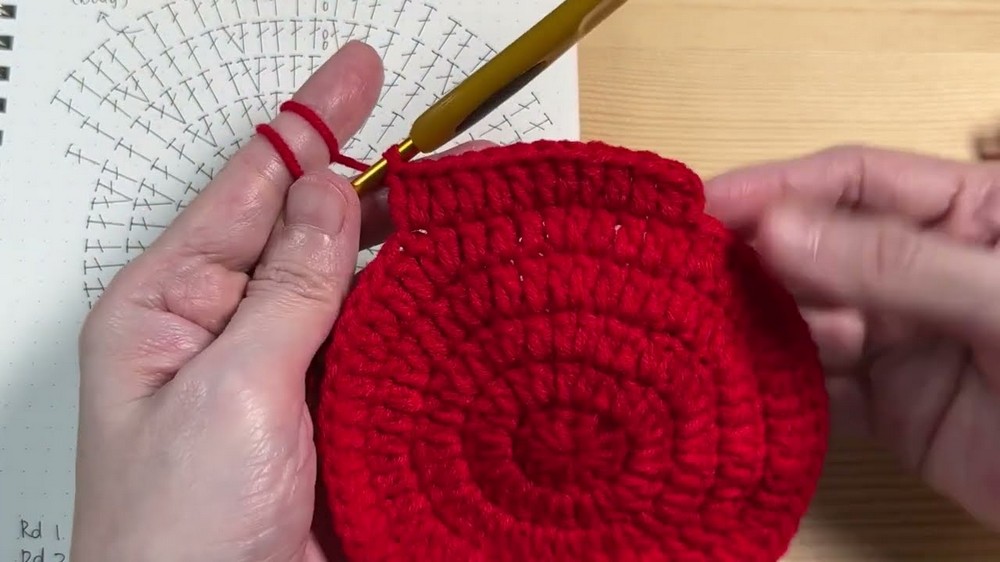
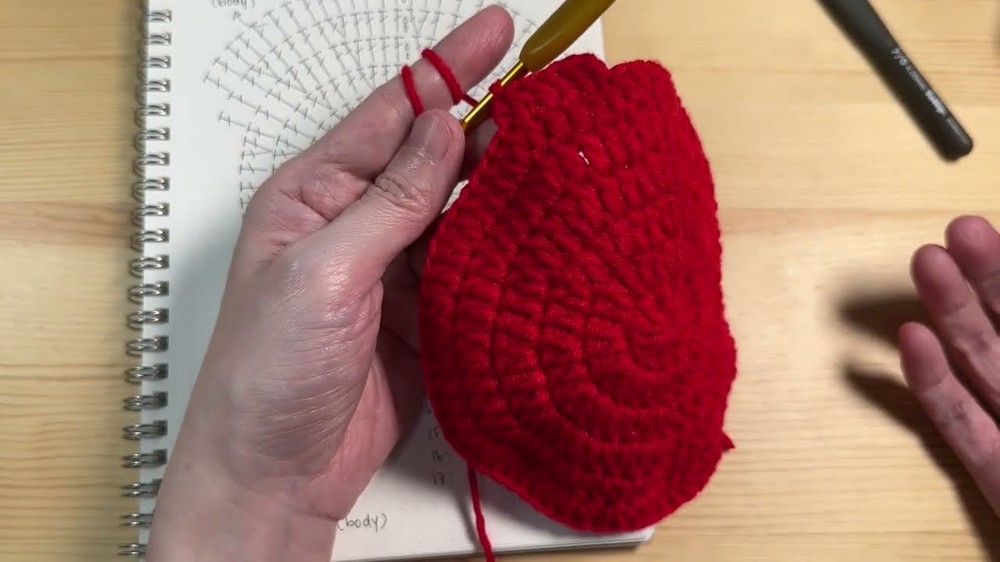
Step 1: Crown of the Hat (Top)
Round 1: Create a Double Magic Ring and Base
- Make a double magic ring (loop the yarn twice around your fingers).
- Ch 2 (does not count as a stitch).
- Make 12 dc into the ring.
- Pull the first loop of the magic ring to close tightly. Then pull the yarn tail to secure the circle.
- Join with a sl st to the top of the first dc.
- Stitch count: 12 dc.
Round 2: First Increase Round
- Ch 2.
- Work 2 dc in each stitch around (increase in all stitches).
- Join with a sl st to the top of the first dc.
- Stitch count: 24 dc.
Round 3: Increase Round
- Ch 2.
- Follow the pattern: 1 dc in first st, 2 dc in next st (increase). Repeat * around.
- Join as before.
- Stitch count: 36 dc.
Round 4: Increase Round
- Ch 2.
- Follow the pattern: 1 dc in each of the next 2 sts, 2 dc in the next st (increase). Repeat * around.
- Join as before.
- Stitch count: 48 dc.
Round 5: Increase Round
- Ch 2.
- Follow the pattern: 1 dc in each of the next 3 sts, 2 dc in the next st (increase). Repeat * around.
- Join.
- Stitch count: 60 dc.
Round 6: Final Increase Round (Kid's Small Size)
- Ch 2.
- Follow the pattern: 1 dc in each of the next 4 sts, 2 dc in the next st (increase). Repeat * around.
- Join.
- Stitch count: 72 dc.
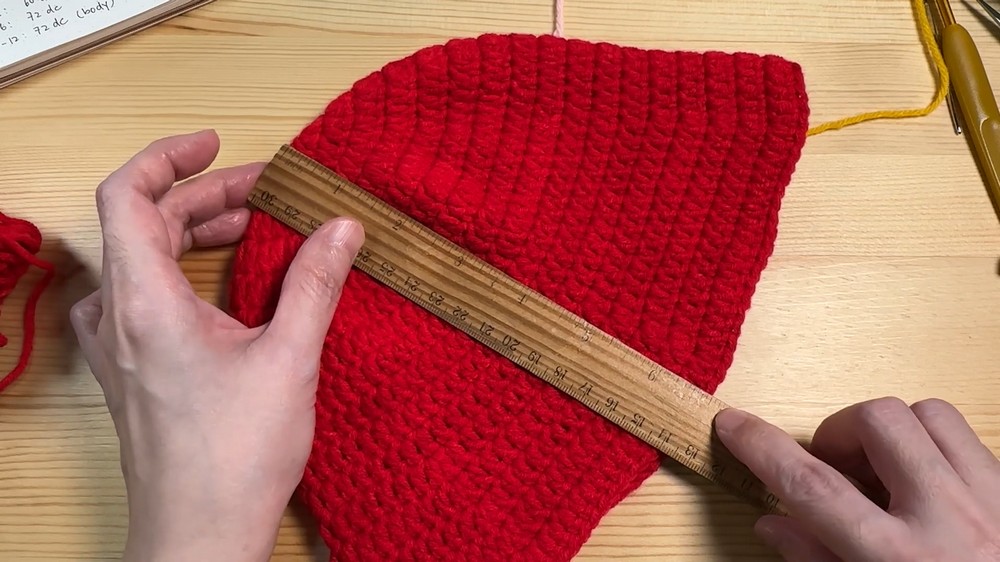
Note: The crown diameter should measure ~5.25" (13.5 cm) for a child's small size. For adult sizing:
- Continue increasing by adding 1 more stitch between increases per round until the diameter reaches ~16 cm for small-medium and ~18 cm for medium-large.
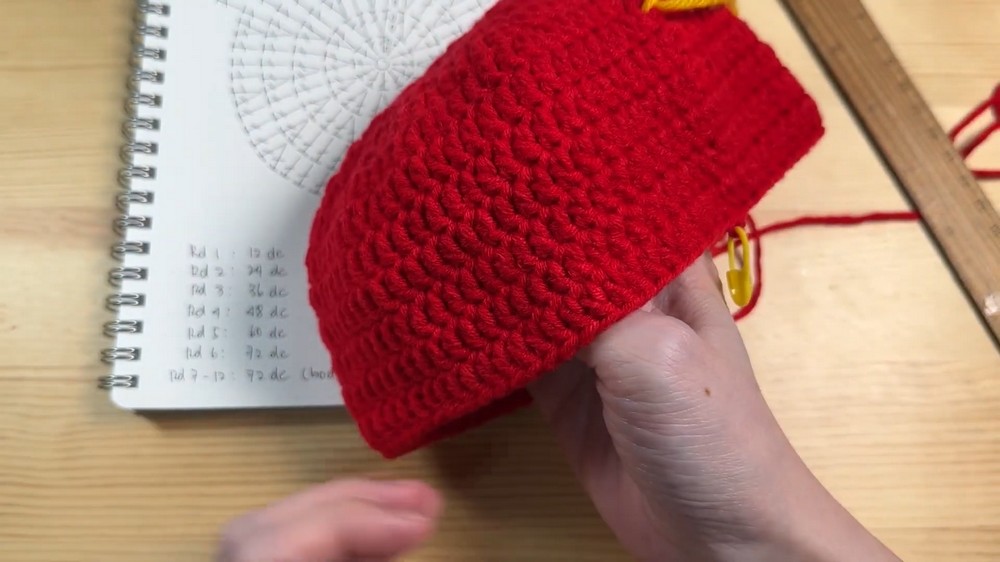
Step 2: Hat Body (Sides)
Rounds 7-12: No Increases
- Ch 2.
- Work 1 dc in each stitch around.
- Join with a sl st to the top of the first dc.
- Stitch count: 72 dc per round.
Note: For deeper hat sides, increase the number of rounds (e.g., 14 rounds instead of 12).
Step 3: Brim
The brim is created with gradual increases to make it flare outward.
Round 13: First Brim Round
- Ch 2.
- Follow the pattern: 1 dc in each of the next 11 sts, 2 dc in the next st (increase). Repeat * around.
- Join.
- Stitch count: 78 dc.
Subsequent Brim Rounds
- In the next rounds, keep increasing 1 stitch between increases for each round's sequence. For example:
- Round 14: 1 dc in each of the next 12 sts, 2 dc in the next st. (84 dc total).
- Round 15: 1 dc in each of the next 13 sts, 2 dc in the next st. (90 dc total).
- Follow this progression until the brim reaches your desired width.
- For the tutorial's kid-size hat, stop after Round 17.
Step 4: Stem and Leaves
Stem
- Make a magic ring. Work 6 sc into the ring.
- Work 6 sc in continuous rounds (do not join).
- Repeat until the stem measures ~1.5" (~4 cm).
- Fasten off, leaving a long tail for sewing.
Leaves
- Ch 11.
- Skip the first chain and follow this pattern along the chain:
- Slip Stitch (sl st) in first ch.
- sc in next 2 ch.
- Hdc in next 2 ch.
- Dc in next 3 ch.
- Extended dc in next st.
- Tr in last st.
- Fasten off and sew leaves near the base of the stem.
Optional: Adding Seeds
- Cut small strands of white yarn, each ~10" long.
- Create an inverted V-shape stitch at random positions on the hat body using a yarn needle.
- Knot securely on the inside and trim excess yarn.
Finishing the Pattern
- Weave in all loose ends using a yarn needle.
- Lightly steam block the hat for a neat finish (optional).
Tips for Success
- Customization: Adjust the size of the crown, body, or brim by adding/removing rounds or stitches as described.
- Reinforce Brim: For a stiffer brim, use tighter tension or work sc instead of dc in brim rounds.
- Alternative Decorations: Without seeds, the hat resembles a tomato, creating a versatile alternative.
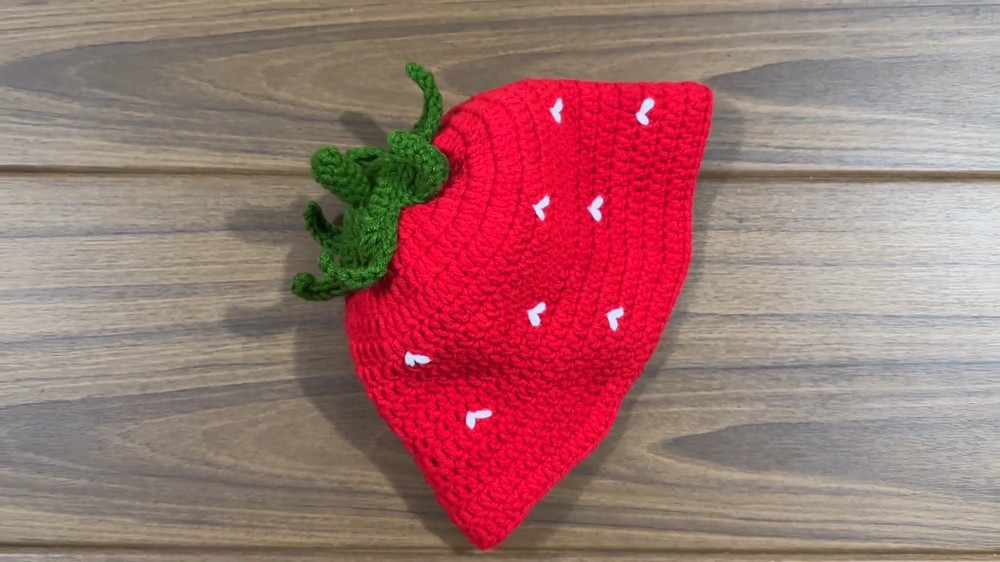
Conclusion
Congratulations on completing the Kid-Size Strawberry Bucket Hat! This adorable, customizable design is great for all ages and perfect for gifting or personal use. Whether you add seeds, curl the stem, or vary the brim size, the hat is sure to turn heads.
Final Look Recap:
- A neat, structured bucket hat with a flared brim.
- Adorned with charming stem, leaves, and seed detailing.