
Cozy Free Crochet Book Cover Pattern to Keep Your Books Safe
Protect your books with this FREE Crochet Book Cover Pattern that's customizable, and perfect for personal use or thoughtful gifting.
Nothing transforms a simple book into a cherished treasure like a personal touch. Whether you're protecting your favorite novel, journaling your thoughts, or gifting something handmade, a crocheted book cover is both functional and stylish. This Free Crochet Book Cover Pattern lets you create a cozy, one-of-a-kind design to safeguard your books from wear and tear while adding personality to your shelves or bags.
Free Crochet Book Cover Pattern Perfect for Kids' Storybooks
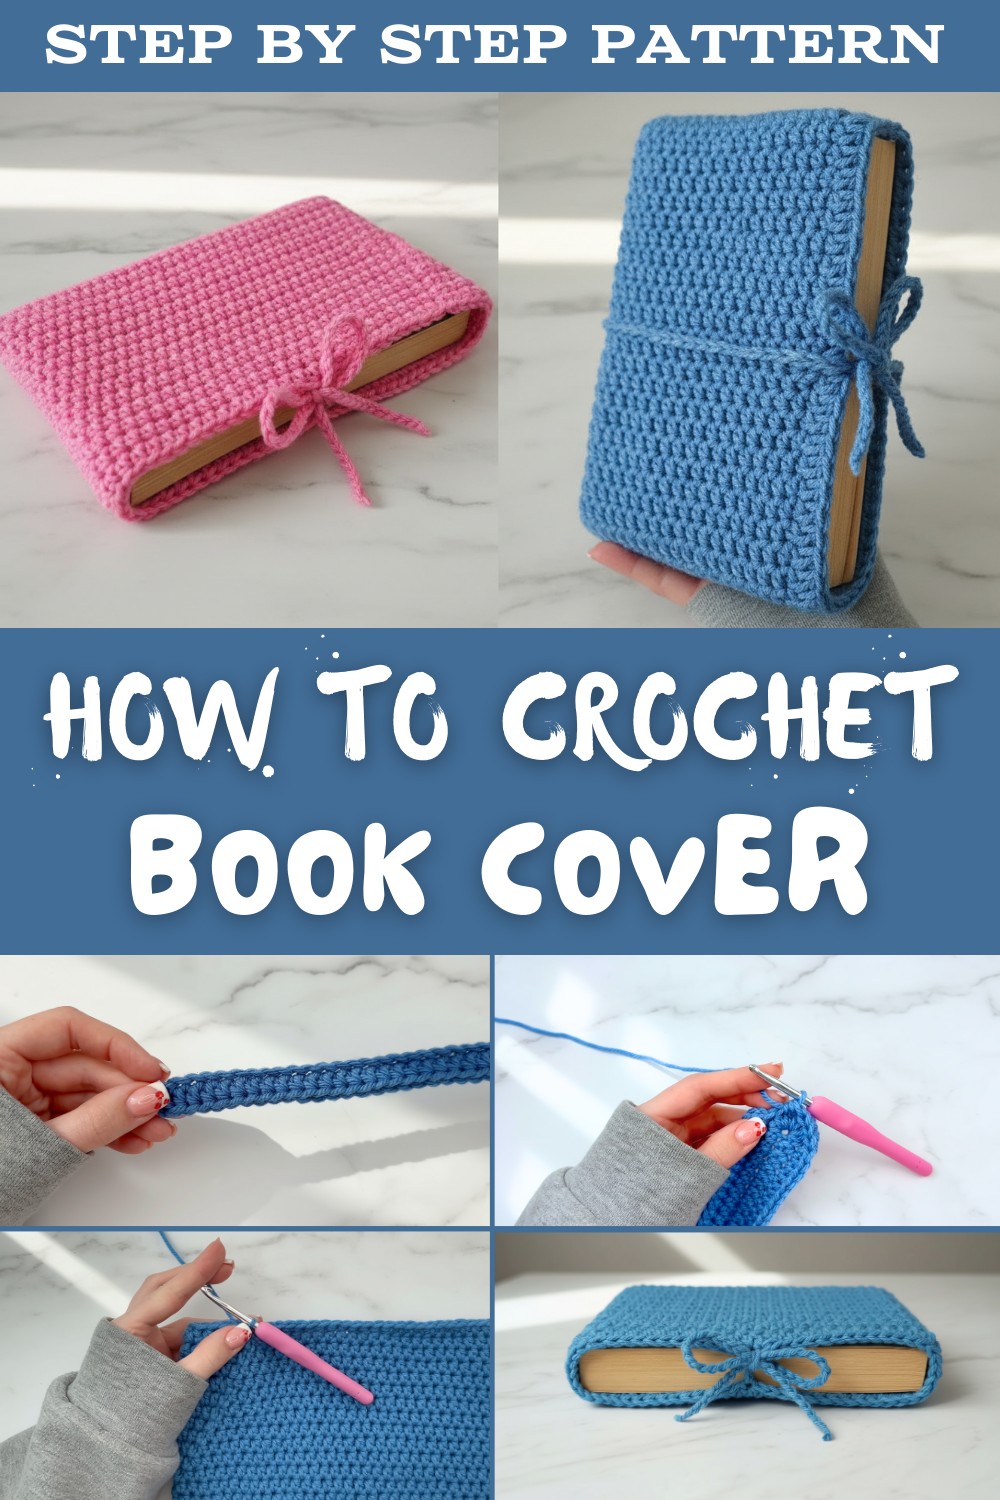
Use it to cover textbooks for school, notebooks for work, or even planners to make your daily routine more inspiring. The pattern is beginner-friendly, fully customizable, and perfect for using up leftover yarn. Style it with fun colors, textured stitches, or add a cute button or tassel closure for extra flair. Creating a crochet book cover isn't just practical, it's a rewarding project that turns the ordinary into something uniquely yours.
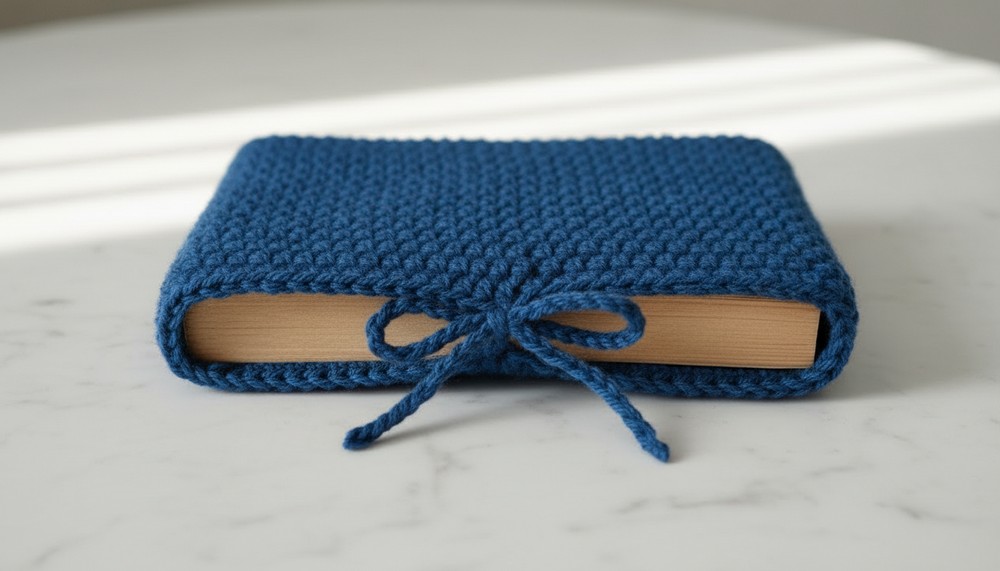
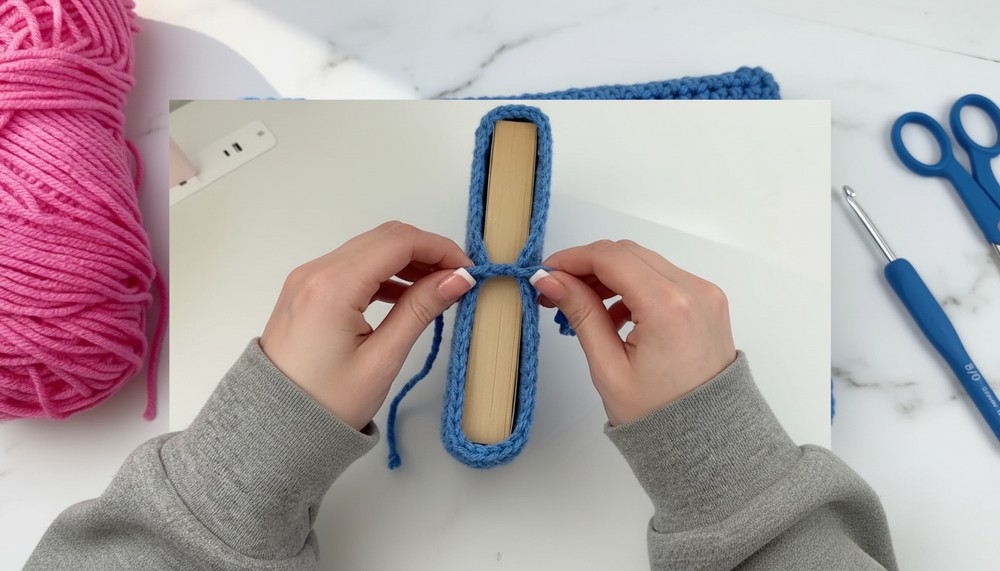
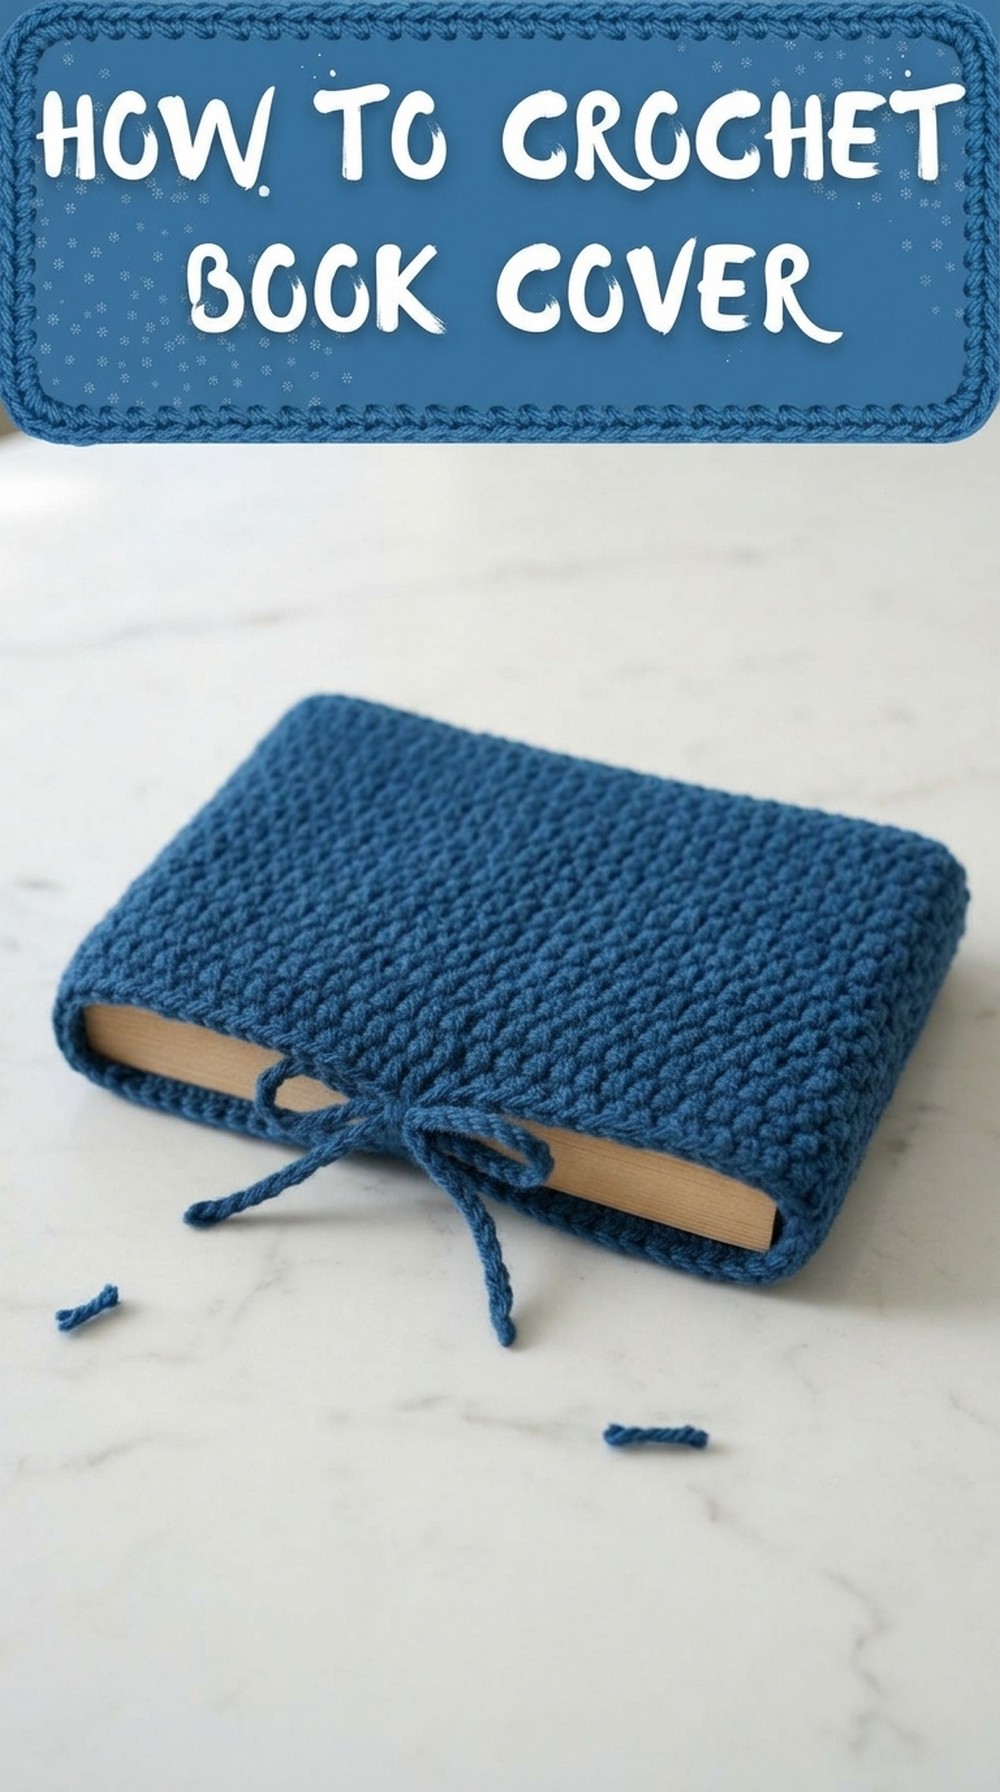
Crochet Book Sleeve with Bow Closure Pattern
Materials Needed
- Yarn:
- Worsted weight (Size 4) yarn in acrylic or cotton, in your choice of color.
- Hook:
- 5.0 mm crochet hook.
- Additional Tools:
- Scissors.
- Tapestry needle (for weaving in ends).
- Optional: Stitch marker for locating the center stitch for bow closure.
Skill Level
- Beginner to Intermediate: Familiarity with basic crochet stitches (chains, half double crochet, slip stitch), working in the round, and weaving ends.
Key Abbreviations (US Crochet Terminology)
- ch: Chain
- hdc: Half Double Crochet
- sl st: Slip Stitch
- st(s): Stitch(es)
- yo: Yarn Over
Special Notes
- Custom Sizing: This pattern can be adjusted for any book size. Create the initial chain such that it matches the length (top to bottom) of your book.
- Gauge: Gauge is not critical for this pattern; simply ensure even tension throughout.
- Curling: Don't worry if the base curls slightly during the initial stages. It will flatten as additional rows are added.
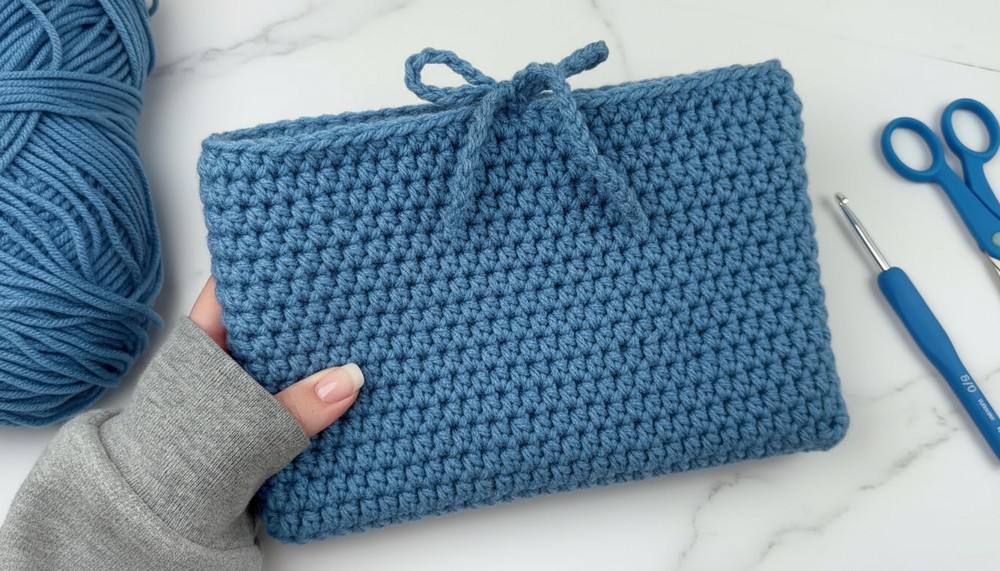
Pattern Instructions
Step 1: Create the Foundation Chain
- Begin by creating a slip knot.
- Place the knot on your hook and chain (ch) until the chain matches the length of your book from top to bottom.
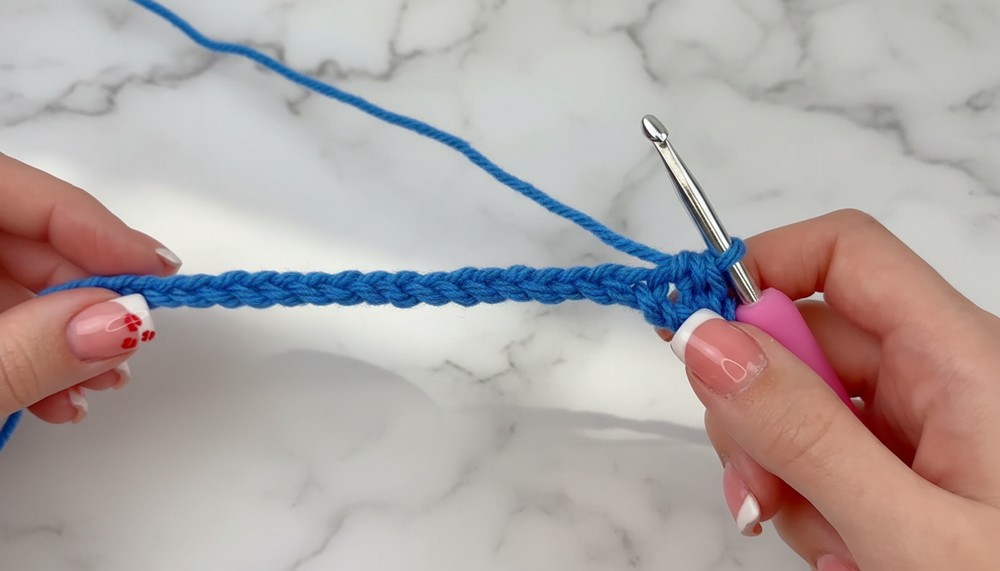
Step 2: Round 1 - Half Double Crochet Around the Chain
- Work 1 hdc in the second chain from the hook.
- To create an hdc: Yarn over (yo), insert the hook into the specified chain, yo and pull up a loop (3 loops on the hook). Yo, pull through all 3 loops on the hook.
- Continue working 1 hdc into each chain along the foundation chain until you reach the last chain.
- In the last chain, work 6 hdc to create a rounded corner.
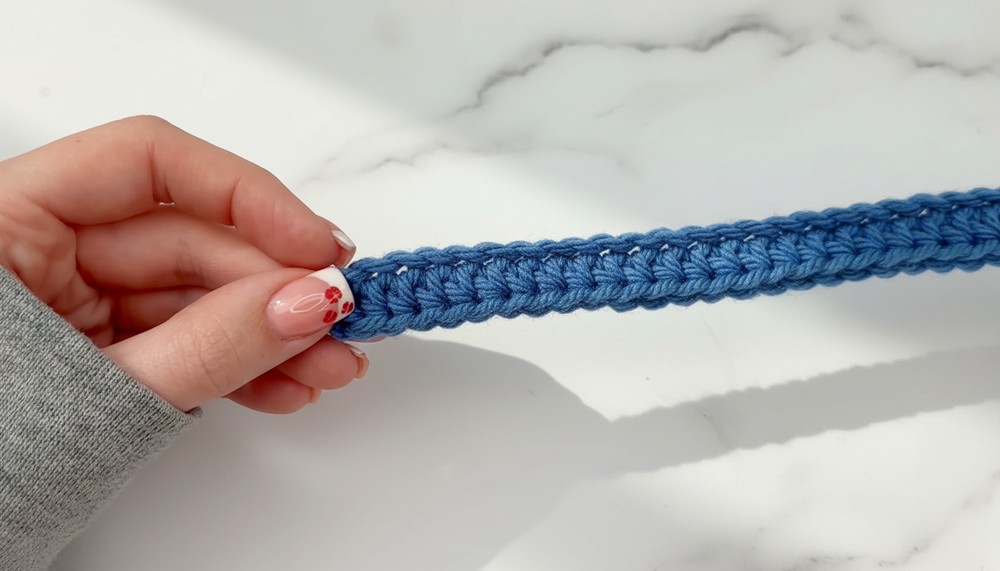
- Rotate your work to crochet along the back side of the foundation chain:
- Work 1 hdc into each chain along the back, stopping at the beginning of the chain.
- In the first chain (from your starting row), work 6 hdc.
- Join with a sl st to the first hdc of the round.
Step 3: Rounds 2 and 3 - Build the Body
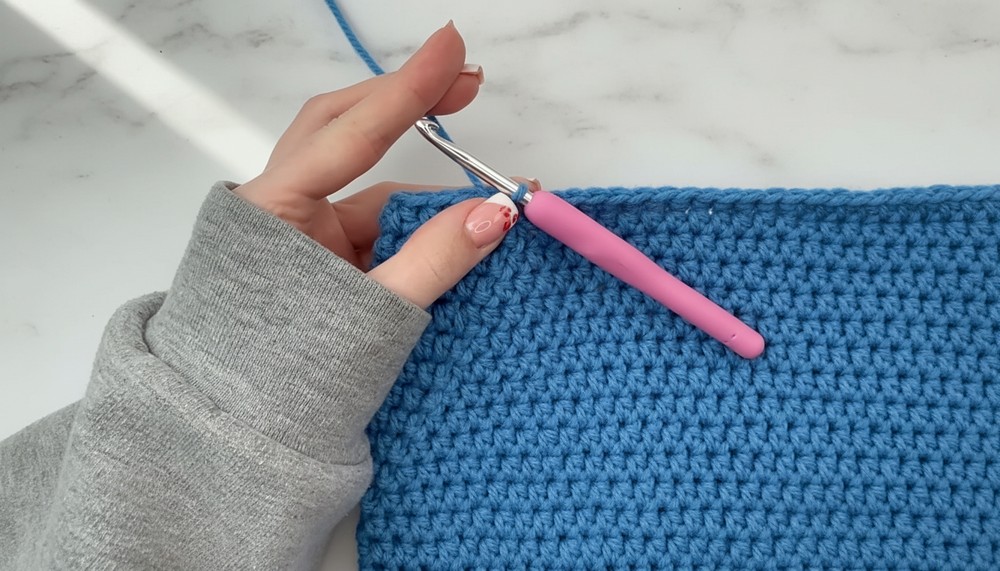
- Round 2:
- Ch 1 (does not count as a stitch).
- Work 1 hdc into each stitch around.
- Join with a sl st to the first hdc.
- Round 3:
- Repeat the instructions for Round 2.
- As you work, allow your piece to naturally curl upward to form the sides of the book sleeve.
Step 4: Continue Building the Body
- Repeat the instructions for Round 2 until the sleeve is wide enough to hold your book comfortably.
- Check periodically by inserting your book into the sleeve.
Step 5: Finish the Main Sleeve
- Once the desired width is achieved, finish the last round:
- Ch 1, work 1 hdc into each stitch, and join with a sl st.
- Chain 1, cut the yarn, and pull the tail through. Pull tight to fasten off.
- Weave in loose ends using a tapestry needle.
Step 6: Add the Tie Closure (Optional)
Top Tie:
- Locate the center stitch in the front row of the sleeve's opening. You may eyeball this or count stitches to find the center.
- Attach a new strand of yarn to this stitch by making a slip knot:
- Insert hook, pull up a loop, and tie a knot to secure.
- Chain 30 (or desired length) for the closure.
- Cut the yarn, pull through the last chain, and tighten.
- Weave in the ends carefully.
Back Tie:
- Flip the sleeve over to the backside and locate the stitch directly behind the front tie.
- Repeat the tie closure process: attach yarn, chain 30, pull through, and fasten off.
- Weave in any loose ends.
Step 7: Final Assembly
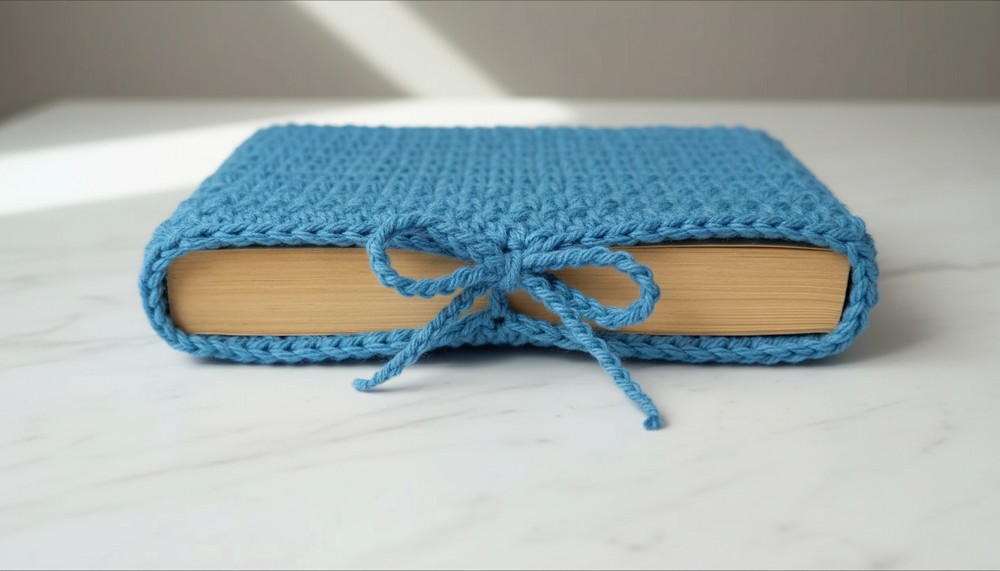
Insert your book into the finished sleeve and use the front and back ties to create a bow, holding the book securely inside the sleeve.
Pattern Adjustments
- Larger/Sized Books: To accommodate bigger books, simply increase the number of chains at the foundation and continue working evenly around.
- Smaller Books: Shorten the foundation chain and work fewer rounds for the width.
Conclusion
Congratulations! Your book sleeve with its elegant bow tie closure is ready to use. This sleeve not only provides protection for your books but also makes for a lovely handmade gift. With customizable sizing and color options, this beginner-friendly pattern is a quick yet practical project that suits all seasons.
Tips and Additional Suggestions
- Personalization: Add appliqués, embroidery, or monograms for a unique touch.
- Stitch Variation: Experiment with different stitches, e.g., single or double crochet, for varied textures.
- Washability: Use cotton yarn for easy care if the sleeve is intended for frequent use.
- Time Saver: Work with variegated yarn to create natural patterns without color changes.
Pattern Corrections
- Ensure you skip the slip stitch from previous rounds when beginning a new row, as it does not count as a stitch.
- Check stitch counts periodically to maintain symmetry as you work around the rows.