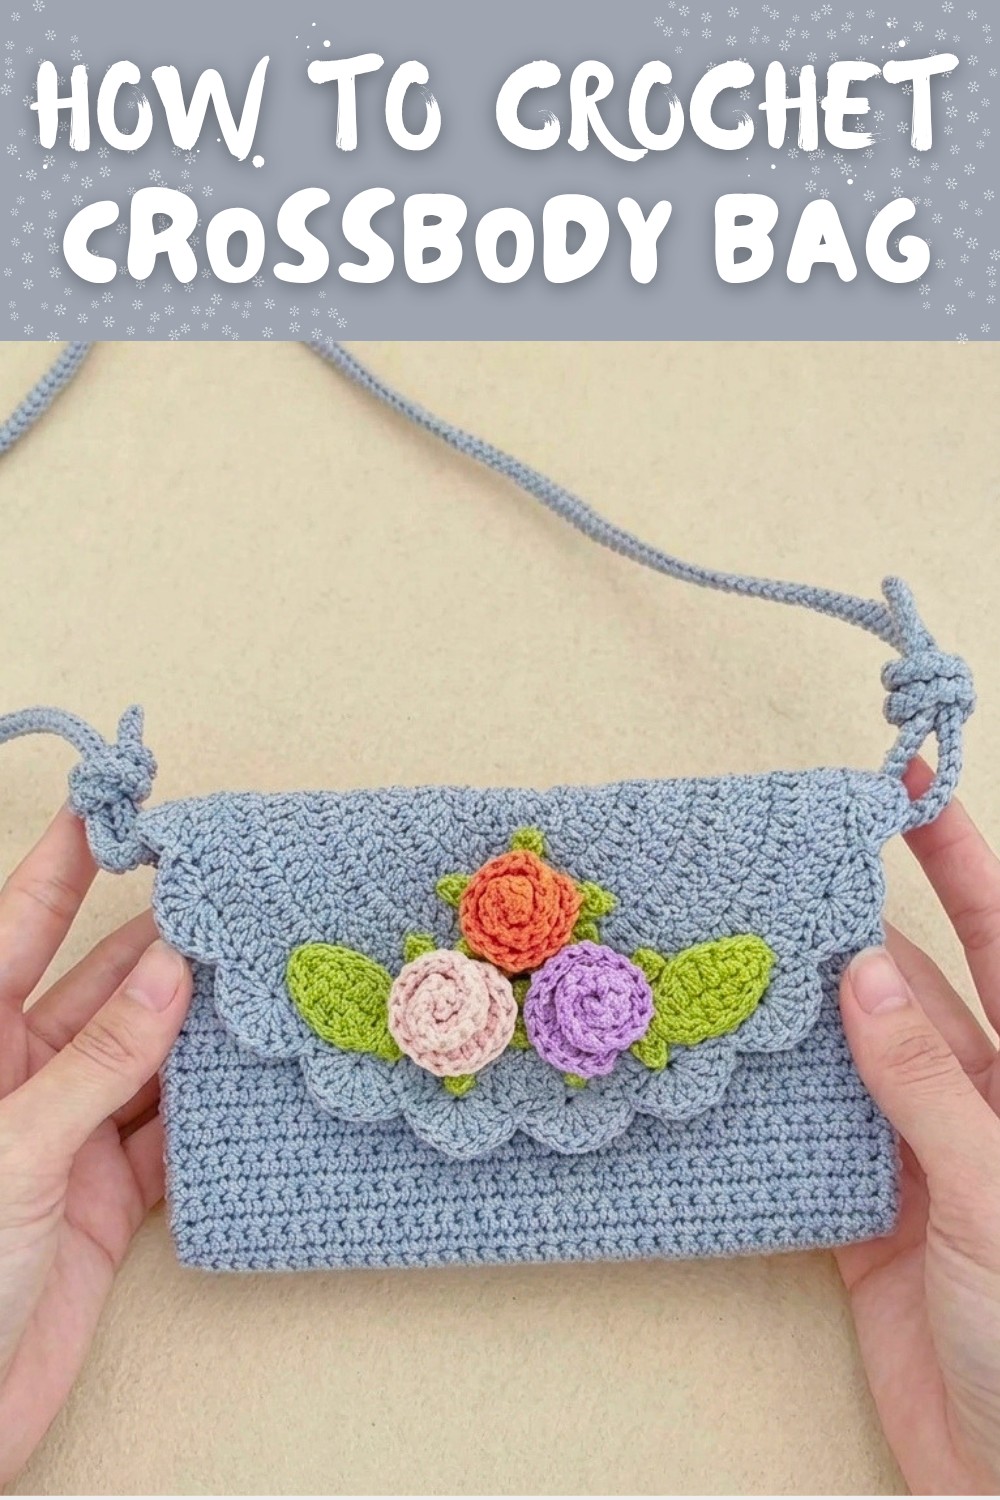
Free Crochet Crossbody Bag Pattern with Floral Embellishments
Create a fun and stylish crossbody bag with this free crochet pattern, featuring simple stitches, a comfy strap, and lovely flower details perfect for any outing.
A lightweight bag is a handy accessory for everyday outings, whether for errands or casual strolls. This crochet project features a compact crossbody bag with soft flower accents. It combines beauty and practicality in one design. Using simple stitches like single crochet, double crochet, and the elegant 7 dc shell stitch, beginners can follow along easily. Its neat structure makes it ideal for carrying essentials such as your phone, keys, or small items.
Free Crochet Crossbody Bag Pattern That Looks Amazing
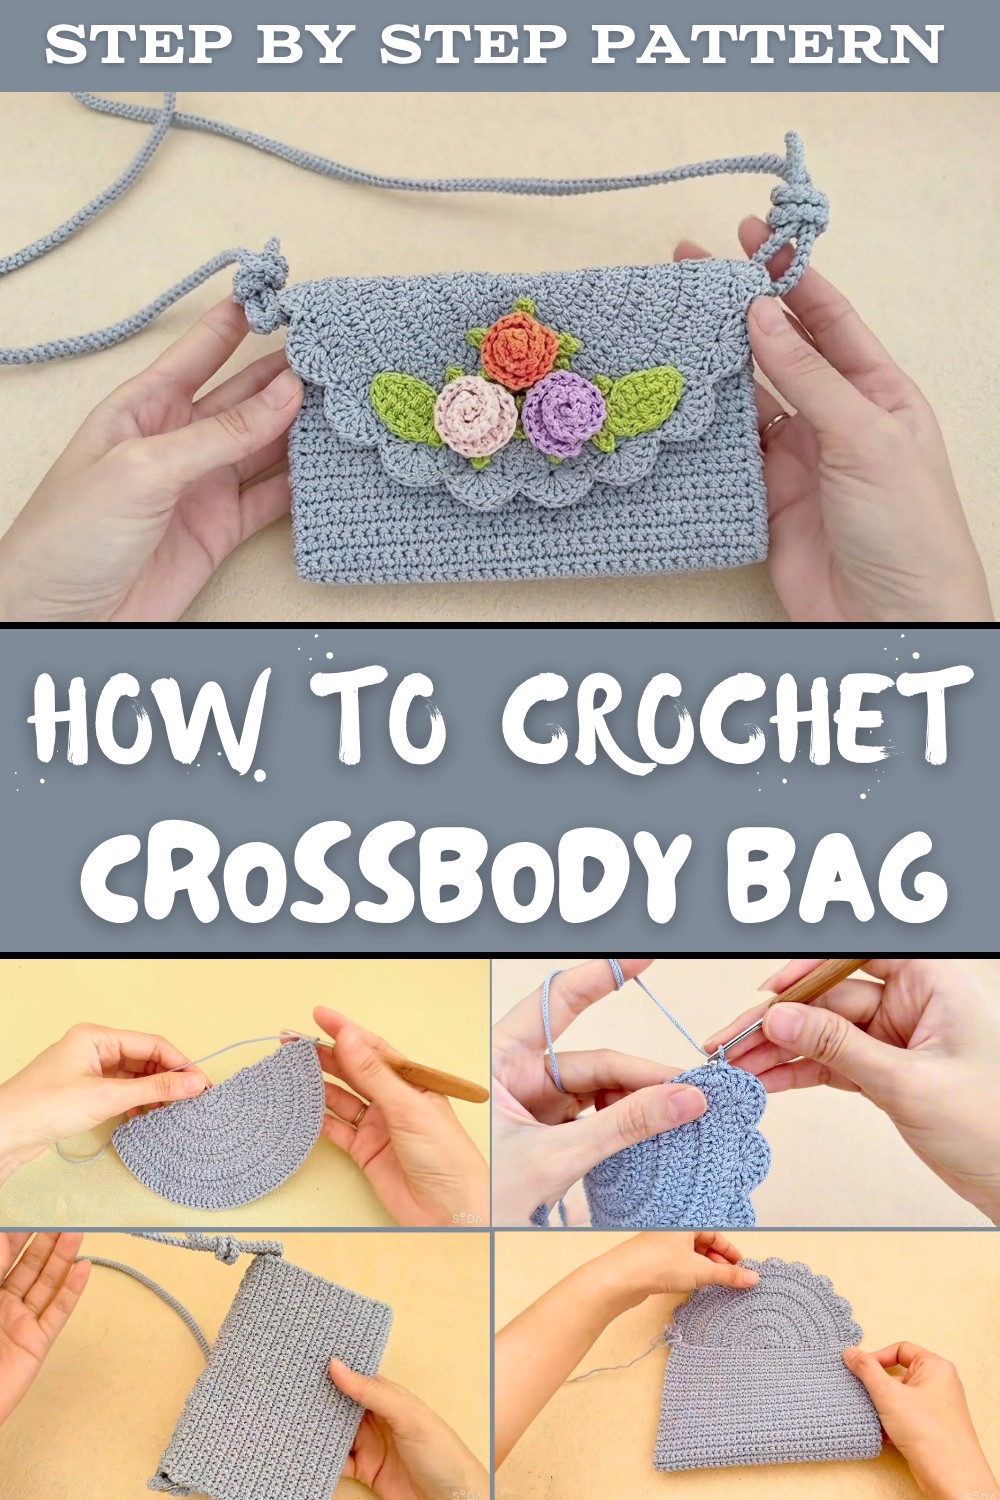
This project is a wonderful way to sharpen basic crochet skills while experiencing the magic of shaping and assembly. You will learn how to work increases, which are important for forming rounded shapes like the flap, and practice stitching panels together to form the gussets and body of the bag. Additionally, finishing techniques like adding D rings, a snap closure, and decorative flowers help you develop an eye for details that take your crochet work to the next level.
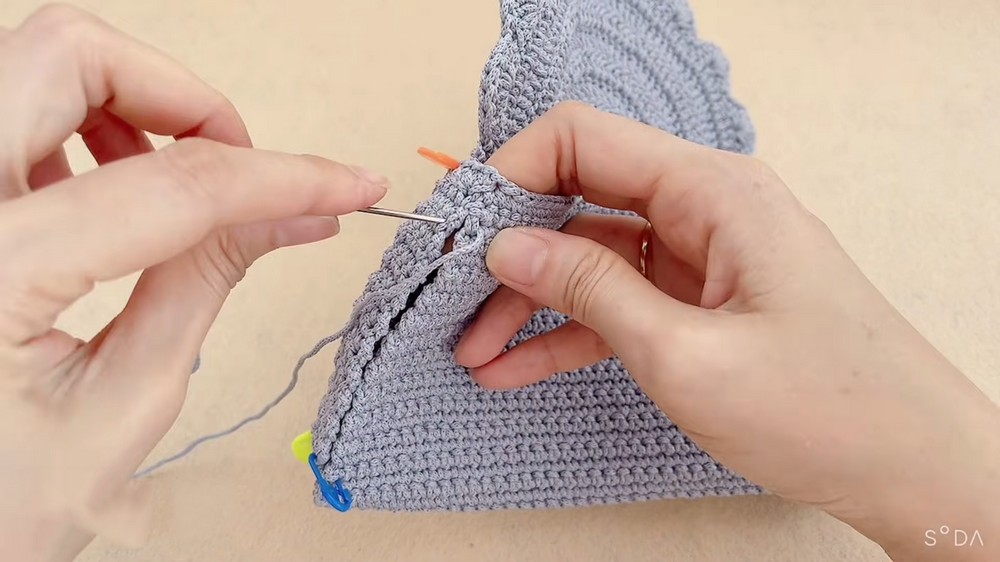
Sewing the gussets onto the bag body might feel tricky for some, as it requires patience to align all the edges properly. A helpful tip is to use stitch markers to temporarily secure the pieces in place before sewing. Also, keeping a consistent tension throughout the rows helps prevent any mismatched edges. By the end, you'll have a stylish accessory that's both functional and full of character.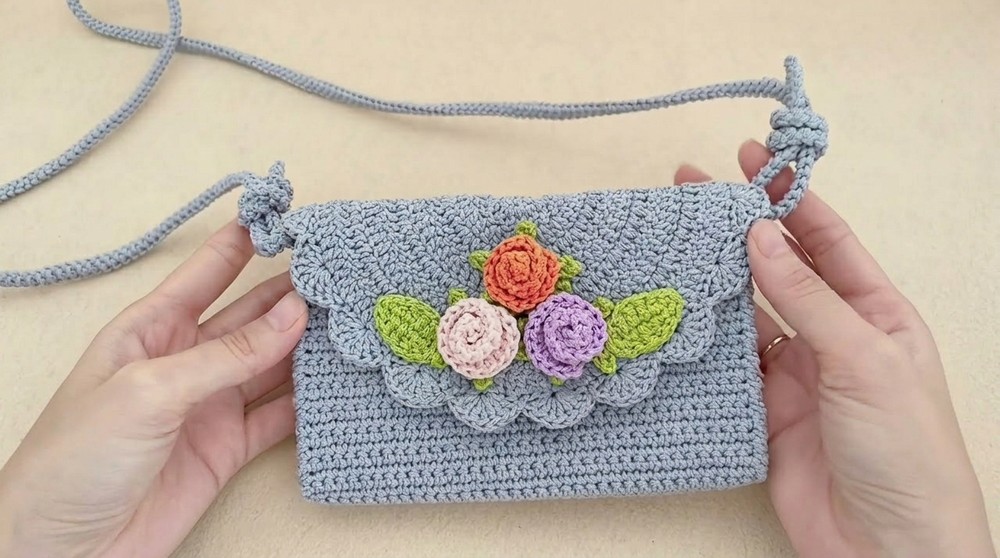
Crochet Crossbody Bag with Floral Embellishments
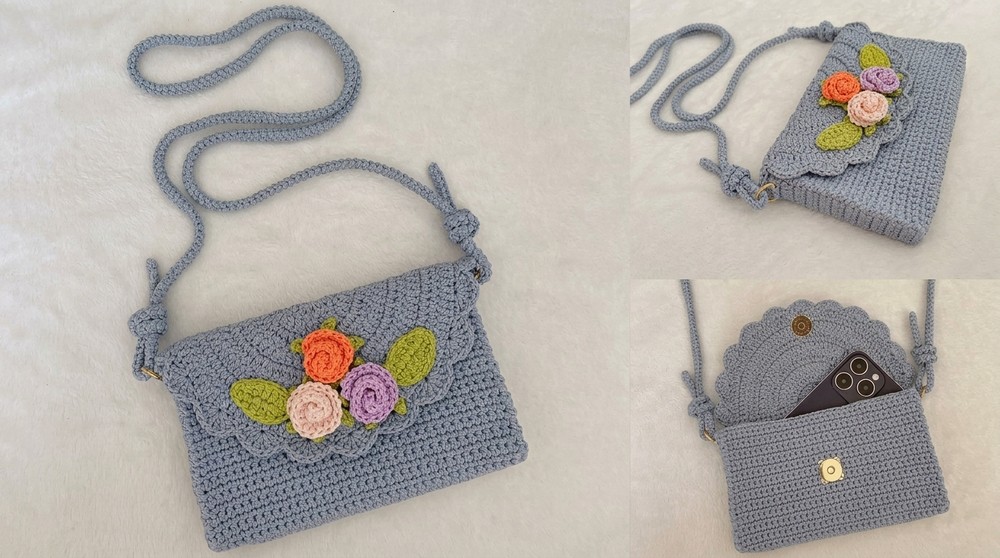
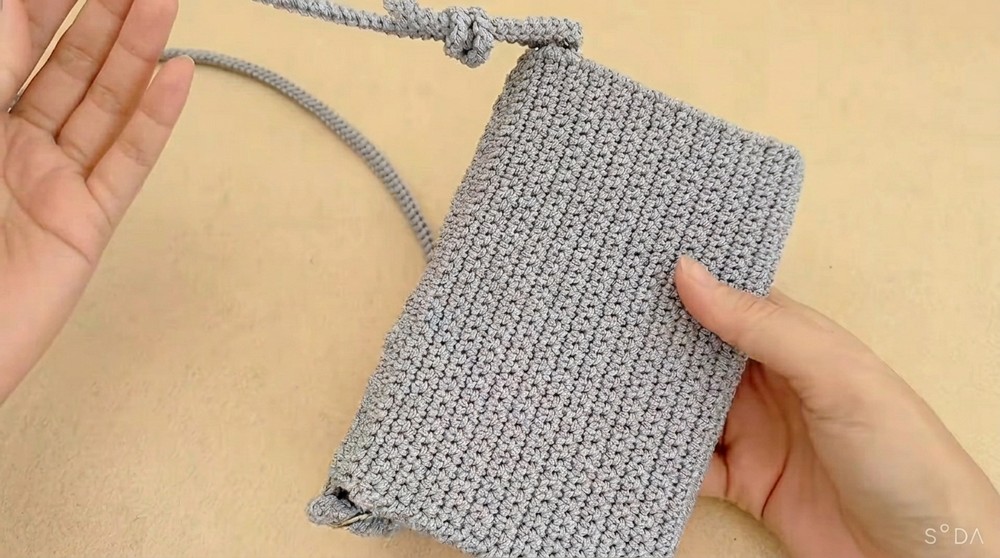
This step by step pattern is ideal for crocheting a stylish, compact crossbody bag adorned with three charming crochet flowers. Featuring a clean, simple texture made with basic stitches, this quick and easy project is perfect for both beginners and experienced crocheters. The lightweight bag is designed to hold your smartphone and small essentials, making it ideal for everyday use or gifting.
Quick Overview of the Pattern
Construction
- Sections: The bag is worked in multiple sections:
- Flap
- Continuous body panel
- Two side gusset panels
- Decorative crochet flowers
- Assembly: Side gussets are joined to the body using a tapestry needle. Decorative flowers are glued on after assembly.
Flap Details
- Shaped using half circle increases.
- Completed with scalloped edging for a stunning finish.
Body Details
- The main body is worked with simple single crochet rows.
Notes
- Read through the entire pattern before beginning.
- Turning chains do not count as stitches unless specified.
- Maintain consistent tension to ensure gussets line up perfectly.
Skill Level
Easy / Beginner Friendly
- Stitches used: chain, single crochet, double crochet, and slip stitch.
Materials
- Yarn: 2mm woven cord or polyester ribbon yarn
- Main color: 1 skein
- Contrasting yarn for decorative flowers (small amount)
- Crochet Hook: 3.0 mm
- Additional Hardware and Notions:
- 1 pair of D rings
- 1 magnetic snap button
- Tapestry needle & thread
- Craft glue (for attaching flowers)
- Stitch markers
Measurements / Sizing
- Bag Dimensions: Compact size tailored for mobile phones and small items.
- Panel Breakdown:
- Front Panel: 22 rows
- Bottom Base: 6 rows
- Back Panel: 22 rows
- Flap Transition Space: 2 rows
- Side Gussets: 4 stitches wide by 22 rows long
Gauge
Approximately 20 single crochet stitches and 22 rows = 10 cm x 10 cm using 3.0 mm hook with 2mm woven cord yarn. Adjust hook size, if necessary, to achieve the correct gauge.
Stitch Abbreviations
- ch: Chain
- sc: Single crochet
- dc: Double crochet
- sl st: Slip stitch
- inc: Increase (2 stitches worked into the same stitch)
- st(s): Stitch(es)
Special Stitches
- 7 dc Shell Stitch: Work 7 double crochet stitches in the same stitch to create a scallop motif.
- sc Increase (Inc): Work 2 single crochets into the same stitch.
- dc Increase (Inc): Work 2 double crochets into the same stitch.
The Crochet Pattern
Part 1: Bag Flap
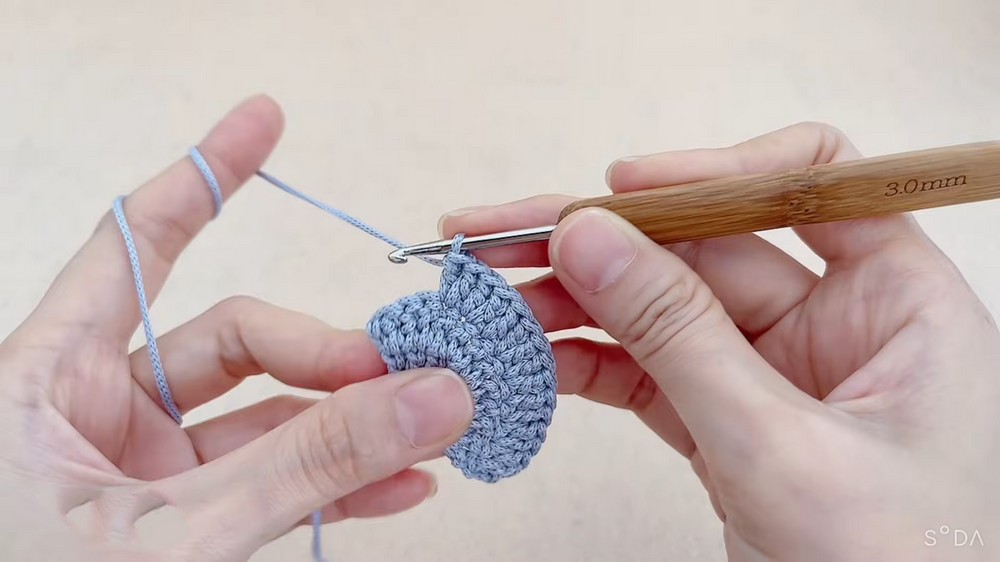
Semicircle Base
- Initial Setup: Create a slip knot and chain 3.
- Row 1: Work 6 dc into the 1st chain. (Total: 6 dc). Ch 2, turn.
- Row 2: Work 1 dc Inc into every stitch across (2 dc in each st). You'll have 12 stitches. (Total: 12 dc). Ch 2, turn.
- Row 3:
- 1 dc in the 1st stitch.
- 1 dc Inc in the 2nd stitch.
- Continue alternating 1 dc and 1 dc Inc across the row. Ch 2, turn.
- Row 4: Alternate [2 dc, 1 dc Inc] across the row. Ch 2, turn.
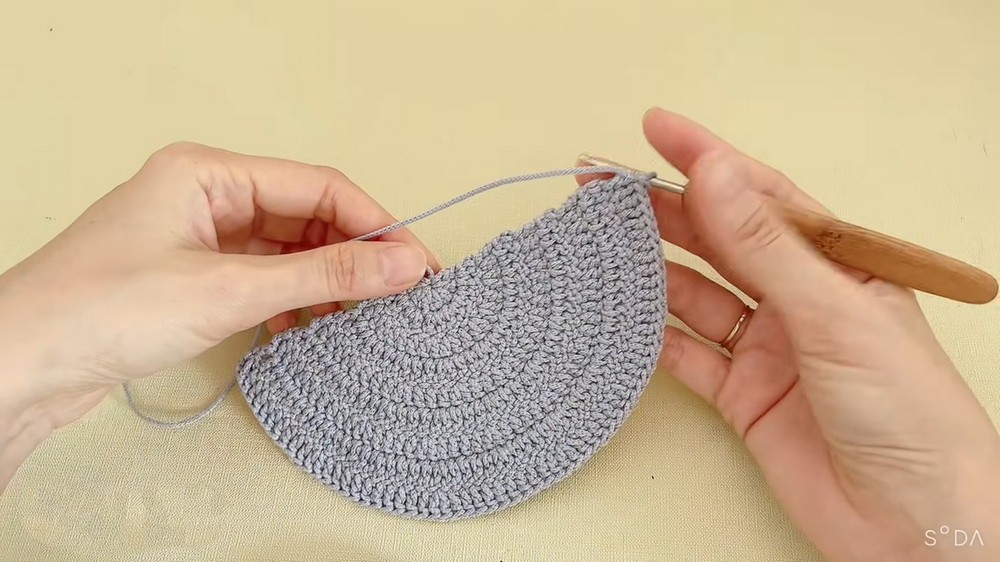
- Rows 5-9: Follow the semicircle increase chart to expand the flap.
- Edging Row: After Row 9, work a border of sc across the curved edge.
Scalloped Border (Row 10)
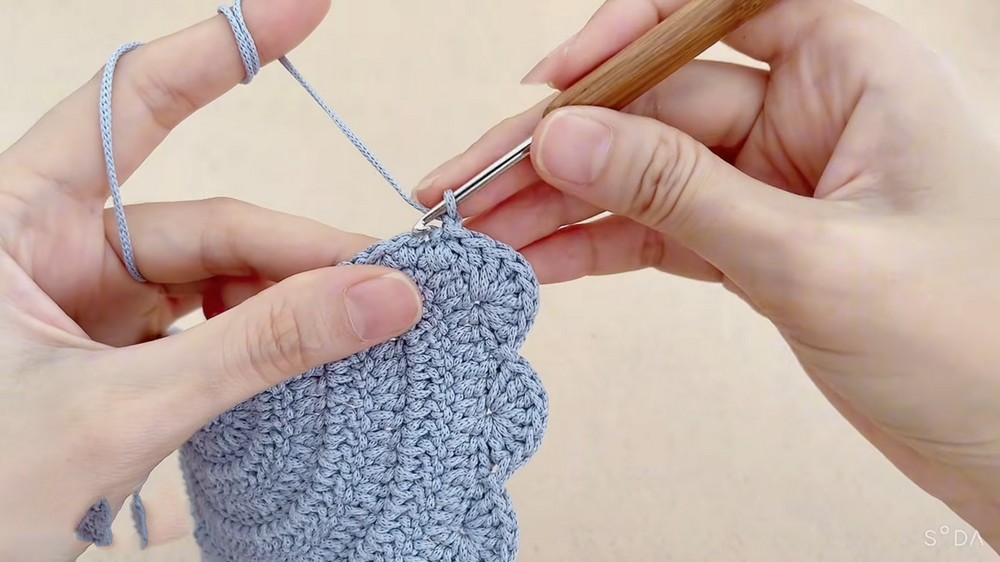
- Row 10:
- Skip 2 stitches, and work 7 dc into the 3rd stitch.
- Skip 2 stitches, and work 1 sl st into the next stitch.
- Repeat the pattern across the curved edge.
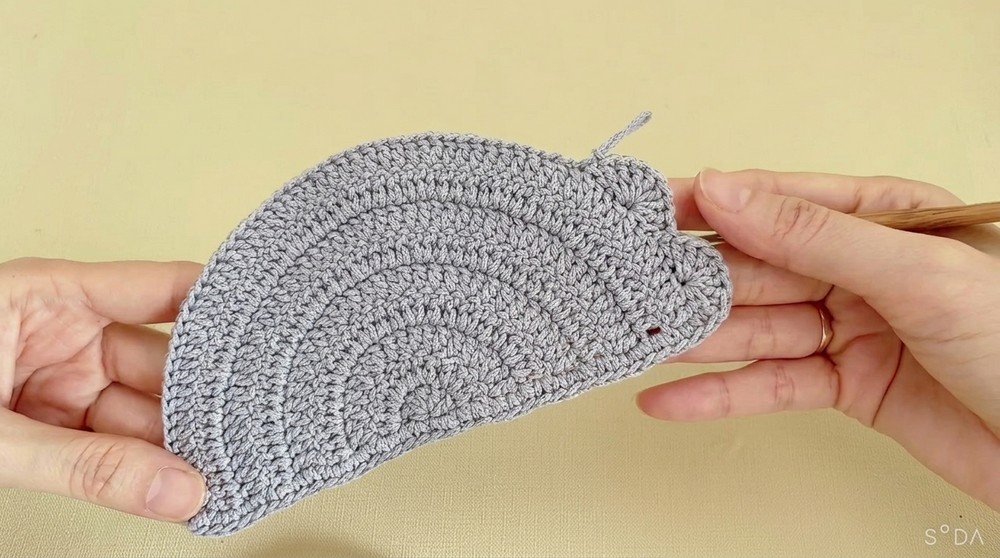
- Fasten off the yarn and weave in the end.
Part 2: Bag Body
Body Panel
- Begin working from the flat top edge of the flap.
- Row 1: Ch 1, and work 1 sc into each stitch across the top edge. (Total: 36 sc). Ch 1, turn.
- Row 2: Work 1 sc into each stitch across. (Total: 36 sc). Ch 1, turn.
- Rows 3-53: Repeat Row 2 until Row 53. Fasten off and leave a long tail.
Part 3: Side Gusset Panels
- Initial Setup: Create a slip knot and chain 5.
- Row 1: Turn the chain over to work into the back bumps. Work 1 sc into each chain stitch across. (Total: 4 sc). Ch 1, turn.
- Row 2-22: Work 1 sc into each stitch across (4 sc per row). Ch 1 at the end of each row.
- Fasten off and leave a tail for sewing. Repeat to make a second gusset panel.
Assembly
Step 1: Alignment
- Fold the main body panel and use stitch markers to secure pieces in place for assembly.
- Front Panel: Rows 1-22
- Bottom Base: Rows 23-28
- Back Panel: Rows 29-50
- Flap Transition Space: Rows 51-52
Step 2: Joining Gussets
- Position the gusset against the edges (22 rows of the front, 6 rows of the base, and 22 rows of the back).
- Use a tapestry needle and whipstitch or mattress stitch to attach the gussets on both sides of the bag.

Step 3: Attach Hardware and Decorations
- D Rings: Sew the D rings where the side panels meet the top of the bag.
- Magnetic Snap Button: Attach it to the inside center of the flap and corresponding front panel position.
- Decorative Flowers: Create three small crochet flowers using contrasting yarn and glue them to the front flap with craft glue.

Tips & Customization
- Custom Size: Adjust the number of rows while working the body panel to make a larger or smaller bag.
- Color Blocking: Use different colors of yarn for the flap, body, and gussets to give the bag a playful or elegant look.
- Embroidery: After finishing the bag, you can embroider simple shapes or patterns for added personalization.
Challenges and Solutions
- Tension Issues: Uneven tension can lead to mismatched edges. Take your time and maintain consistent tension throughout.
- Misaligned Gussets: Use stitch markers to pin the gussets securely to the body before sewing to ensure perfect alignment.
- Scalloped Edges: If the scallops aren't neat, double check the stitch count and spacing as you work.
Conclusion
The final piece is a lovely and practical bag that's perfect for daily use. Its compact size, combined with floral embellishments, gives it a charming appearance. By mastering this project, you've learned shaping techniques, basic assembly, and decorative finishes-skills that can be applied to countless other crochet projects.